Tiny Living in a Big World

  • About
    • Philosophy
    • The Tiny House Movement
    • How To Get Started
    • Delivery
    • Media
  • TINY HOUSES
    • Gallery
    • Features & Options
    • Shell Builds
    • Tiny House Size Limitations
  • Tiny Commerce
  • Tiny House Plans
  • Pricing
    • Financing
    • Contract Pricing Details
  • FAQ
  • Other Services
  • Contact

© 2026 RMTH

Privacy Policy

Terms & Conditions

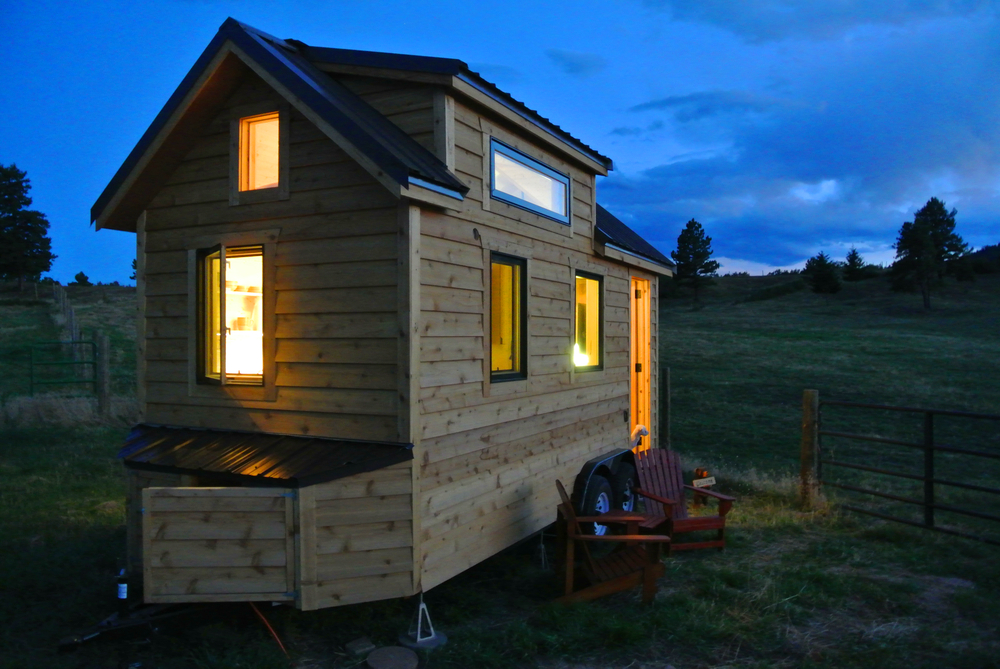
The San Juan Tiny House

November 23, 2018 By Greg Parham 46 Comments

San Juan is name place that holds a special place in our hearts. The land we call home is surrounded by it, quite literally. There is a San Jaun county to our North, and also to our South. The San Juan River originates high in the eastern San Juans at the Continental Divide, flowing down into Pagosa Springs before emptying into Navajo Lake.  The Animas River that is the lifeblood of Durango winds its way south until meeting the San Juan River just on the other side of the New Mexico border and downriver from Navajo Lake. From there, this sacred snowmelt continues it’s journey through ancestral Colorado Plateau lands, carving deep canyons and hiding secrets of a sophisticated culture long gone until meeting up with the mighty Colorado River at Glen Canyon. 

Water is only a small part of the equation. Then comes the dirt, rock, minerals, trees, grasses, flowers, and wild creatures that form one of the most majestic mountain ranges in all of North America, the San Juans.  Spanning over 13 counties, with 13 peaks over 14,000′, 314 peaks over 13,000′, and hundreds more over 12,000′, the San Juans are not only the largest and tallest range in Colorado, but also considered by many to be the prettiest, the most rugged, the most isolated, and the most majestic. Having lived here over 10 years, I have explored my fair share of this pristine land, but feel like I have just touched the tip of the iceberg. I’m always blown away at the awesomeness of this place I get to call home.

I have saved this name for the right build ever since opening shop back in early 2013. Reserving the name “San Juan” for one of our tiny builds was no light task. How do you design and build a house that can embody such a magnificent landscape? In the end, I don’t really think you can. But I do think you can make an honest attempt. I present to you the San Juan Tiny House.
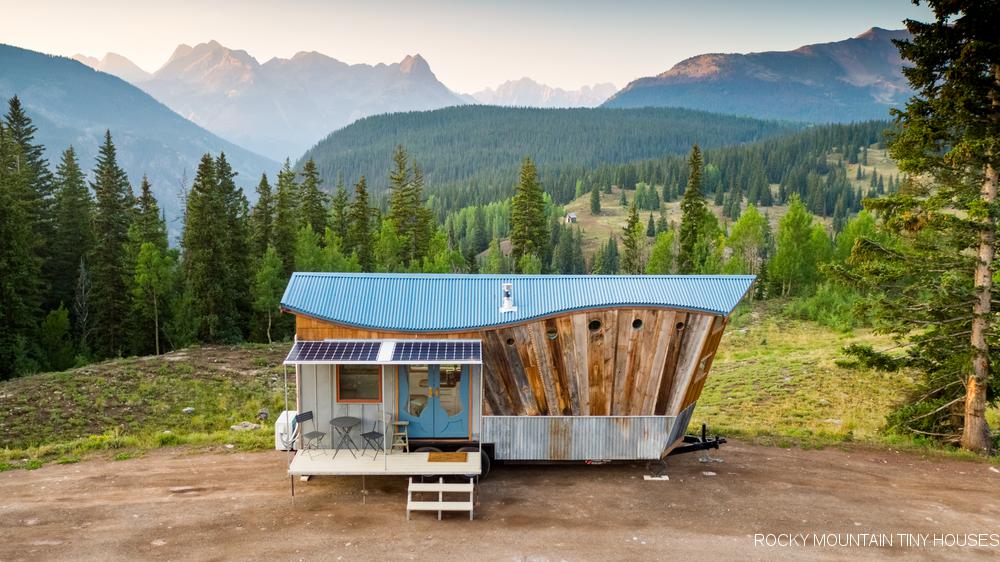
the San Juan Tiny House by Rocky Mountain Tiny Houses

Prelude

For starters, this is my new personal tiny house, shared with my amazing wife Stephanie, and our two furballs ,Rocco and Jade. We were living in the 16′ Durango model that I first built in Spring of 2013, and although it met basic living needs and was dirt cheap for our first two years together, it was just a little cramped for that many occupants. We knew at some point we would design and build a larger tiny house. In between build #1 and #62, we learned a thing or two about tiny house design, and attempted to integrate as many of these lessons into the design goals as possible.
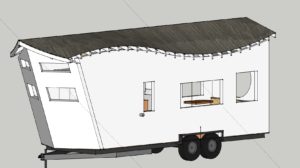
The design phase lasted over a year before we were able to secure enough funds to start the build. The build phase then took another year. When you run a tiny house construction company, it proves quite difficult to build a house for yourself!  In addition to being our personal living quarters, I knew it would be a great model house to take to shows, so some of the decisions (which added a lot of build time, and a little bit of civil unrest) were also influenced by this. So far the San Juan has attended 4 tiny house festivals across the US traveling a total of more than 5,000 miles! 

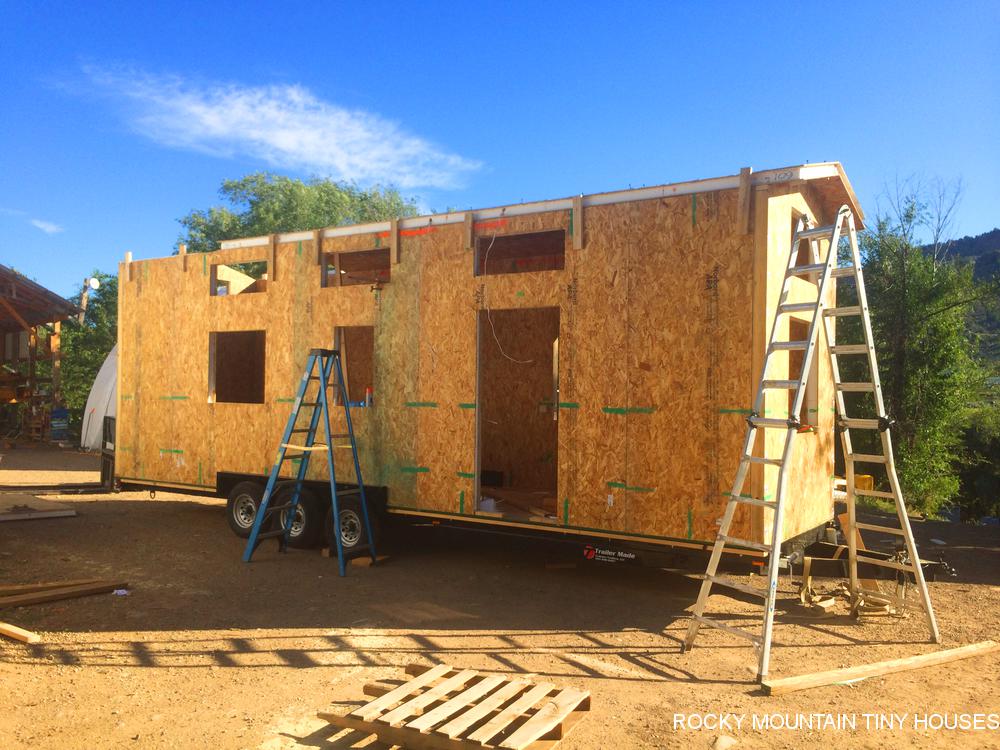
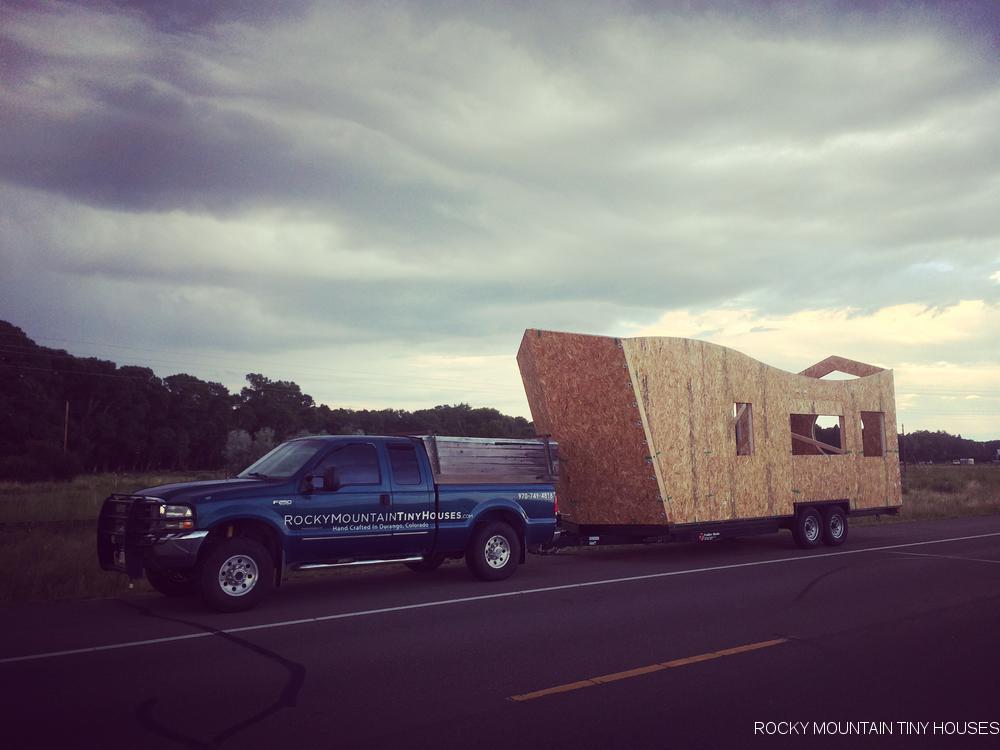
We actually started the build as a SIP workshop at the inaugural Colorado Tiny House Festival in 2017, an event of which RMTH helped organize. With the help of a few crew members and curious strangers, we got the walls erected in a day and a half.  The shell made the trip back to Durango where Stephanie and I completed about 99% remaining work  on nights and weekends. 
Structure

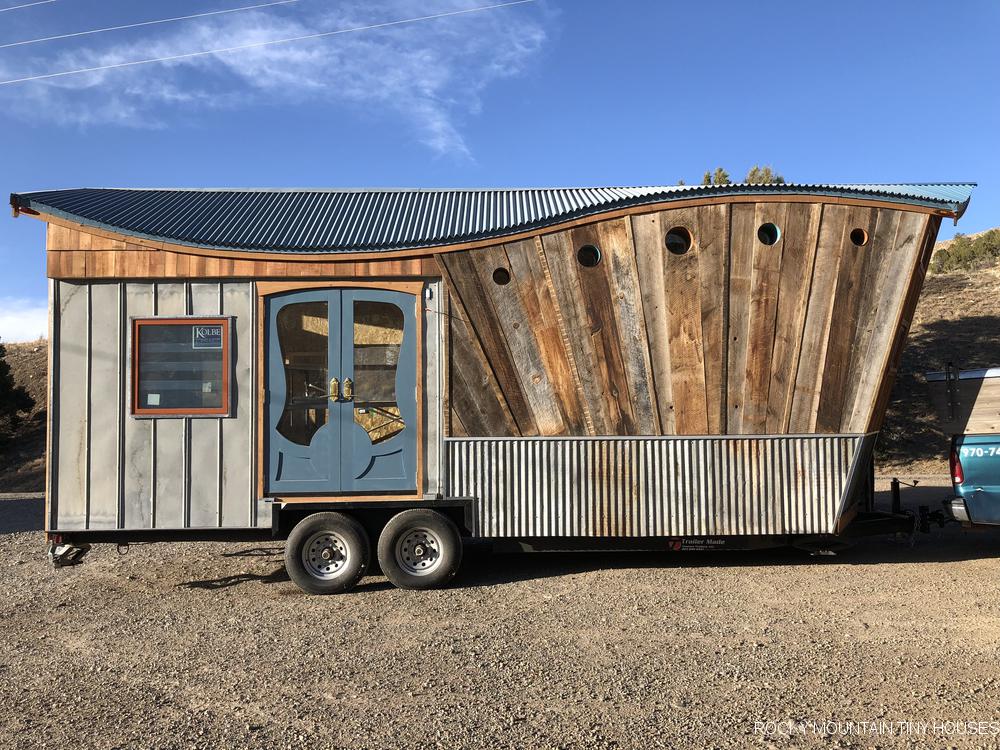
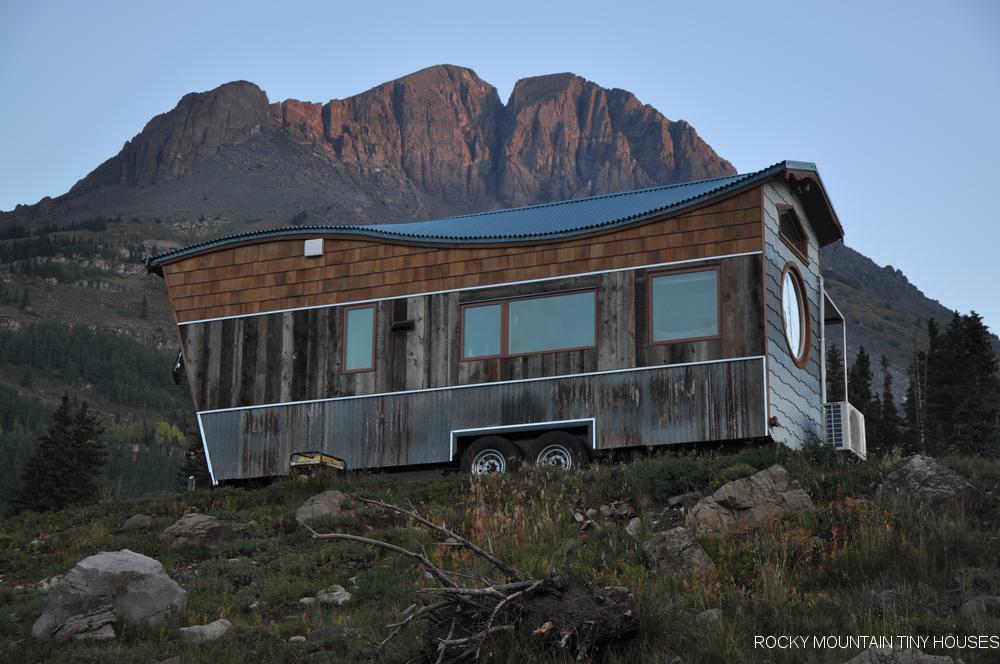
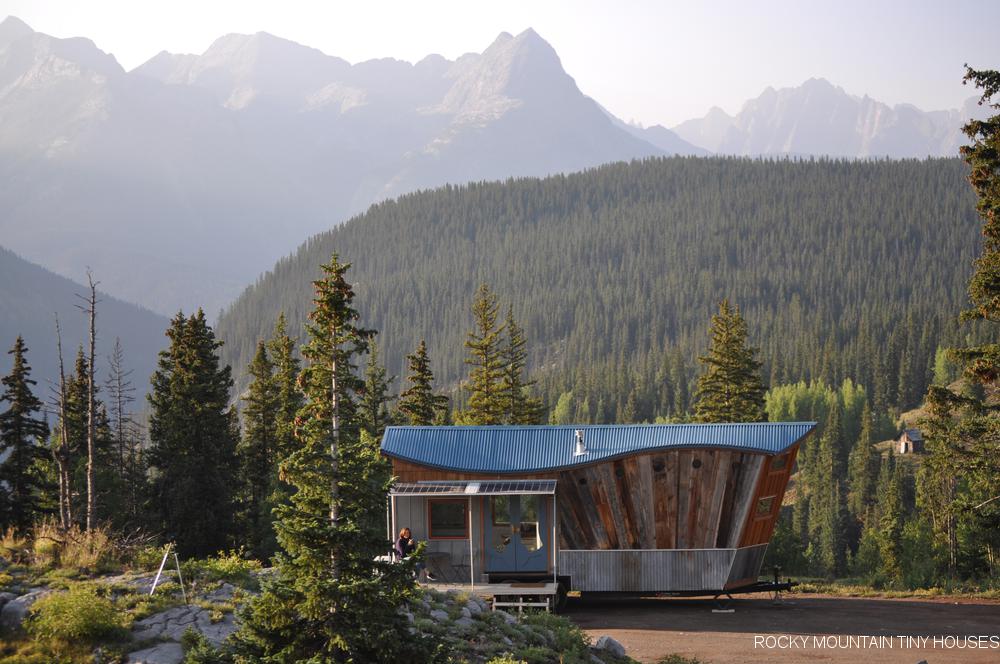
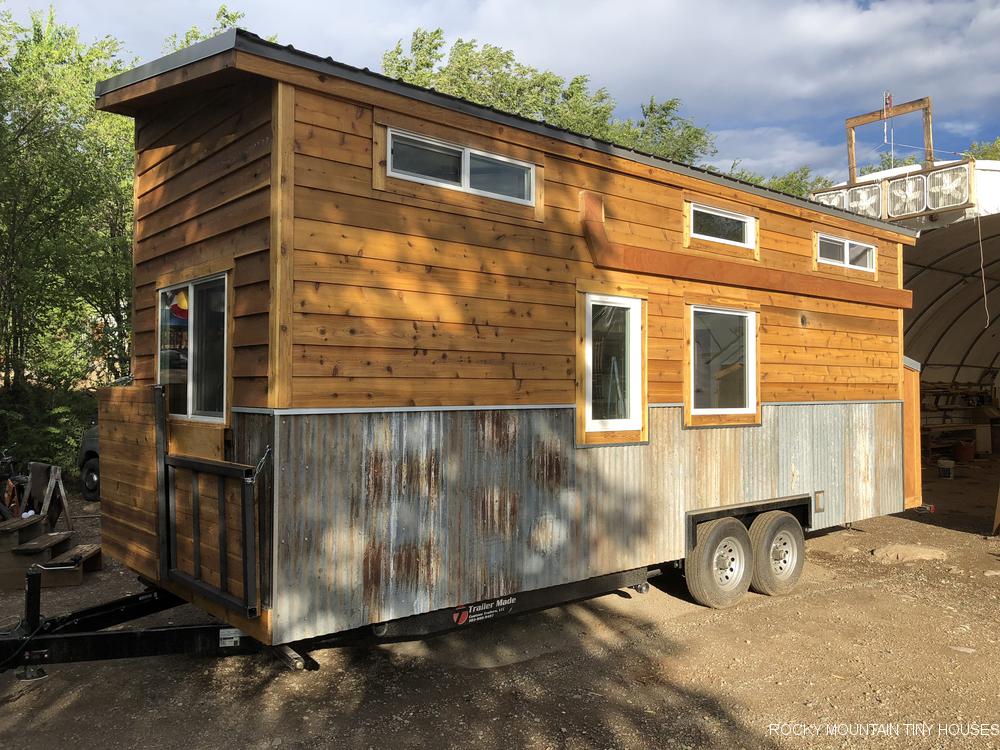
Trailer Made Trailers helped us out with this custom 8′-4″ wide vee nose chassis. 24′ is the max you can go with tandem axles, and we really did not want another 36″ of fender protruding into the space, but 24′ was slightly small for our design goals, so we cheated with the 30 degree vee nose. We cheated even more by angling the walls up another 15 degrees. The end result is akin to the bow of a ship, although our intentions were strictly trying to get more space! This unique shape did indeed give us more space for a limited footprint, however I will point out that it added substantially to the tongue weight. I knew it would and asked Trailer Made to slide the axles forward a little, which they did, but without listing the tongue weight here, I will say you are definitely in Dually territory, and will need to also use weight distribution! If we did it again, I would slide the axles forward even more, or would just not cheat and go with three axles! It really is more like a 26′ long house. The ridge beam is 29′ at the longest part of the house!

For the roof shape, we took some cues from the beloved Pequod build, but flattened the curves out some to make roof and ceiling installation easier. Its always a little trial and error when working with shapes like this, but the metal roof did go on without any awkward seams, and for the locally sourced/milled Aspen shiplap on the ceiling, we did not have to reverse direction of the boards to get them to conform. It worked out very nicely!  SIP’s cannot be warped into a spherical aspect, so just like on the Pequod, we had to stick frame the roof. 
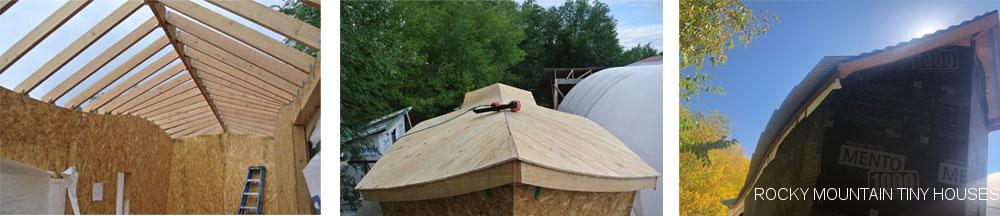
The complex angles and curves were all figured out using 3d modeling software, which we were able to provide to Porter SIP’s, at which point their automation software was able to precisely CNC cut all of the SIP wall panels, sparing us the cruelty of having to figure out this crazy shape with stick framing!

Exterior

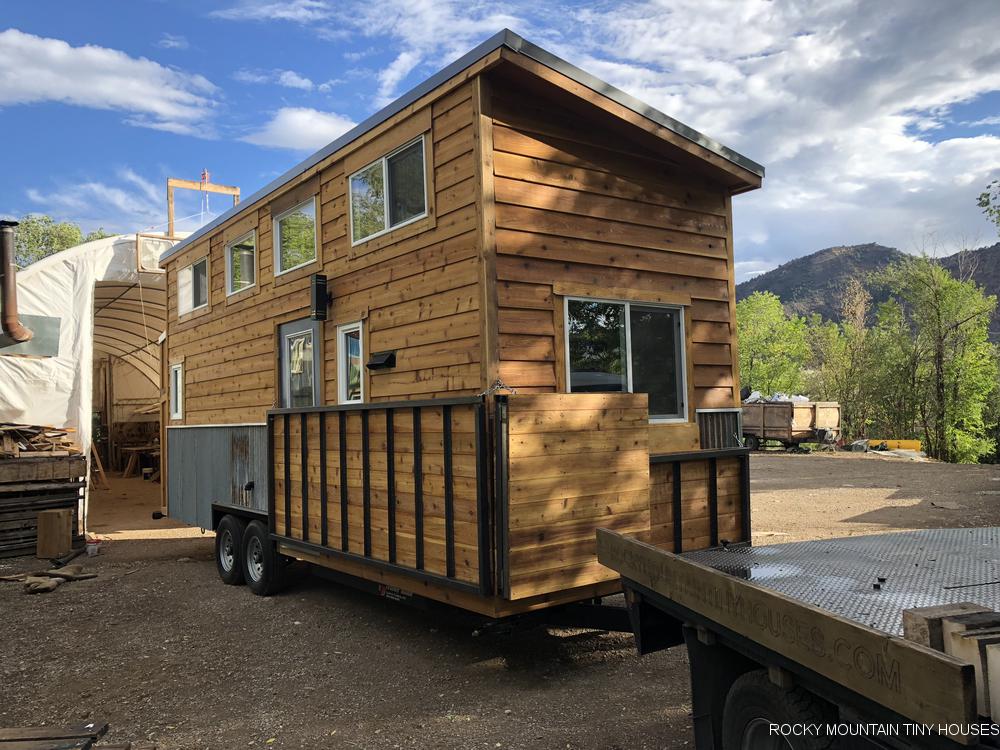
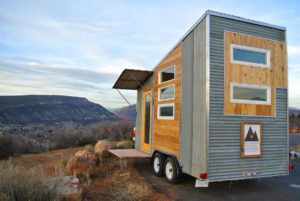
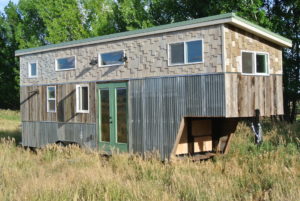
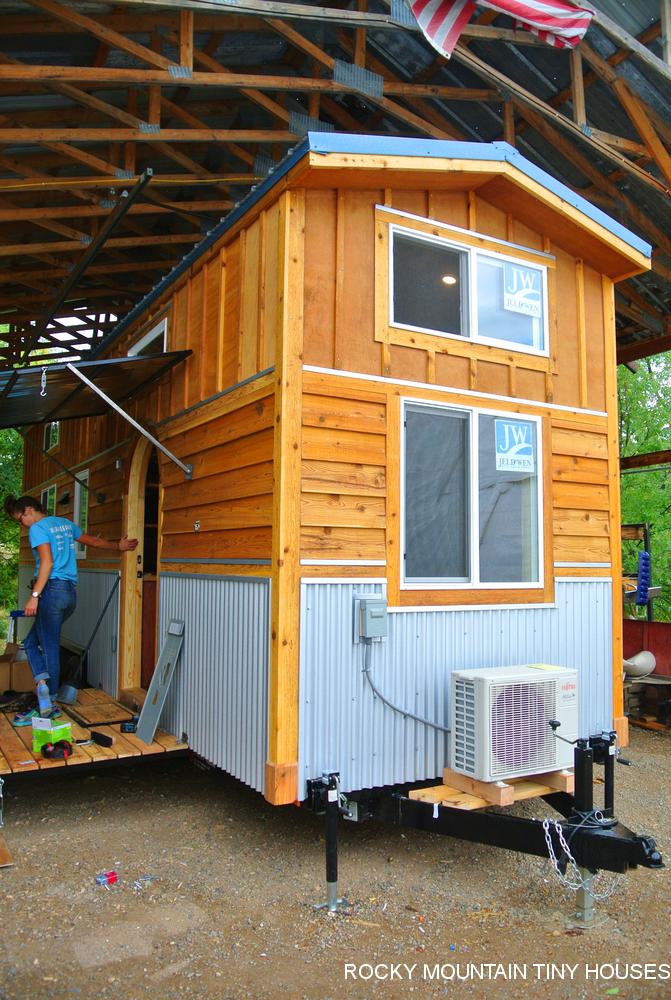
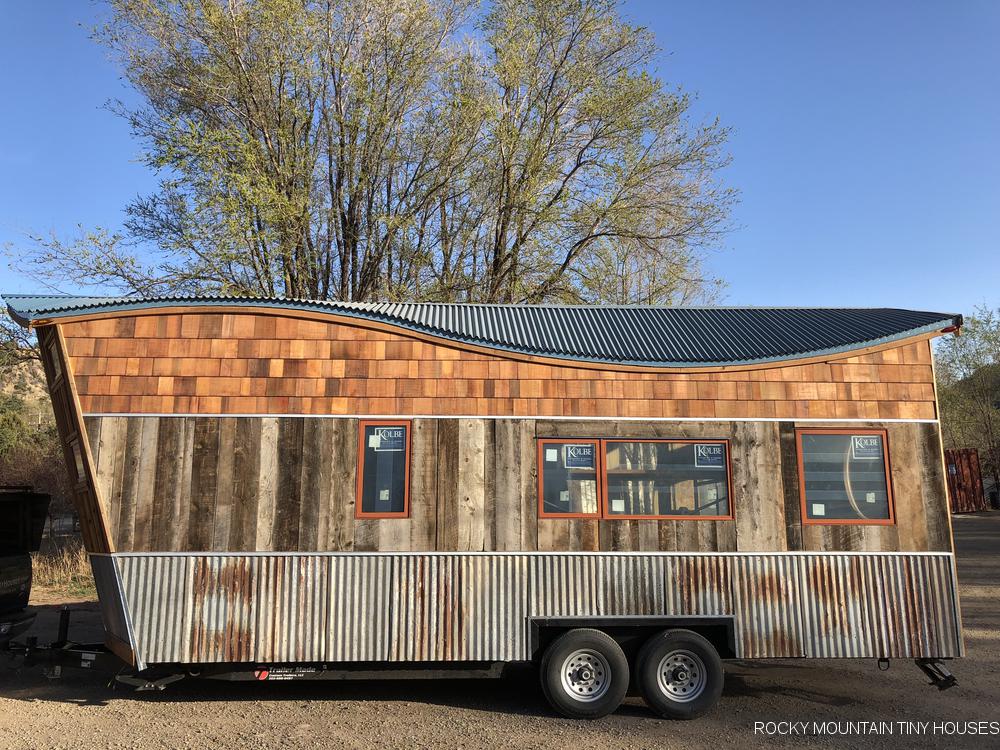
We decided to go with as much reclaimed material as possible, mostly because I had a ton of such material already laying around at the shop! We work with reclaimed corrugated and barnwood all the time, so these two were a no brainer. The tin makes up a 36″ wainscot on the front, driver side, and most of the passenger side. On the driver side, we then added a row of barnwood to match window heights, and stained cedar shakes leftover from old projects up above. On the passenger wall, we had a big blank section without any fenestration, so we decided to spruce it up using porthole windows radially aligned with the roof, and continued this radial pattern with sun rays made from the biggest planks of barnwood that I had left sitting on my shelves. 
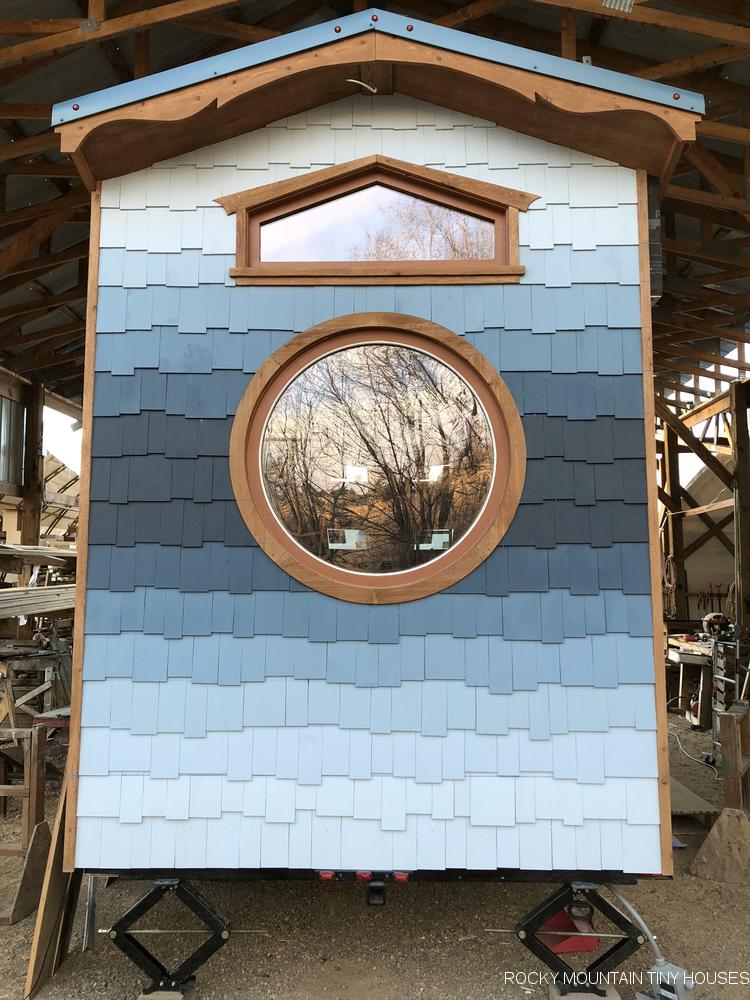
For the rear wall, I had a few bundles of pre-primed cedar shakes leftover from a contractor sale a few years back, so we thought an ombre pattern with seven shades of blue to mimic the changing Colorado horizon would be cool here. We gave the fascia and doghouse window trim some styled lines for a little distinction over straight boards. 
For the front wall, I had a lot of culled lap cedar boards sitting on the rack. I ran them through the planer to flatten out the bevel and straighten them out. I then installed vertical as board and batt.
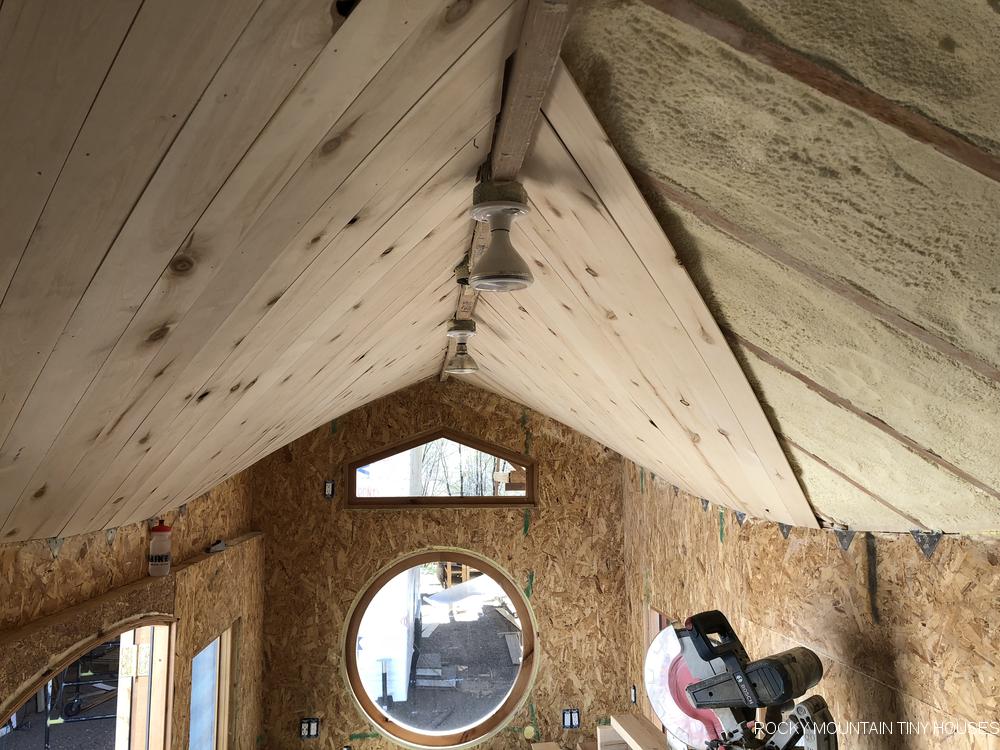
We splurged on top of the line Kolbe VistaLuxe windows for their clean, minimal lines, choice of color on the exterior metal cladding, and warm Alder wood on the inside. It was probably the most expensive line item on our cost sheet, but no regrets! 

Kitchen/Dining

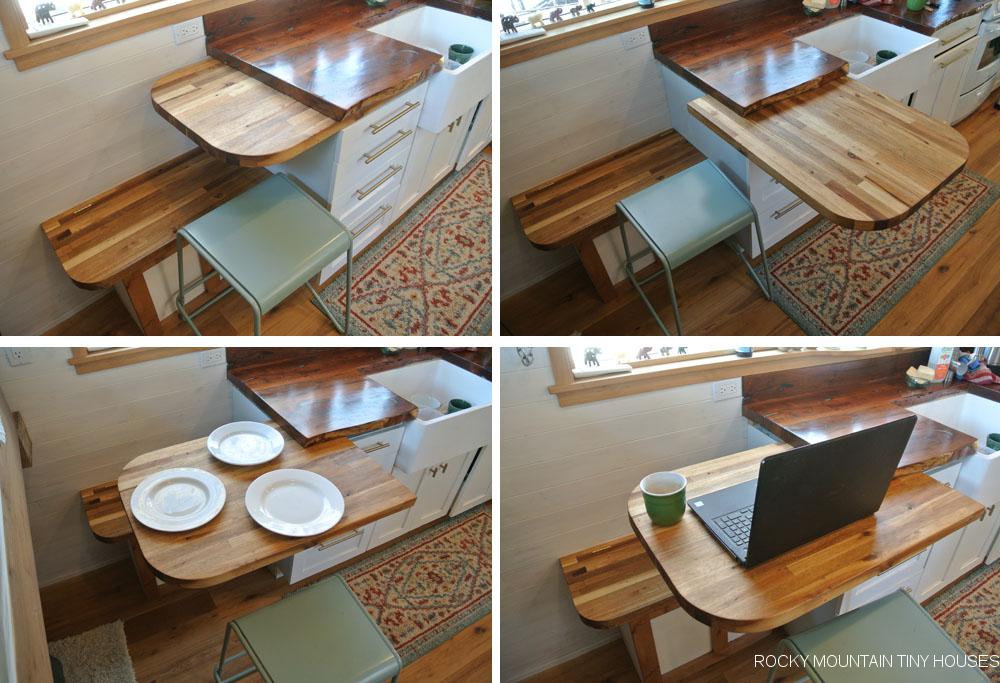
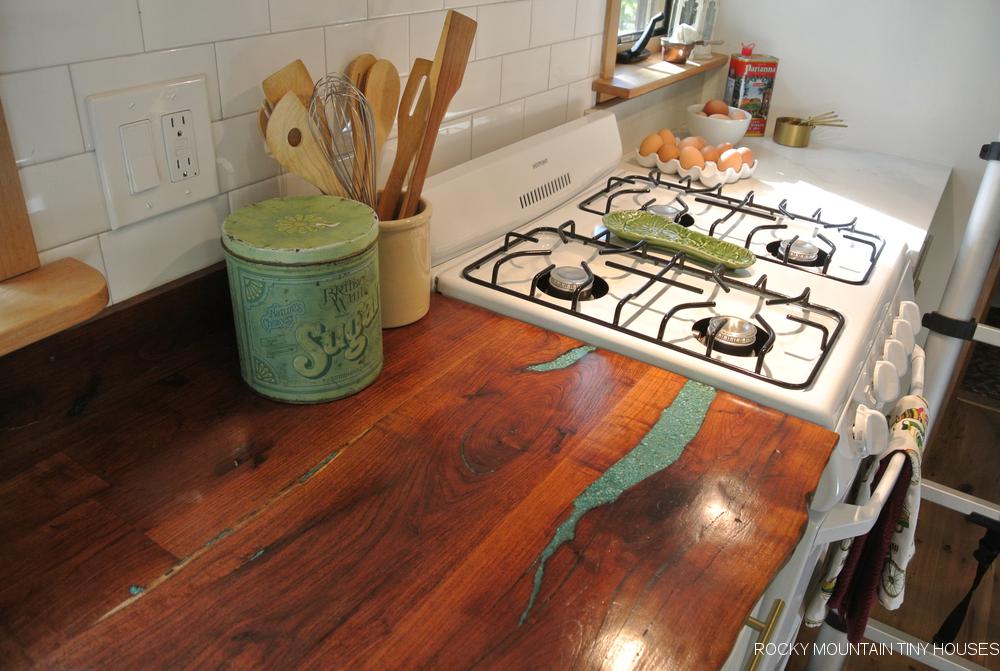
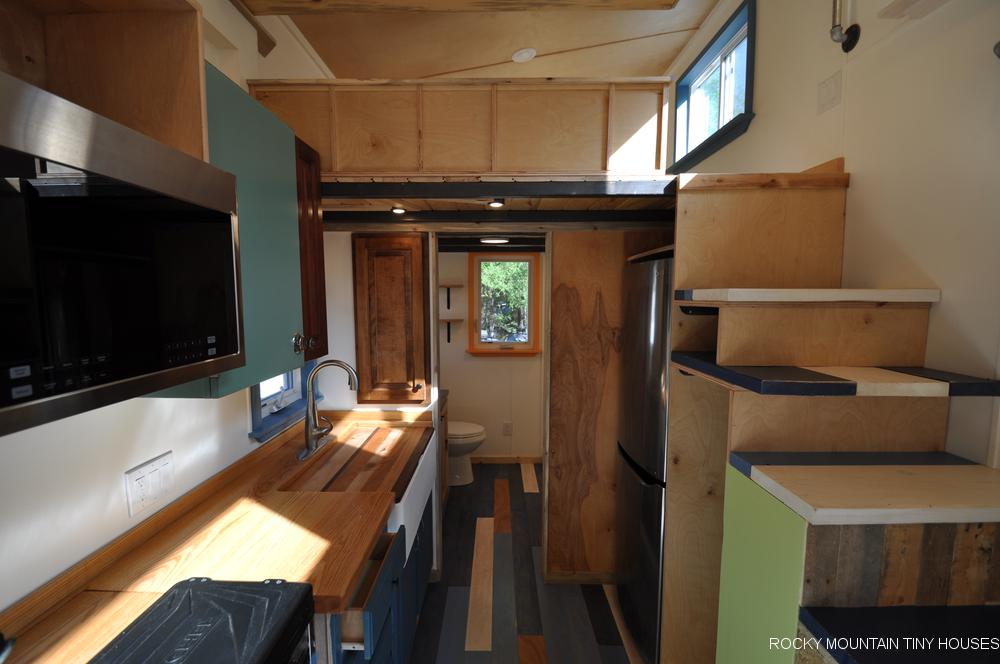
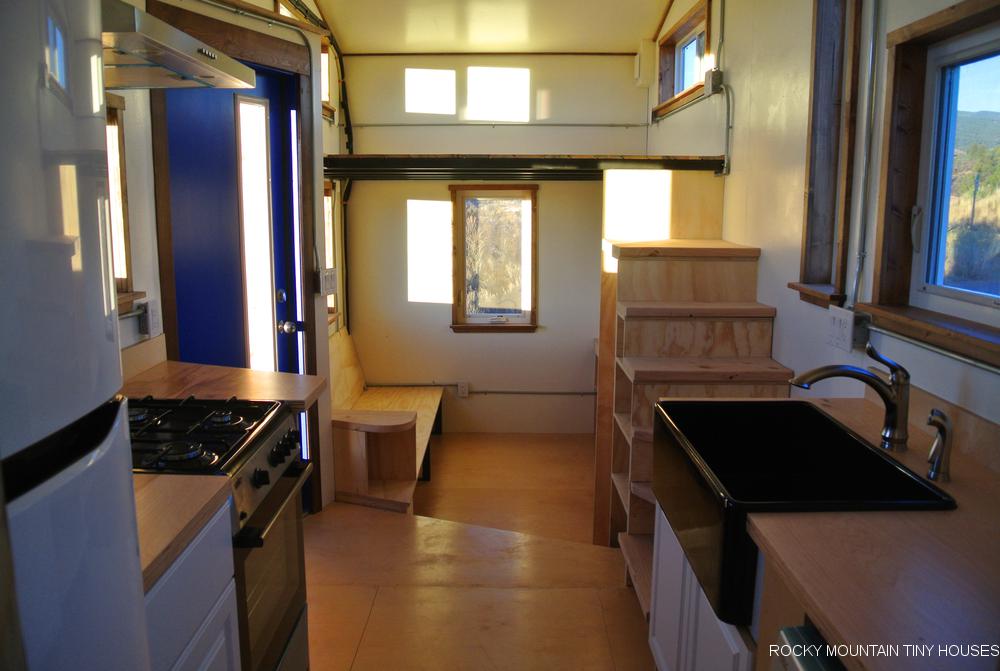
The centerpiece of our kitchen is a deep 24″ wide composite granite apron sink. Surrounding the sink is a custom live edge counter made from south Texas black mesquite,  inlayed with Sleeping Beauty Turquoise from Arizona. To the left of the sink is our dining area. With some very careful detail work, I was able to create a slot for a floating butcher block table to slide in and out of. No hardware whatsover. It just floats, and with help from a little beeswax slides around very easily. We have it fully extended for dining mode for up to three, halfway in for laptop mode, or all the way in when we want to free up some space in the living room. 
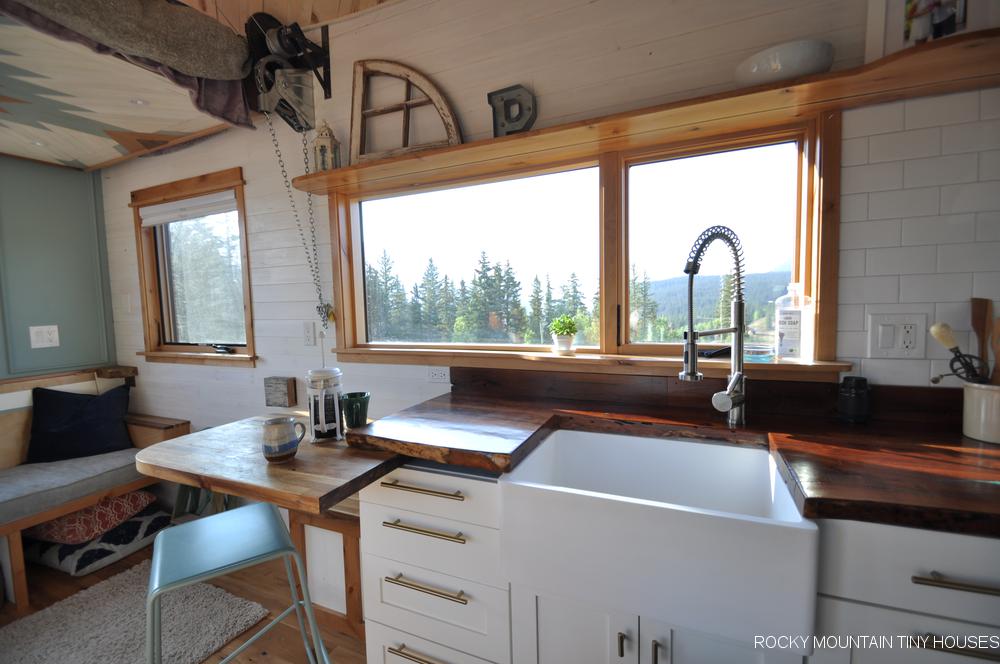
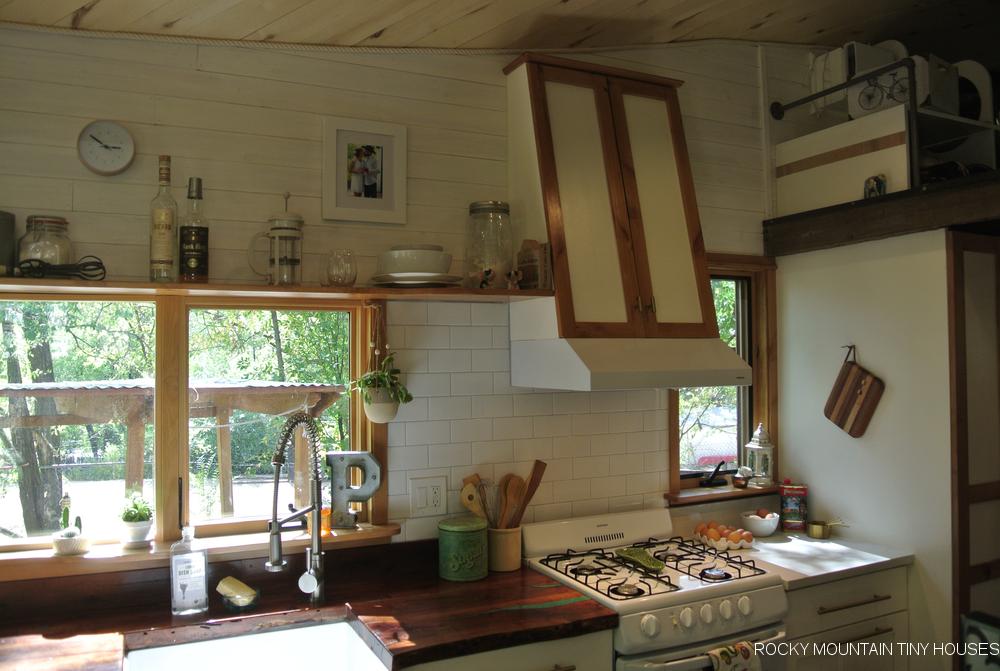
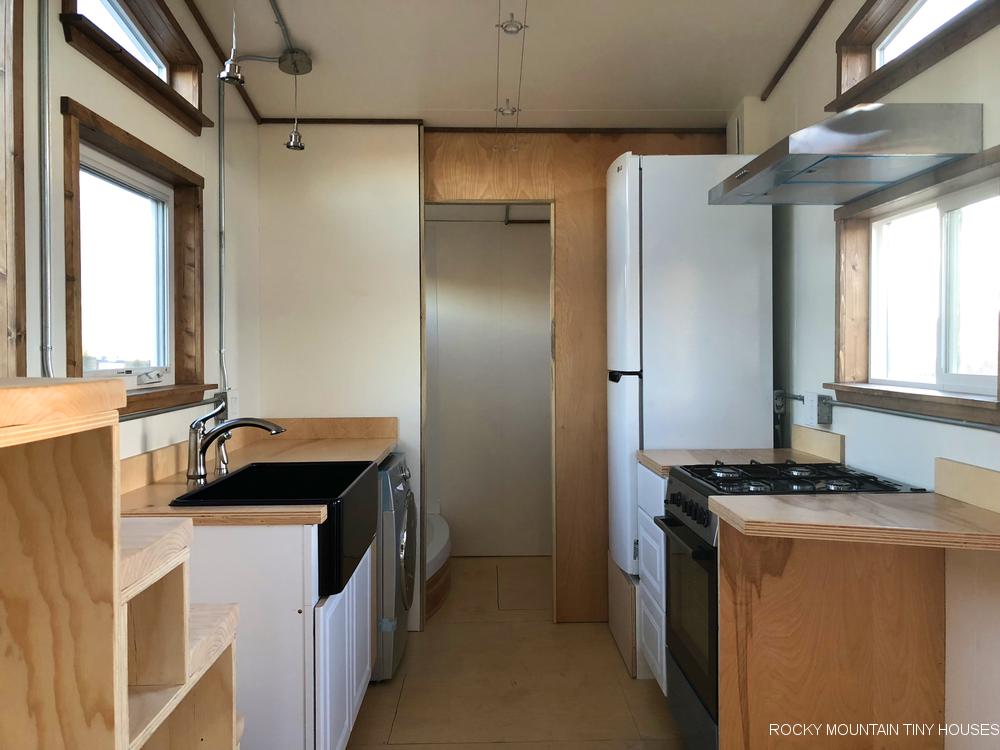
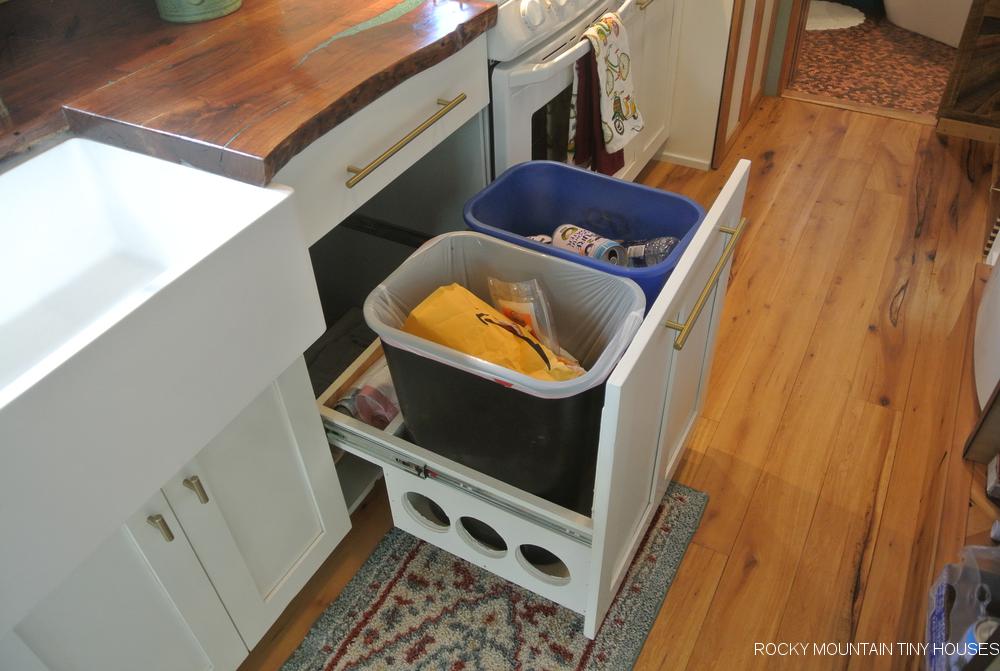
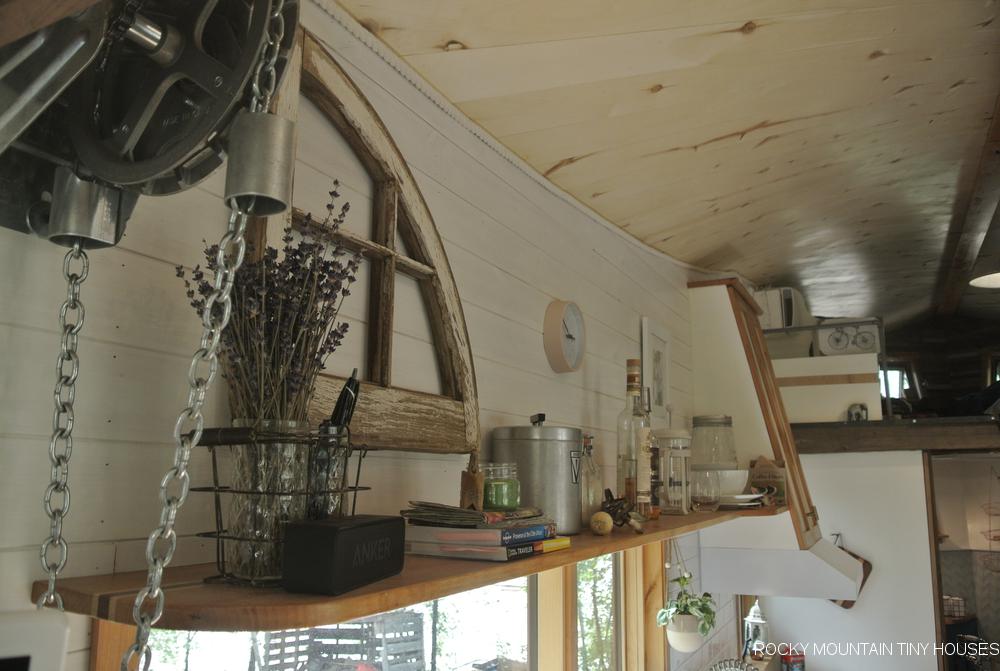
The base cabinet to the right of the sink serves as our pull out trash and recycling center. Next to this is a 24″ white gas range. We had to look long and hard for a white 24″ range hood with clean lines that did not break the bank! Anchoring the hood is an angled cupboard where we store most of our dishware. There is one more base cabinet next to this topped with a Silestone counter. Steph wanted an indestructible surface for cooking and cleaning functions that would not be affected by heat, acid, scratching, etc. There is a glue up shelf stretching from the hood cupboard all the way across our massive 6′ wide window into the dining area. This has multiple functions as plate holder, Scotch and Tequila (our favs) shelf, decorations, and coffee supplies! 
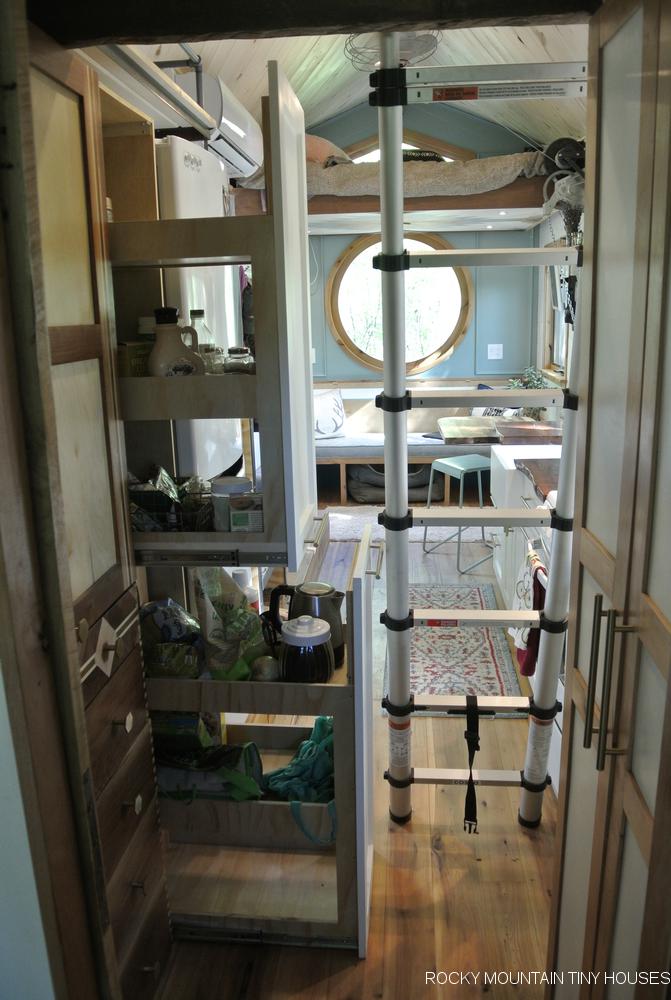
On the other side of the galley kitchen, a Kimberley woodstove provides primary heat for our chilly Colorado winters. Using Portuguese tile and a decorative metal grate, we separate the stove from the 10 cu ft LG refrigerator with bottom freezer. This model has come to be our absolute favorite tiny house fridge! Next to the fridge is a double pull out pantry for dry food storage. 
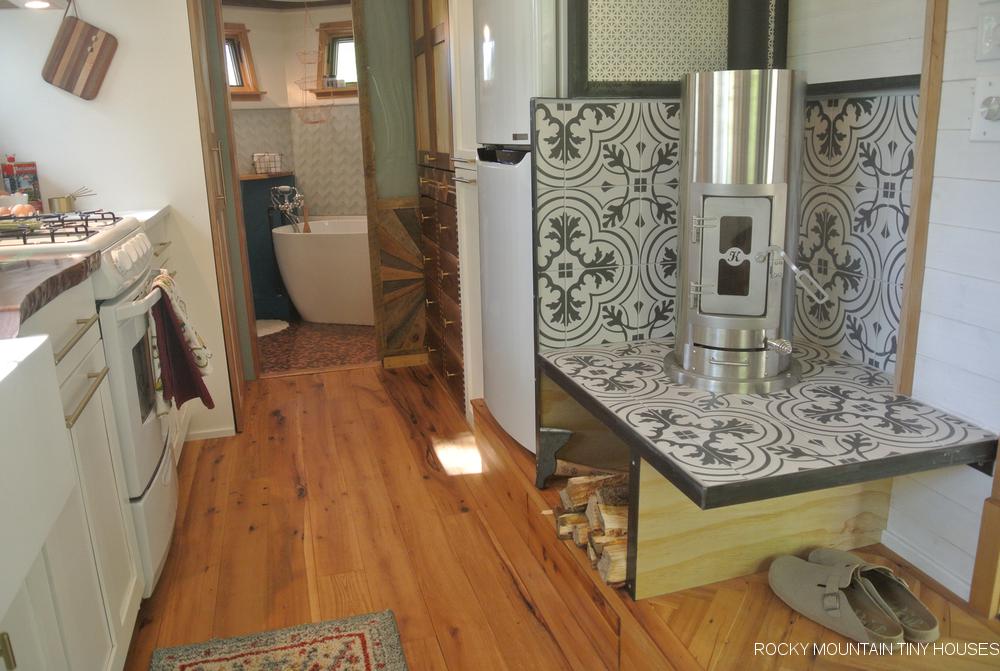
The cabinets were all built in house to accommodate the custom features and functions we desired. 

Bathroom

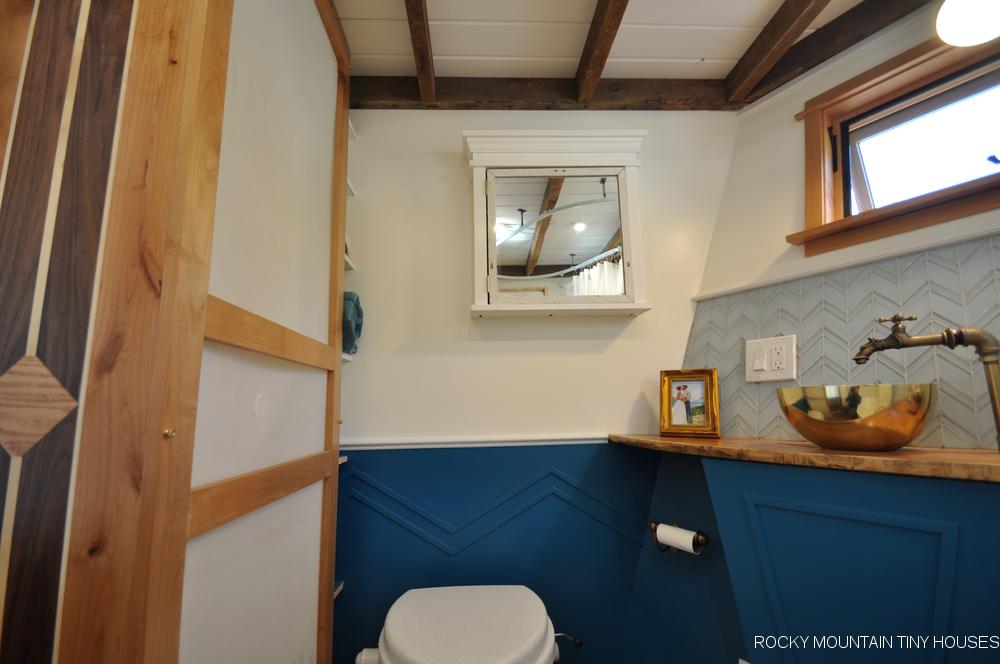
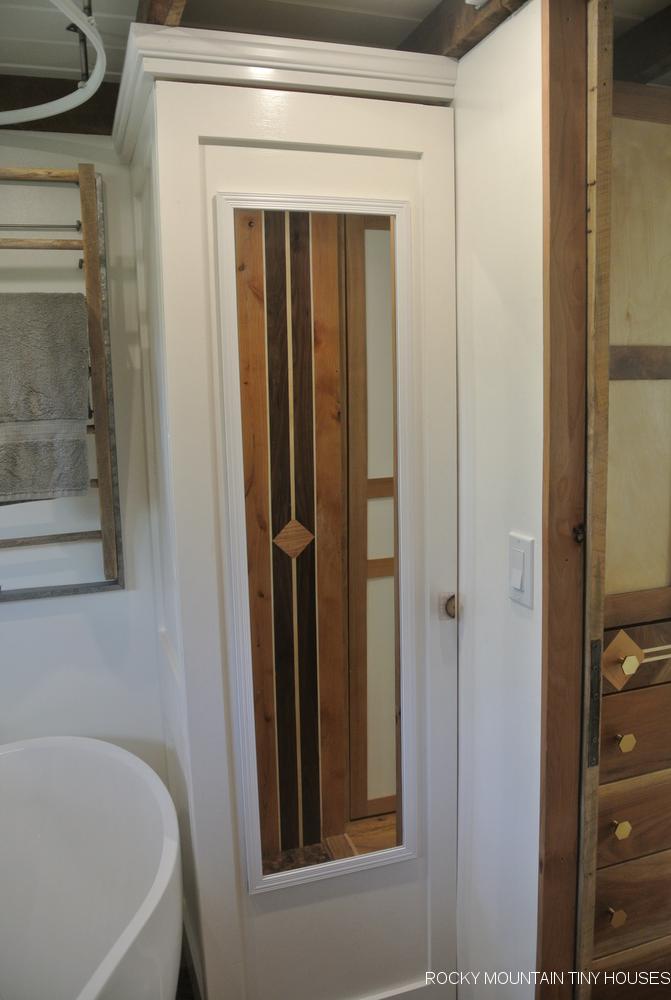
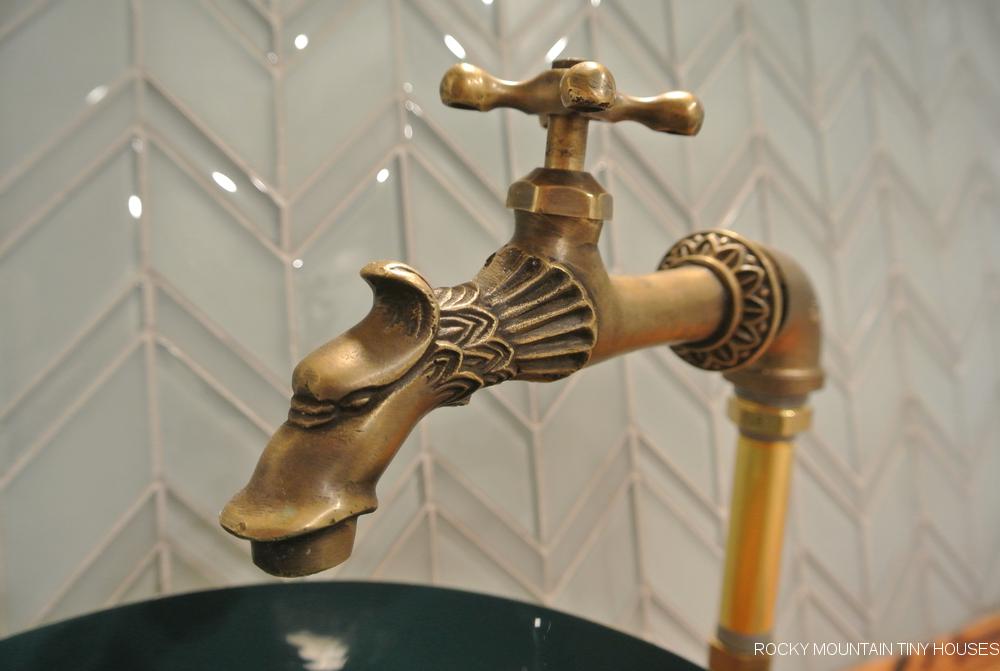
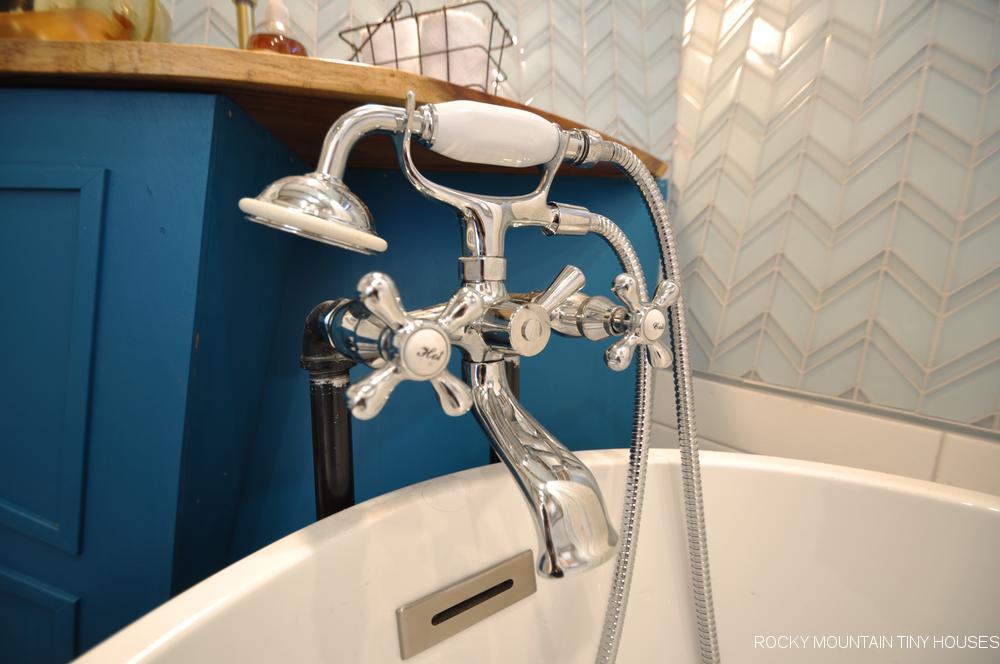
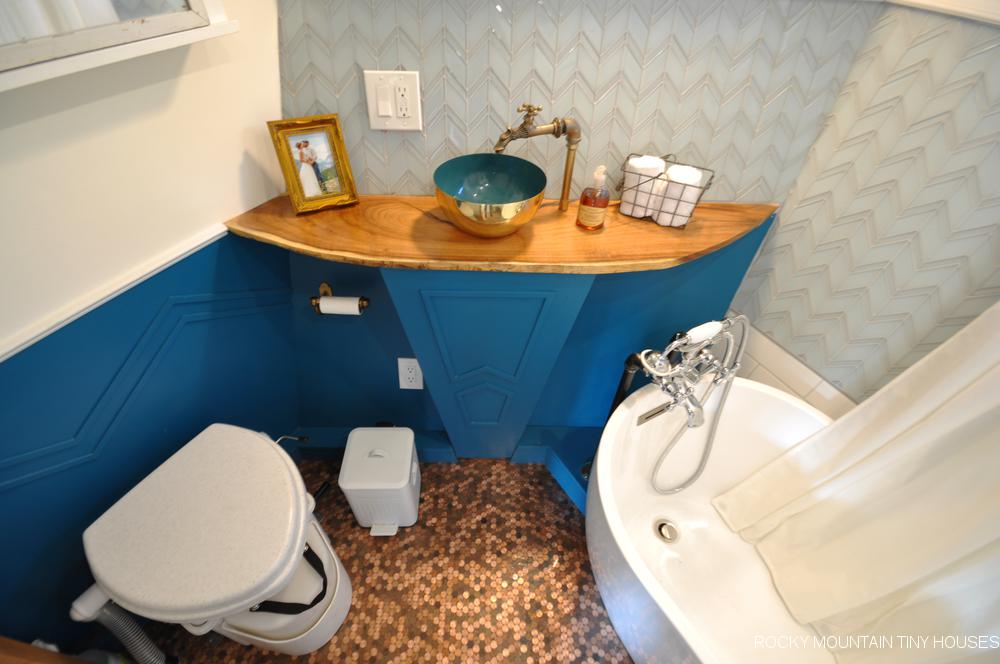
This is where the vee nose and sloped walls really allowed us to maximize space over a square and plumb endwall. Featuring a freestanding tub with a floor mount faucet, live edge counter with vessel sink made from a brass enameled bowl, a one of kind antique dragon faucet Stephanie found on Etsy, a simple but functional Nature’s Head toilet, an antique medicine cabinet, very large built in linen closet, 100 gallon freshwater tank integrated into the wall, and little built in cubbies to the side of the tank, this bathroom has everything you need and then some! Oh, and did we mention it has a penny floor!?  It took Steph 3 days to lay the $80 worth of pennies and another two to pour the epoxy, but it turned out amazing!  Another notable feature in this space is the Islandia glass tile in a Chevron pattern making up the backsplash. 
Storage

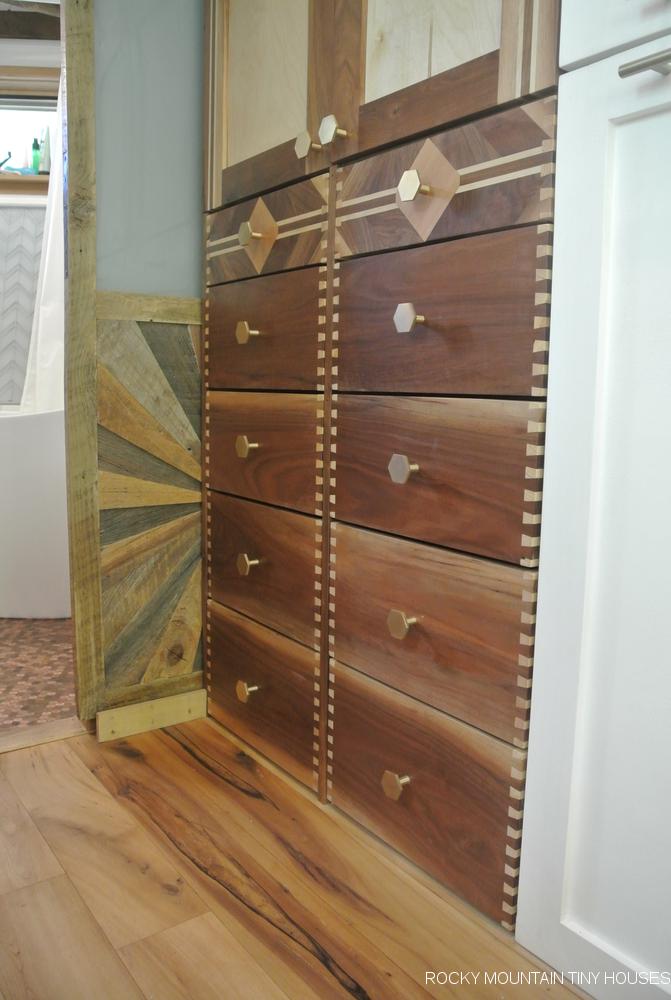
The bathroom is separated from the kitchen by our closet area. Greg gets a full height closet that is shared with utility components. On the opposite side, Steph has a half height wardrobe for hanging items. Below this is ten drawers-five for each person- for socks, underwear, shorts, cycling gear, etc. These drawers were crafted in the old style with dovetails, inlays, and waxed wood slides instead of ball bearing slides. This saved a little money and space, but there is also just enough friction to keep them from sliding out when traveling.
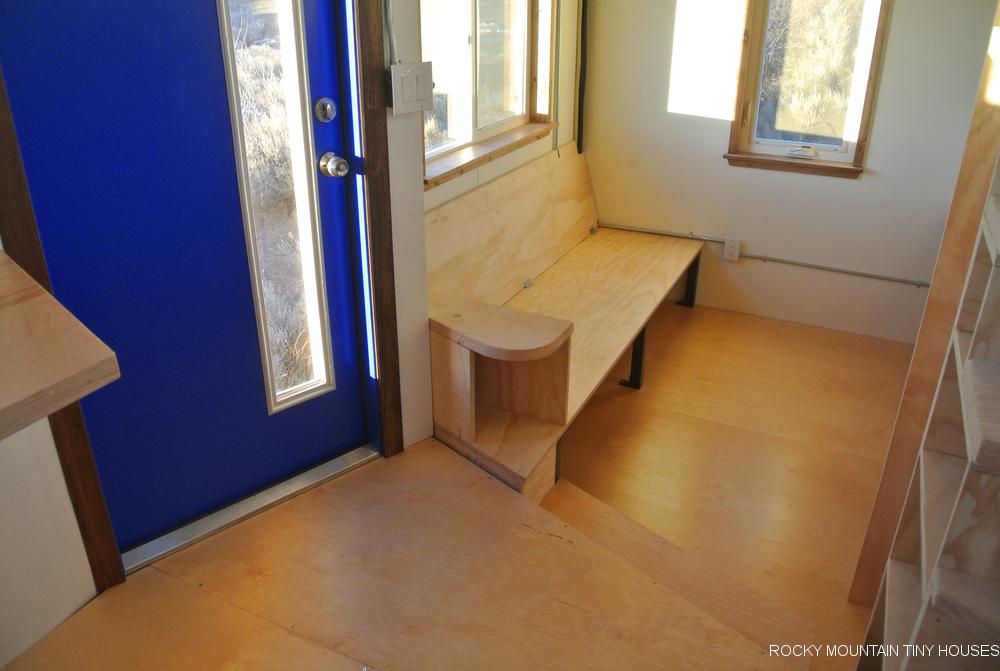
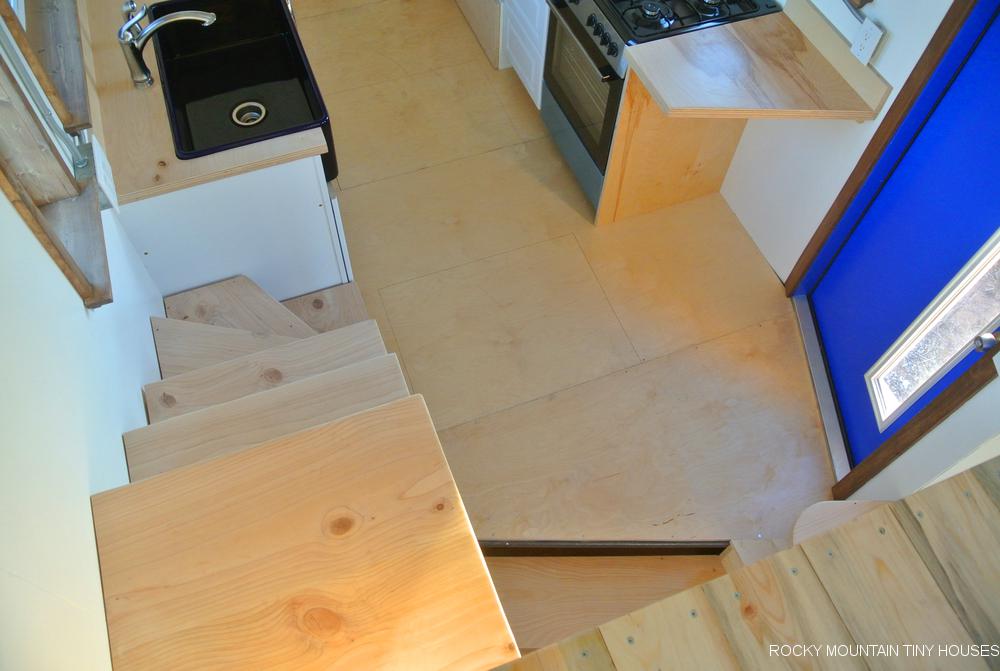
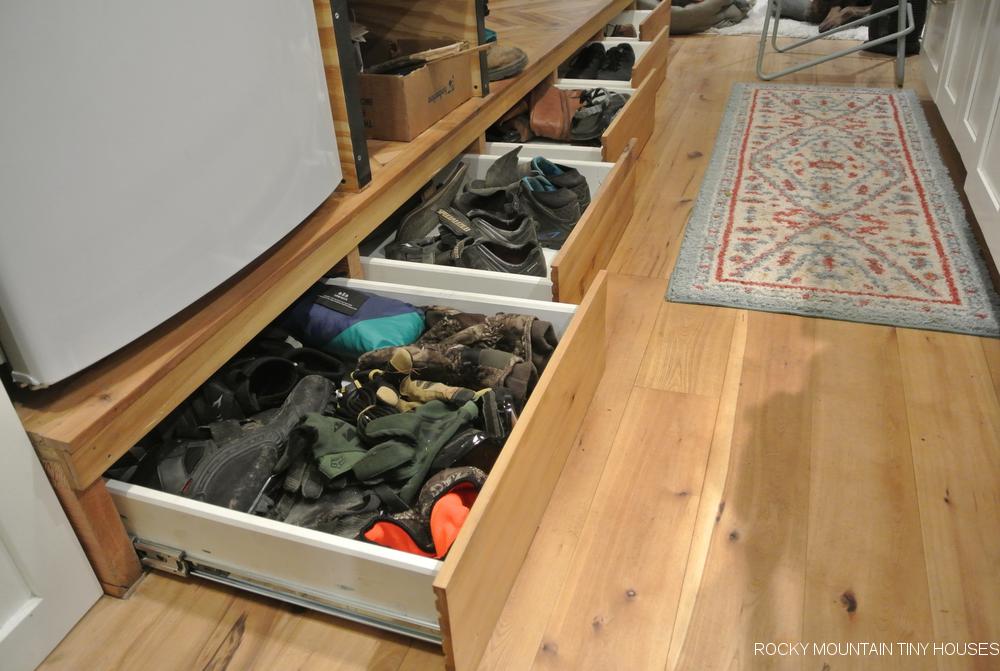
Because the entry door is over the wheel well, this required a platform for safe entry/egress. We stretched this platform all the way to the pull out pantry, providing enough width for 5 drawers which are all used for long term shoes storage. We planned for short term shoe storage under the overhang of the tiled woodstove hearth. Underneath the hearth is plenty of room for firewood storage.
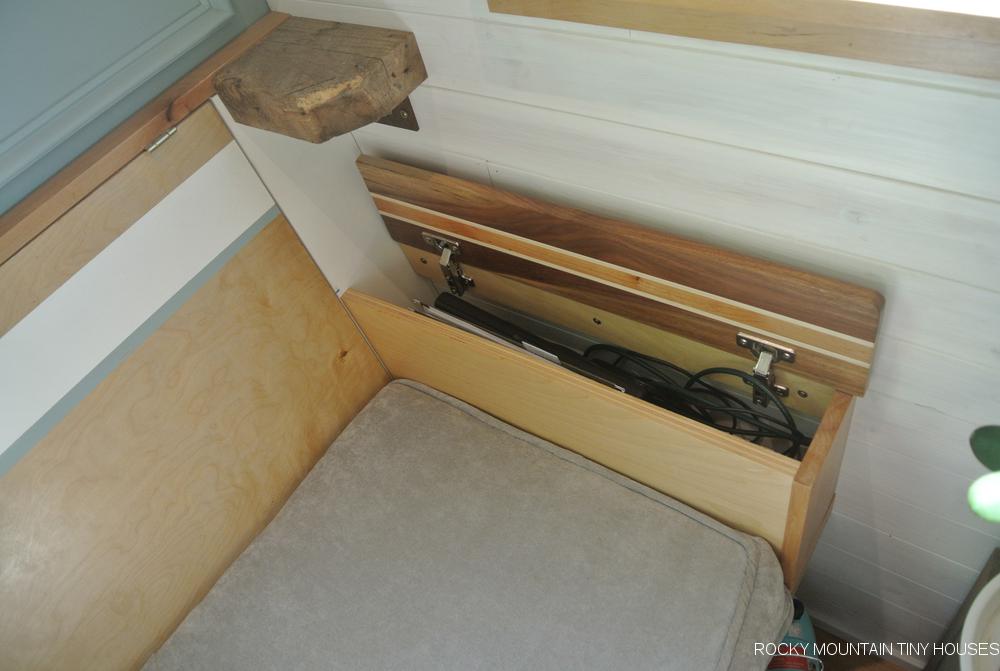
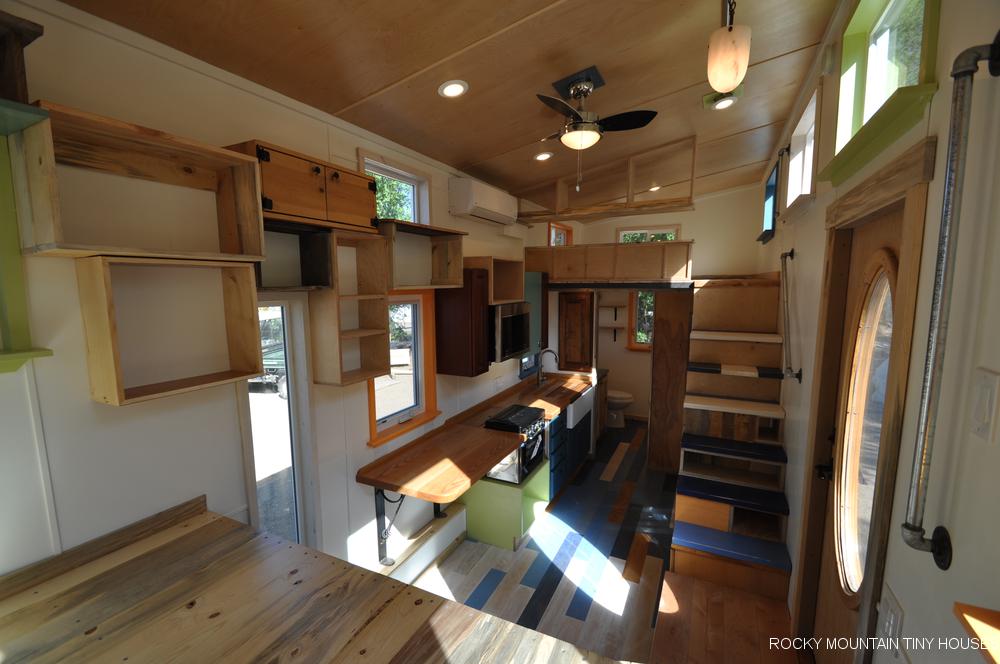
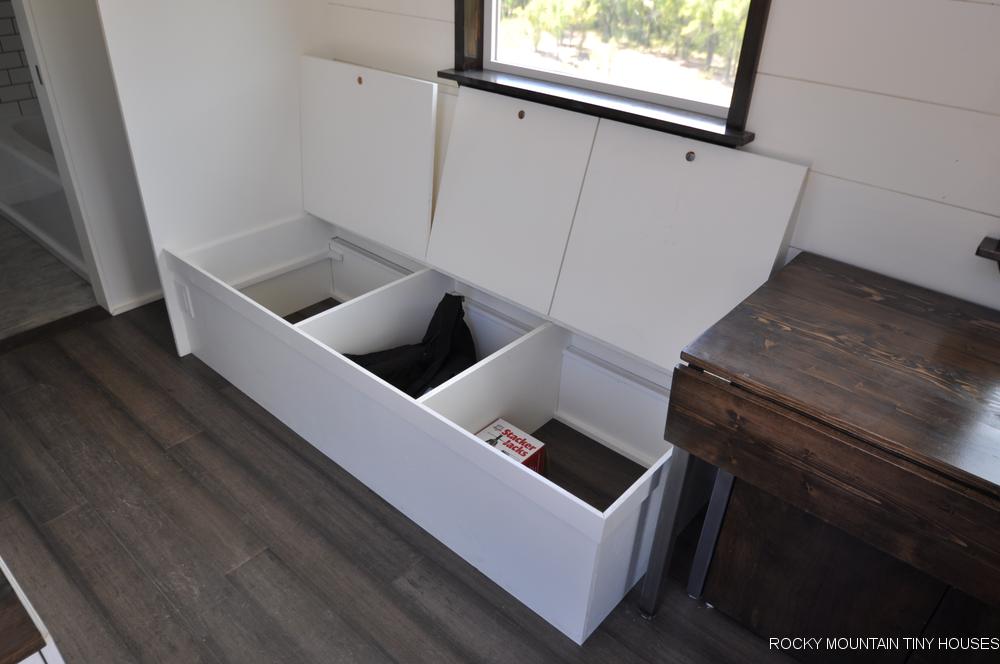
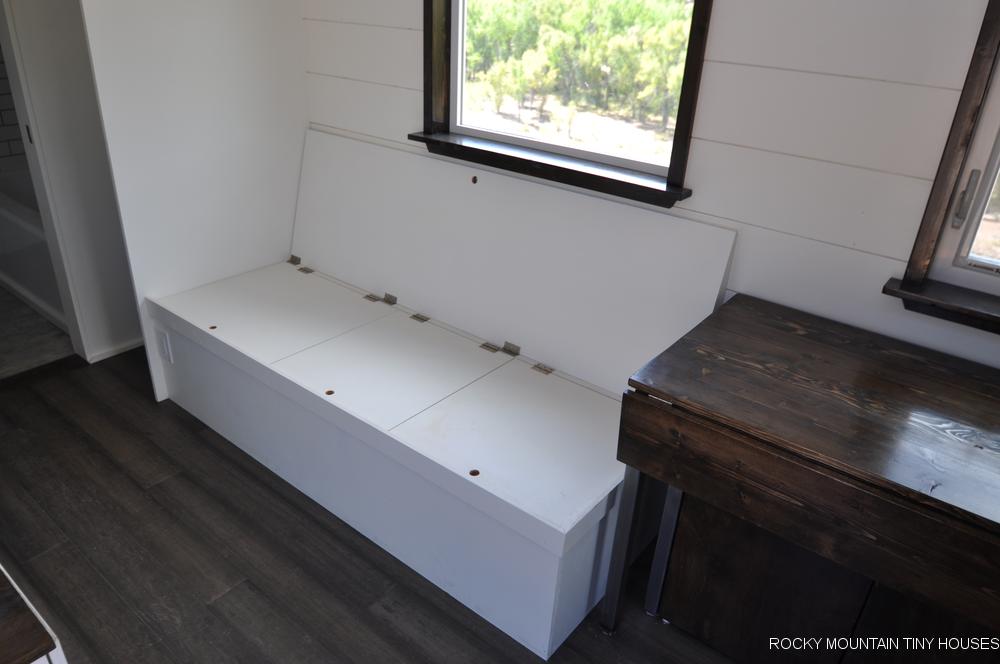
The built in bench for the dining table has a flip top seat where we store dog food. There is a long shallow space behind the angled couch that is perfect for our hunting rifle storage. The couch also has an arm rest with a flip top for laptop storage. We left the bottom side of the couch open cubbies to store dog beds and rubbermaids. We have a store bought ottoman to accompany the couch that also has a flip top for misc items. The kitchen base cabinets all have toekick drawers to really squeeze out some extra inches of useable space. There are some hidden compartments tucked away in secret spots, but we aren’t going to tell you where! 
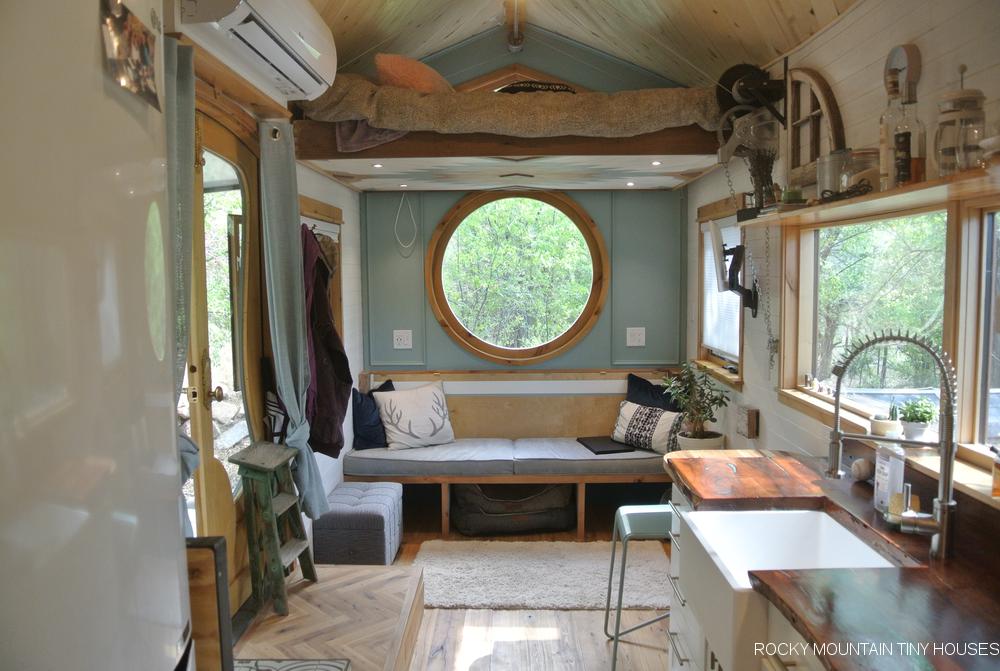
 

Living/Sleeping

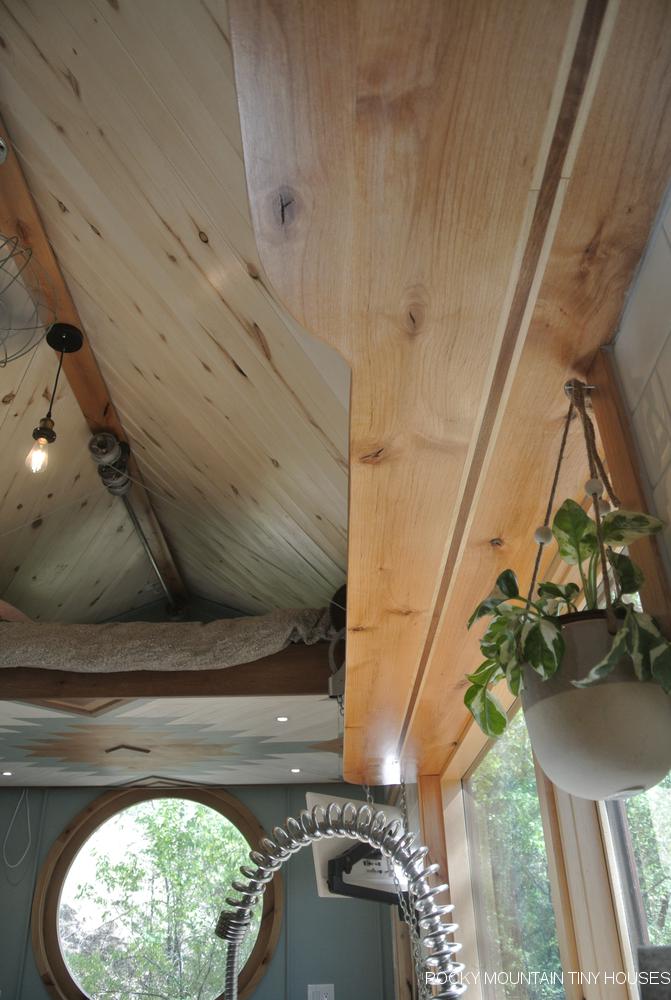
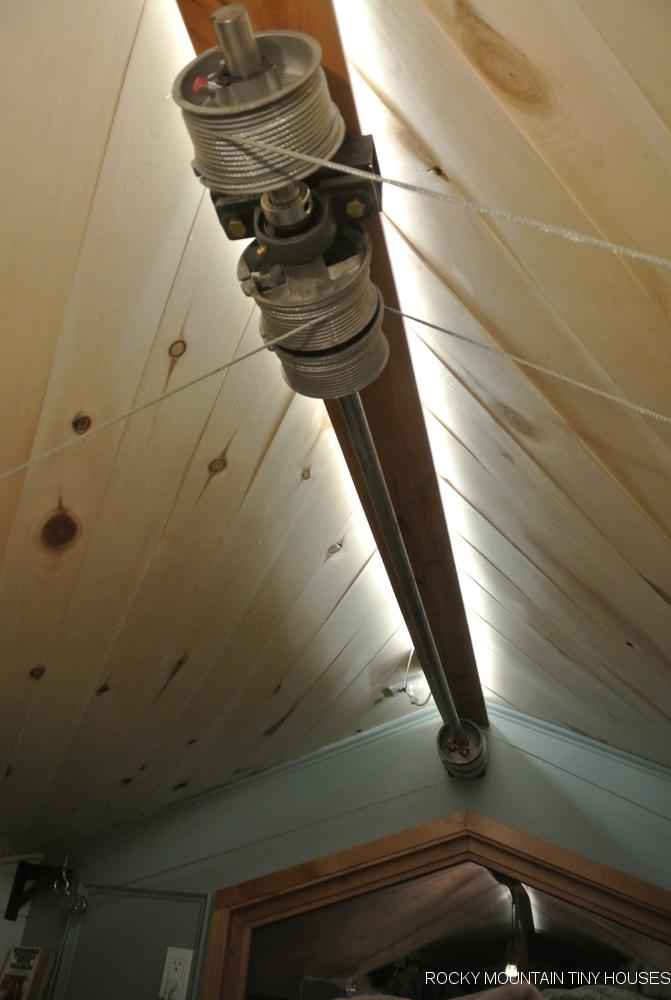
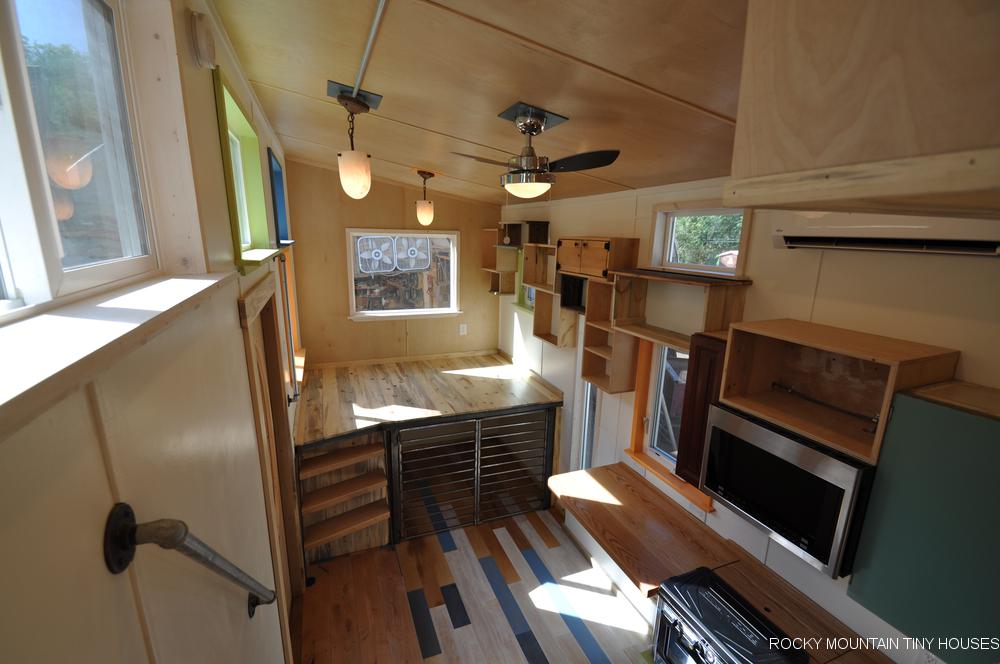
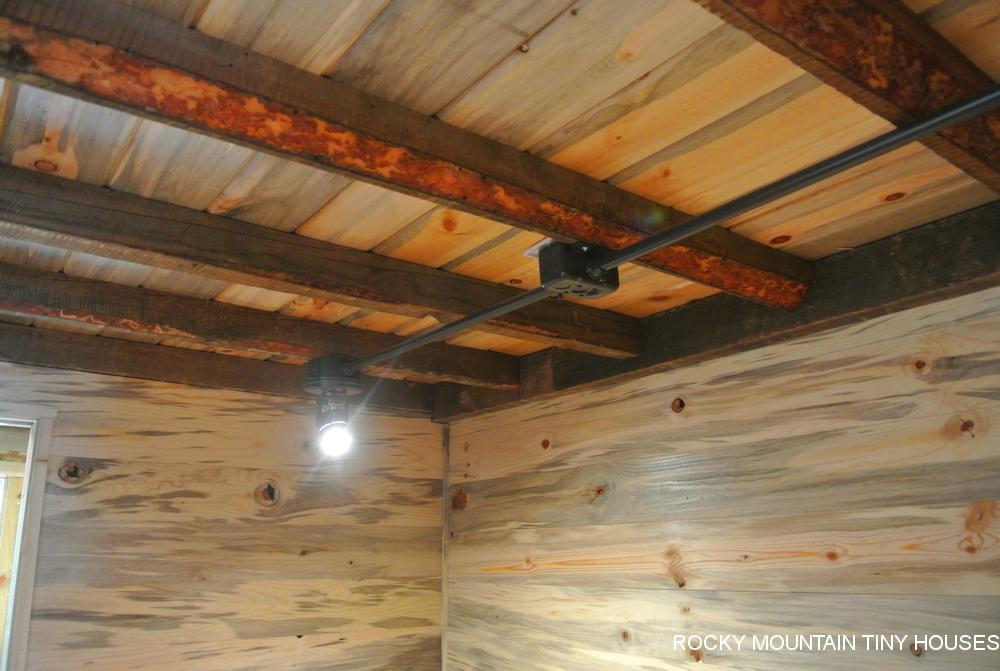
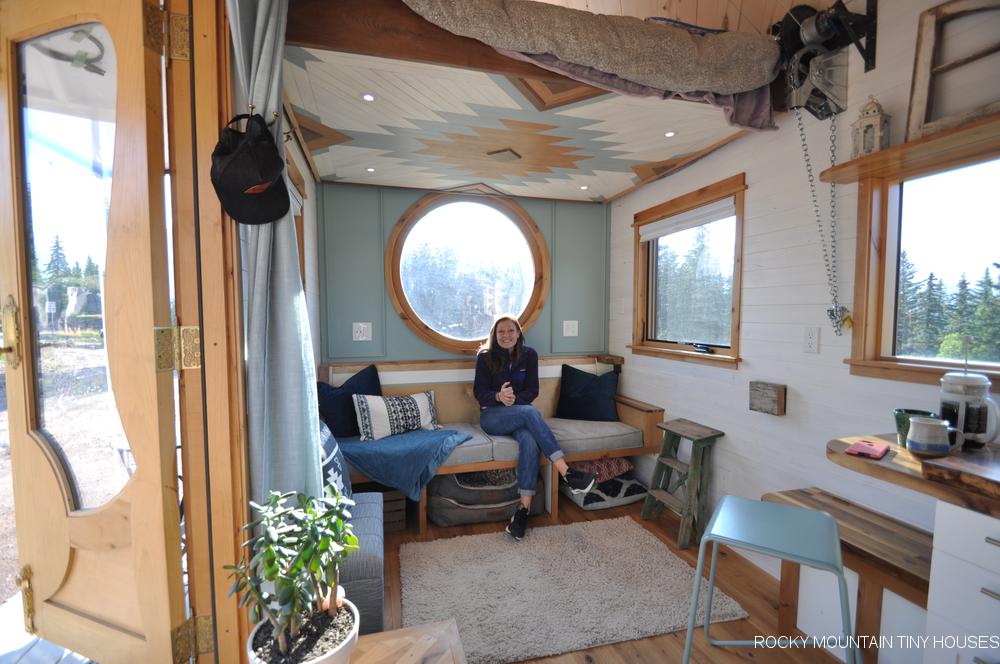
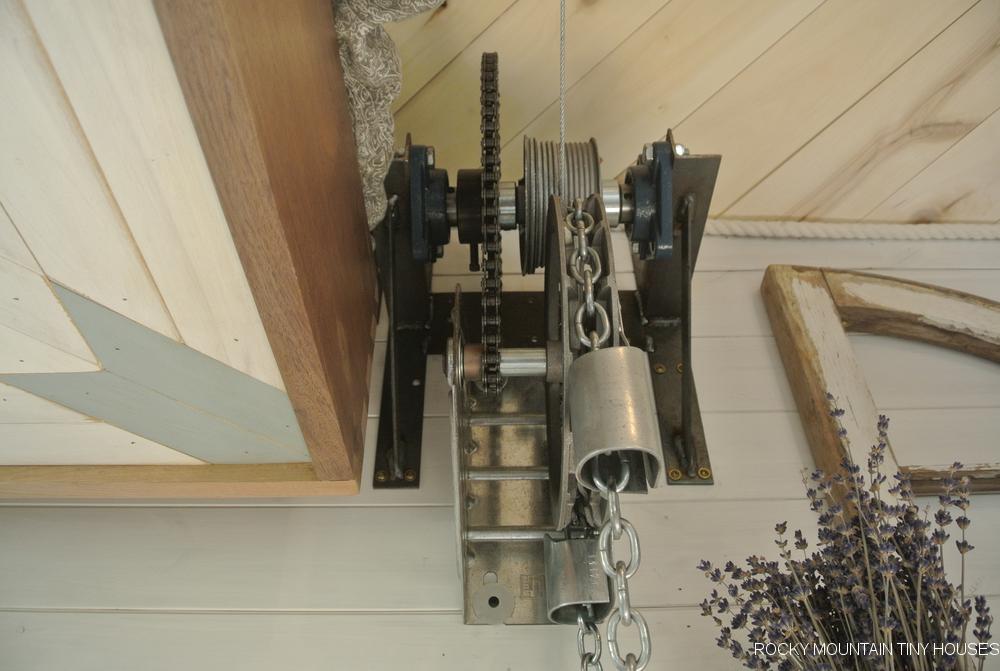
After climbing a ladder and sleeping in a cramped space for years, we were over it. We wanted a downstairs sleeping arrangement that did not require stairs or a ladder. We settled on the elevator bed as the perfect solution! Unlike the original Ana White design, we did not want it motorized, nor did we want tracks taking up wall space. After untold hours of research for the right hardware to pull this off, I finally stumbled upon garage door components. I could easily source axles, bearings, cables, cable drums, and a geared down chain hoist. It took some time to fabricate the brackets and get it all together, but the system works quite well! The exposed parts add a little steampunk flair to the interior décor!
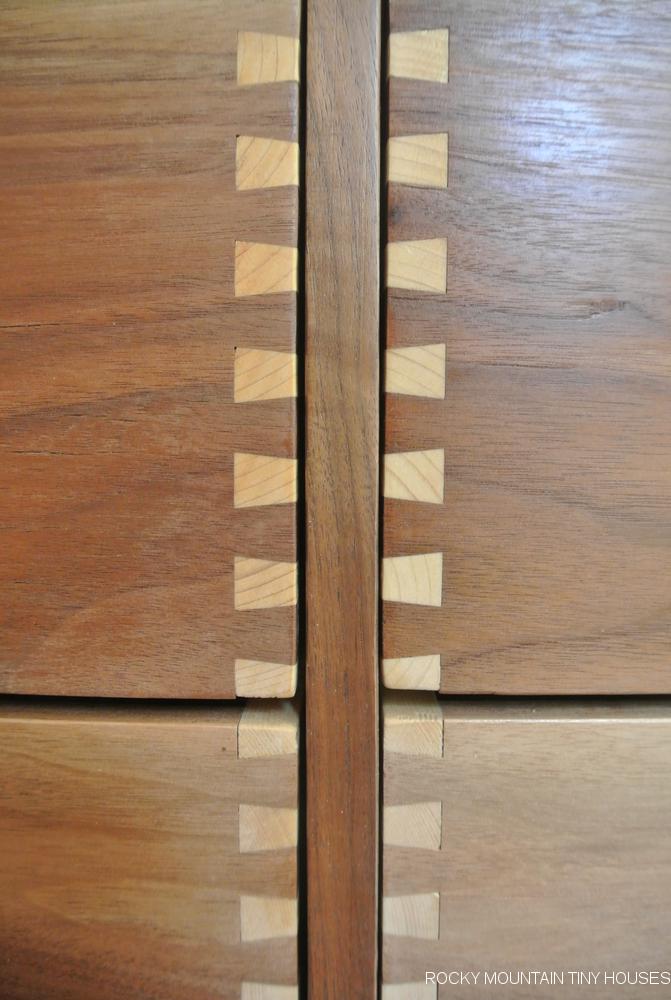
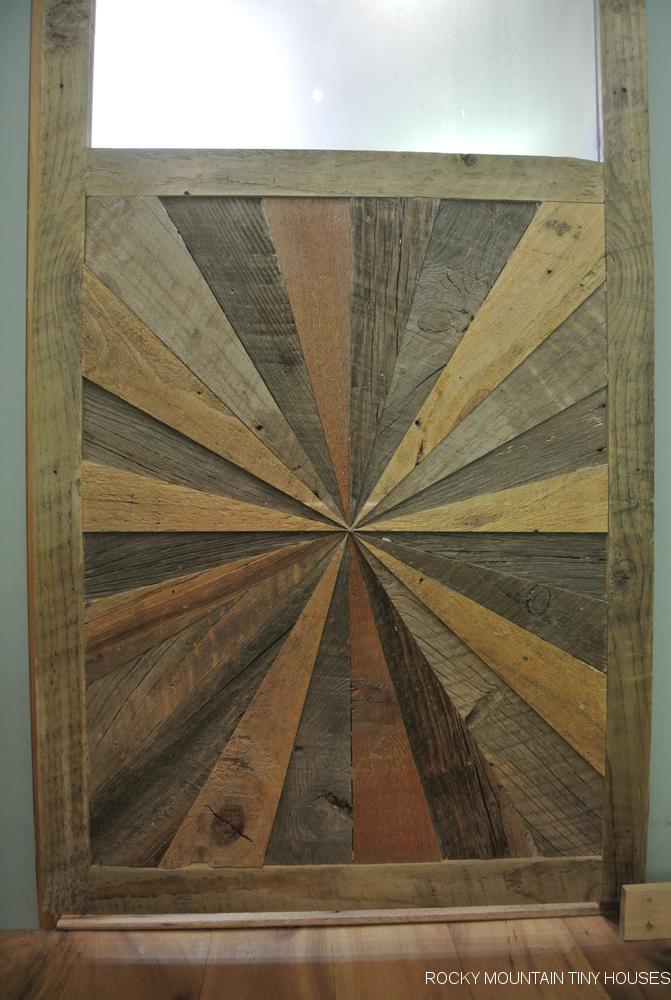
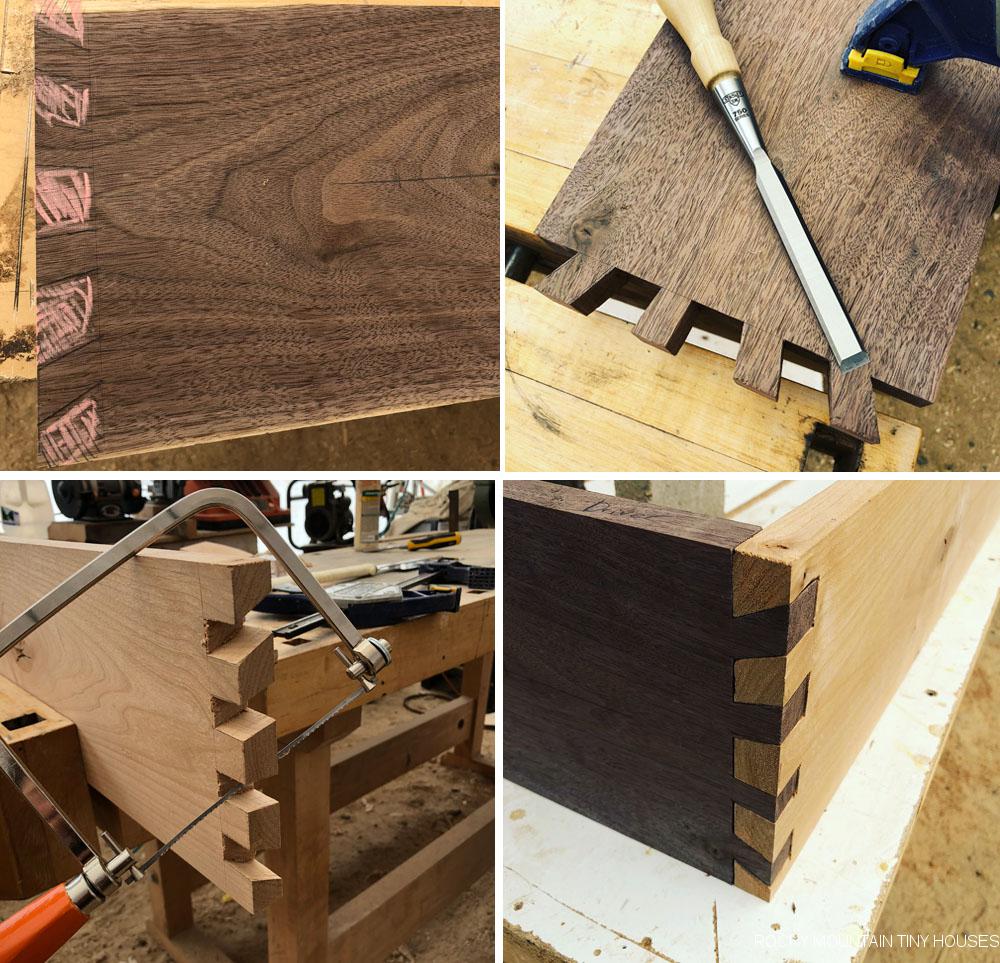
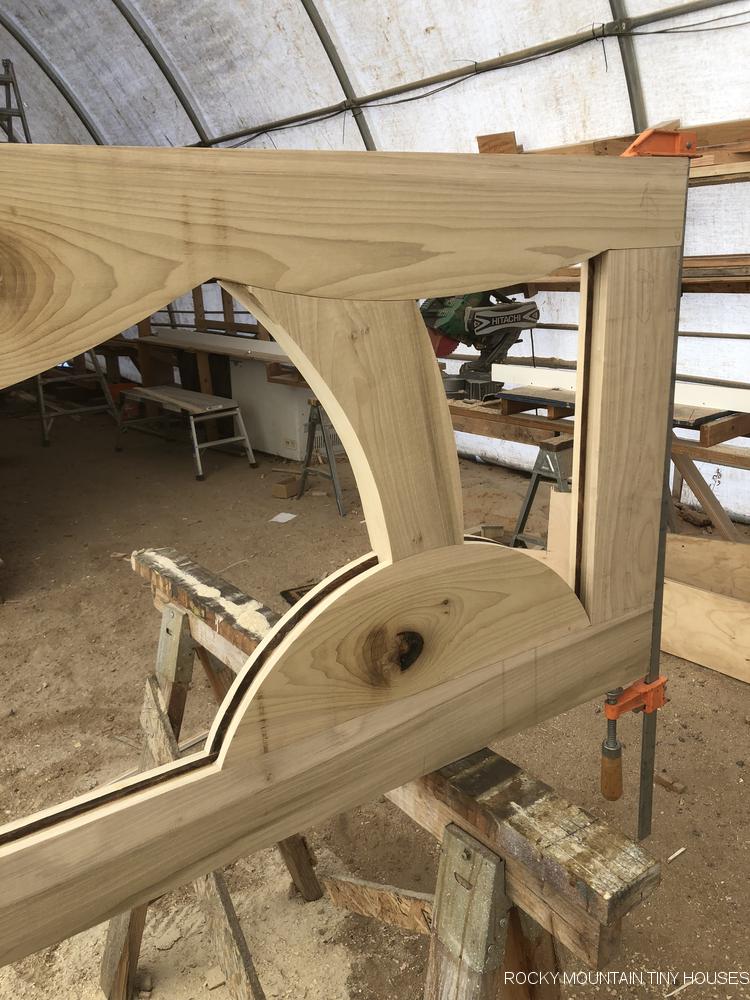
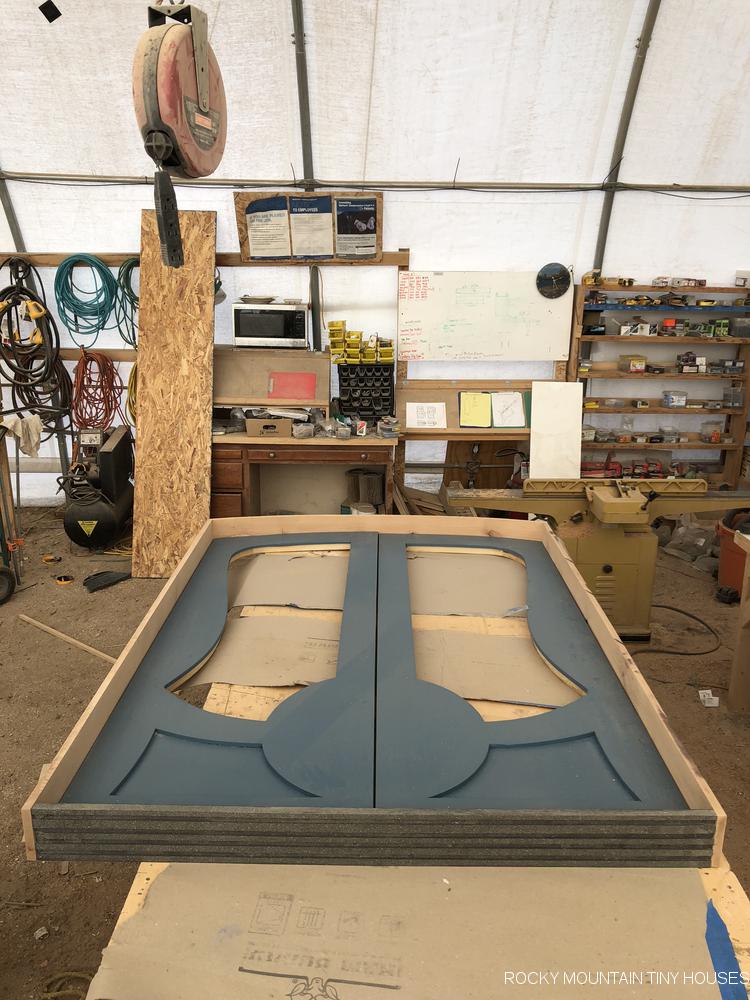
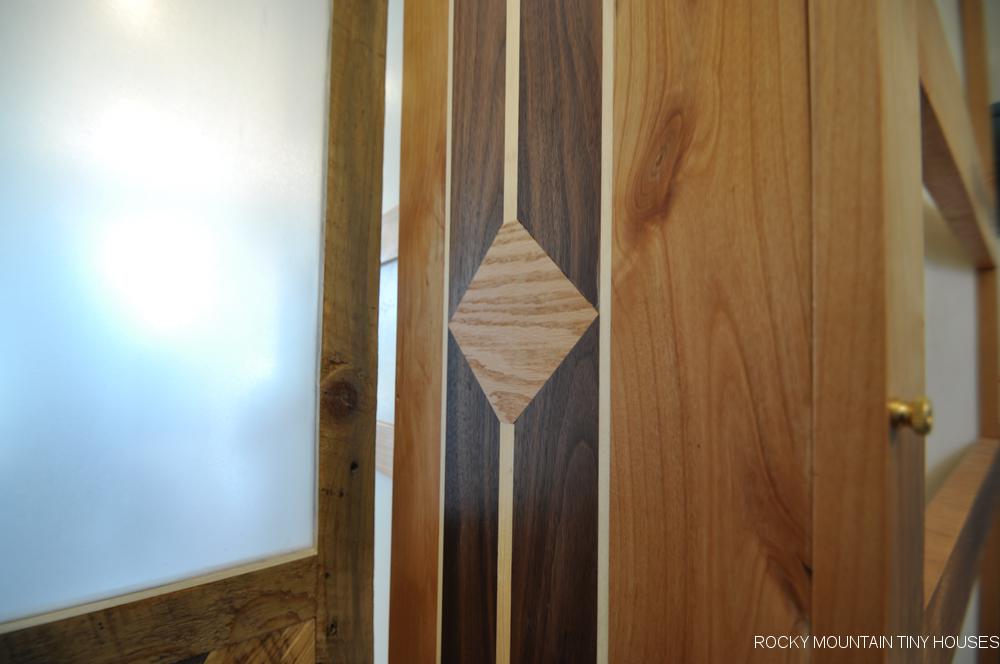
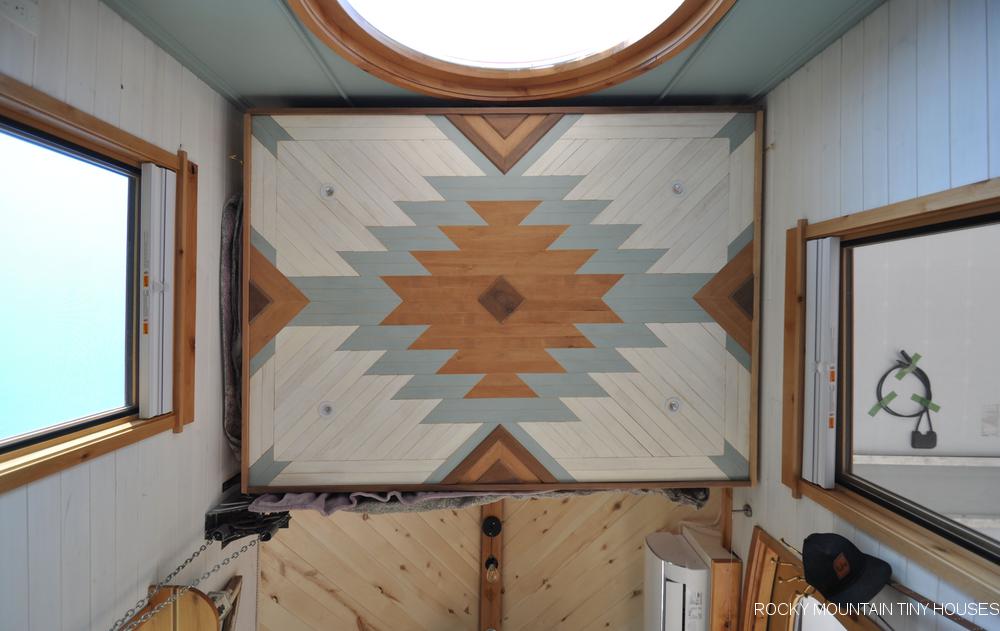
We fashioned a custom frame big enough for a queen mattress. The side rails are made from Walnut and Alder joined with hand cut sunrise dovetails. Since the bottom of the bed frame doubles as the ceiling above the living room when the bed is raised, we wanted to look at something nice instead of plywood and lumber.  We came up with a southwest mosaic using painted and stained pieces of birch plywood that we attached to the underside of the frame. It is a work of art that we never get tired of looking at! 
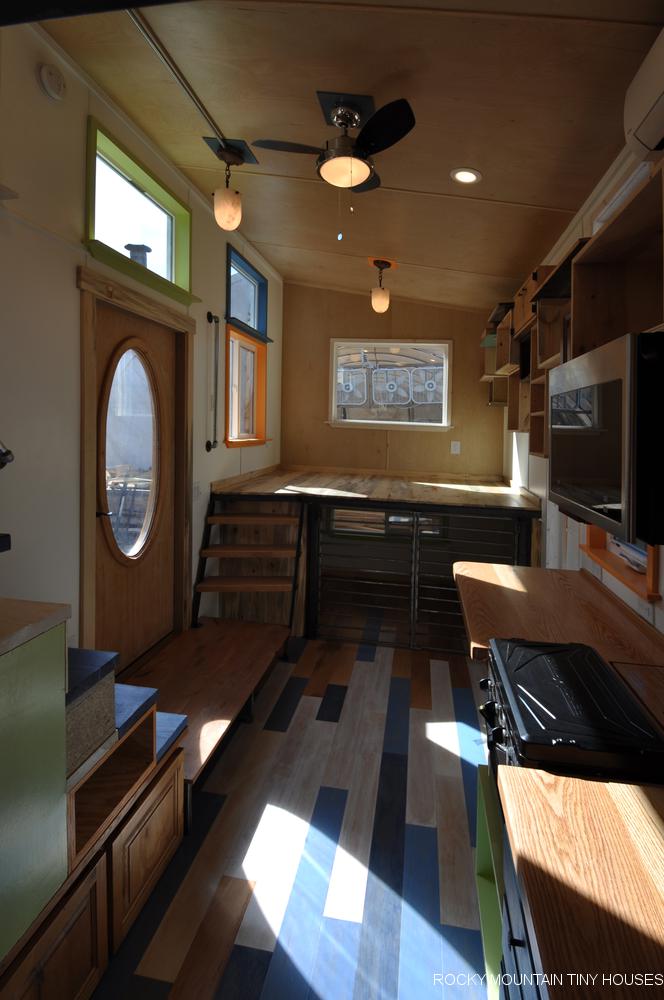
When the bed is raised during the day, the space below functions as our living room. The built in couch rests along the rear wall and under the 48″ circle window I made in house because I couldn’t swallow the cost of the quotes we were getting to have this ordered from the Vistaluxe line! Same with the pentagon “doghouse” window up high. 

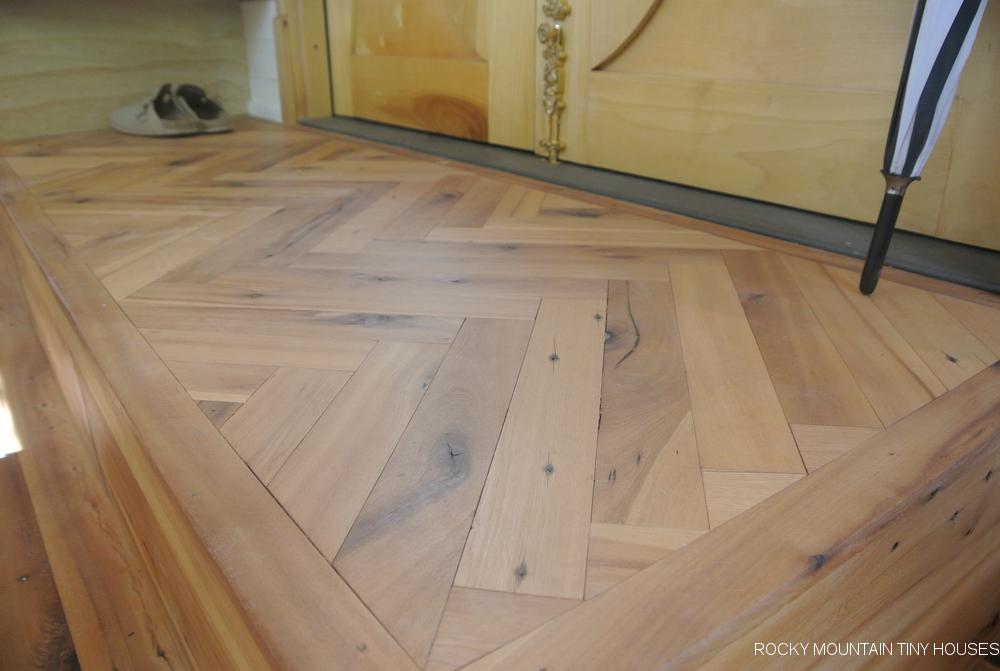
Our flooring on the main level, except for the bathroom, is reclaimed elm that was milled into t&g from very old barn beams. We did a herringbone pattern on top of the entry platform to give it some pizzaz and welcoming warmth. 
Loft

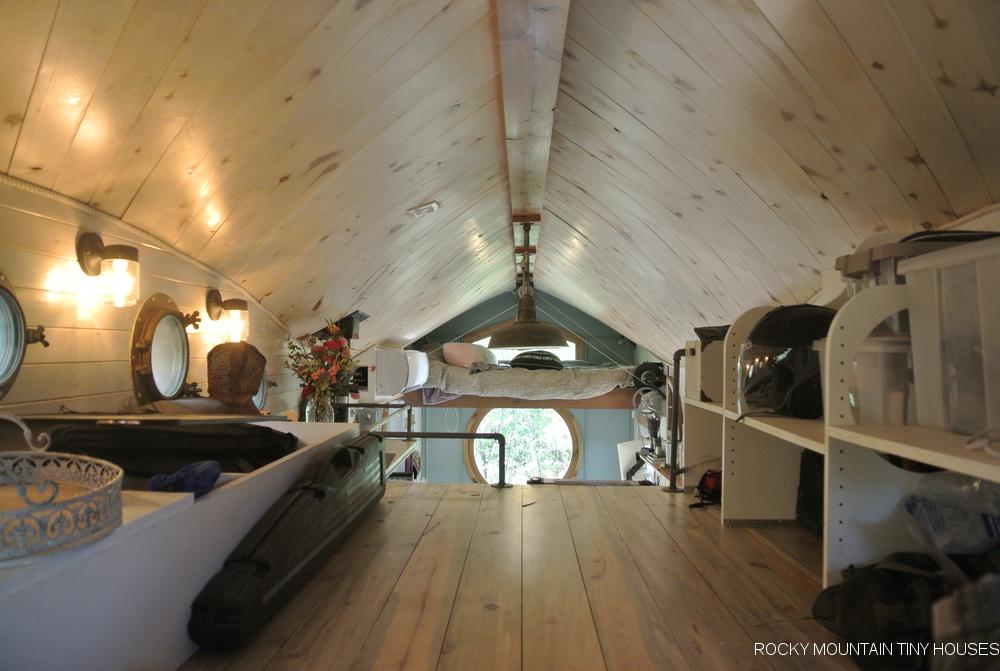
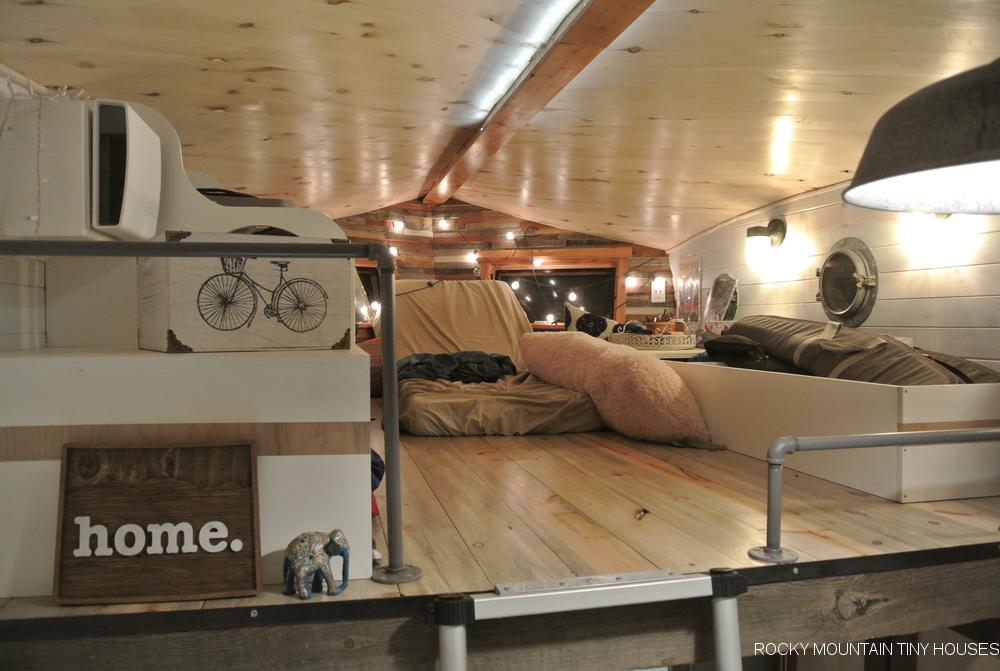
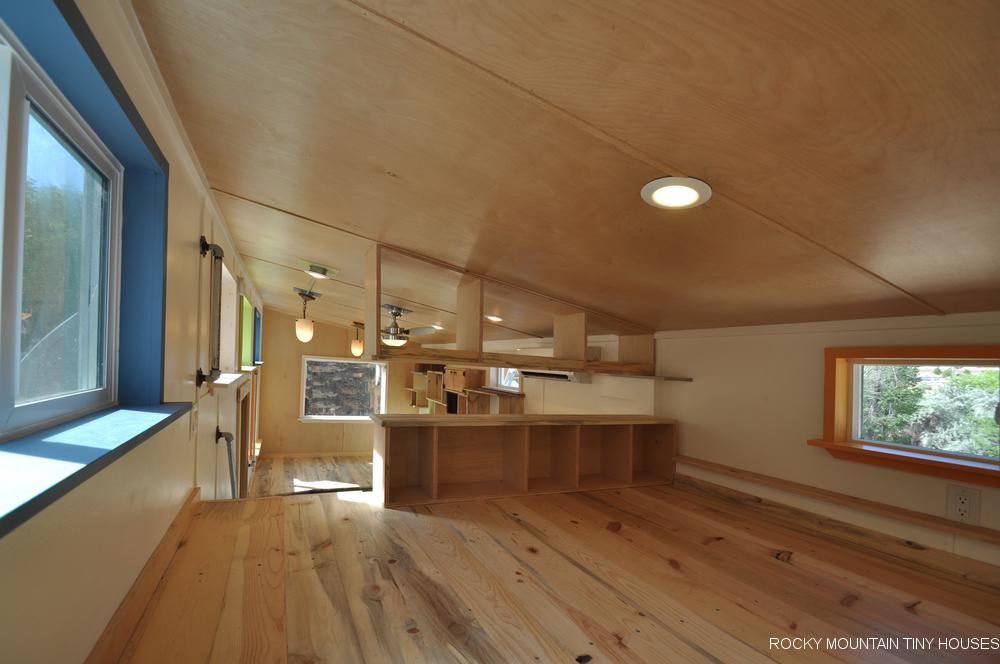
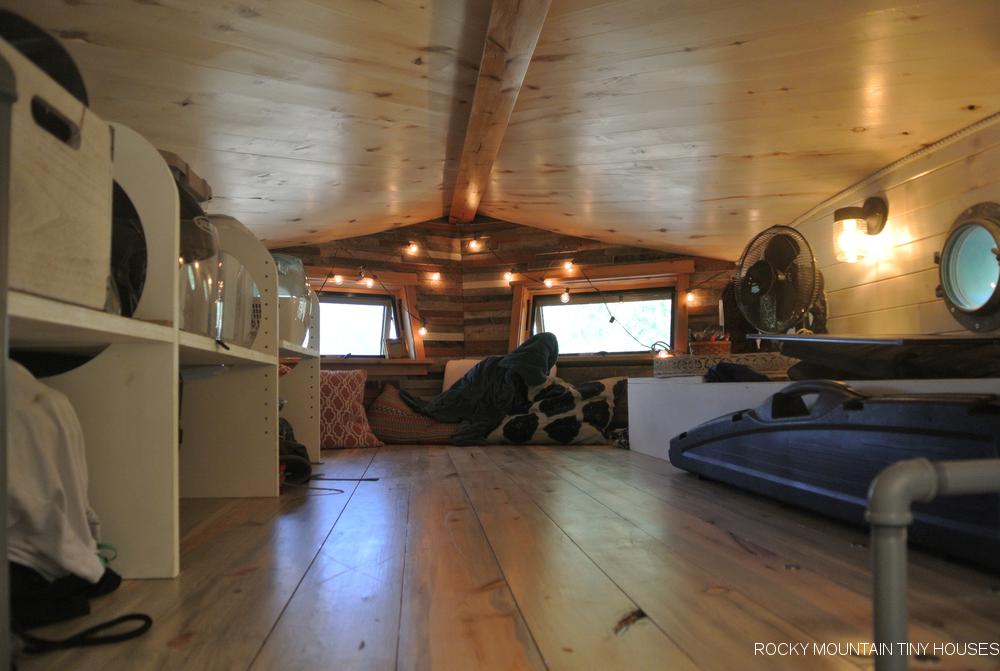
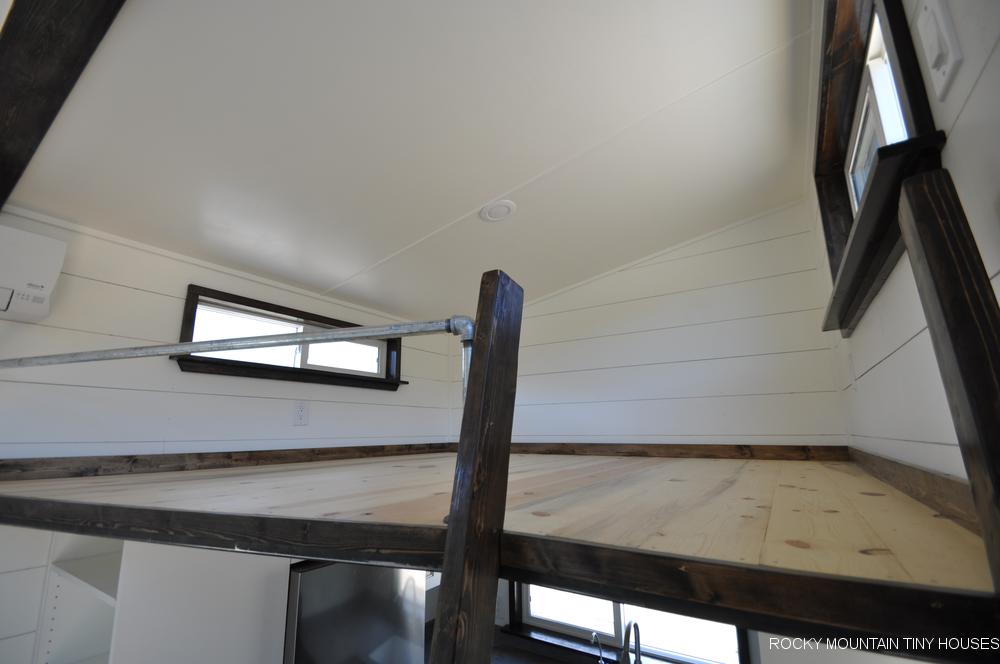
Even though we don’t sleep up here, it’s still a magical and useful space. The primary function of this area is gear storage. We are your typical Colorado couple engaging in cycling, hiking backpacking, river sports, snow sports, hunting, you name it. We needed a place to store all this gear, so there are adjustable cubbies for this purpose. The secondary use for this space is guest sleeping. There is enough room in the middle for a twin size mattress. The tertiary function of this space is just a cool hangout niche. It’s a real cozy spot to read a book, or serve as a man cave when we need a little space from each other in such tight quarters. Steph has to wake up earlier than I do for work, which means I often stay up later watching Netflix or working, so this gives me a cool place to do this. With the shape of the roof, the porthole windows, wall sconces, and material palette, it is hard to describe the feeling you get when occupying this space… The loft is accessed via a metal telescoping ladder we bought on Amazon. It stores out of the way above the fridge when not needed.
Systems

This house was designed to be fully off grid since we had no idea where it would eventually end up. There are two 360 Watt solar panels fixed to the house that double as our porch awning. The back 12′ of the house has a 3 1/2″ recessed pocket on the passenger side  that the awning and aluminum deck fold into for travel. This way they don’t stick out past out 8′-6″ width limitation.
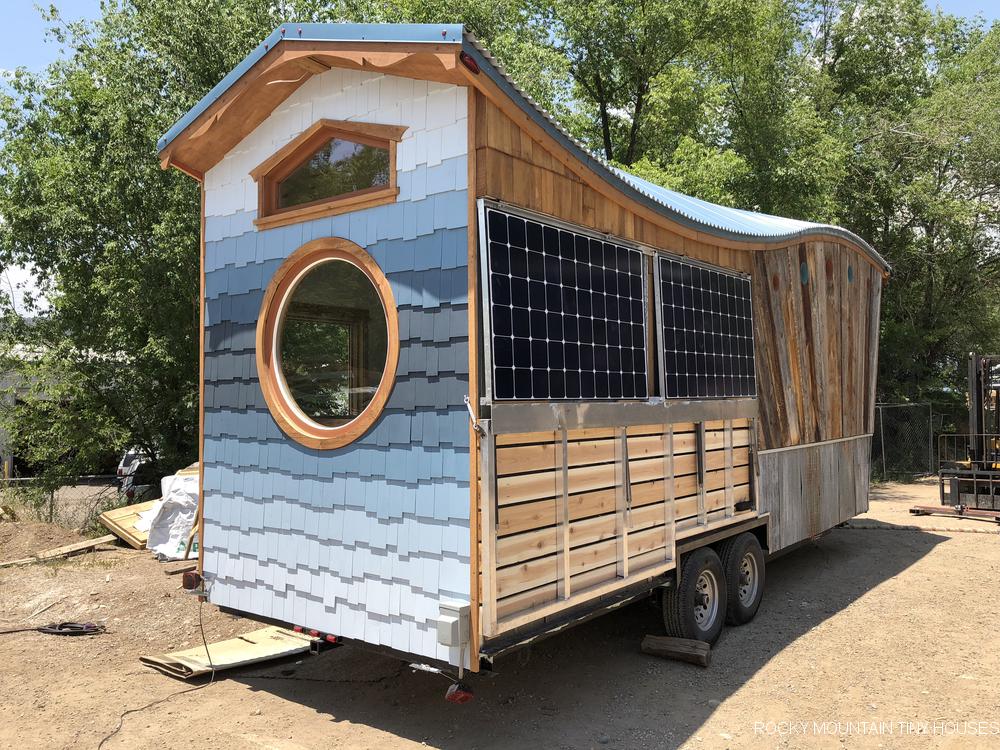
There are four more 360 watt panels ground mounted away from the house for maximum insolation. Wires for all these panels get routed into Greg’s closet where the charge controller and inverter live. There are also four massive AGM batteries rated at 400Ah each.  There is room in the system to add either wind or hydro generators, but for now all these components are proving to be adequate.

We did install a mini split for those few weeks in the summer that are uncomfortably warm, and as backup heat on a thermostat in the winter. Because we are running on solar, we made our capacity a little larger and also shopped around for the most efficient mini split on the market. We found it in the GREE Sapphire. It is so efficient it is literally off the charts! Looking at the energy star sticker, models in the class range from 12-30 SEER, and this one is rated at 38 SEER!! It also has the highest heating efficiency on the market at 15 HSPF. It can also heat down to -22F! (I think -10 is about the coldest I have ever experienced in Durango) The tradeoff for this efficiency is that it only comes in 220v operation. This required us to buy a more expensive inverter with 220v output, but sometimes you have to spend a little money up front to save it down the line. 

For water, we have a 100 gallon water tank that is sort of hidden in plain sight in the bathroom. You don’t really notice it since it is partly placed in wall thickness, but also it is inside a decorative cage with a Chevron motif that matches the rest of the bathroom.  A shurflo pump with accumulator push water through a whole house filter before entering the main plumbing lines. 

The water heater and range run on propane to minimize electric load. And of course, we have a nice woodstove for primary heat to reduce the load on the mini split. 

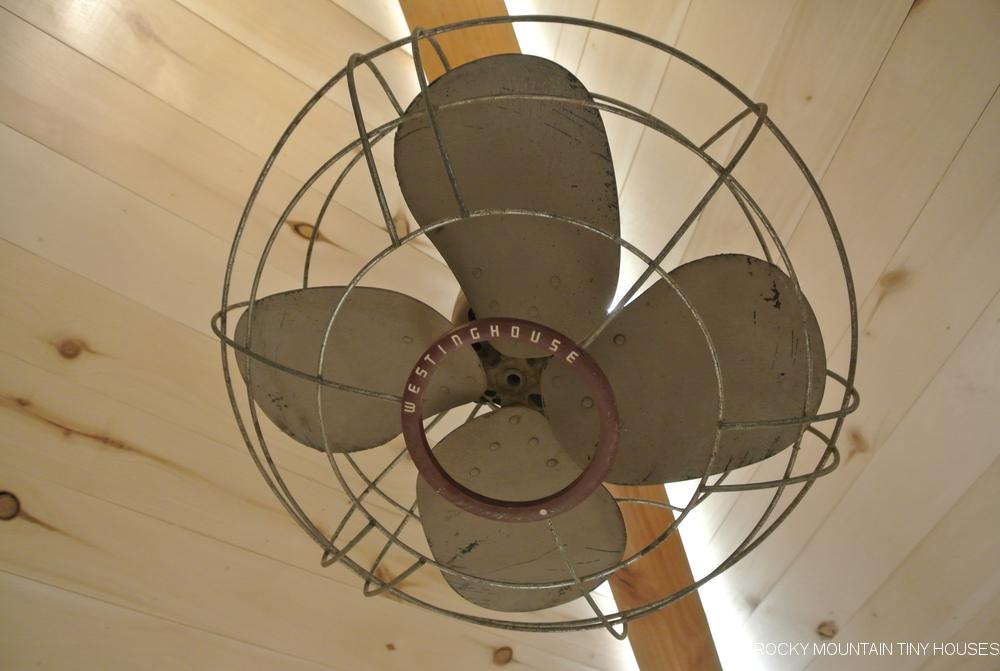
We found an antique Westinghouse desk fan that I was able to convert into a ceiling fan, centered above the entry. The oscillator still works, and this thing can move some air! A Lunos eGO kicks out stale, moist indoor air and provides us with fresh outdoor air, while recovering most of the heat energy from inside. 

Details

We wouldn’t be doing this house full justice without touching on small details not mentioned thus far. Please enjoy the photo essay at the end to learn more. I could literally spend days talking about all of them, but I will let the pictures do the talking instead!

For the final question on everyone’s mind, how much did it cost? Well, we did not track our hours, so we’ll never know how much retail for such a house would have been, but we can tell you that we spent nearly $55k in materials alone, and this is factoring in several discounts from our suppliers and utilizing a lot of material we acquired for next to nothing. Factor in labor/overhead/profit and the final price would be over 100k. Our goal was not to sell this model, but create something beautiful to meet our living needs and reflect our unique personalities, and also to a degree, showcase the level of craftsmanship and creativity that RMTH as a company is capable of. 

Video

At this point, so many people have filmed this house that we have lost track of all the social media links. Don’t worry, we kept the best ones! The Tiny Home Tours version is a bit lengthy, but very informative. If you took any video and would like to share, feel free to send us links!


Shout Outs!

This project was a team effort and could not have been a success without the help of many friends. We’d like to thank:

The entire crew at RMTH for being able to bounce ideas off of, dealing with my projects taking up tools and shop space, and even lending a hand in some of the finished product.

Trailer Made for working with us on the custom trailer foundation

Element Window + Door of Durango, for giving us a great deal on the Kolbe Windows!

A Tiny Good Thing for hooking us up with a Lunos eGO and high quality housewrap and tapes!

Durango Glass for being able to provide the crazy shapes of insulated glass for the rear windows and French Doors

Dave and Jan Masse for getting super involved with the SIP raising at the festival!

John Lesage of LS3 Aerial for providing awesome aerial footage!

Tiny Home Tours and Tiny House Expedition for their sweet videos! 

Rocco and Jade dogs for providing moral support and quality control!


And now for the final photo essay! Steph and I have really enjoyed sharing our little slice of heaven with you. A lot of blood, sweat, beers (+tequila), and tears were sacrificed for this build. We hope you have enjoyed learning more about it!


Filed Under: Company News, Tiny House Design

Ad Astra 24′ Tiny House

September 25, 2018 By Greg Parham 8 Comments

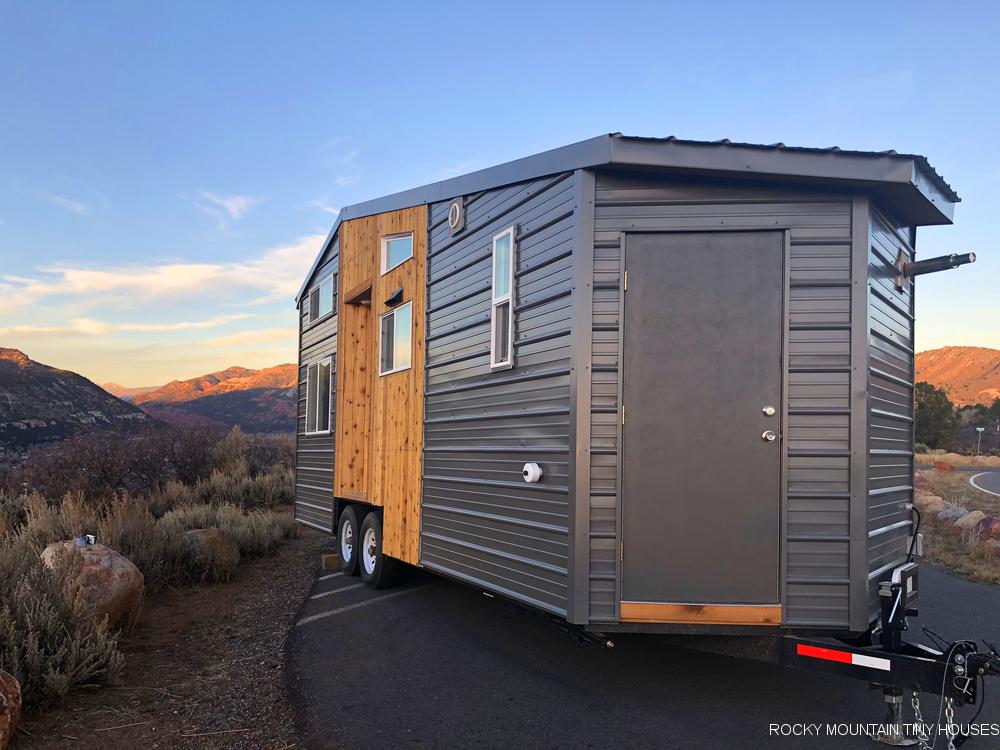
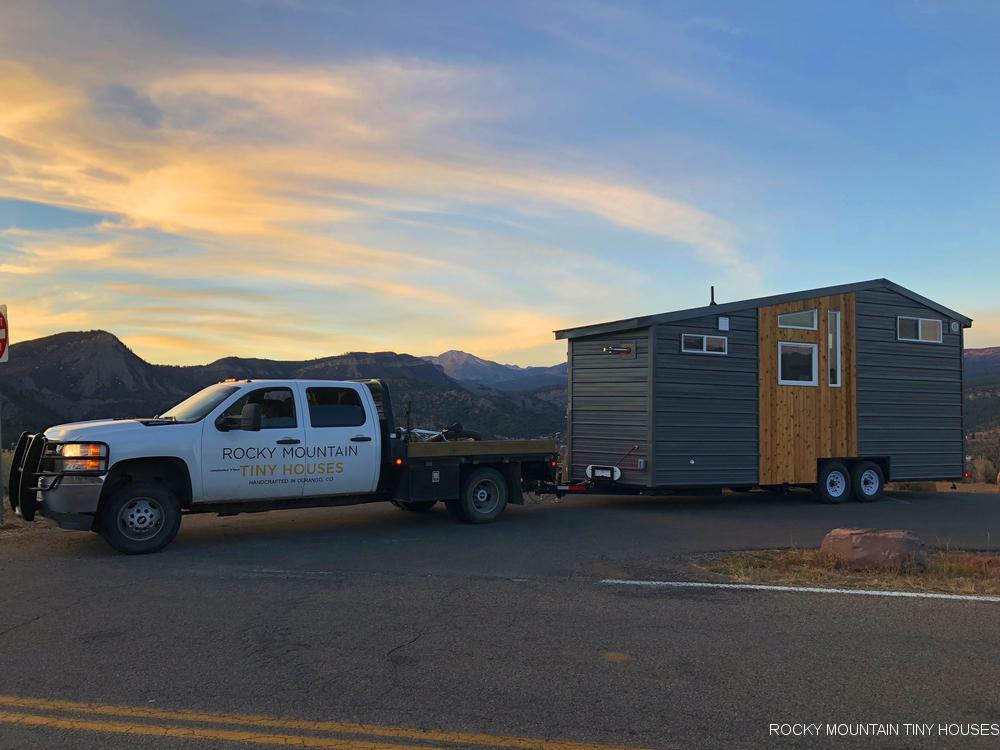
Check out our latest creation, the Ad Astra Tiny House!  Ad Astra means “to the stars” in Latin, and a fun couple from Kansas commissioned us to build this beautiful custom 24’ tiny house to take them there.

When we initially began the design process, the house was to live in Kansas. However, as the design progressed, so did life, and the house was soon bound for much greener pastures in Portland, OR. That’s the nice thing about tiny houses – they can adapt to all of the changes that life throws at us!


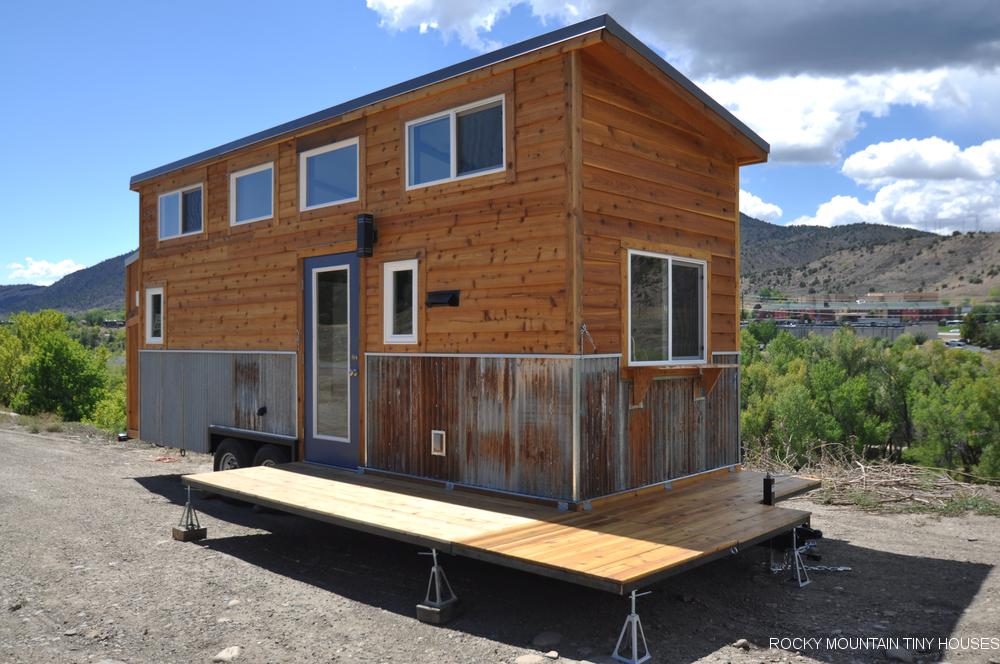
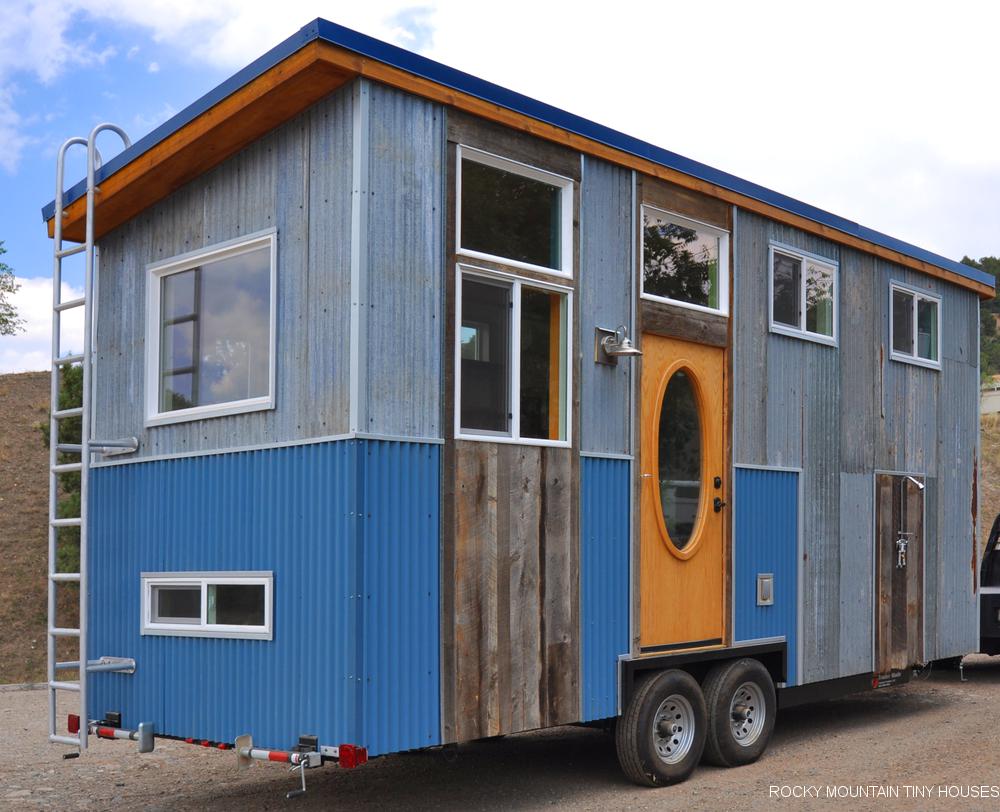
This house sits on a sturdy Trailer Made 8’ x 24’ dual axle trailer made in Denver, CO. We used a shed roof to maximize interior space. The cedar lap siding and recycled corrugated wainscot will fit perfectly into the Pacific Northwest setting. A bold sapphire blue adorns the full lite exterior door.  

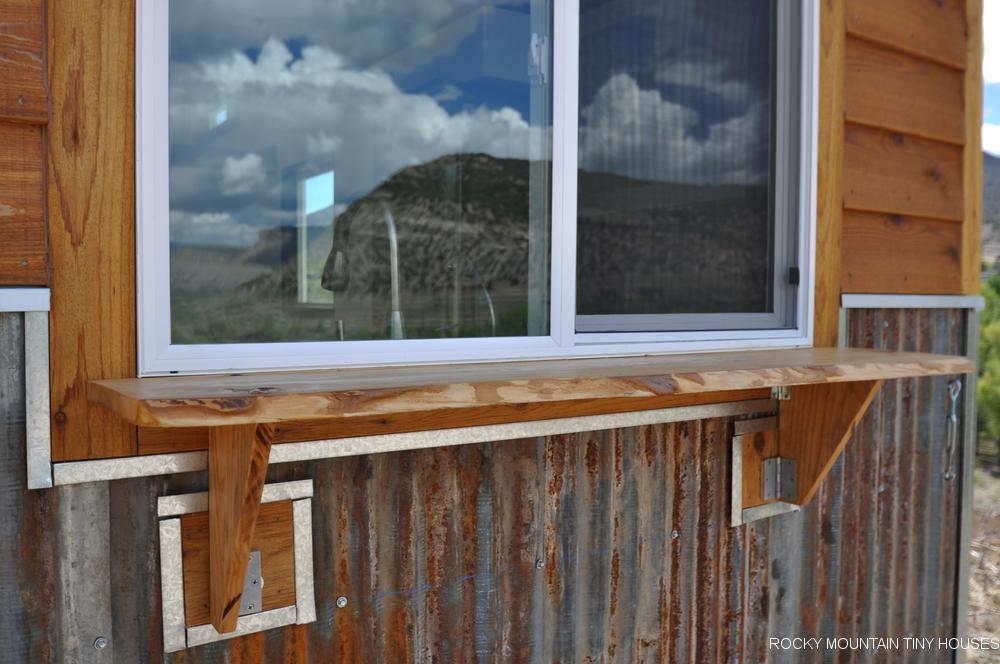
A large wrap-around, fold-down deck leads from the front door to a serving window outside the kitchen.  The deck consists of three leafs that fold up for travel.   

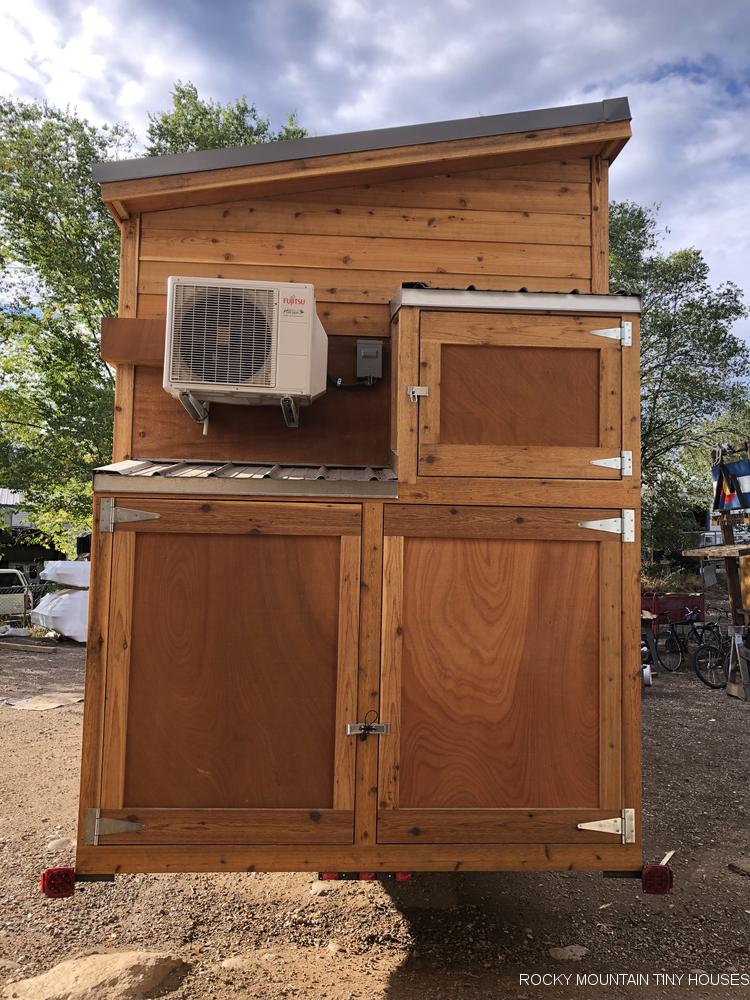
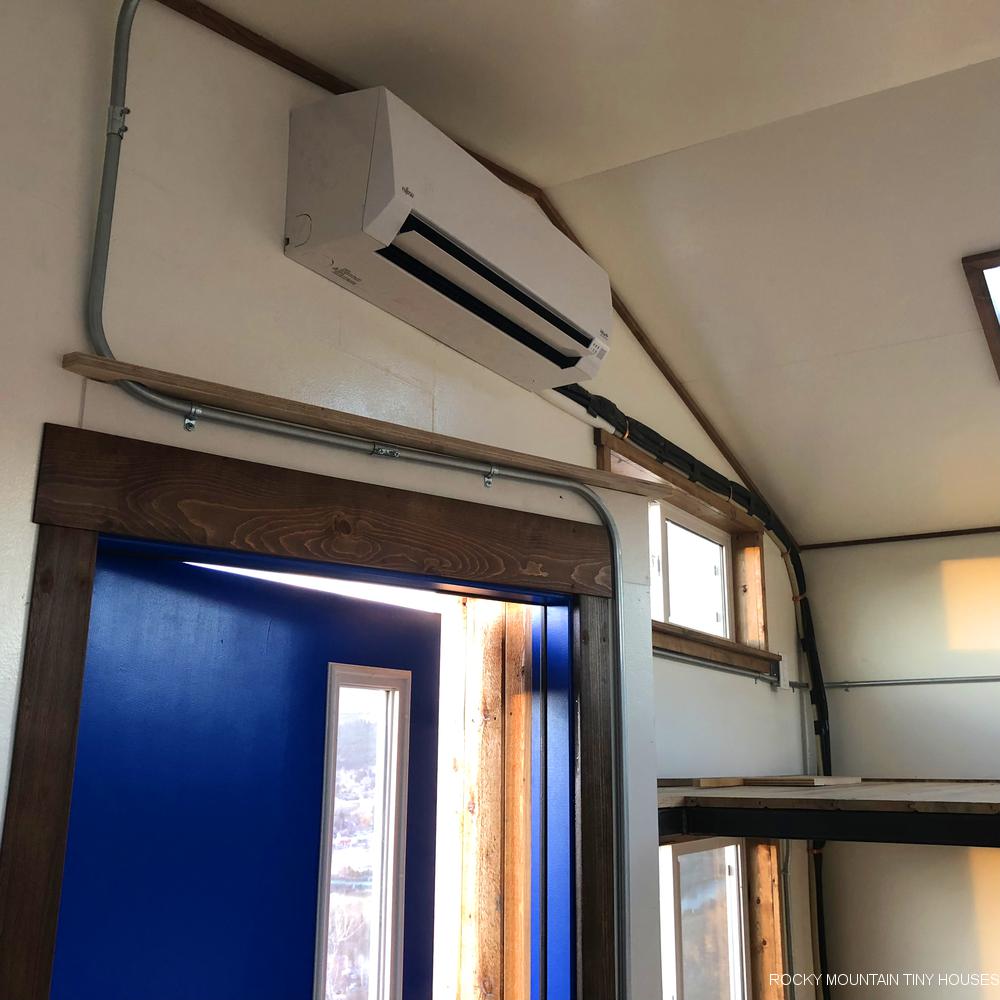
The Ad Astra features a large storage closet on the rear for outdoor gear. We placed the condenser of the mini split on a bracket high on the back wall to allow more space below for storage.

Ad Astra 24' tiny house storage closet

The customers really liked the interior layout of the Pequod, so we started with that general floor plan and customized it to fit their needs. The engineered bamboo flooring has a hand scraped finish and we stained the pine trim and window boxes to match.

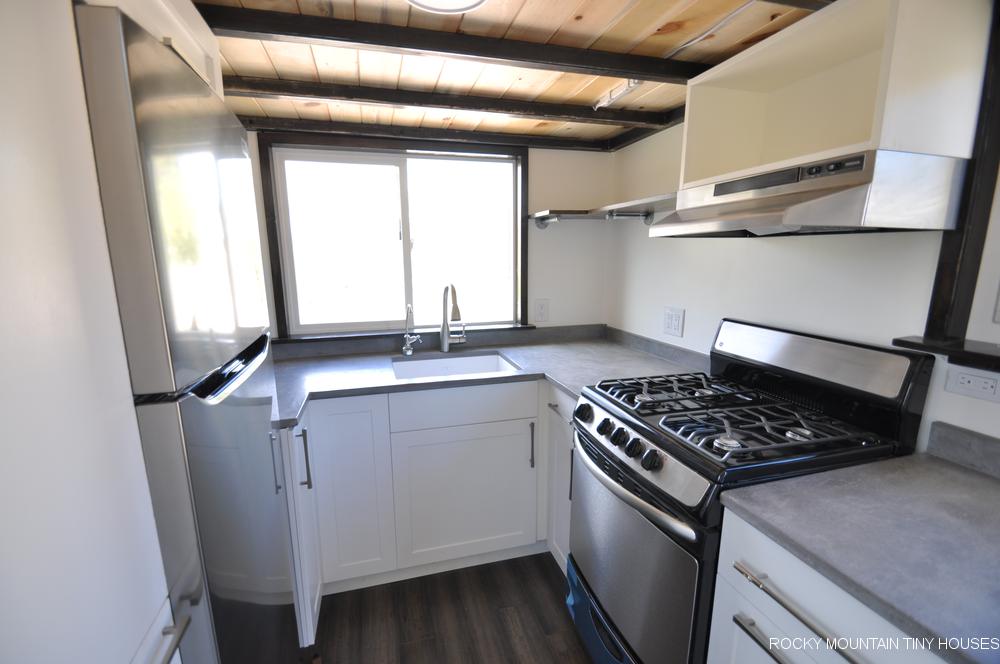
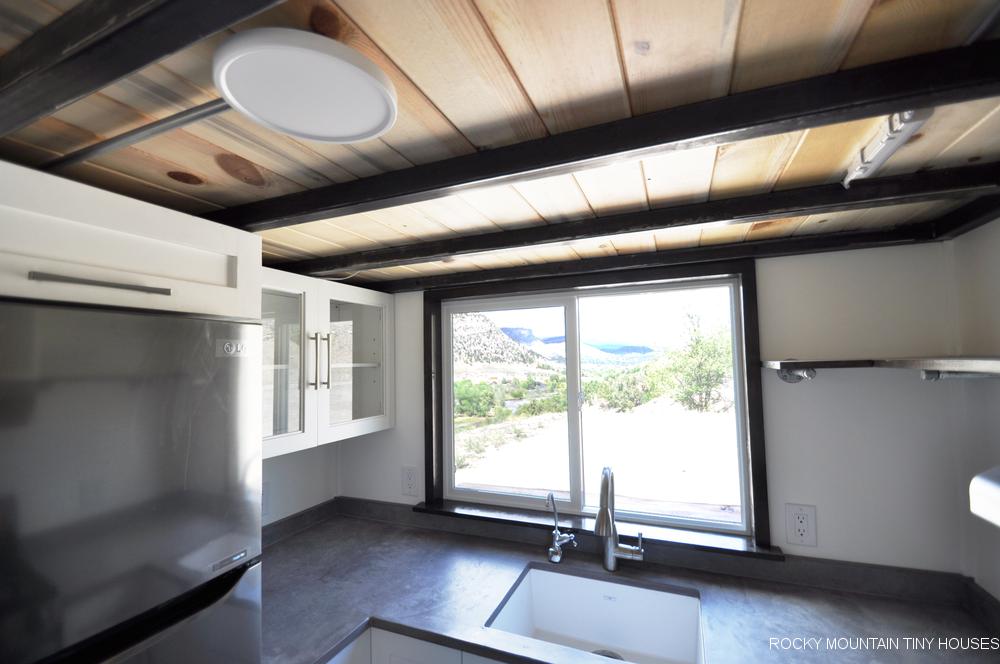
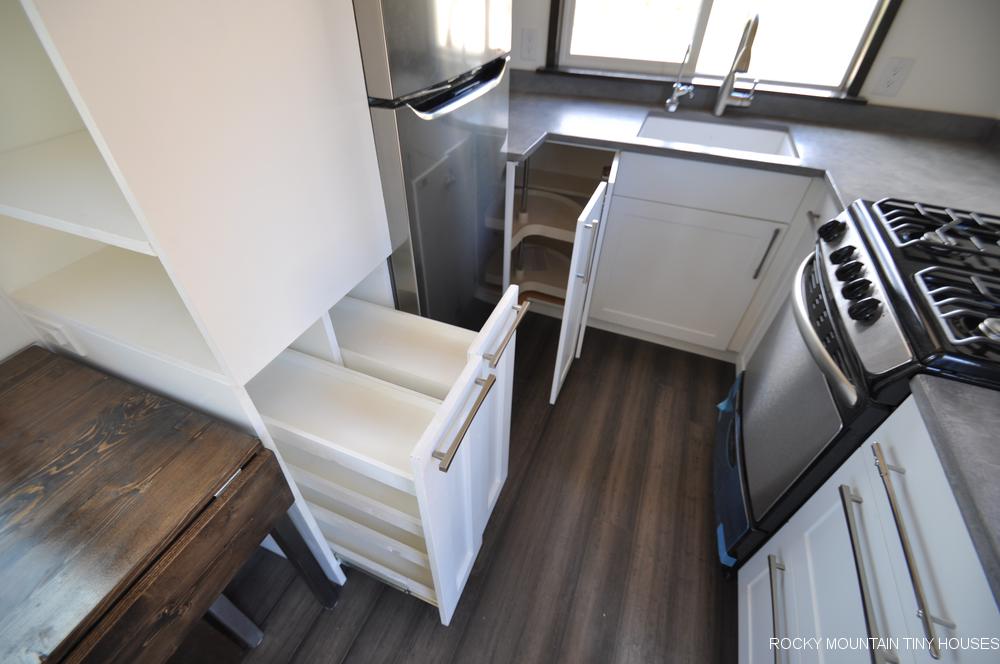
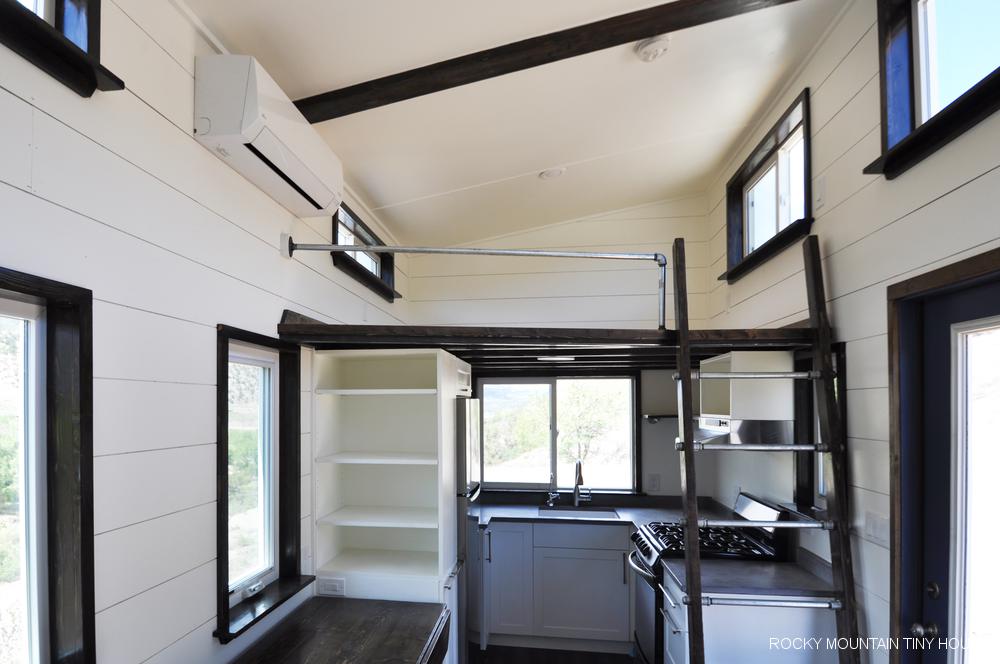
The Ad Astra features the Pequod’s “U-shaped” kitchen. We started with stock, white cabinets and tweaked them where needed to fit the space. One corner of the base cabinets is a lazy-Susan while the other corner is “secret” long-term storage that is accessed from below the sink. The sliding window behind the sink functions as a serving window – a fold-up bar just outside the window will be useful for entertaining.

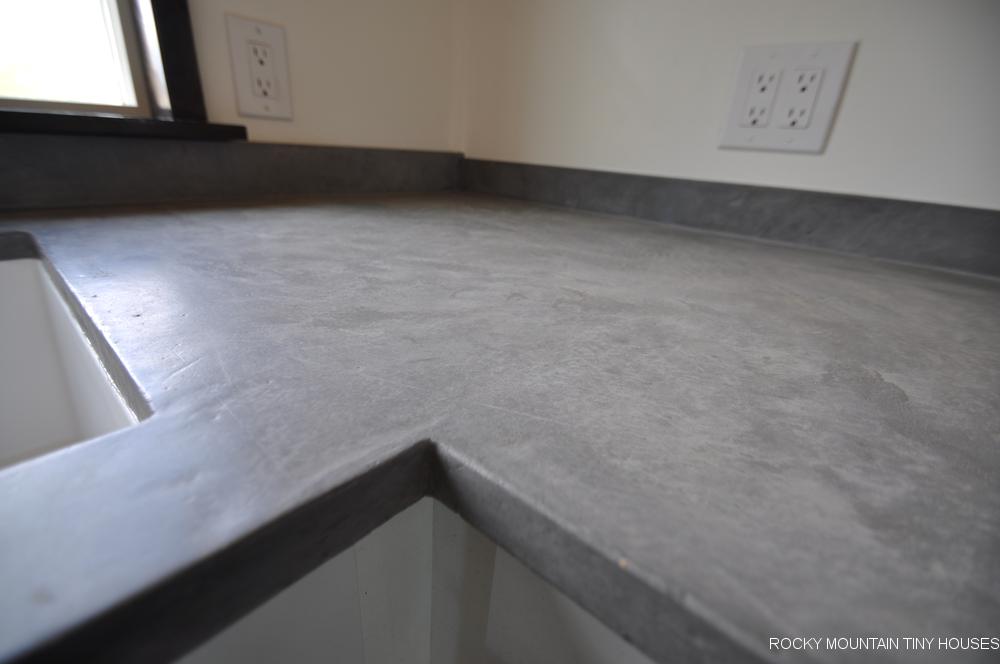
One of our carpenters is a whiz with concrete, so we put his skills to work on the hand-troweled countertop. The hand-troweling gives it more character than some other concrete methods and brings out its hand-made nature. The customers chose a classic white undermount sink with a tall single-handle faucet.

We were able to locate a stock wall cabinet online for a small space to the left of the sink. We cut out the center part of the cabinet doors and replaced it with glass. This saved a lot of money compared to buying a cabinet with glass doors.

We created a custom pantry/shelf unit to divide the kitchen from the dining area. The bottom houses two pull-out pantries, while the top has adjustable shelves.

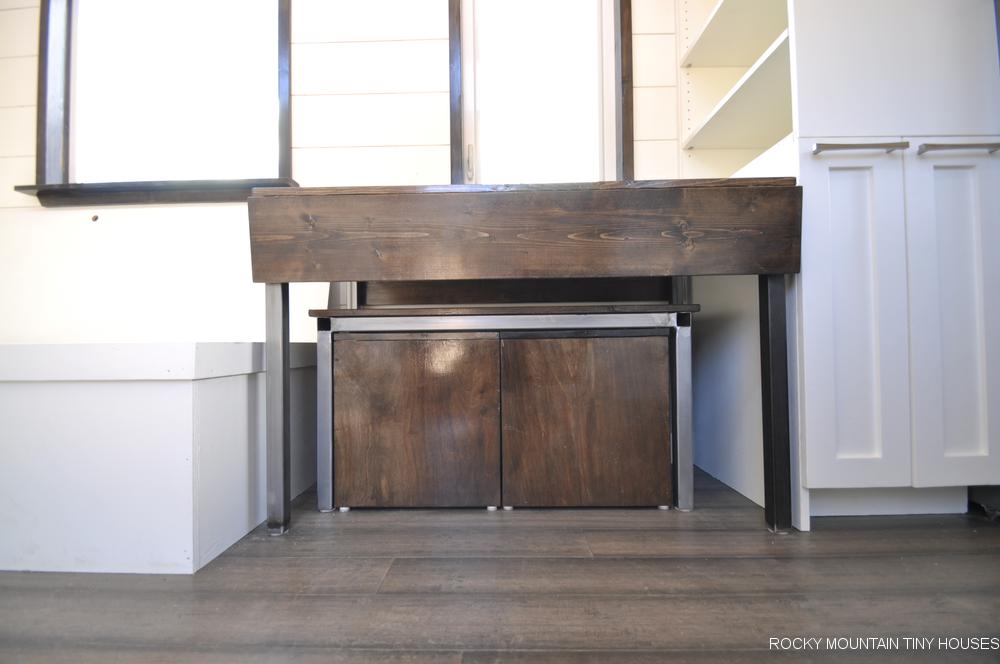
Another nod to the Pequod was the nesting dining room table which features two cubes that function as seats and have storage within, a bench, and a 48” long table with fold-up leafs on either side.

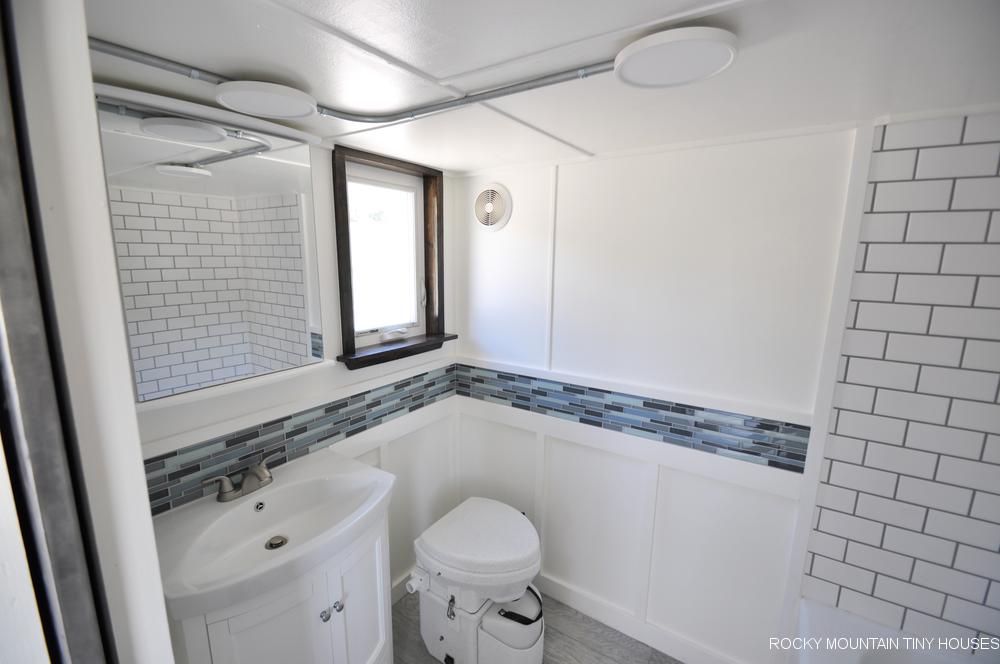
This Portland tiny house has a bright, spacious bathroom. The customers chose an all-in-one vanity/sink combo. We incorporated this vanity into a custom wainscot with a glass tile strip above. A frameless mirror medicine cabinet provides extra storage above the sink. A Nature’s Head composting toilet sits next to the vanity.

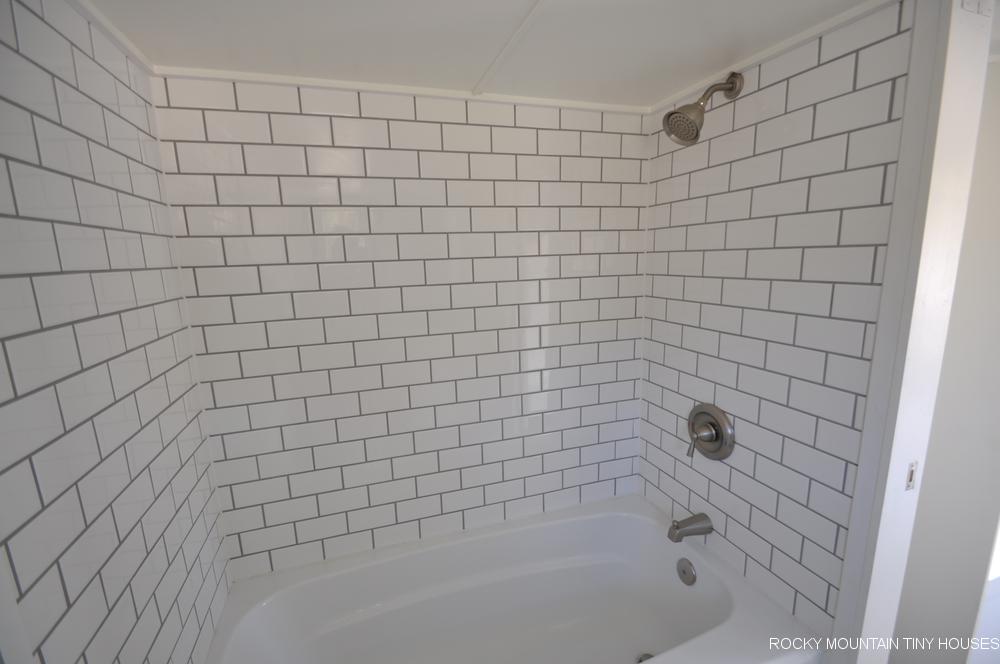
The tub has white ceramic subway tile surround. We chose a dark grout to tie into the grey hues in the faux wood floor tiles.  

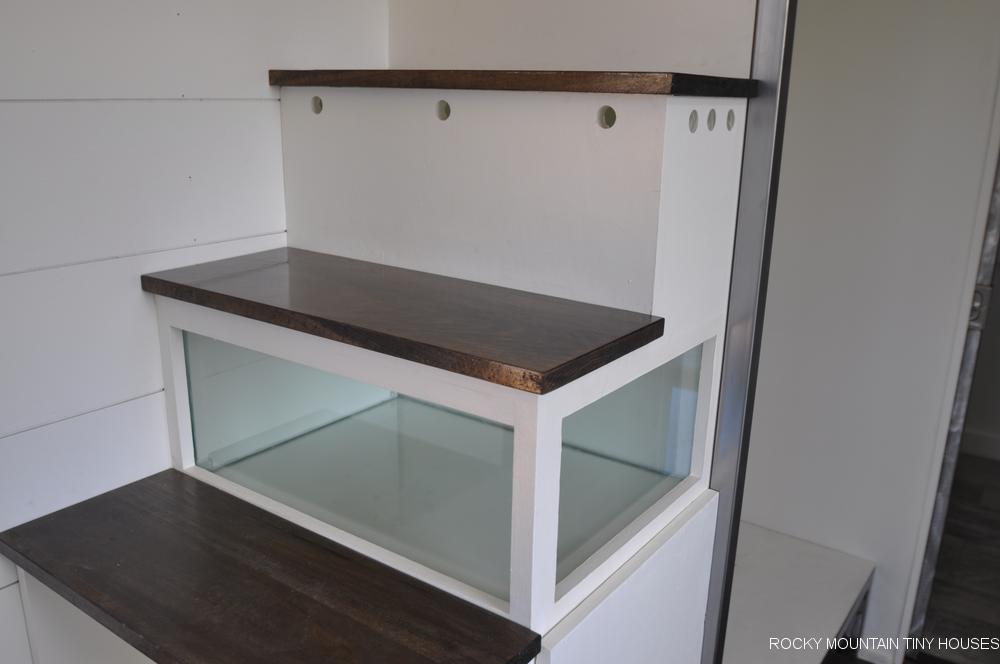
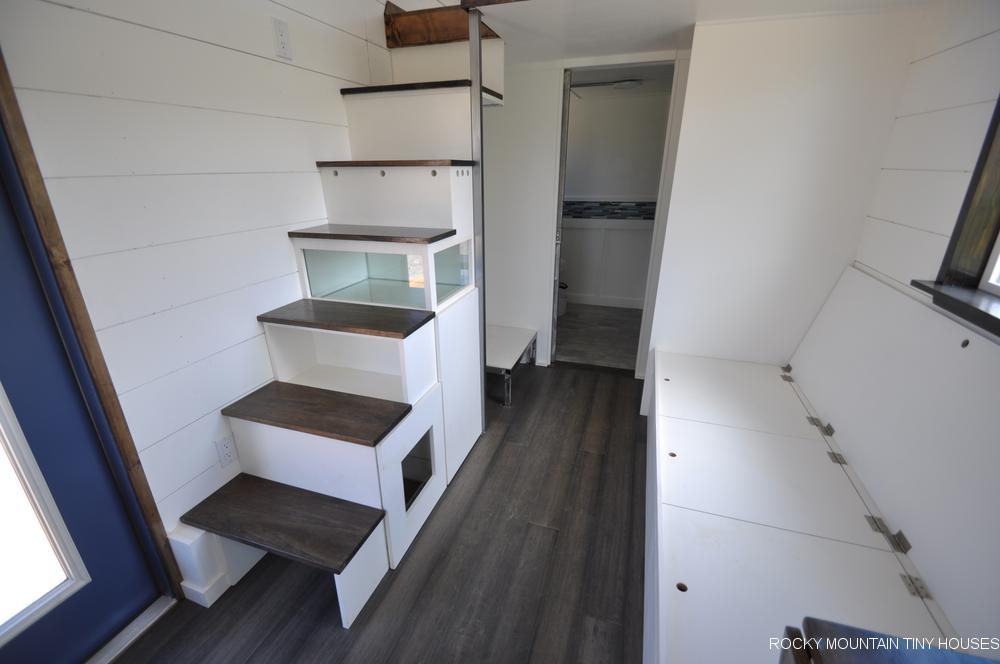
These tiny house dwellers are pet-lovers and the stairway provided opportunities for some custom pet features. First, a built-in glass gecko cage occupies the space under the fourth and fifth treads. Access for feeding and cleaning is granted under the removable fourth stair tread, and an outlet and light are hidden under the fifth stair, with some holes for ventilation. Their cat will enjoy its custom litter box cubby that includes a passive exterior vent for when things get a little smelly.

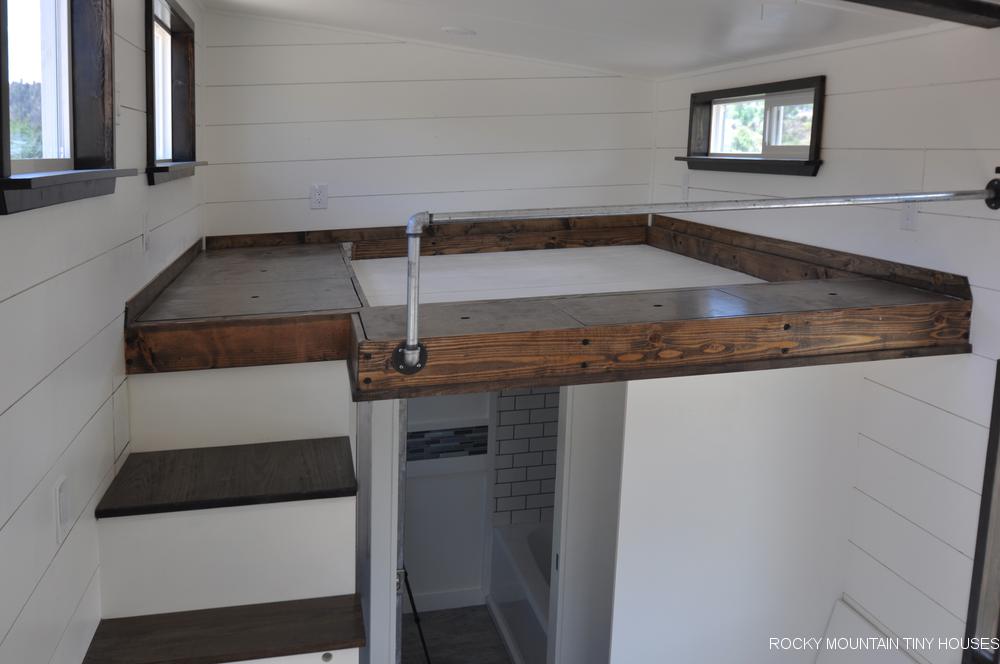
The customers requested a sunken mattress area in the sleeping loft so we built it out of 2×6 wood framing for a little extra depth. Six storage cubbies in the floor surround the queen-sized mattress depression.

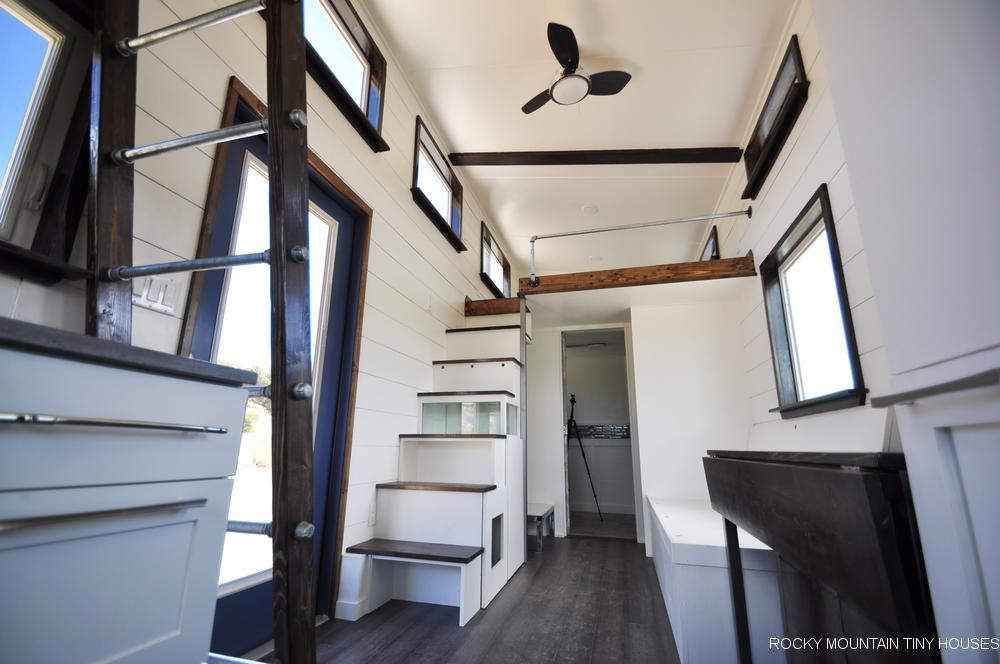
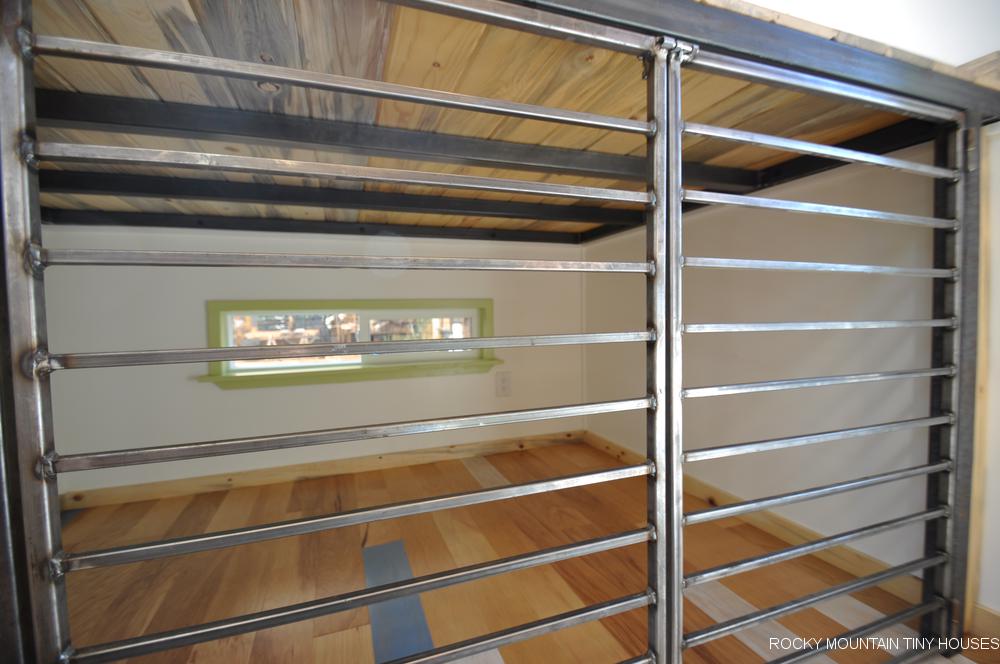
The second loft is a flexible space that will fit a queen-sized mattress for guests if needed. A 2” x 2” steel frame with blue stained beetle kill flooring gives it a slim profile. This loft is accessed from a ladder whose design was inspired by a picture the customers found on Pinterest. We were able to recreate it using galvanized pipes and fittings.

We crafted a custom 6’ long couch with plenty of storage below. The angled backrest even hinges forward to take advantage of every inch of space. The couch sits directly over the wheel fenders and is a nice way to deal with these sometimes-intrusive tiny house features. The seat height of the couch will be at a comfortable level once the customers install 4” thick cushions.

Some final details to note: there is space and hookups for a washer/dryer between the stairs and bathroom wall. There is room above this for storage or closet space. Opposite this is the main closet area. This is our first build to utilize a white painted shiplap for the walls that we milled in house. We could not find an affordable, durable, attractive shiplap product commercially available, so we just decided to make our own! It’s a very clean, modern look without too much expense! Shiplap also deals with expansion/contraction due to climate differences better than other materials, which in this case worked out very well since it shipped to a very humid climate from a dry one! A similarly equipped and detailed build like this one would run around $73k. 

Filed Under: Tiny House Design Tagged With: 24' tiny house, clean tiny house, concrete counter tops, custom tiny house, modern tiny house, Oregon tiny house, portland tiny house, Rocky Mountain Tiny Houses, shiplap walls, Tiny House

The Tandy 24′ Tiny House

September 6, 2018 By Greg Parham 13 Comments

“I know about her, although she has never crossed my path,” he said softly. “I know about her struggles and her defeats. It is because of her defeats that she is to me the lovely one. Out of her defeats has been born a new quality in woman. I have a name for it. I call it Tandy. I made up the name when I was a true dreamer and before my body became vile. It is the quality of being strong to be loved. It is something men need from women and that they do not get.”   
  The stranger arose and stood before Tom Hard. His body rocked back and forth and he seemed about to fall, but instead he dropped to his knees on the sidewalk and raised the hands of the little girl to his drunken lips. He kissed them ecstatically. “Be Tandy, little one,” he pleaded. “Dare to be strong and courageous. That is the road. Venture anything. Be brave enough to dare to be loved. Be something more than man or woman. Be Tandy.” – “Winesburg, Ohio” by Sherwood Anderson

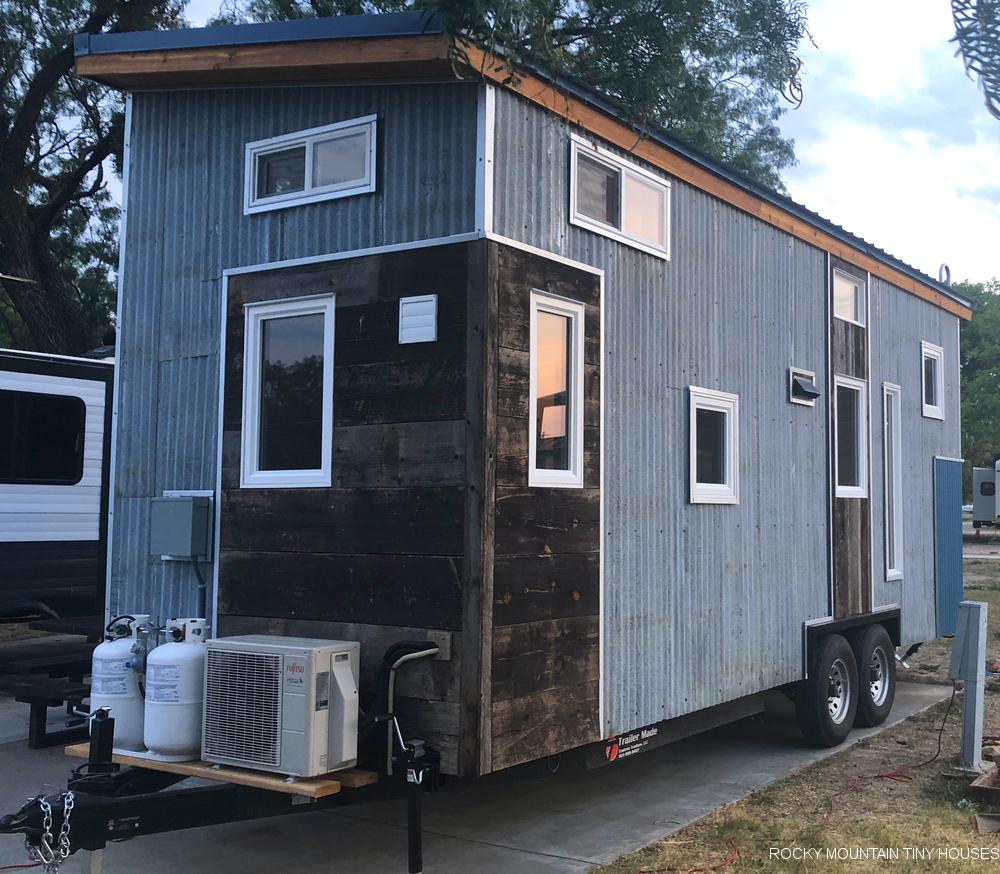
A young woman in the Air Force commissioned us to build this eclectic 24′ tiny house. This is one of her favorite quotes, and Tandy is the name she chose for this interesting build. It is currently parked in San Angelo, TX, but she expects to be re-stationed any time soon, so who knows where Tandy will end up next!

One of the most unique features of this build is the amount of reclaimed material incorporated, both to save on cost and have a lower carbon footprint. Except for the cedar fascia boards, and new windows, the siding is almost entirely reclaimed corrugated metal and barnwood. Even the oak oval door was found at a local salvage yard! 

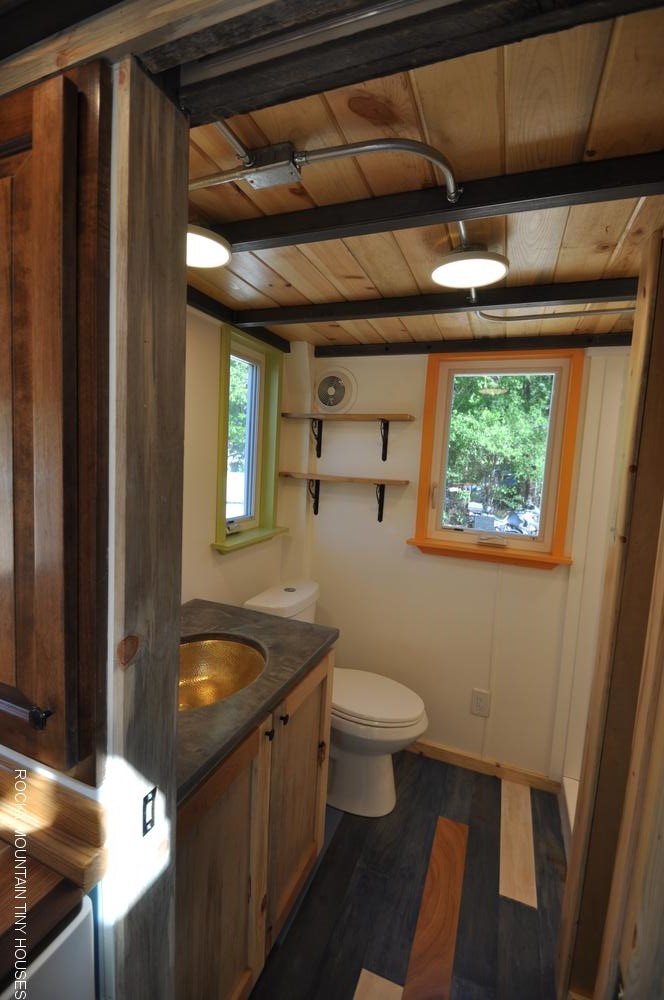
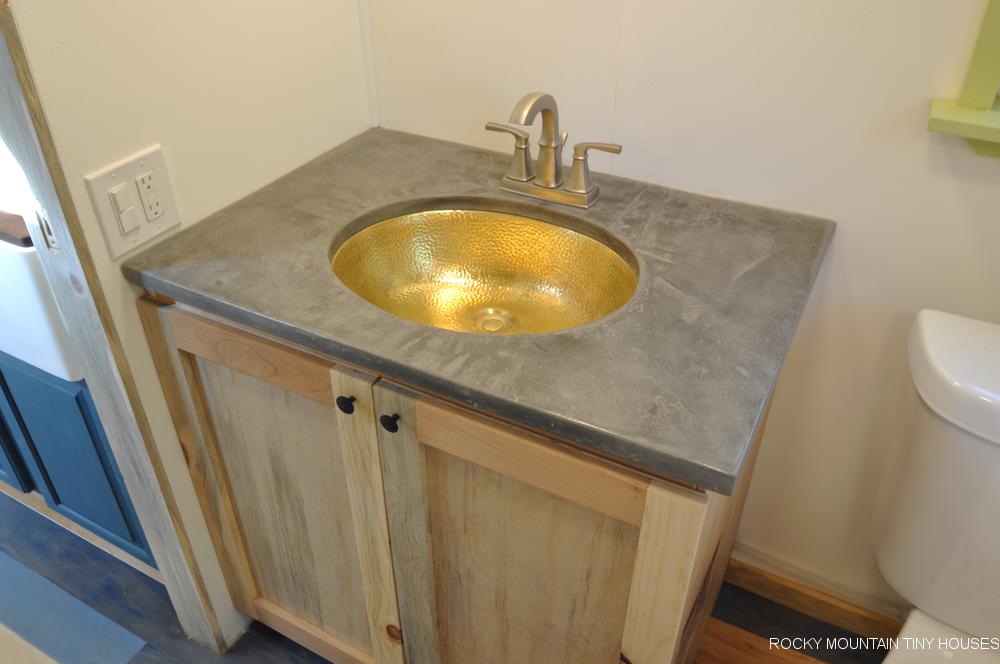
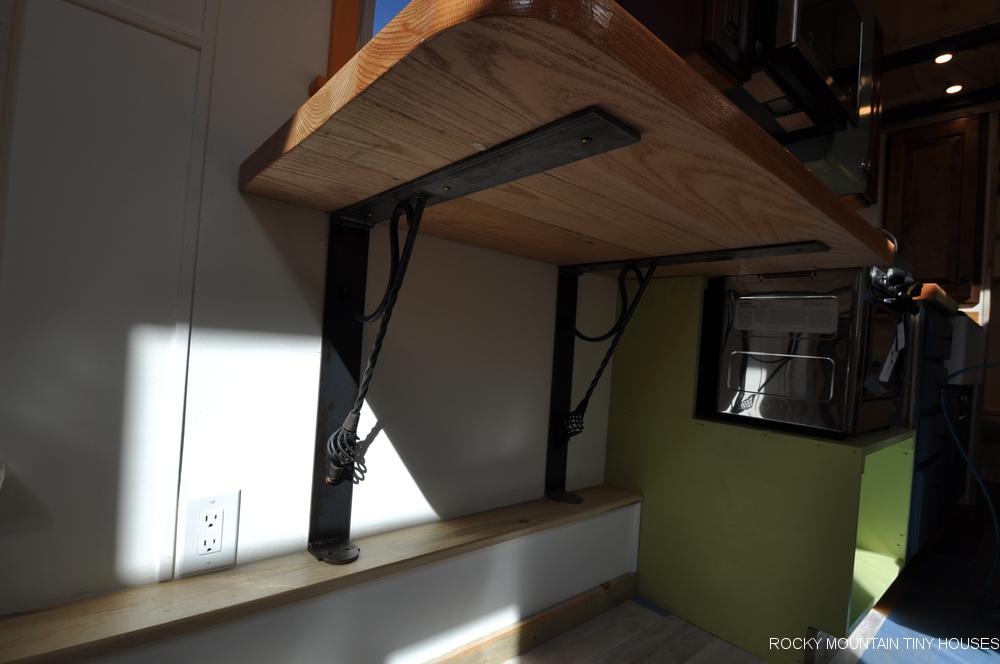
On the inside, there are mixed and matched cabinets, scraps of barnwood and plywood given new life as stair boxes, storage cubbies, and trim, old wrought iron railings re purposed as shelf brackets, an antique Bates and Bates dimpled brass sink for the bathroom vanity, and more! It’s not everyone’s taste, but it turned out absolutely perfect for what she was wanting! 

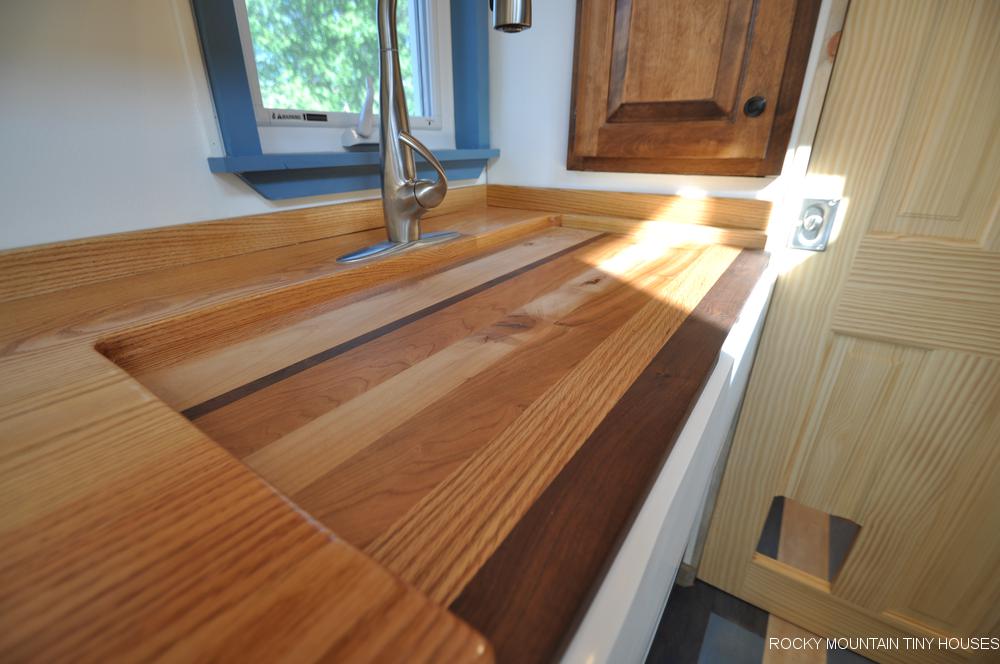
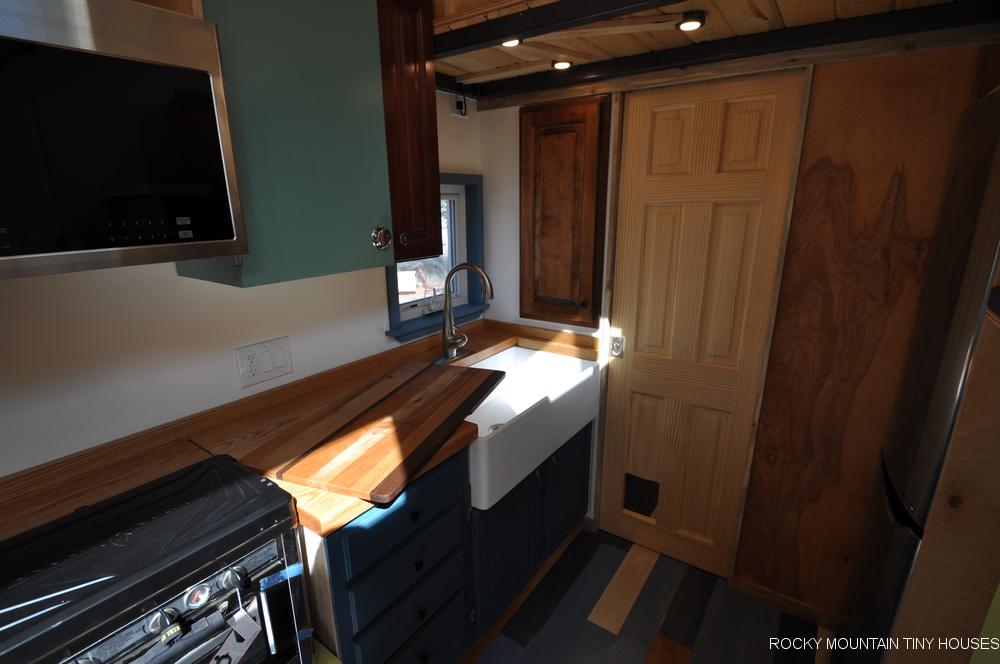
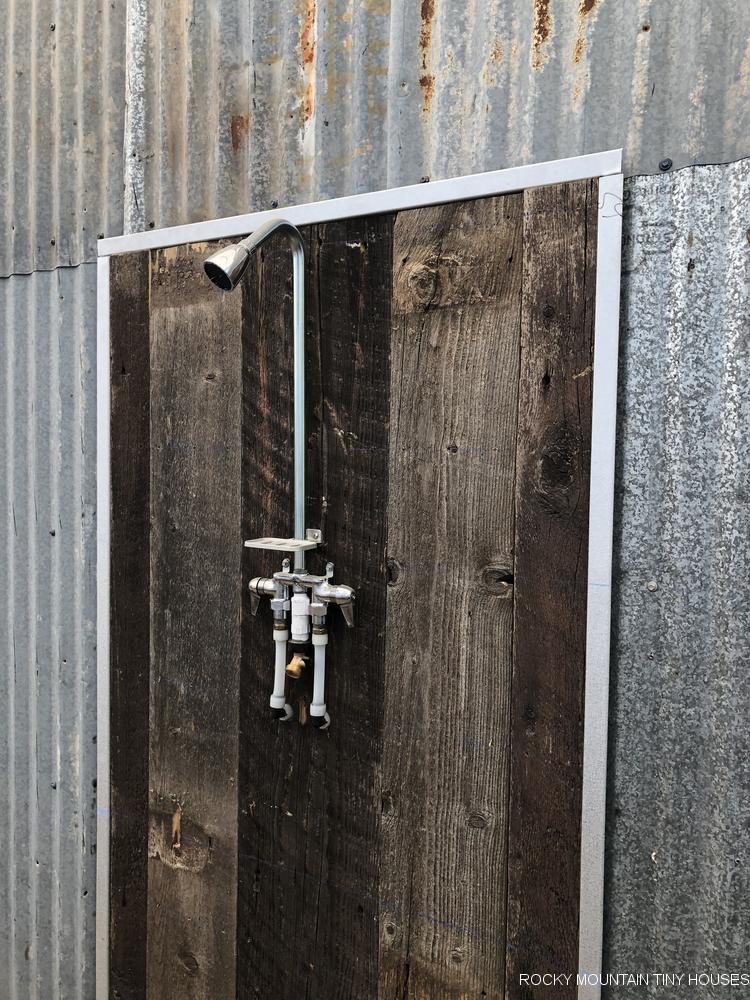
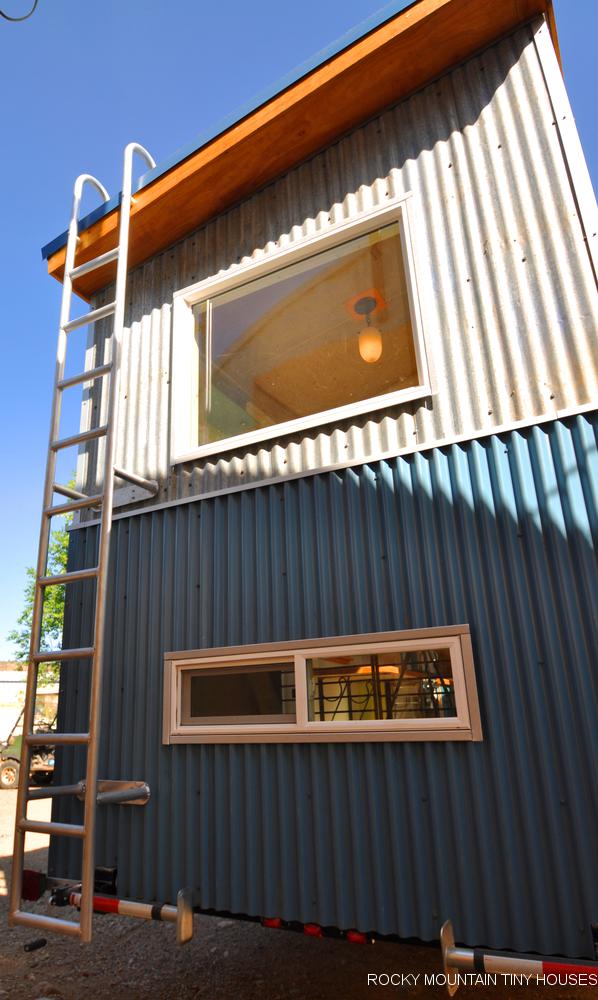
Not everything was reclaimed, but by incorporating these less expensive items, we were able to include some nicer creature comforts such as over the range Microwave Convection oven and hood, a very large farm sink, oak butcher block counters in the kitchen, concrete counter in the bathroom, LG 10 cu ft fridge, washer dryer combo, Fujistu mini split, ceiling fan, an outdoor shower, and an aluminum ladder to access the roof, all for about $67k.

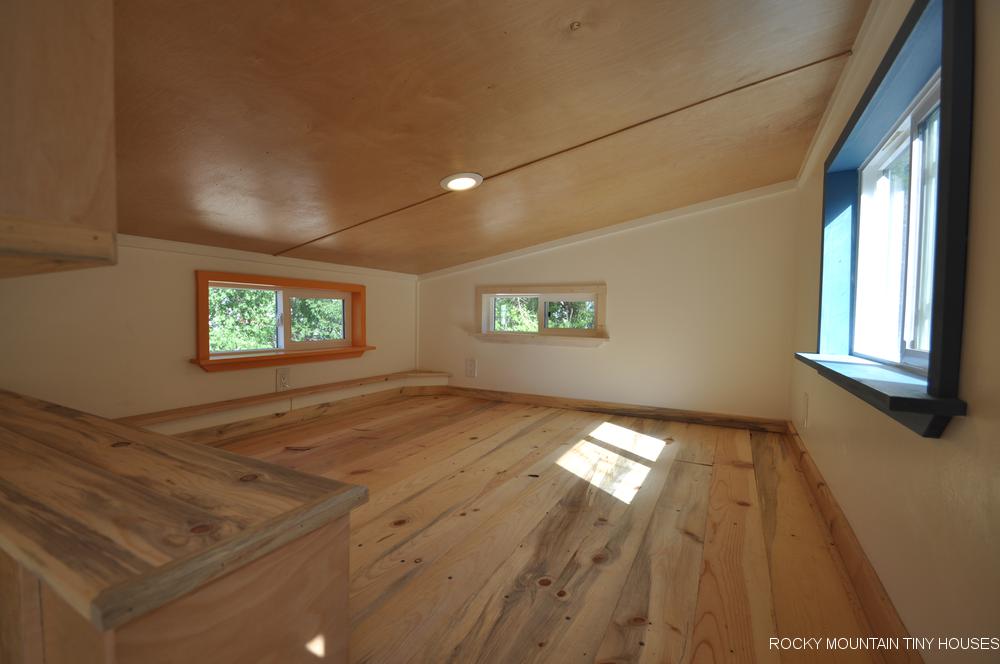
Two other cool features are the accommodations for her pets: two dogs and a cat. The dogs have a habit of harassing kitty and getting into trouble when she is not home, so we designed and fabricated an inverted loft with doggie den below. The doors can be kept shut with a barrel bolt, and later down the line if desired, easily removed. We measured eye level of the pups and installed a window for them to look out while mom was gone.  Above the den is the living room space/guest bed area that houses a sleeper sofa (not shown). Three steps up a ship’s ladder coming off a raised platform (the entry door was placed over the wheel well, so you also get drawer storage under this platform) get you up to this hangout level. 

Kitty has unrestricted movement and lots of places to play and lounge. This is the main reasoning of the fluctuating cabinets and cubbies along the low side wall-they double as a catwalk. We hid the kitty litter box under the vanity in the bathroom and cut a hole just big enough for the cat to enter, but small enough to keep the dogs out (some dogs like to eat cat poop for some reason!)

We hope you enjoy perusing this build, we had a lot of fun building it! 


Filed Under: Tiny House Design

4 Reasons Why You Should Build Your Own Tiny House

August 7, 2018 By Greg Parham 1 Comment

The idea to build your own tiny house can seem quite daunting at first. In this day and age, however, building a tiny house is becoming easier and more affordable. With the option to purchase a DIY kit or tiny house plan, building your own has never been easier. Here are four reasons why you should consider a DIY tiny house project.

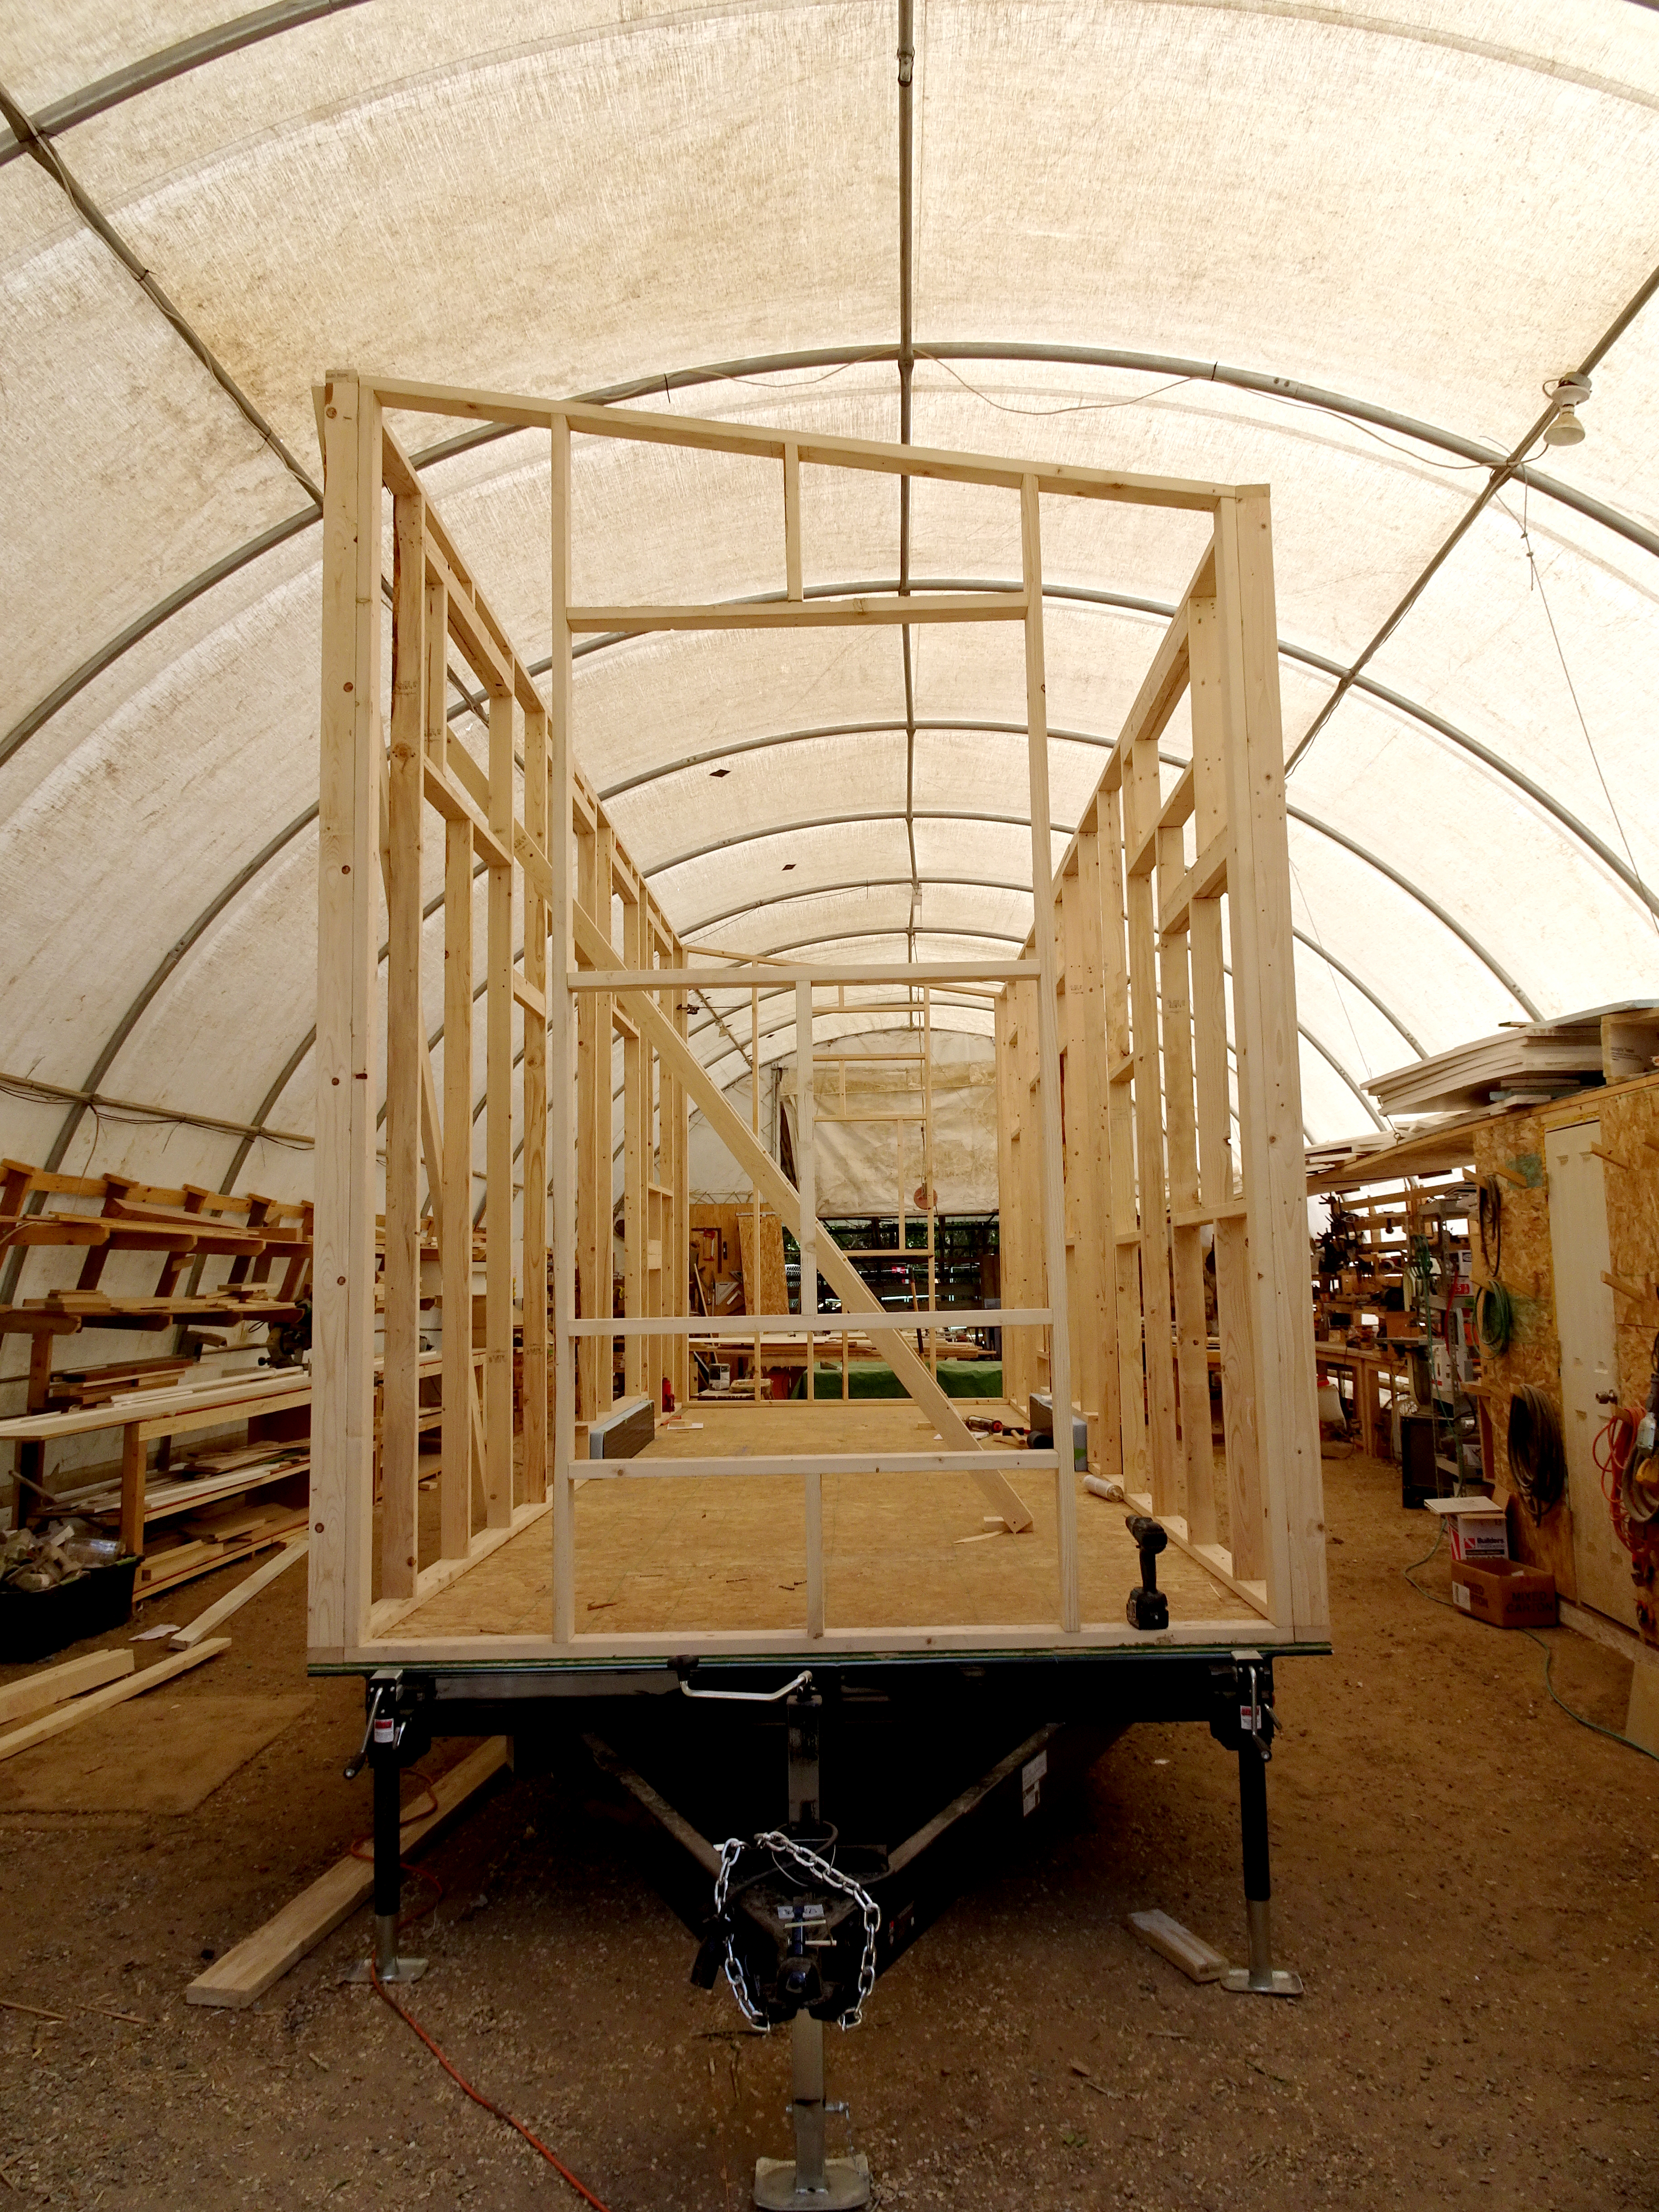
tiny house frame

The frame for a tiny house.


You Don’t Have to be a Professional

Don’t think you have the skills to build your own tiny house? Think again. With our detailed plan sets, all of the instruction needed for the entire house- from the exterior frame to the electrical and plumbing- are included. If you can put together Ikea furniture, you can put together a tiny house.

Save Money

Having a tiny house built requires not only the up-front cost of the tiny house itself, but also a builder’s fee. When you choose to build your own tiny house, you can skip the builder’s fee and put this money toward other modifications to your home.

Our DIY Plans start at $79, and are a great starting point for your project. The best part? You can purchase materials and supplies as you need them rather than all at once.

penny floor

Pennies line a portion of the floor in a custom tiny house.


Customize Where it Matters

Remember that money you saved on the builder’s fee? Put that towards a nicer mattress, smart appliances or decor. When building your own tiny house, you can add your own personal touch, an option that is not available when buying a pre-built tiny house.

Voight Tiny House

There’s no better feeling than finally moving into a tiny house that you built.


Take Pride in the Finished Product

When your tiny house project is completed, you’ll be able to look back and say that you built your home with your own two hands, a feat that not many can say they have done.

Compared to traditional homes, building a tiny house is much easier and cost-effective. Our DIY Plans are available for purchase at any time, and come in four different options: the Crestone, Boulder, Wasatch and Silverthorne Gooseneck. If at any time you feel overwhelmed or stuck, don’t hesitate to give us a call. Our builders are more than happy to help you during the building phase.


Tiny House Plans We Offer

Rocky Mountain Tiny Houses - Crestone

Crestone 14′ – Learn More


Rocky Mountain Tiny Houses - Boulder

Boulder 16′ – Learn More


Rocky Mountain Tiny Houses - Wasatch

Wasatch 28′ – Learn More

Rocky Mountain Tiny Houses - Silverthorne

Silverthorne 31′ – Learn More


Filed Under: Uncategorized Tagged With: DIY, plansets, Tiny House, tiny house build, tiny house construction, tiny house design, tiny house plans, tiny house plansets, tiny living

Investment Opportunity! Help RMTH Build A New Shop!!

July 21, 2018 By Greg Parham 1 Comment

After years of searching for suitable property in the Durango area to relocate the shop to, we have finally found a really fantastic parcel south of town that is within our price range. Our local bank is willing to finance most of it, but we are still going to need a little assistance with the down payment portion. If you know me personally, you know that I’m not very keen on asking folks for money-I’m a rugged individual with Western values of self sufficiency and working hard to earn everything you acquire. I have worked very hard the past five years, but most of the profit from the company has been re-invested back into the business. Infrastructure improvements at our current shop location, new vehicles for safely hauling materials and tiny houses around, maintaining/upgrading tools, purchasing a forklift, starting to buildup material/parts inventory, developing plansets/kits, and so forth.

RMTH has some funds to put into this new property, but it will basically be a land loan and these carry higher down payments until a legal structure can be established and converted into a more traditional mortgage. Not only this, but we will need to set aside some funds for site improvements such as cleanup, access, utilities, and so forth. We aren’t even getting into the cost of a new shop building just yet, which we can finance separately and contract ourselves, but for now our immediate goal is to acquire the property and begin the process of preparing it for the new building.   We have enough flexibility at our current location to keep operations in progress, but obviously the sooner we can move away from making payments on two locations, the easier it will be to make the transition.

So this is where you, the investor, come into play. We are open to all different kinds of investment strategies for those who are able and willing to help out. We are not looking for astronomical sums of money here, probably 40-60k total assistance. We are thinking it will take the form of 2-5 folks, but it could only be one or it could be more! The primary forms of return on your investment are:

  1. traditional term loan with 10% interest. For a $10,000 loan over 36 months, you would earn $1,616 in interest. 
  2. Custom Built Tiny House with “at-cost” pricing. Normally, we have a builder fee associated with each tiny house we complete, ranging from $3-10k depending on the size and scope of the tiny house. We would waive this fee for anyone willing to put up $10,000 or more in capital. So, in addition to the repayment of the initial investment, you would probably save somewhere around $6k on the cost of a custom built tiny house. Much more return on your investment, however, we understand there will be fewer people interested in going this route

A third option is percent ownership in the business. We are not a publicly traded company and do not have shares, so we would all have to sit down with a CPA and figure out what made the most sense here. We are least interested in this option due to the complexity involved, but if the right opportunity arises we are willing to consider.

Fourth- we are not bankers or financial gurus, but I’m sure some of you are, and if you would like to present other options, please let us know! We really are interested in a win win win for everybody involved. RMTH wins by getting a new more efficient shop, customers win because we can lower our costs, investors win by getting a nice return on investment, we can potentially hire more employees, life is good, everyone wins!

For you savvy investors looking for some security, we do have assets that can be pledged as collateral in the form of vehicles, tiny house shells, forklift, and other equipment. We might end up having to sell some to try and liquidate funds, but if we don’t, we are totally fine using them to secure the loan(s).  

Perhaps you yourself are unable to help us out, but maybe you know of someone who could help? Feel free to send them our way.

We can be reached directly at 970 335 9577  or greg@rockymountaintinyhouses.com  Thank you for your generous consideration!! 

Filed Under: Company Investments, Company News

Passive Tiny House Design

February 4, 2018 By Greg Parham Leave a Comment

As resource conservation and “healthy homes” become more important in today’s construction industry,  the concept of “Passive home design” has taken center stage. Many of us have heard about this tag phrase, but don’t really understand it. As a builder, it is my job to stay on top of the latest and greatest trends in building technology, not only to produce a better, more durable tiny house, but to ensure a healthy environment for its inhabitants. So what exactly does passive design mean? The best definition I could find online comes from Your Home, an Australian government site providing resources for better home design:

Passive design’ is design that takes advantage of the climate to maintain a comfortable temperature range in the home. Passive design reduces or eliminates the need for auxiliary heating or cooling…    

Perhaps another way to think about it, is that the design of the structure allows it to passively stay in a state of comfort, versus a highly mechanized building that has to “actively” keep the conditions comfortable.  So, passive design originated in regard to larger buildings, both residences and commercial/civic. It is not a new term at all, in fact, prior to mechanical ventilation, any good designer knew and worked with the principles or proper orientation, designing shade for summer months but allowing full sun in the winter, thermal mass, prevailing winds, etc. These same principles still apply, however, in the age of building sciences and HVAC systems, passive design has also taken the form of high performance materials, air tight construction, and fresh air ventilation with energy recovery. 

This might all be flying right over you head at the moment, but I will break it all down. First, we need to understand how passive design applies to tiny houses. These structures are much smaller, mobile, and can travel to different climates. Principles of thermal mass, orientation, and other won’t necessarily apply, so we have to focus more on the performance and health of the building. For the building to stand up to the elements, it needs to be water impermeable. To save energy and keep it comfortable whether in the depths of winter or peak of summer, it needs to be well insulated and airtight. Now, because we have constructed a hermetically sealed space and plan to live in it, we need to find a way to expunge dirty air and bring in healthy fresh air without wasting heat energy. These are really the underlying principles of tiny house passive design. How do we do all this ? 

Isabelle Nagel-Brice, tiny house dweller and owner of atinygoodthing.com, wanted only the best for her tiny house that she began construction on in the fall of 2015. After extensive research, she partnered with a Colorado company known as Mainstream Corporation. Despite the slightly confusing name, this is a small company with a focus on passive design and bringing more advanced European products into the US market. Europe has always been ahead of the US when it comes to building science, but sourcing such products can be difficult. Enter Mainstream! These guys have done the legwork of researching various products, and finding ones that not only have outstanding performance properties, but that can be easily imported and sold at reasonable rates.

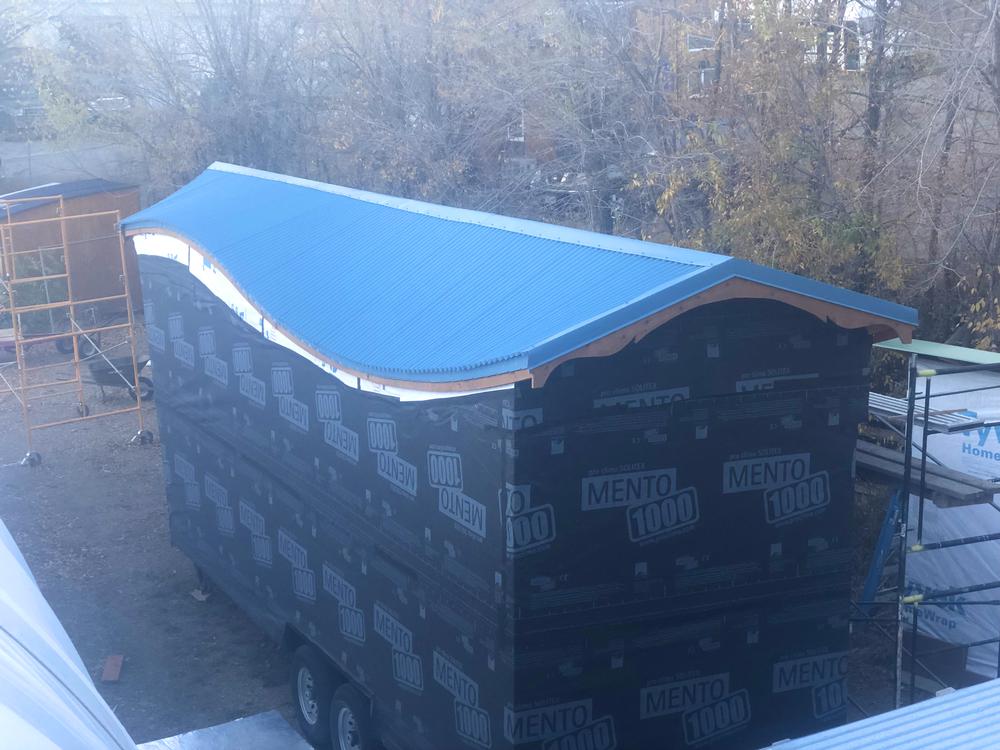
I’m going to focus on four main products that you can get from them to help you build a healthier, more energy efficient tiny house. The first is the Solitex Mento 1000 weather barrier. Tyvek and locally branded polyethylene weave fabrics have been the go to for over 30 years, and they are still good products, but the Mento takes it a few steps further. Not only do you get superior protection against water and air infiltration, but the fabric is highly breathable. Moisture rates in the house, the walls, and the atmosphere will constantly fluctuate, and what you don’t want to happen is moisture vapor getting stuck in your wall. This fabric will block liquid water from ever getting into your walls just like any other weather barrier, but it has a higher PERM rating, meaning it is going to ‘breathe’ better and allow water vapor to flow more freely. Compared to Tyvek, it is softer and slightly more forgiving when installing it. Stephanie and I decided to use it on our new tiny house build and are very pleased with it. You can also use it as your roof underlayment, although I would recommend the heavier Mento Plus for this application.

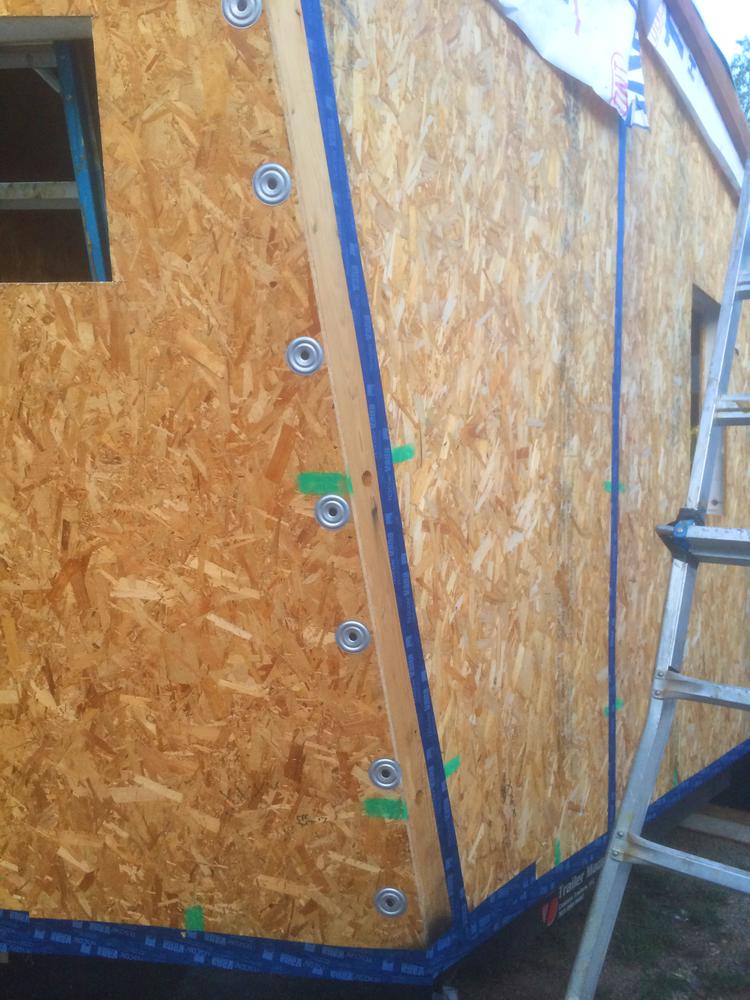
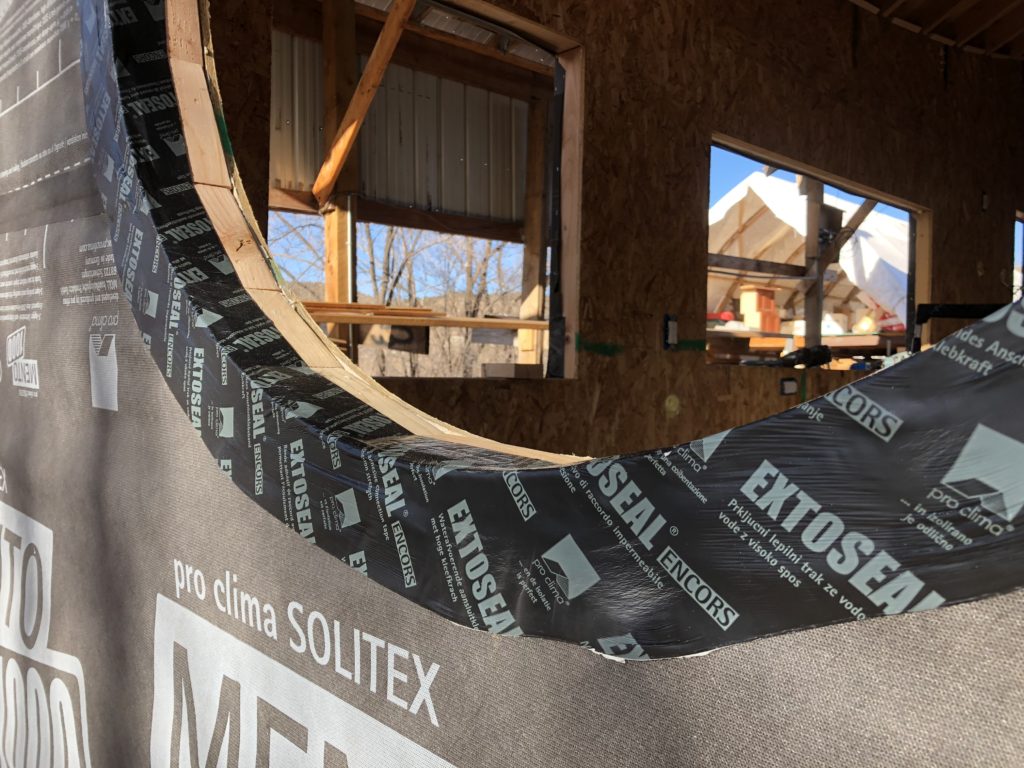
The next line of products to consider are the construction tapes they offer. My new house is a hybrid SIP wall/stick frame roof. Before installing the Mento wrap, they suggested that I tape all of my SIP seams, wall to trailer seams, and wall to roof seams, corner seams, etc with the blue Tescon Vana tape. This stuff is the bomb! Very sticky, very pliable, easy to apply, and it seals everything shut! I ordered 4 rolls and went through all of them! You’ll want to order a few rolls of the black Tescon Invis to tape the seams of your Mento weather barrier. I purchased one roll of 6″ Extoseal Encors to fashion my window sills, and a few rolls of the Tescon Vana 150 to tape my windows. You can just tell that this tape is never going to let go! I’ve worked with some “normal” window tapes from the big box stores, and I’ve always questioned whether the adhesive will hold over time. I don’t have these concerns with these tapes. To add icing to the cake, most of these tapes are designed to be breathable too, just like the Mento. 
The third product I will mention briefly is the Intello Plus interior vapor retarder. This is a roll product that you would apply to your interior walls and ceiling prior to installing your finishes. It acts to keep the moisture from every day living from entering your wall cavity in the first place. Interior Vapor barriers have long been a discussion in tiny house construction. Those who believe it necessary typically use plastic sheeting, like a 1 mil drop cloth. This is cheap and easy, but not necessary the best option since it also does not let any moisture vapor that might get into the wall via other means from escaping. The Intello is considered “smart” because it knows when to block vapor completely and when to let some pass through. It’s basically a function of interior vs exterior temperatures and humidity. I chose not to install this product in my house because the EPS foam in my SIP’s is effectively a vapor barrier, as is the closed cell spray foam in my ceiling. I also live in a dry climate.  Had I chose to install a batt insulation product such as fiberglass, Roxul, natural wool, blown in cellulose, etc. then I would have definitely opted for this product. Also, if I intended to live primarily in a very humid climate, I would definitely consider using this wrap.

The fourth piece of the puzzle that this company can help with is ventilation. After creating this perfectly air tight environment, you are going to cook, bathe, breathe, and perform other living activities that introduce moisture into the space. If you don’t find a way to flush out this stale moist air, your house is going to start having mold issues, and you might even start having health issues due to toxins in the air. Now, you could just crack a window and put a fan in it. During the nicer times of year, this isn’t a problem, in fact I recommend you keep as many windows open as possible! What about winter or summer though? If you are paying for energy to heat or cool your space, you don’t want to throw that money away, do you? Enter an Energy Recovery Ventilator (ERV), sometimes also known as a Heat Recovery Ventilator (HRV). Long before working with Mainstream, we were installing the Lunos E2 and even the Lunos Next for the largest builds, but these guys turned us on the to the Lunos eGO, a more compact unit with only one wall penetration instead of two, and also a little cheaper than the E2. Which one will suit your needs better depends on your design, but in general I would say 24′ and under, go with an eGO, and larger than this use the E2. For extremely large builds, you might consider the Next. They all operate on the same basis. There is a tube that goes through your wall. In this tube is a ceramic core. A small fan pushes and pulls air back and forth across the core in cycles. As conditioned air from the house passes through the core, the material collects the heat energy from this air. When the cycle reverses, fresh air from the exterior than passes through the core and recovers the heat energy. Brilliant, isn’t it? The cheapest unit starts at $795, not really that cheap, but it is hard to put a price on the health of your home and yourself. There are horror stories out there of people who did not ventilate their tiny home and ended up having to gut their walls to remediate mold and replace insulation. I’m sure this process ended up costing way more than $800!! If you cannot swing the cost of a Lunos up front, then please make sure you have some way of venting your house, even if that means cracking a window in winter time! 

If you are a DIYer and are interested in upgrading the performance of your tiny house, please reach out to Isabelle or Cody at Mainstream. You can buy only the components you need, or for more convenience they have put together tiny house kits based on the size of you build that will include proper quantity and sizes. If you are a prospective customer of ours, we already encourage the use of these products and intend to make them standard on all of our builds by mid 2018. Below are a few pictures of these products in action on my new personal build! You are primarily seeing the blue Vana tape and Mento 1000 weather barrier. We have a Lunos eGO ready to install but won’t get to this phase of the build for a few more months. 


Filed Under: Company News, Tiny House Design Tagged With: green tiny house, high tech tiny house materials, mainstream corporation, passive tiny house, sustainable tiny house, tiny house design, tiny house ventilation

Spring and Summer slots still available

January 12, 2018 By Greg Parham 20 Comments

Winter is over! Well, sort of. The Spring Equinox does not officially occur until March 20 this year, and here in Durango, winter weather has known to be historically highest in the month of March, but as far as our build season is concerned, we have made it through the coldest part of the year, the skies are sunny, days are getting longer, and we are beginning to fill up for the year! We are normally booked into Fall by the end of March, and this year isn’t much different, however we have expanded our build capacity and this means that we will be able to fit in three more builds this spring and summer. So, if you are interested in one of these highly desirable build slots, please call 970.335.9577 or email greg @ rockymountaintinyhouses.com 

Filed Under: Company News Tagged With: build slot, winter build

PRINCETON 32′ GOOSENECK SHELL

January 9, 2018 By Greg Parham 13 Comments

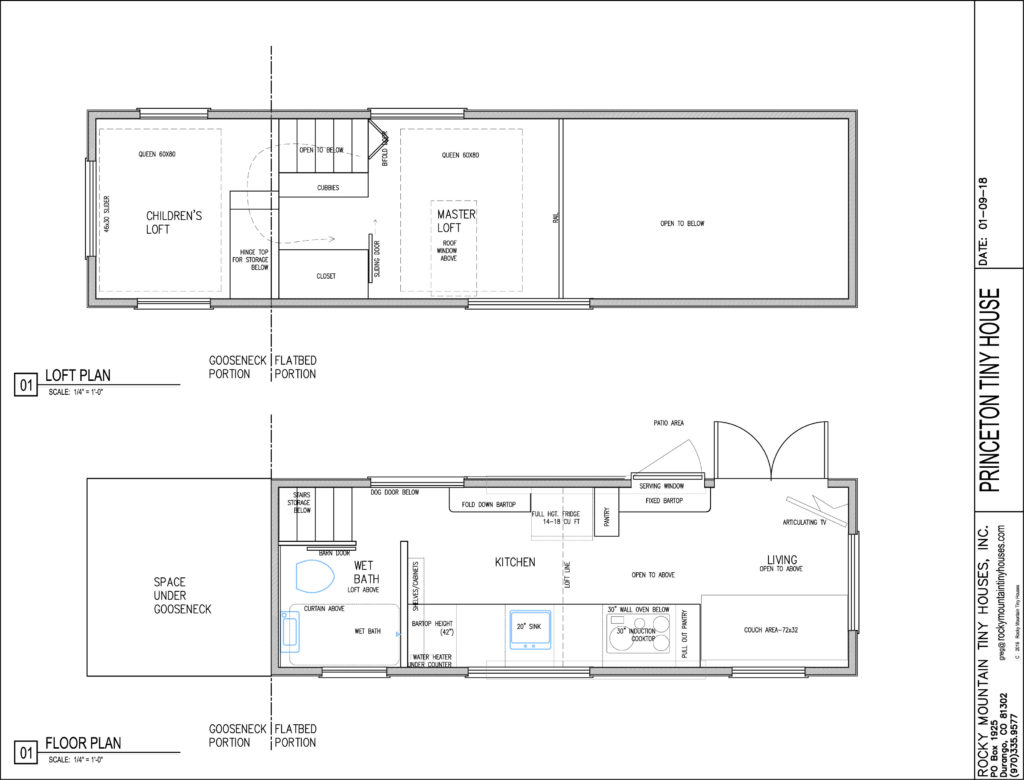
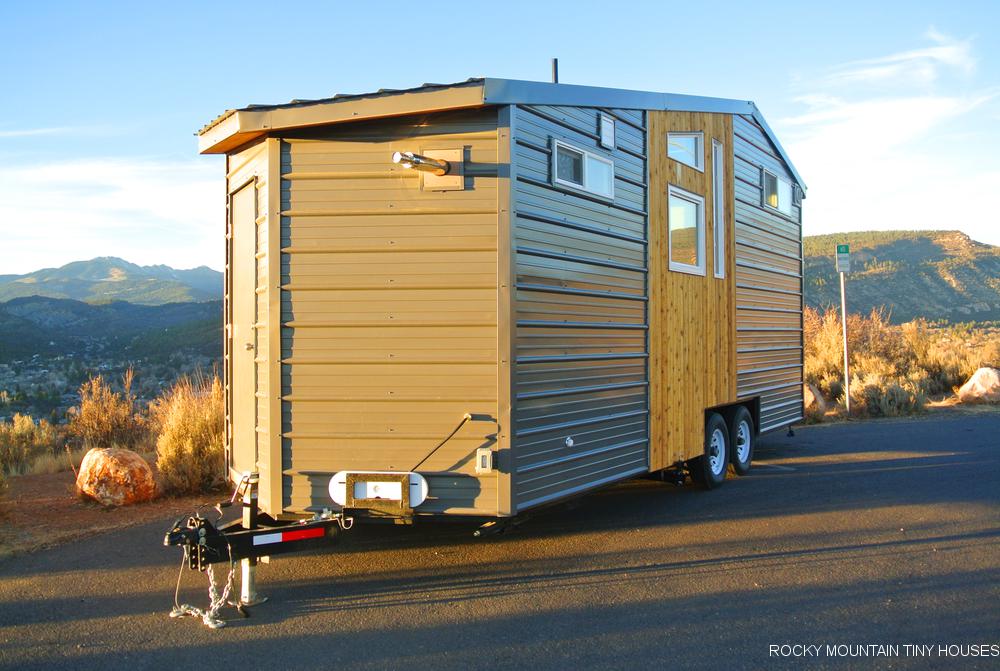
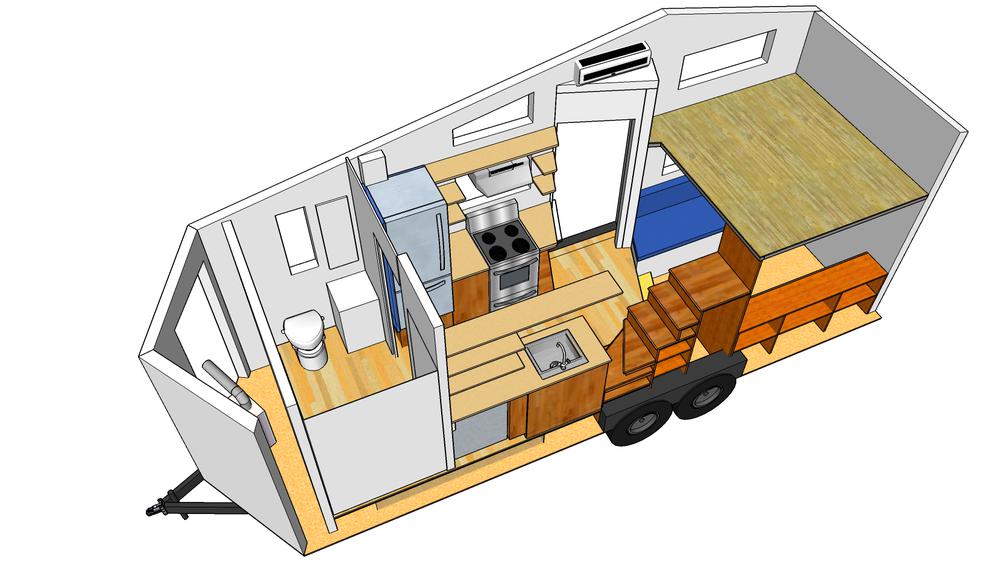
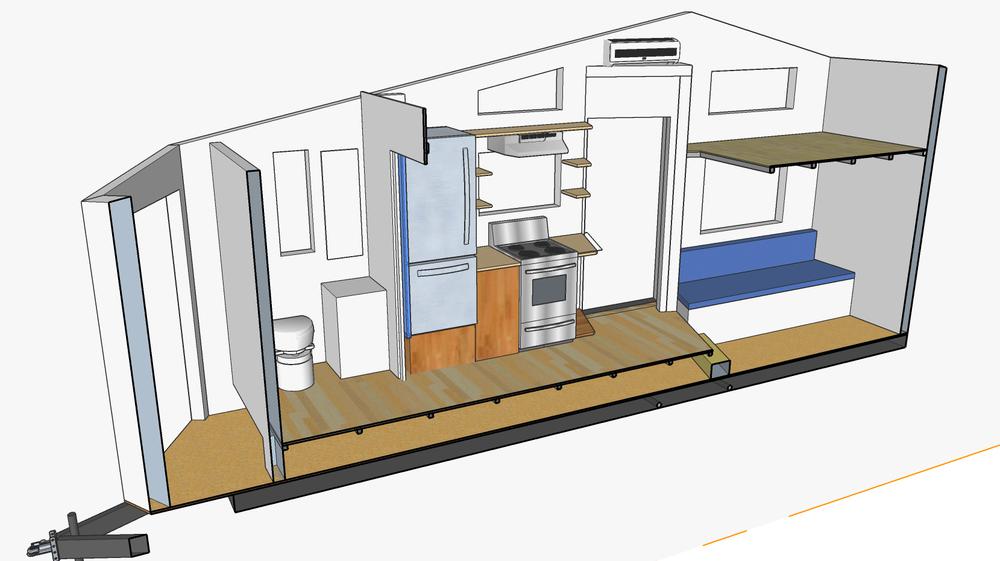
Some nice folks who we met at the 2016 Jamboree hired us to build this unique shell for them. They liked aspects of the Rio Grande build along with some of our other houses, so after brainstorming a few design ideas, we came up with this one. Not only were they on a tight budget, but they were excited to do the finish out work themselves. This shell build consisted of a stick frame structure on a 24+7 triple axle gooseneck trailer and included a fully finished exterior with a French entry door, doggie door, windows, siding, metal roofing, and a roof window (operable skylight) above the master loft.  We installed rough wiring and plumbing (including a tankless water heater) prior to spray foaming the studs. Final scope of work included installing the master sleeping loft, tiling the spacious wet bath with some very high end tile, and putting up interior wall/ceiling paneling. Due to an unfortunate tech glitch, we lost photos of the interior, but have attached some plans below. A similar build would be in the 51k range. 

Filed Under: Tiny House Plans Tagged With: clean lines tiny house, Gooseneck Tiny House, gooseneck tiny house shell, modern tiny house, rocky mountain tiny house, texas tiny house, tiny house shell

Wanderlust 24′ Tiny House

December 30, 2017 By Greg Parham 6 Comments

We recently completed this build for an awesome young couple living up in Great Falls, Montana. They are both in the military and wanted a home they could take with them wherever they get stationed. This, and they knew a tiny home would be a means for greater financial stability! They had a great interest in two designs by other tiny house enthusiast, the Shedsistence and the Tiny House Lab. They wanted to not only combine these two designs, but customize a few touches for their needs. So, if the shape looks similar to either of these houses, now you know why!

This design features unique variations compared to the other two.  The massing is a combination of each. We started out with a 8′-4″ x 24′ trailer, added a 30 degree vee nose similar to Tiny House Lab, but then applied the Shedsistence longitudinal asymmetric gable, perhaps more easily thought of as a front to rear shed roof with a ridge break and smaller beaver tail on the rear. The reasoning was several fold: aesthetics, introducing additional storage over otherwise wasted space on the tongue, weight distribution, and hopefully aerodynamics. Having towed it 973 miles from Durango to Great Falls, I can say that it probably pulled the best of any bumper pull house we’ve built to date. 

The trailer utilizes drop axles. As I always state, this makes towing slightly more difficult when navigating dips in the road and drainage gutters, etc., but it gave us an additional 4″ of height to play with in the design. This 4″ turned out to be critical in allowing us to build a 14″ tall platform above most of the primary floor. Under this platform is housed an 80 gallon freshwater tank, 60 gallon greywater tank, and abundant in floor storage for items that don’t get used everyday. This couple happens to be outdoor junkies, so they have quite the collection of camping and sports equipment that will primarily live here. The platform is accessed via three different ways: an opening from the gear shed side, on opening from the living room side where there is a removable step, and trap doors in the center of the floor, two in the kitchen and one in the bathroom. Like the Shedsistence design, there is also a gear shed in the front of the trailer. Adding the vee nose made this space a little larger, however. We placed the water heater and off grid water equipment in this space. Since this platform and gear shed is difficult to understand by looking at the photos, here are some 3d renderings to clarify.


This tiny was constructed using SIP’s, which not only took a lot of the guess work out of the crazy angles, but will ensure the house is easier to heat and cool no matter where this couple gets stationed. We installed a Lunos E2 heat recovery ventilator to provide constant healthy fresh air while recovering heat energy. All plumbing lines are fully accessible in heated space. All electrical lines were ran in surface mounted conduit. They preferred the industrial look but also wanted full access to wiring should anything go wrong, or they needed to make additions since altering wires in SIP chases can be extremely difficult after wall finishes have been installed. 

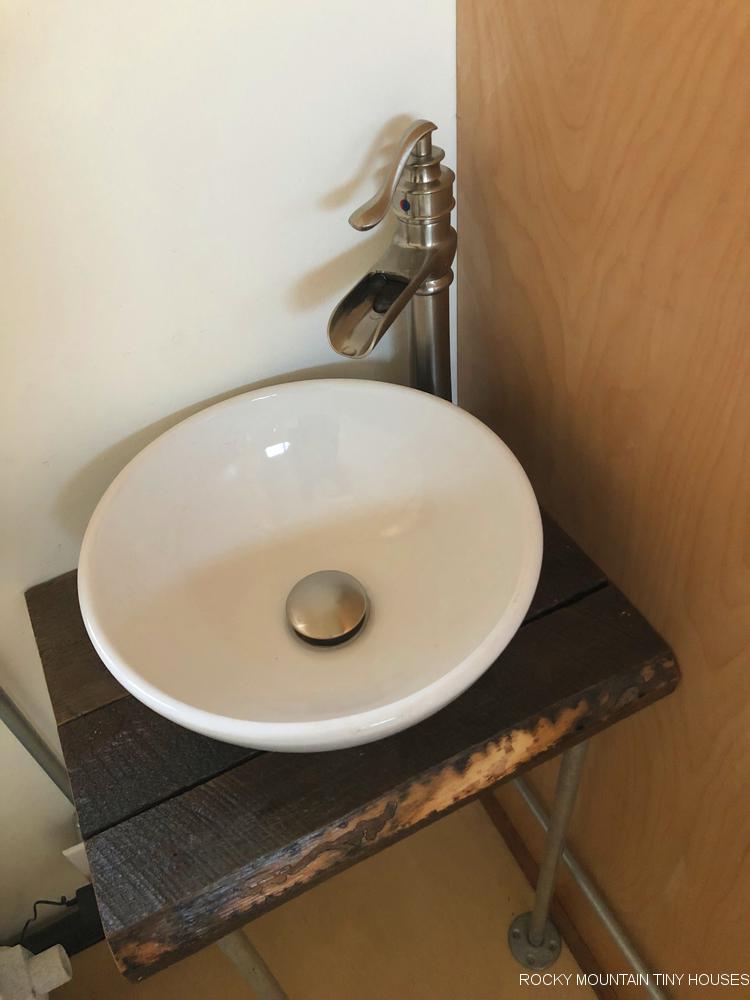
The kitchen features a gorgeous dark blue clay fired apron sink, 24″ gas range with modern range hood, W/D combo, and a bottom freezer fridge. Past the kitchen is entry into the bathroom which  has a generous 42″ shower enclosure, Nature’s Head compost toilet, and a vessel sink mounted to a barn wood platform. There is a partition wall that separates the bathroom from the gear closet on the very front of the trailer. This shed is accessed via a separate exterior door. 

On the opposite end of the house is the living space which one has to take two steps down from the main platform to enter. At this point, I should note that this house was about a 98% build out. They had a set budget of $67,000 and asked us to complete as much work as we could within that budget, so you will notice in the photos that we left some simple tasks such as finishing the wood, trimming out a few corners, adding some door/drawers to the living room cabinet, and making cushions for the couch for the owners to complete. 

The stairs (doubling as storage cubbies and the closet) are on the same level as the platform, so there are two less risers needed to get into the loft. Up here, there is ample room for a queen mattress, plenty of headroom, and abundant light, in part to an overhead skylight! 

As mentioned, this project came in at $67k as shown with a few minor details not completely finished. As of late, we’ve had a few inquiries about whether we can a tiny house based on the Shedsistence design. The answer is yes! Since this design was quite different than that original version, we drew it up from scratch, and can totally do this for you too. If you like the Shedsistence design just the way it is and would like for us to build it, then we ask that you purchase the plans from them before coming to us. Out of respect for the original creator’s intellectual property, we ask that you do this for any build that is not a RMTH design and documented plans for sale exist for that particular design. Enjoy a few more photos and a video tour:


Filed Under: Tiny House Design Tagged With: 24' tiny house, drop axle tiny house, modern tiny house, montana tiny house, shed roof tiny house, Shedsistence, SIP tiny house, Tiny House Lab, vee nose tiny house

La Luna Llena

October 13, 2017 By Greg Parham 12 Comments

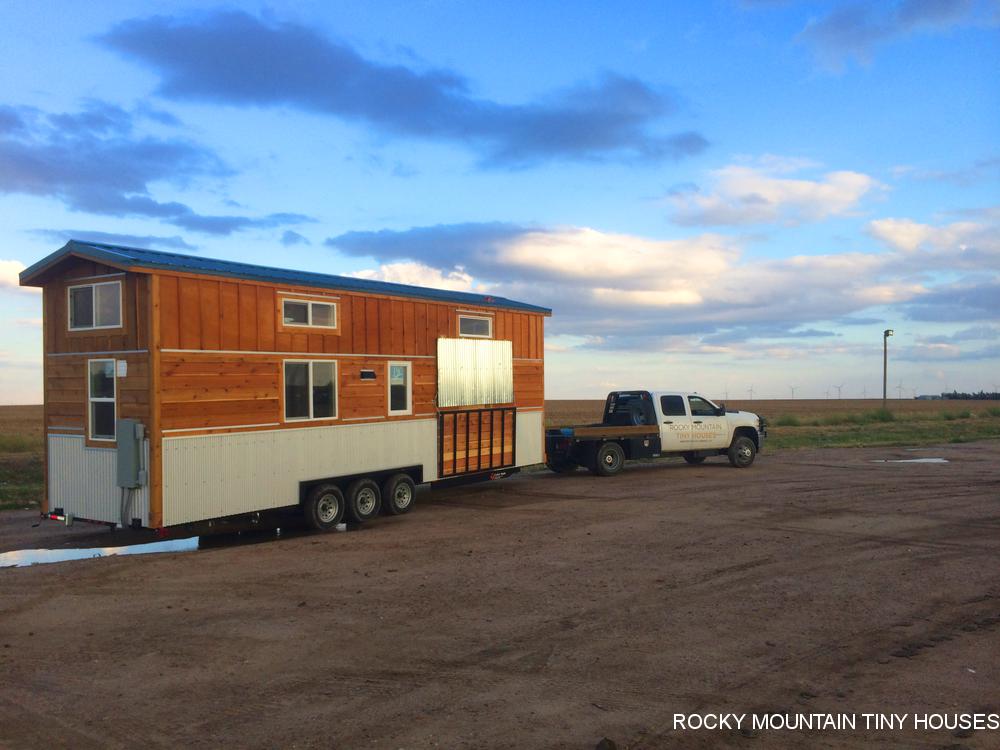
For you non Spanish speaking followers, La Luna Llena translates to “The Full Moon”. That is what Pam, a retired art teacher living in south central Missouri named this beautiful 30′ long build that she now calls home! All we have for now are the unfurnished photos prior to the house’s delivery, but we can’t wait to see the pics once she gets fully settled in since Pam had quite the art collection that she plans on placing in the house. This was one of the more important aspects of this project, making sure we planned accordingly to accommodate these art pieces. 

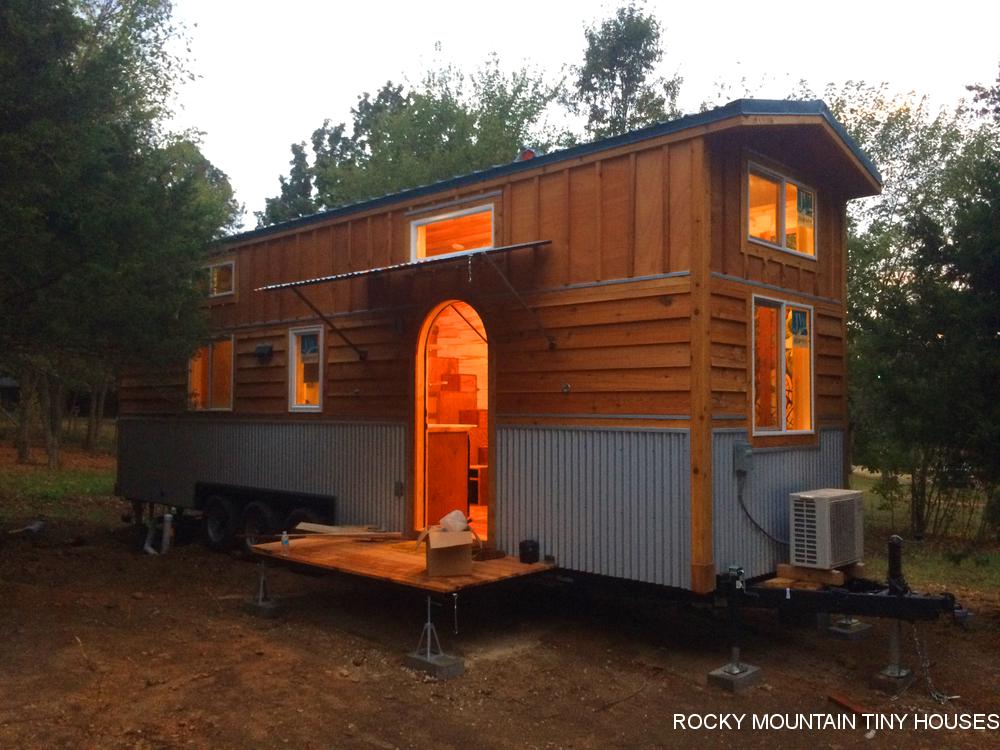
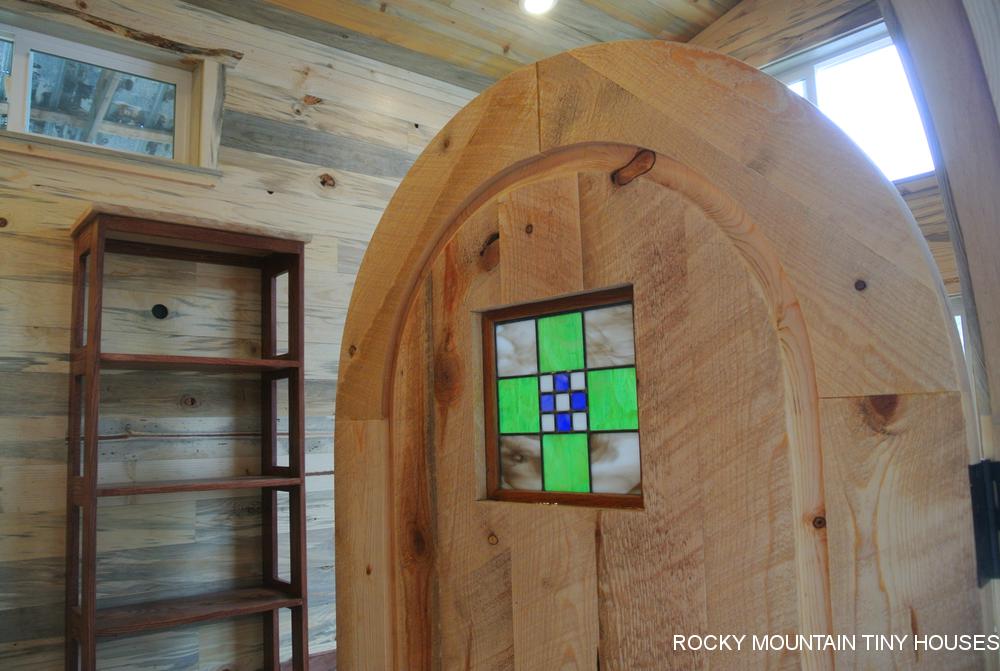
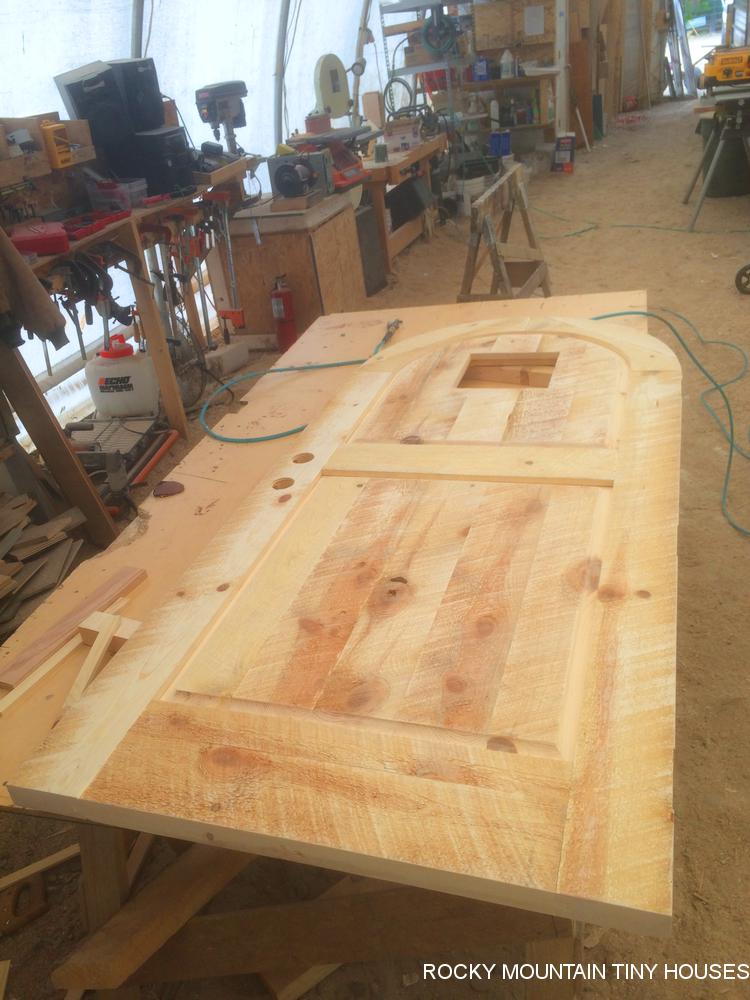
To start things off, the exterior is a simple mix of galvanized corrugated wainscot, cedar lap in the middle, and cedar board and batt up top. A shallow 3/12 pitch travels the full length of the trailer maximizing interior volume. A fold down porch and and fold up awning frame the entry area but fold out of the way for travel. The arch top door was handmade by Greg using locally sourced rough cut ponderosa pine. Pam provided a small stain glass piece that we carefully inset into the door. 

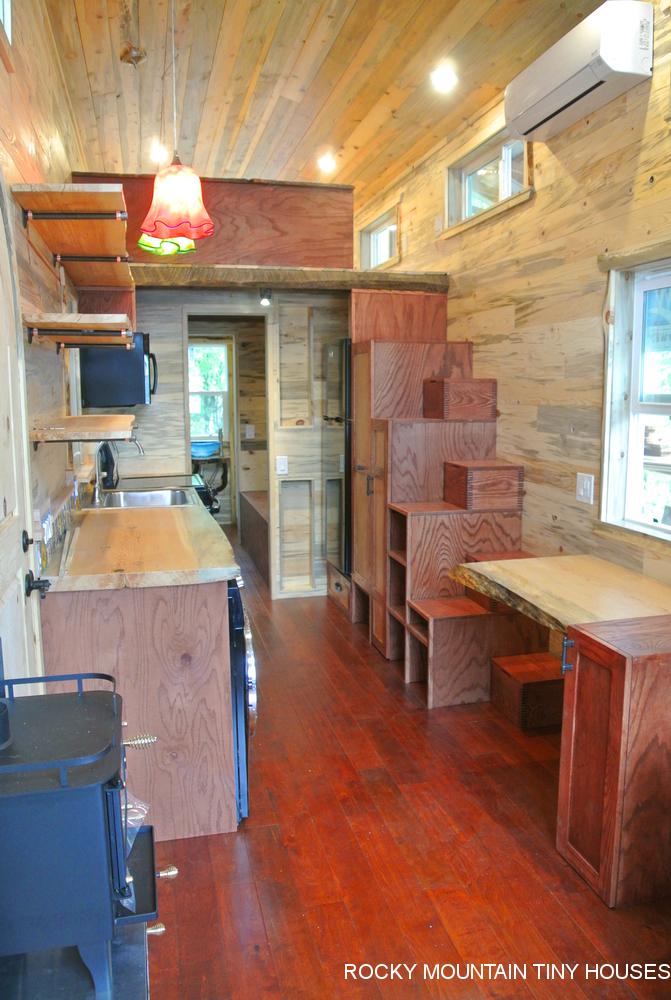
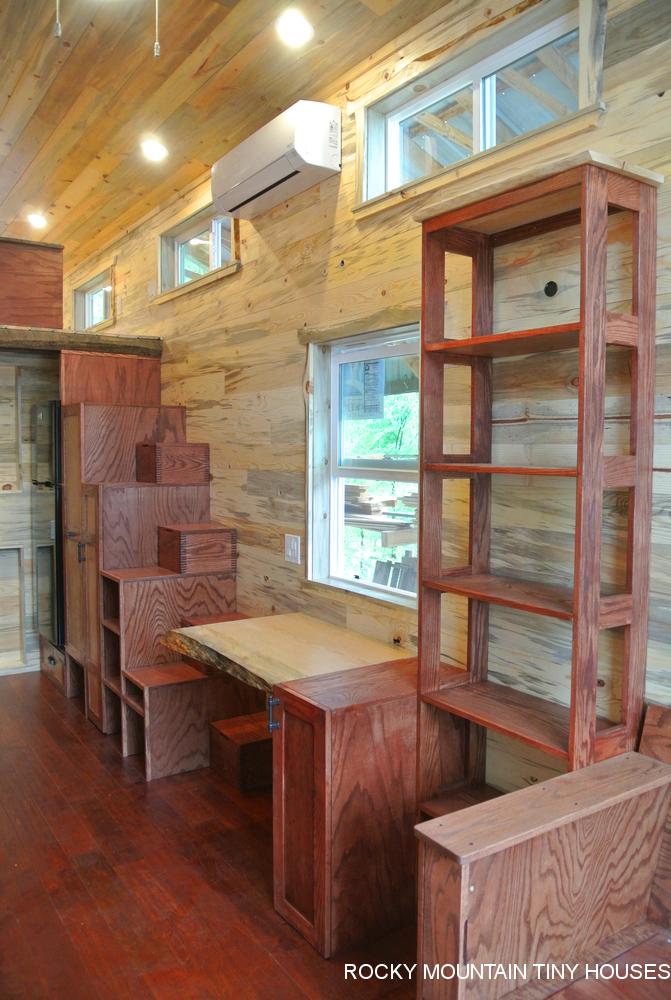
After passing through the front door, one is surrounded by abundant hues of blue stain pain pine, red handscraped flooring, red oak built ins, black appliances, and a little bit of brown found in the reclaimed loft joists. Towards the front of the trailer is the living room, outfitted with an L shape couch with storage below, a large window, room to place an heirloom Indian cabinet with TV above, and to the side of this a Grizzly woodstove with the wall mount kit. 


Next to the couch is a tall mission style bookcase made from red oak, a small cabinet also made from red oak to house Pam’s sewing machine, and then a fold down table made from live edge beetle kill pine. After the table are alternating stairs up the to the guest/storage loft. The main risers are all made from oak plywood, but the boxes were hand made from solid oak using walnut keys to add a decorative yet functional touch. The tops are hinged for easy access inside the boxes. They can also be moved around to be used as step stools or other accessories. The stairs themselves are a combo of open cubbies, a small closet that houses a Dyson vacuum, and a pull out pantry. Adjacent the pantry is a 10 cu ft fridge.

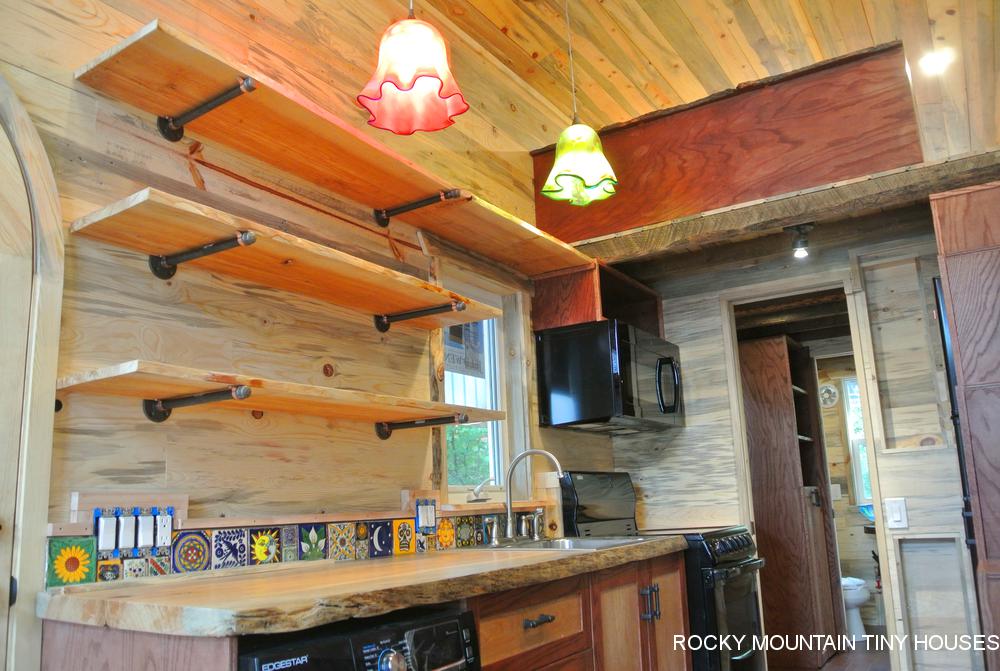
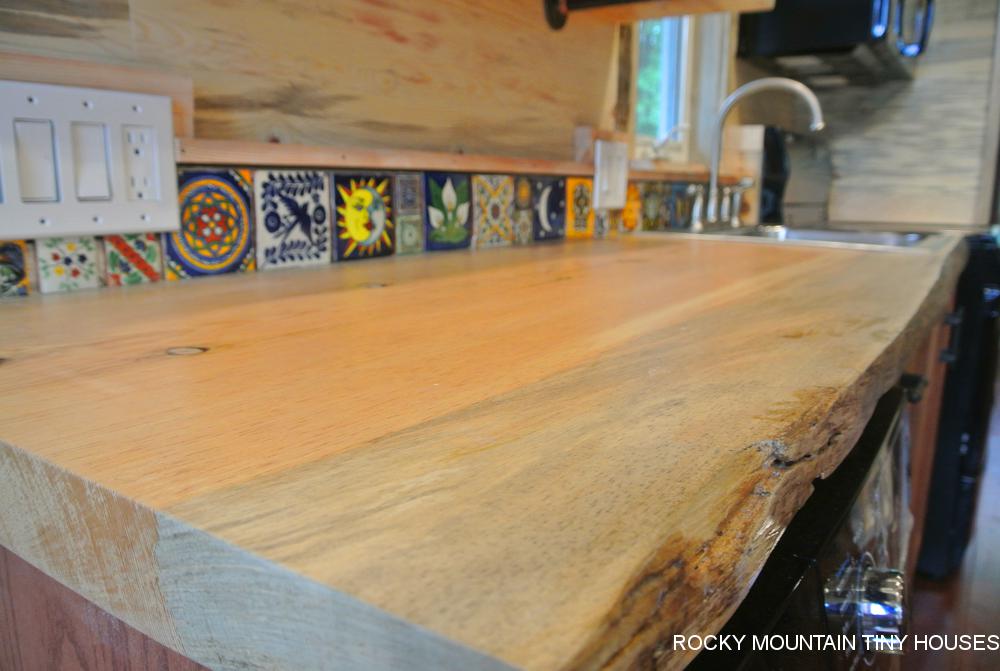
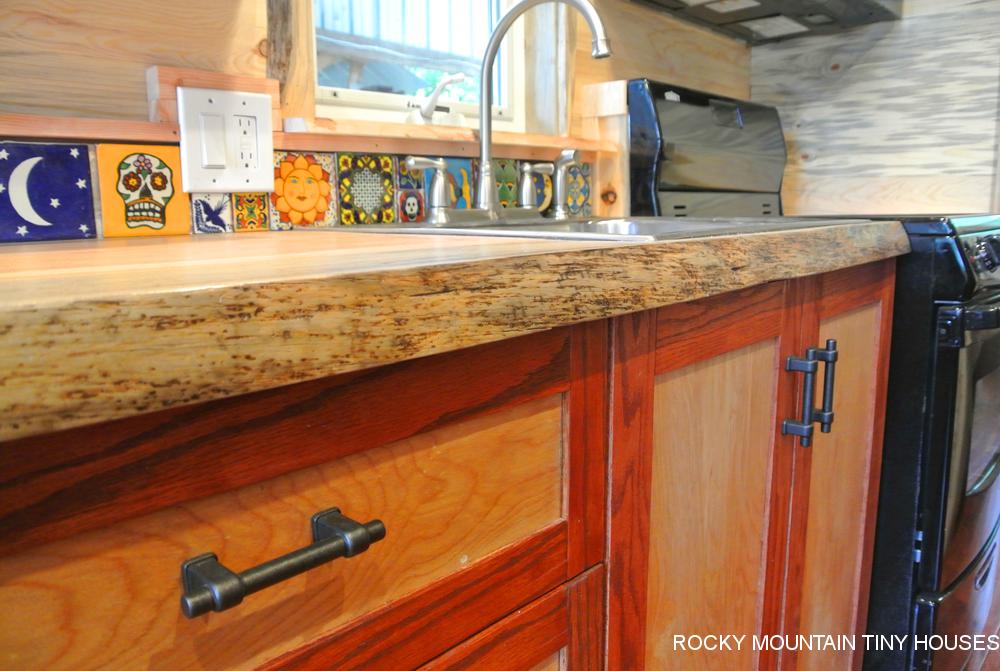
Opposite all of this is the remainder of the kitchen featuring a 24″ range, over the range microwave/hood, large single bowl sink, combo washer dryer, and a large live edge beetle kill slab counter top. Pam provided us with several hand made Mexican tiles she had collected over the years to use as the backsplash. Above the counter are live edge pine open shelves supported with pipe fittings. Above these are two hand blown glass pendant shades with fantastic hues that Pam also provided us. The kitchen also some adjustable shelves built into the wall framing for spice storage.

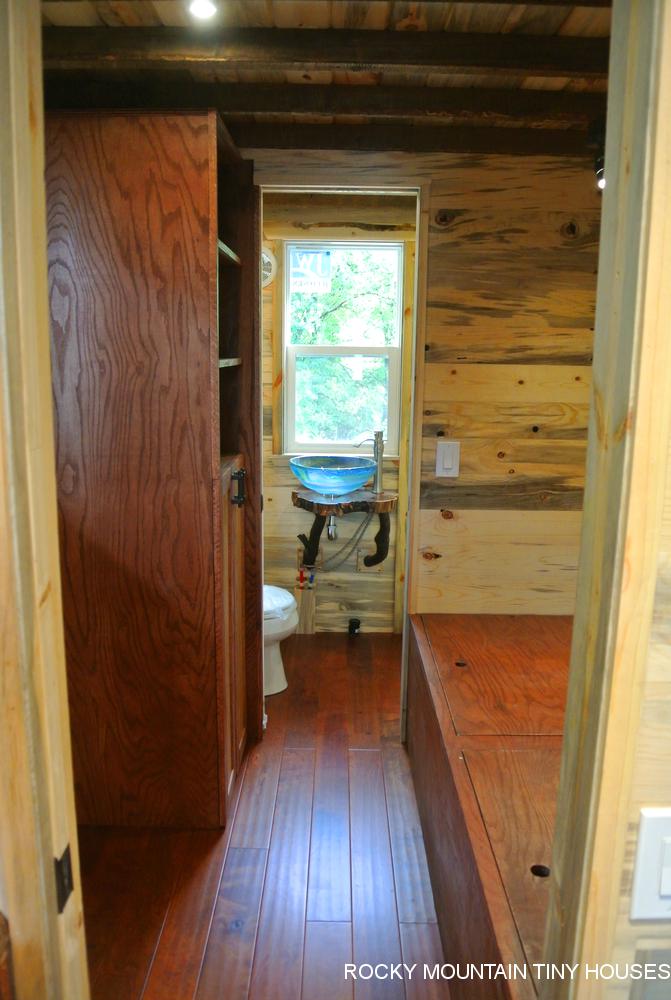
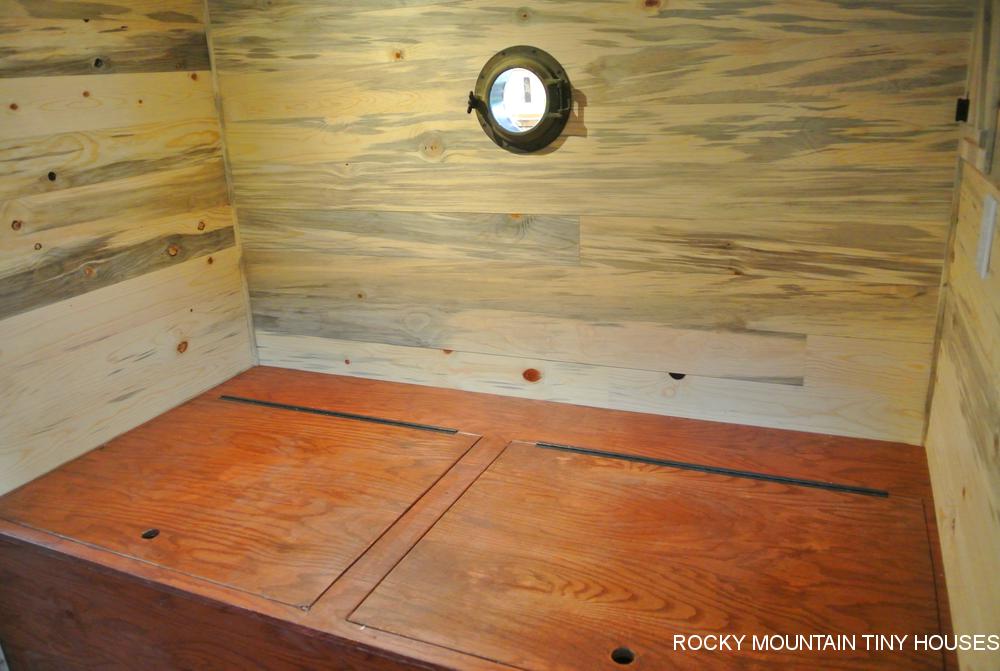
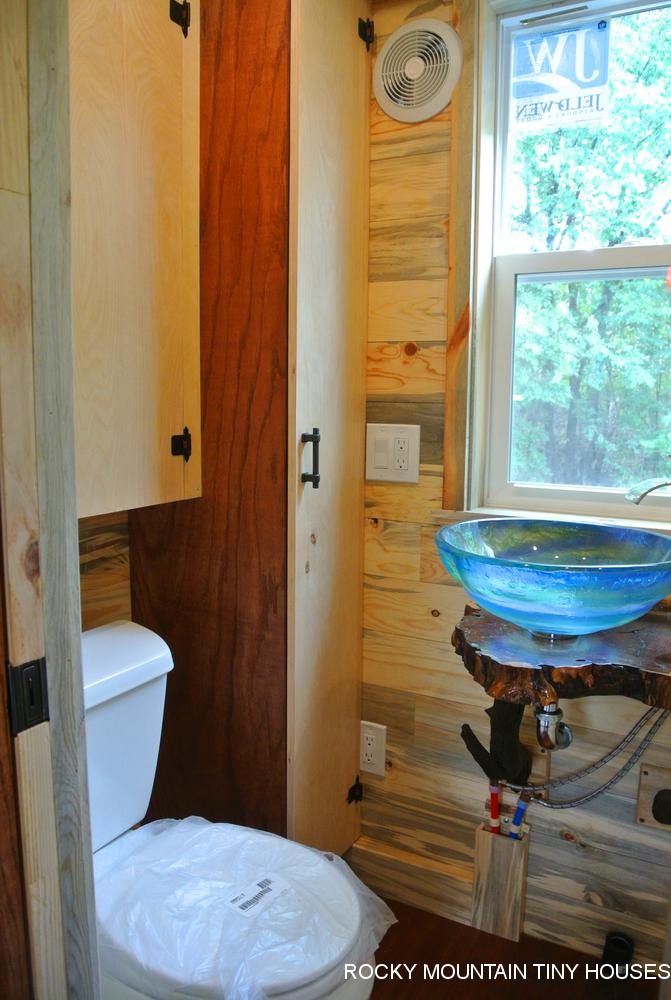
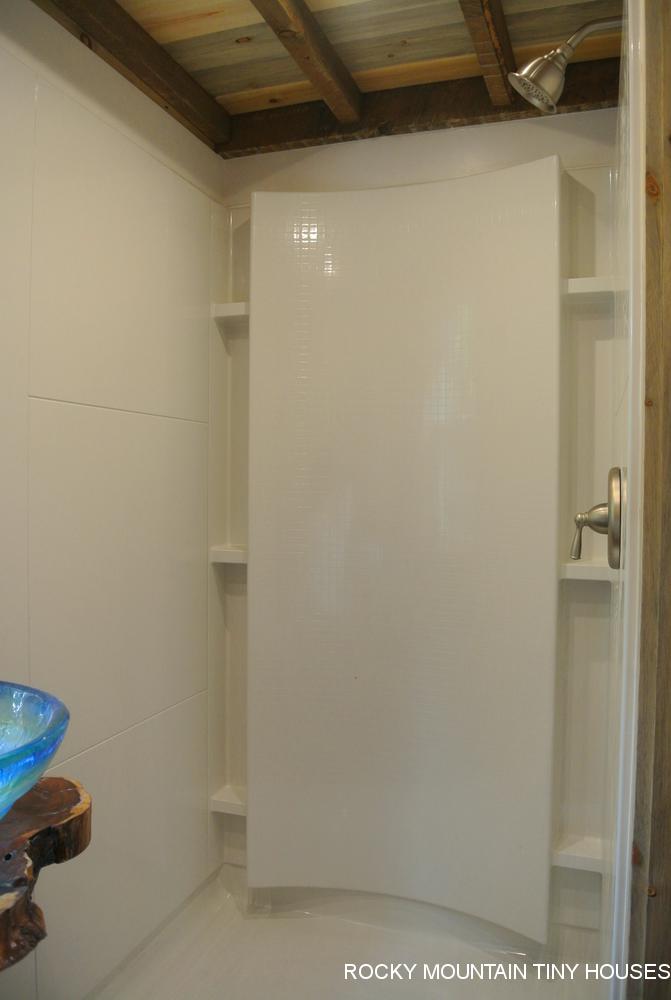
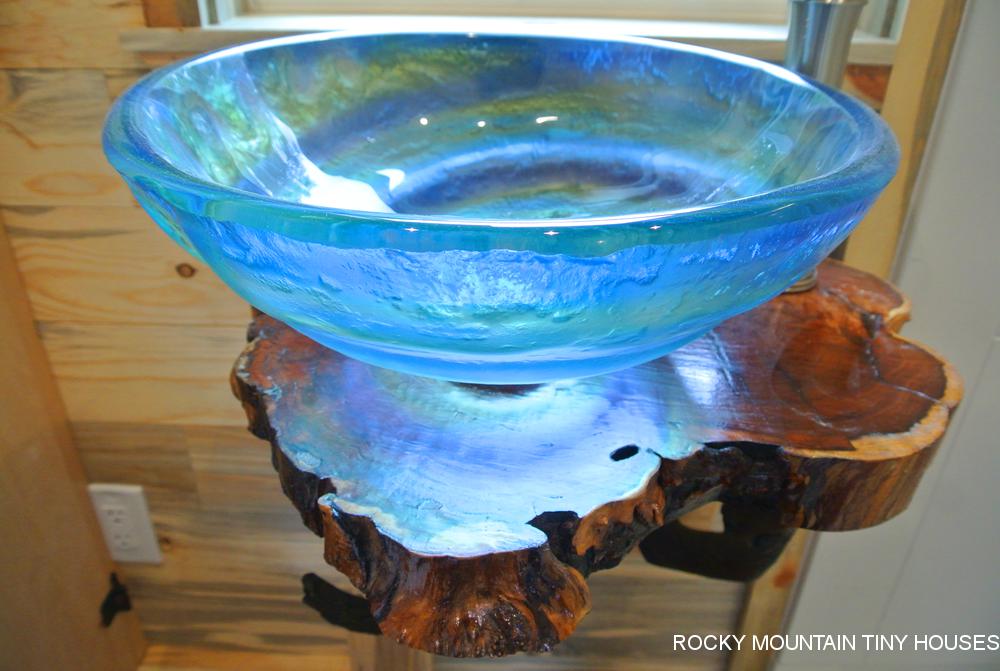
Passing though a pocket door, you enter the downstairs bedroom. On the right is the bed platform  that has storage built in below. We installed a small authentic porthole window in this sleeping quarters. To the left is open space for Pam to place her heirloom cedar quilt cabinet with a large window above. A full height closet is next this space. Another pocket door takes you into the comfortably size bathroom. This space accommodates a regular flush toilet, utility space for the electric on demand water heater, a full height linen, 36×48 shower enclosure, and a gorgeous handmade glass vessel sink provided by Pam that we placed on a live edge slice of cherry. When the light comes through the bathroom window this sink absolutely glows! 


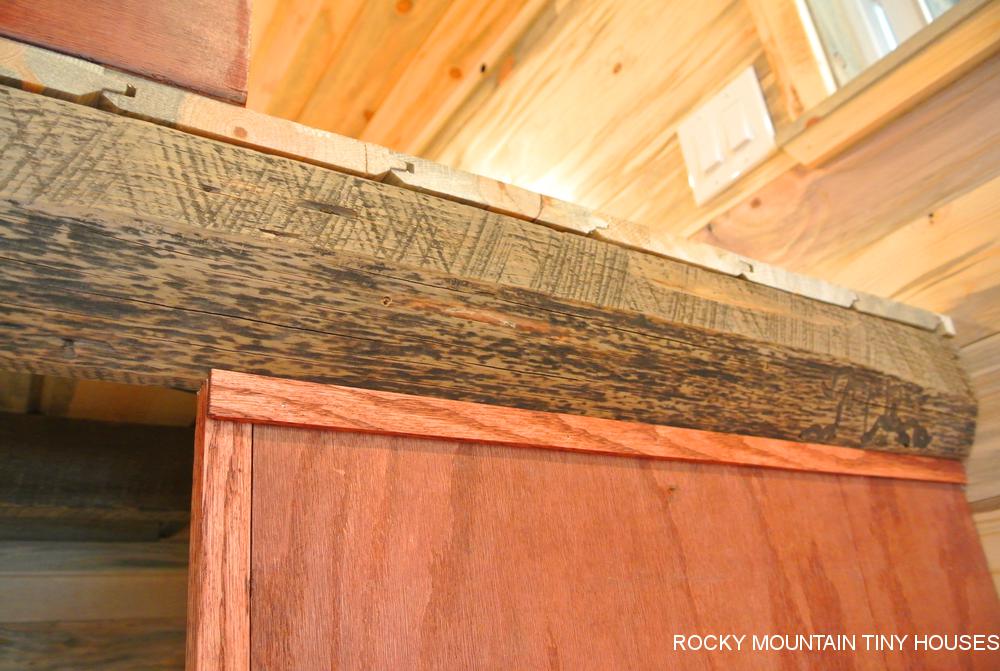
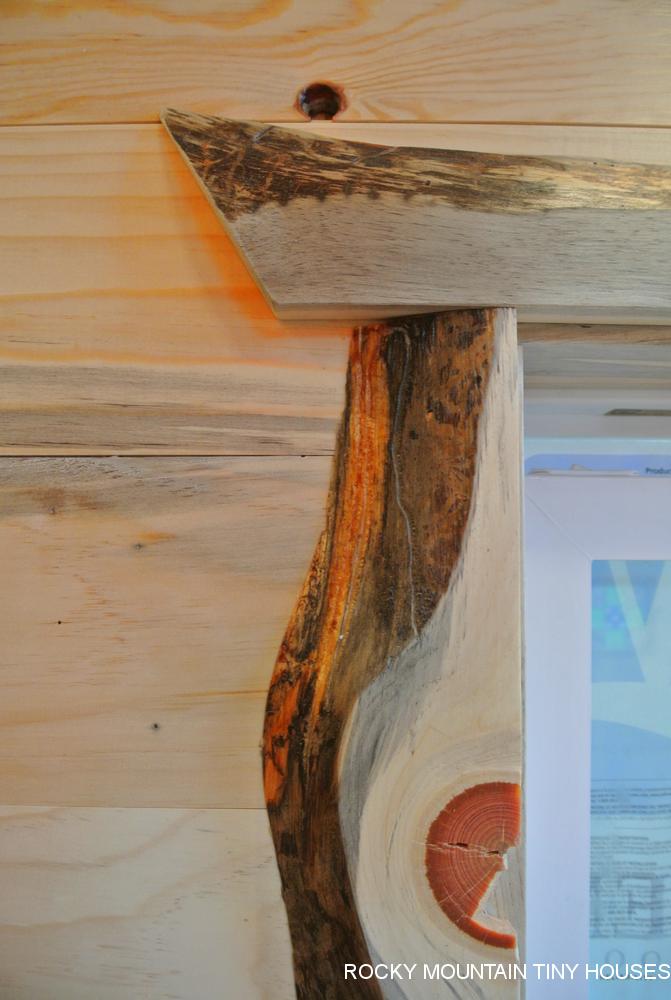
The upper loft in this house was designed for guests and overflow storage. Two notable features are the reclaimed floor joists with tons of character from circular saw marks, bark wane, insect holes, and old nail holes, and a built in cubby wall with a live edge pine top that provides a little bit of privacy and safety to the loft, but also lots of useful storage. One last special request that Pam had was for us to trim out all of the windows in live edge beetle kill. This resulted in some rather unique formations!

.

A few other notes of interest on this tiny house- the walls and roof were constructed from Structural Insulated Panels. The Grizzly woodstove provides primary heat while a mini split adds backup heat as well as air conditioning for those warm humid Missouri summers. This build came in around 13,000 lbs dry and a final price of $82,500. 

Video tour:

https://youtu.be/jYtsH3onKZE 


A few more pics:

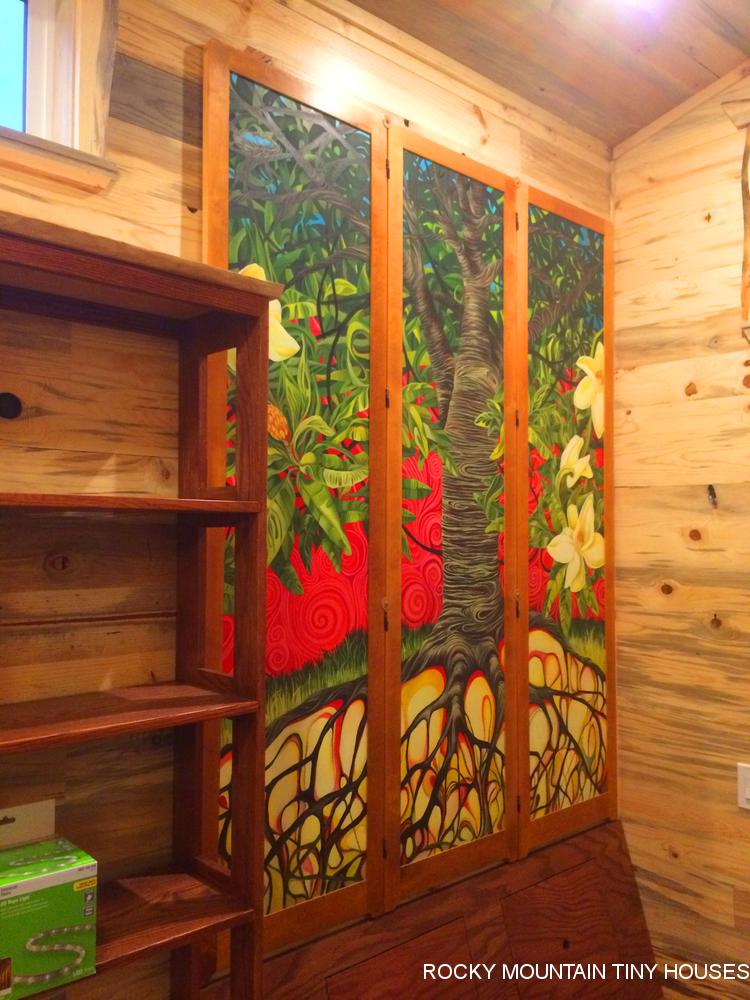
And finally, Here is one of the art pieces we had to plan around…


Filed Under: Tiny House Design Tagged With: 30' tiny house, archtop door tiny house, beetle kill pine tiny house, custom tiny house, handcrafted tiny house, live edge wood, missouri tiny house, tiny house for art, tiny house with downstairs bedroom

« Previous Page
Next Page »
  • Facebook
  • LinkedIn
  • Pinterest
  • YouTube

Tiny House Updates

  • Winds of Change
  • Fall 2025 Update
  • 28′ Bandelier
  • 20′ Hermosa Tiny House
  • The Beatle 22′ Tiny House
  • 10×32 Hill Tiny House
  • Emerald Lake 10×32

Tiny House Magazine

RMTH was recently featured as "Builder of the Month" in issue 32. You can purchase this issue, or any other issue, by clicking here

Oh Yeah

Advertisements