Tiny Living in a Big World

  • About
    • Philosophy
    • The Tiny House Movement
    • How To Get Started
    • Delivery
    • Media
  • TINY HOUSES
    • Gallery
    • Features & Options
    • Shell Builds
    • Tiny House Size Limitations
  • Tiny Commerce
  • Tiny House Plans
  • Pricing
    • Financing
    • Contract Pricing Details
  • FAQ
  • Other Services
  • Contact

© 2025 RMTH

Privacy Policy

Terms & Conditions

Ad Astra 24′ Tiny House

September 25, 2018 By Greg Parham 8 Comments

Check out our latest creation, the Ad Astra Tiny House!  Ad Astra means “to the stars” in Latin, and a fun couple from Kansas commissioned us to build this beautiful custom 24’ tiny house to take them there.

When we initially began the design process, the house was to live in Kansas. However, as the design progressed, so did life, and the house was soon bound for much greener pastures in Portland, OR. That’s the nice thing about tiny houses – they can adapt to all of the changes that life throws at us!
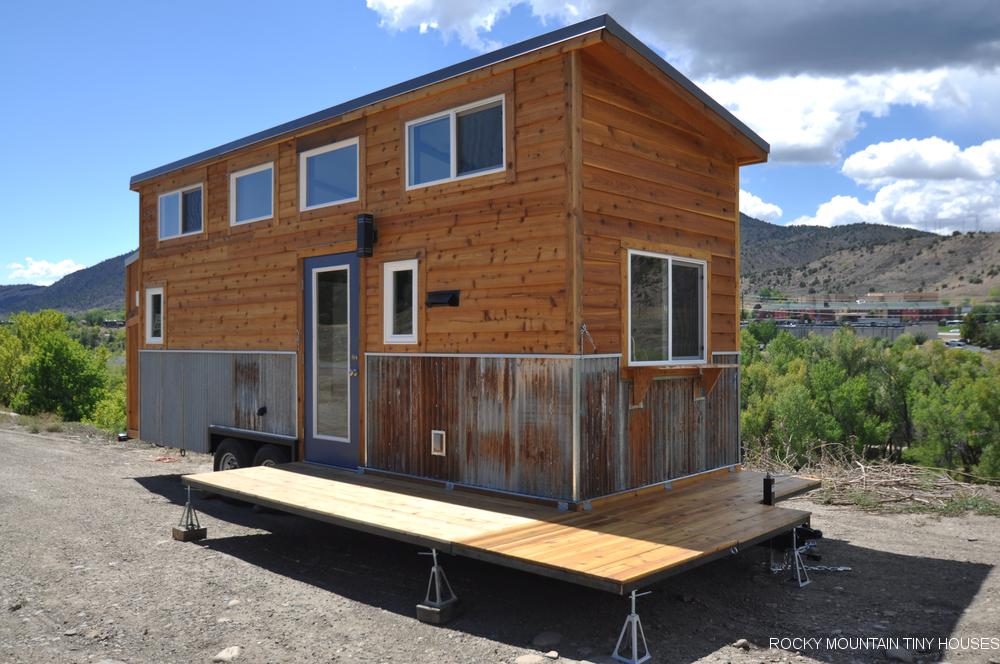
 

This house sits on a sturdy Trailer Made 8’ x 24’ dual axle trailer made in Denver, CO. We used a shed roof to maximize interior space. The cedar lap siding and recycled corrugated wainscot will fit perfectly into the Pacific Northwest setting. A bold sapphire blue adorns the full lite exterior door.  

A large wrap-around, fold-down deck leads from the front door to a serving window outside the kitchen.  The deck consists of three leafs that fold up for travel.   

The Ad Astra features a large storage closet on the rear for outdoor gear. We placed the condenser of the mini split on a bracket high on the back wall to allow more space below for storage.

Ad Astra 24' tiny house storage closet

The customers really liked the interior layout of the Pequod, so we started with that general floor plan and customized it to fit their needs. The engineered bamboo flooring has a hand scraped finish and we stained the pine trim and window boxes to match.

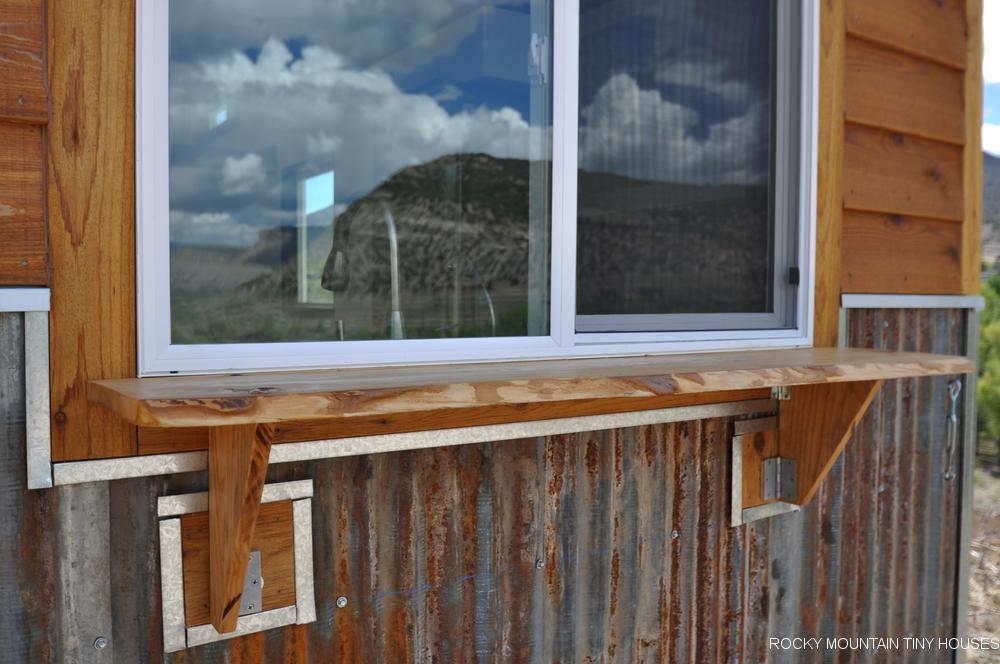
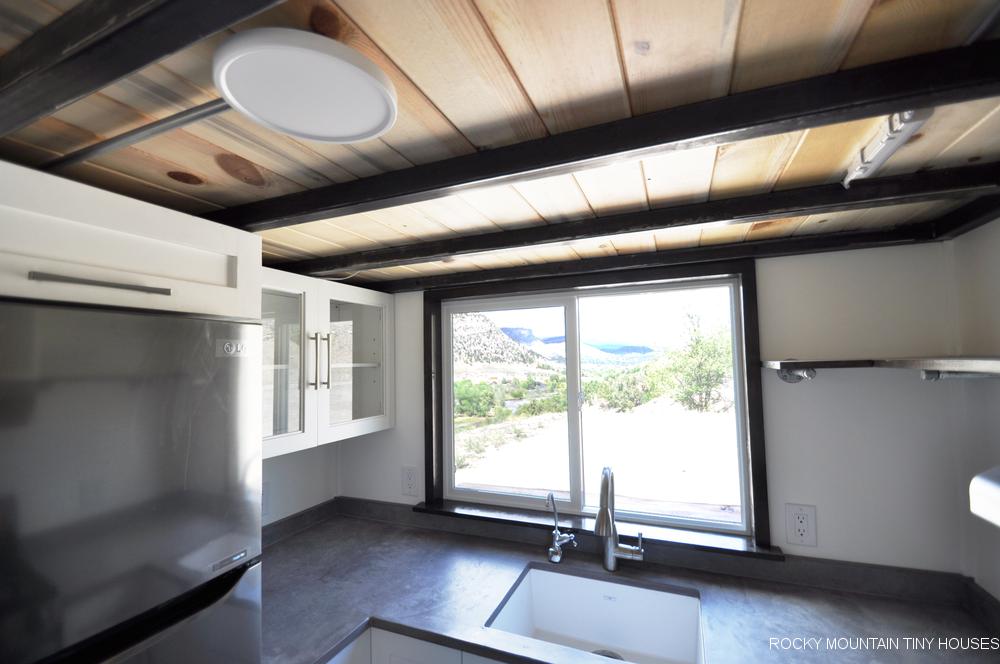
The Ad Astra features the Pequod’s “U-shaped” kitchen. We started with stock, white cabinets and tweaked them where needed to fit the space. One corner of the base cabinets is a lazy-Susan while the other corner is “secret” long-term storage that is accessed from below the sink. The sliding window behind the sink functions as a serving window – a fold-up bar just outside the window will be useful for entertaining.

One of our carpenters is a whiz with concrete, so we put his skills to work on the hand-troweled countertop. The hand-troweling gives it more character than some other concrete methods and brings out its hand-made nature. The customers chose a classic white undermount sink with a tall single-handle faucet.

We were able to locate a stock wall cabinet online for a small space to the left of the sink. We cut out the center part of the cabinet doors and replaced it with glass. This saved a lot of money compared to buying a cabinet with glass doors.
We created a custom pantry/shelf unit to divide the kitchen from the dining area. The bottom houses two pull-out pantries, while the top has adjustable shelves.

Another nod to the Pequod was the nesting dining room table which features two cubes that function as seats and have storage within, a bench, and a 48” long table with fold-up leafs on either side.

This Portland tiny house has a bright, spacious bathroom. The customers chose an all-in-one vanity/sink combo. We incorporated this vanity into a custom wainscot with a glass tile strip above. A frameless mirror medicine cabinet provides extra storage above the sink. A Nature’s Head composting toilet sits next to the vanity.

The tub has white ceramic subway tile surround. We chose a dark grout to tie into the grey hues in the faux wood floor tiles.  

These tiny house dwellers are pet-lovers and the stairway provided opportunities for some custom pet features. First, a built-in glass gecko cage occupies the space under the fourth and fifth treads. Access for feeding and cleaning is granted under the removable fourth stair tread, and an outlet and light are hidden under the fifth stair, with some holes for ventilation. Their cat will enjoy its custom litter box cubby that includes a passive exterior vent for when things get a little smelly.

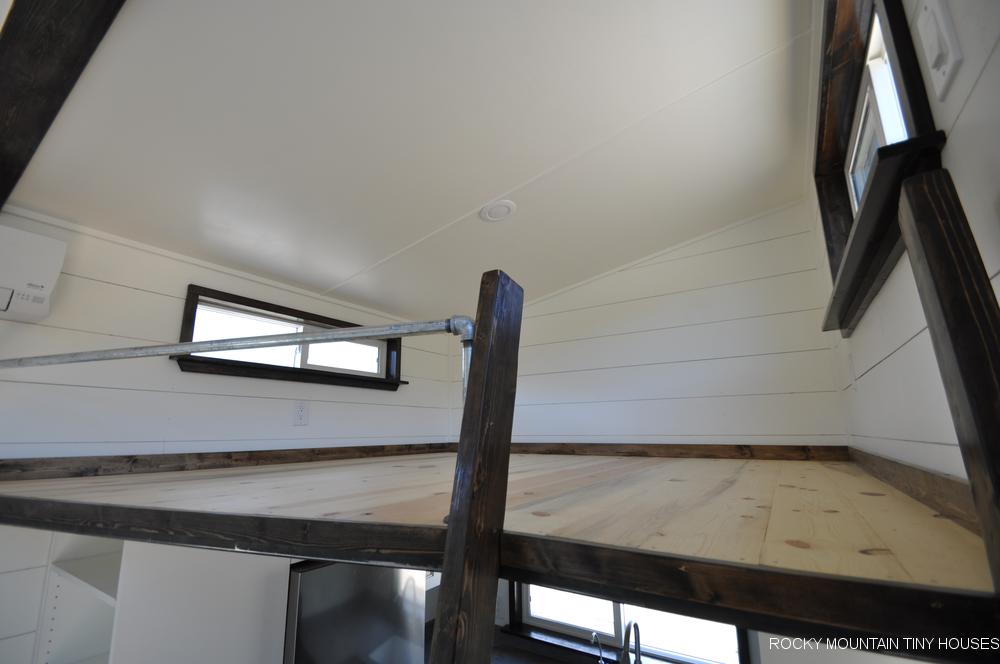
The customers requested a sunken mattress area in the sleeping loft so we built it out of 2×6 wood framing for a little extra depth. Six storage cubbies in the floor surround the queen-sized mattress depression.

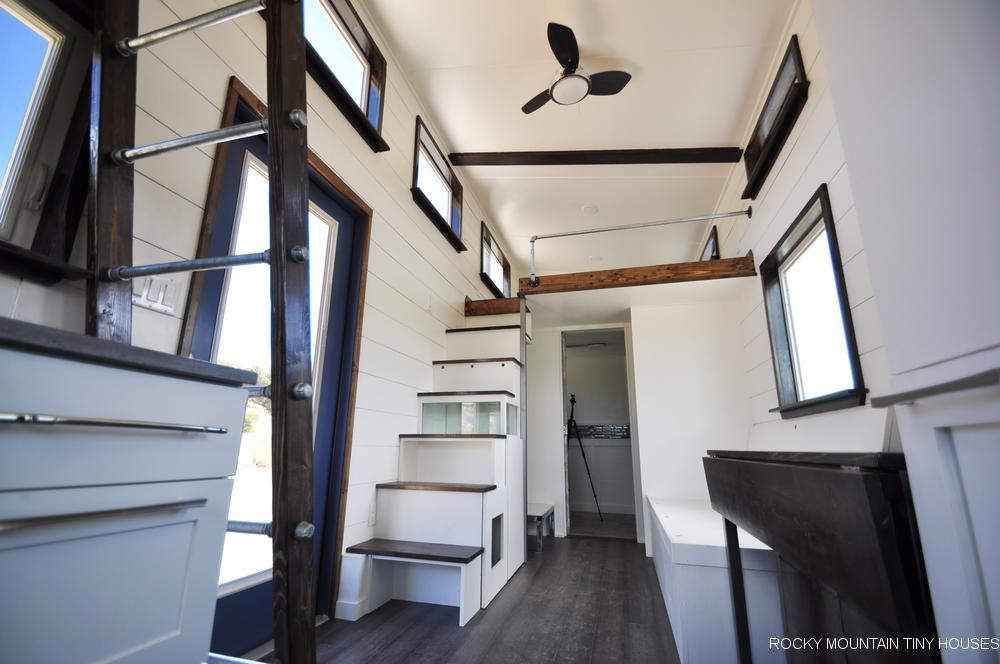
The second loft is a flexible space that will fit a queen-sized mattress for guests if needed. A 2” x 2” steel frame with blue stained beetle kill flooring gives it a slim profile. This loft is accessed from a ladder whose design was inspired by a picture the customers found on Pinterest. We were able to recreate it using galvanized pipes and fittings.
We crafted a custom 6’ long couch with plenty of storage below. The angled backrest even hinges forward to take advantage of every inch of space. The couch sits directly over the wheel fenders and is a nice way to deal with these sometimes-intrusive tiny house features. The seat height of the couch will be at a comfortable level once the customers install 4” thick cushions.

Some final details to note: there is space and hookups for a washer/dryer between the stairs and bathroom wall. There is room above this for storage or closet space. Opposite this is the main closet area. This is our first build to utilize a white painted shiplap for the walls that we milled in house. We could not find an affordable, durable, attractive shiplap product commercially available, so we just decided to make our own! It’s a very clean, modern look without too much expense! Shiplap also deals with expansion/contraction due to climate differences better than other materials, which in this case worked out very well since it shipped to a very humid climate from a dry one! A similarly equipped and detailed build like this one would run around $73k. 

Filed Under: Tiny House Design Tagged With: 24' tiny house, clean tiny house, concrete counter tops, custom tiny house, modern tiny house, Oregon tiny house, portland tiny house, Rocky Mountain Tiny Houses, shiplap walls, Tiny House

4 Reasons Why You Should Build Your Own Tiny House

August 7, 2018 By Greg Parham 1 Comment

The idea to build your own tiny house can seem quite daunting at first. In this day and age, however, building a tiny house is becoming easier and more affordable. With the option to purchase a DIY kit or tiny house plan, building your own has never been easier. Here are four reasons why you should consider a DIY tiny house project.

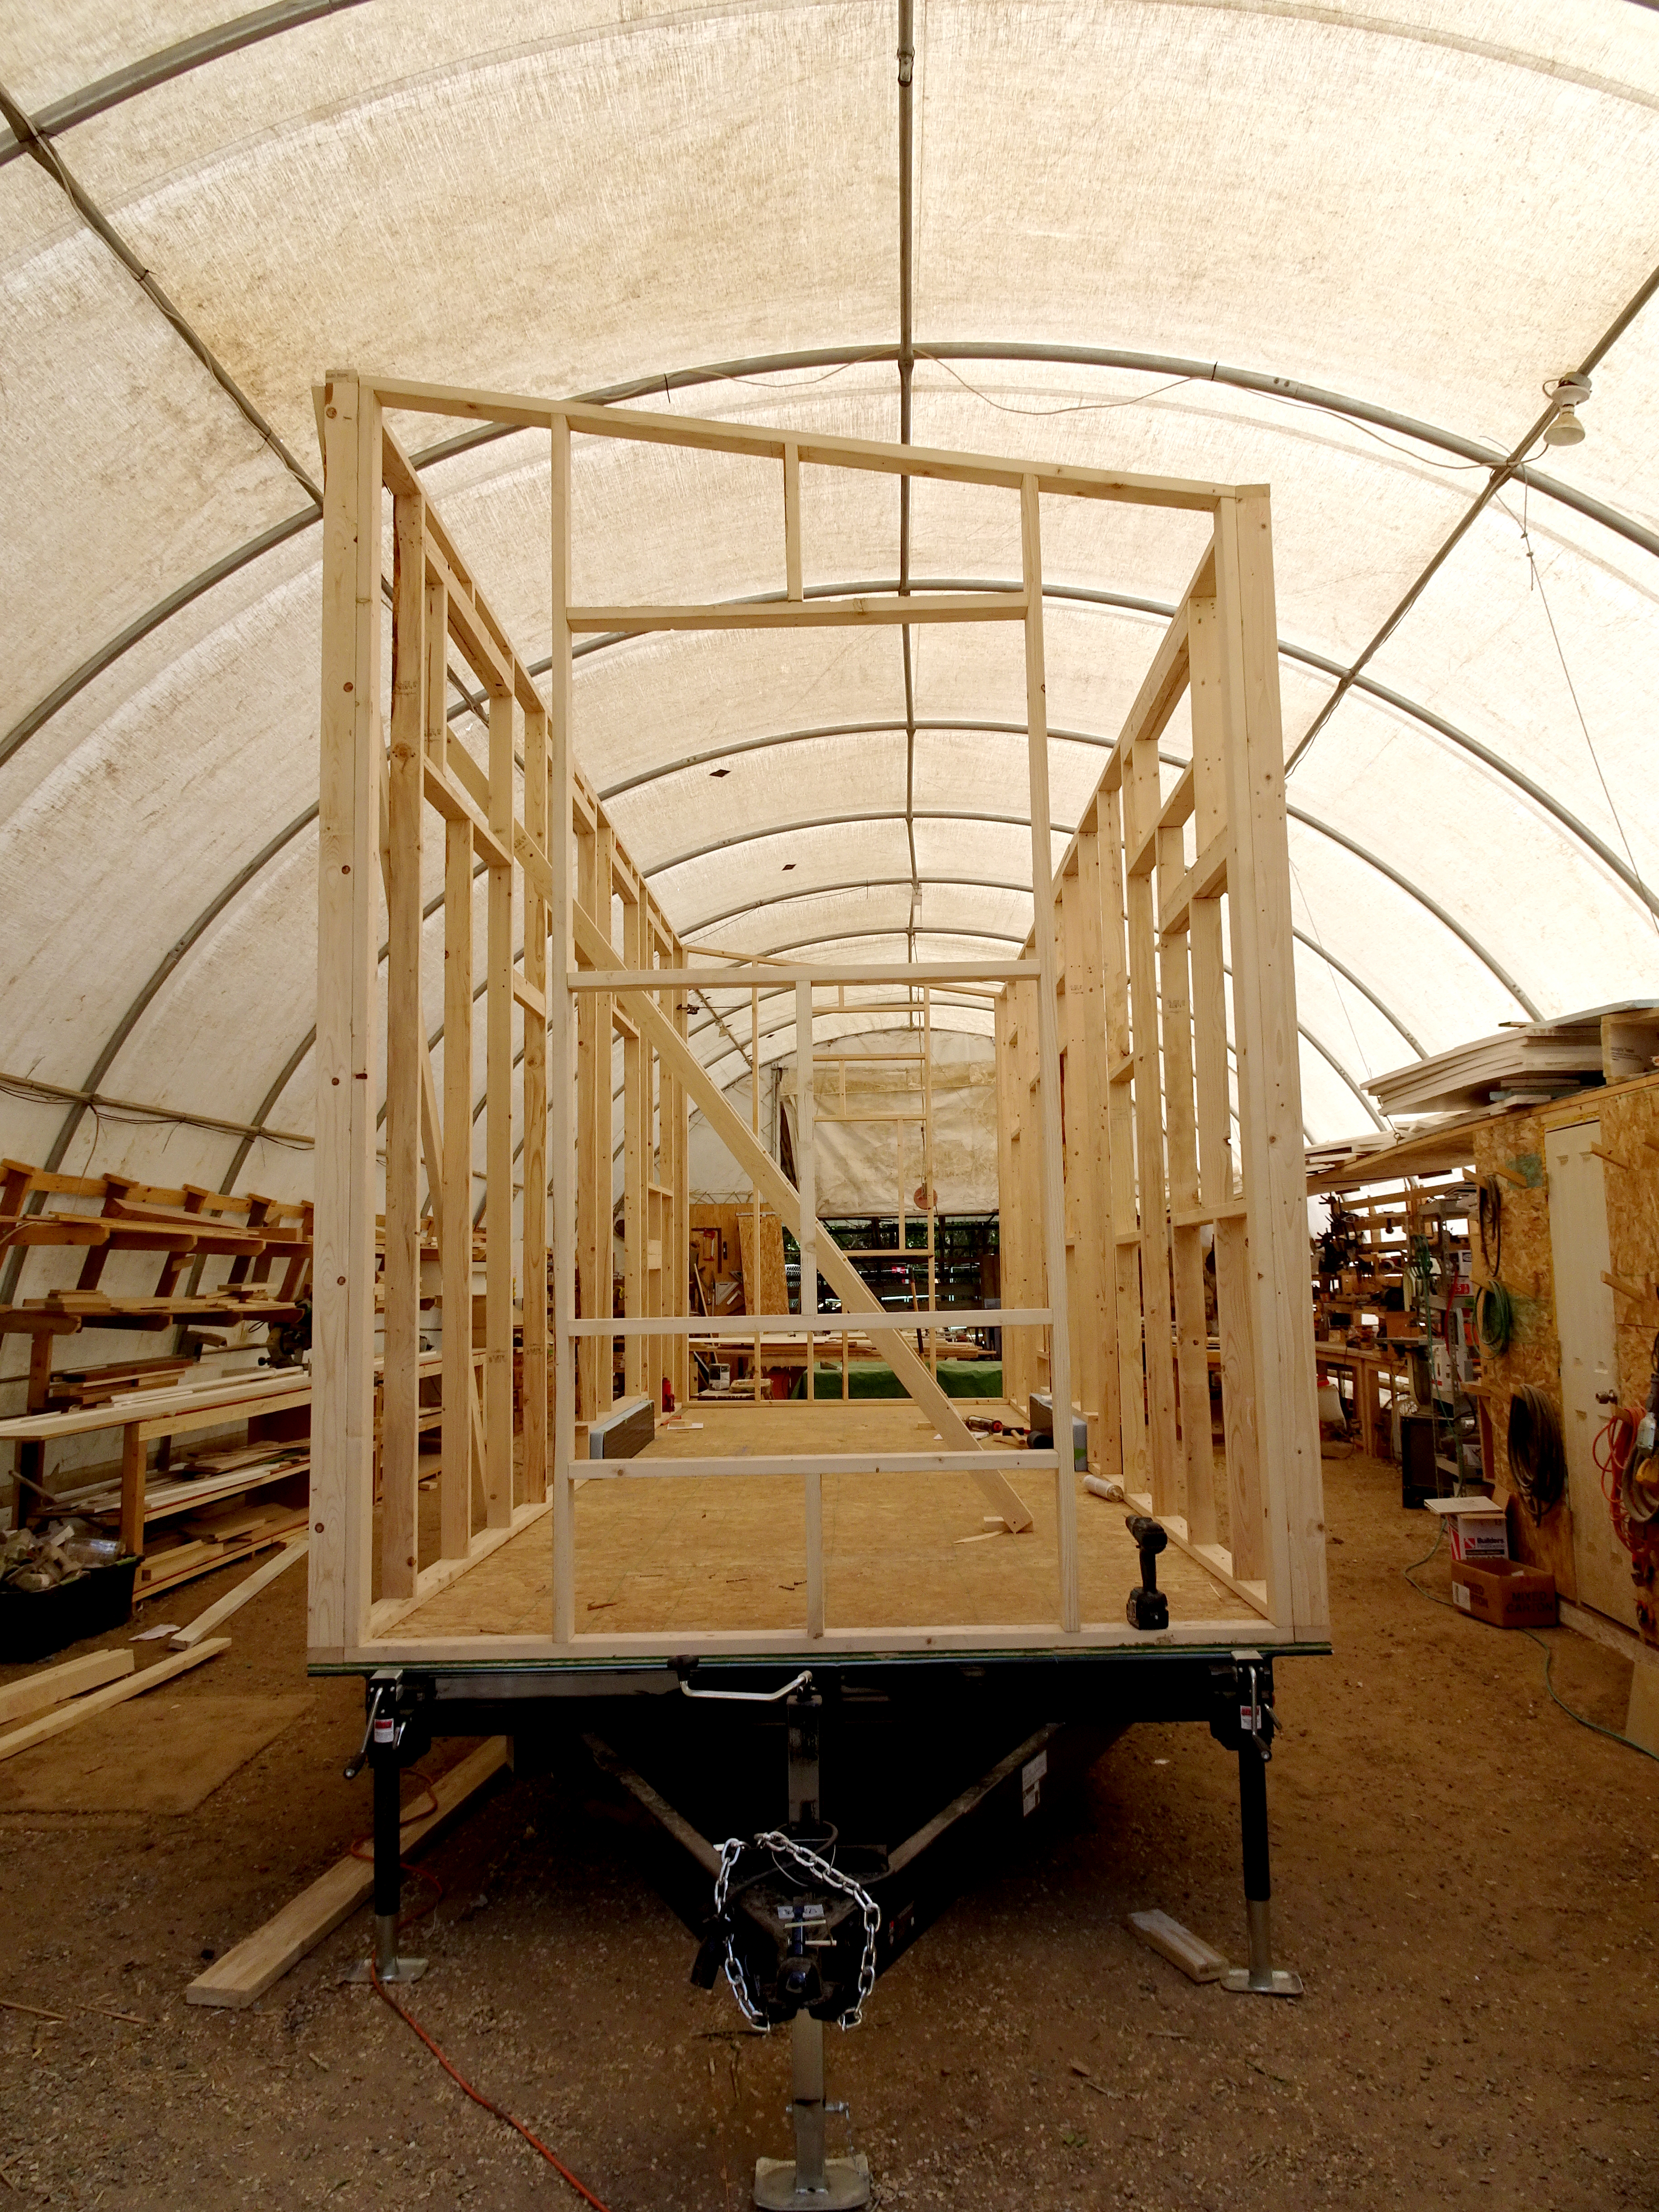
tiny house frame

The frame for a tiny house.


You Don’t Have to be a Professional

Don’t think you have the skills to build your own tiny house? Think again. With our detailed plan sets, all of the instruction needed for the entire house- from the exterior frame to the electrical and plumbing- are included. If you can put together Ikea furniture, you can put together a tiny house.

Save Money

Having a tiny house built requires not only the up-front cost of the tiny house itself, but also a builder’s fee. When you choose to build your own tiny house, you can skip the builder’s fee and put this money toward other modifications to your home.

Our DIY Plans start at $79, and are a great starting point for your project. The best part? You can purchase materials and supplies as you need them rather than all at once.

penny floor

Pennies line a portion of the floor in a custom tiny house.


Customize Where it Matters

Remember that money you saved on the builder’s fee? Put that towards a nicer mattress, smart appliances or decor. When building your own tiny house, you can add your own personal touch, an option that is not available when buying a pre-built tiny house.

Voight Tiny House

There’s no better feeling than finally moving into a tiny house that you built.


Take Pride in the Finished Product

When your tiny house project is completed, you’ll be able to look back and say that you built your home with your own two hands, a feat that not many can say they have done.

Compared to traditional homes, building a tiny house is much easier and cost-effective. Our DIY Plans are available for purchase at any time, and come in four different options: the Crestone, Boulder, Wasatch and Silverthorne Gooseneck. If at any time you feel overwhelmed or stuck, don’t hesitate to give us a call. Our builders are more than happy to help you during the building phase.


Tiny House Plans We Offer

Rocky Mountain Tiny Houses - Crestone

Crestone 14′ – Learn More


Rocky Mountain Tiny Houses - Boulder

Boulder 16′ – Learn More


Rocky Mountain Tiny Houses - Wasatch

Wasatch 28′ – Learn More

Rocky Mountain Tiny Houses - Silverthorne

Silverthorne 31′ – Learn More


Filed Under: Uncategorized Tagged With: DIY, plansets, Tiny House, tiny house build, tiny house construction, tiny house design, tiny house plans, tiny house plansets, tiny living

20′ Front Range Shell Build

March 15, 2016 By Greg Parham 7 Comments

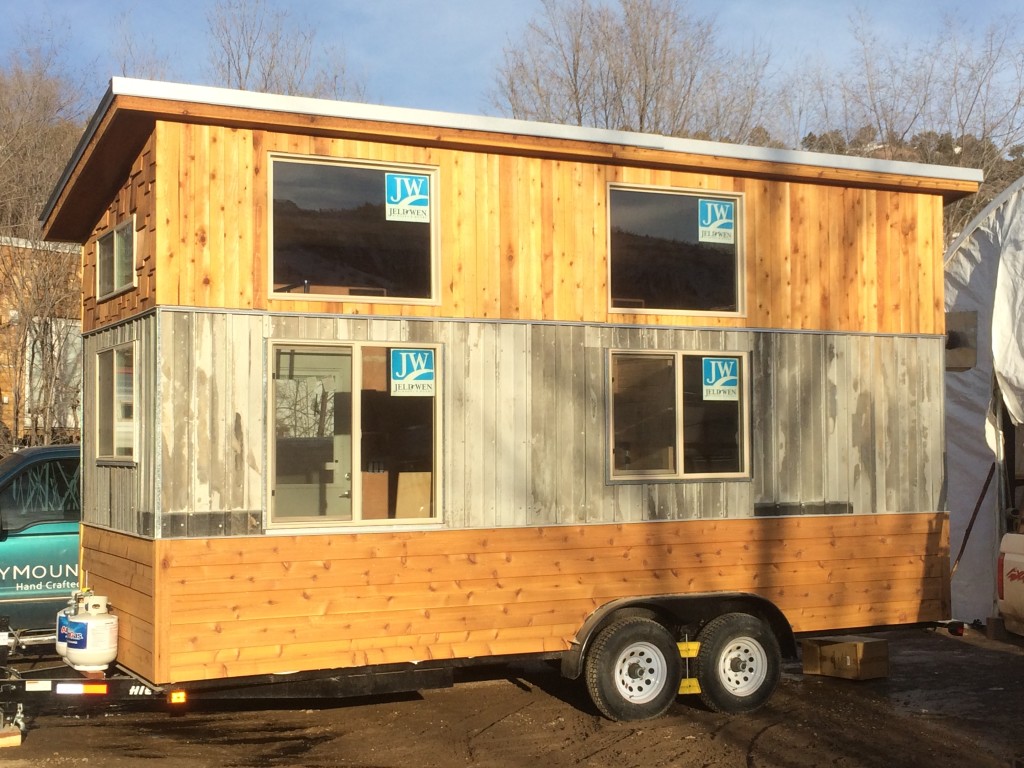
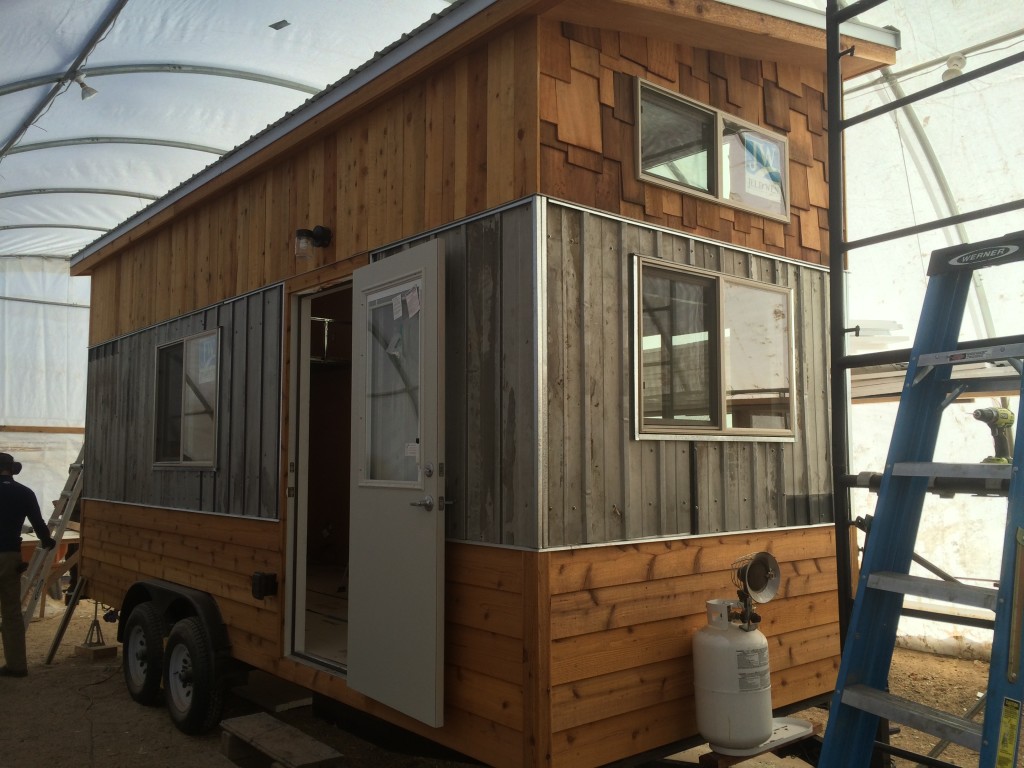
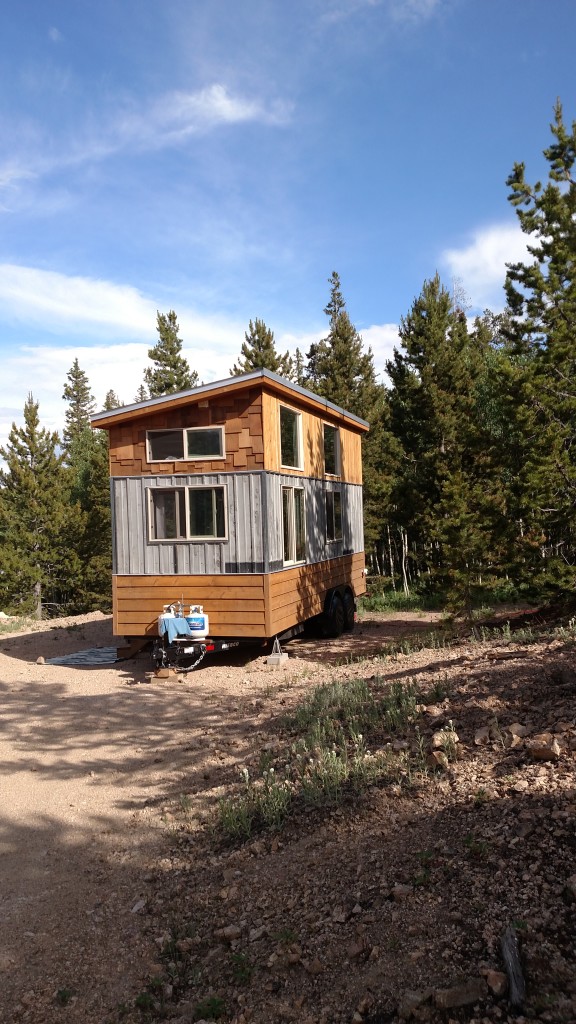
An awesome family in Fort Collins commissioned us to build this 20′ Front Range model (aptly named!) to use as a vacation home up on some land they owned in the mountains. They had a limited budget, but were ready to put in some sweat equity to finish the house on their own, so we focused on what we could get complete within their budget and skill level. The result was a very well crafted and comfortable shell that they have since completed and could not be happier with.

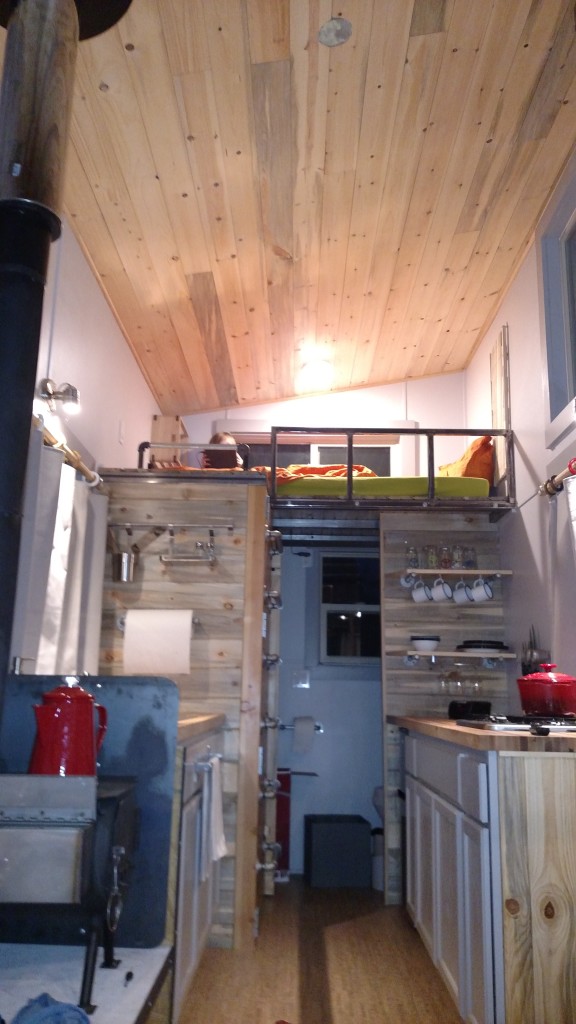
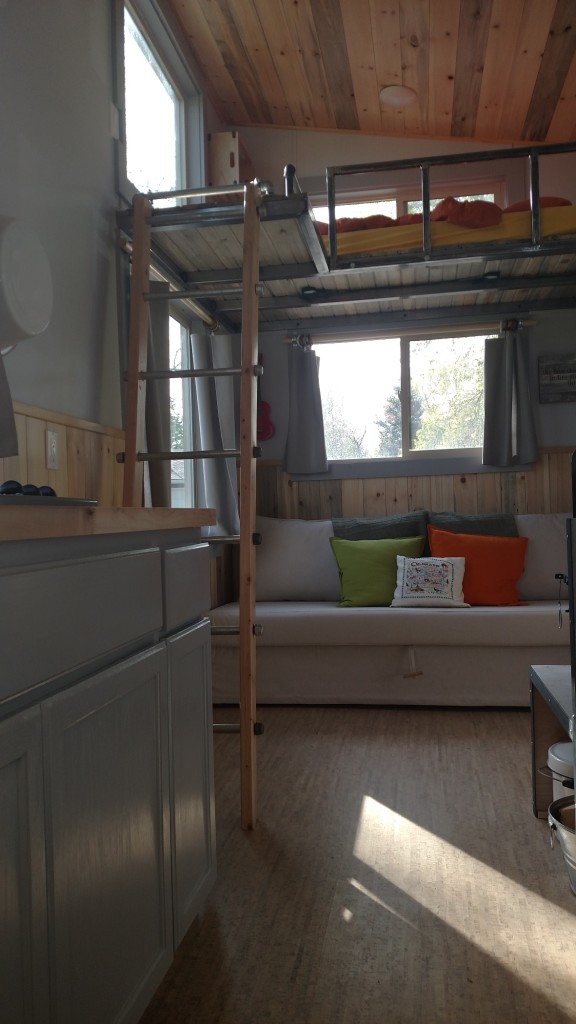
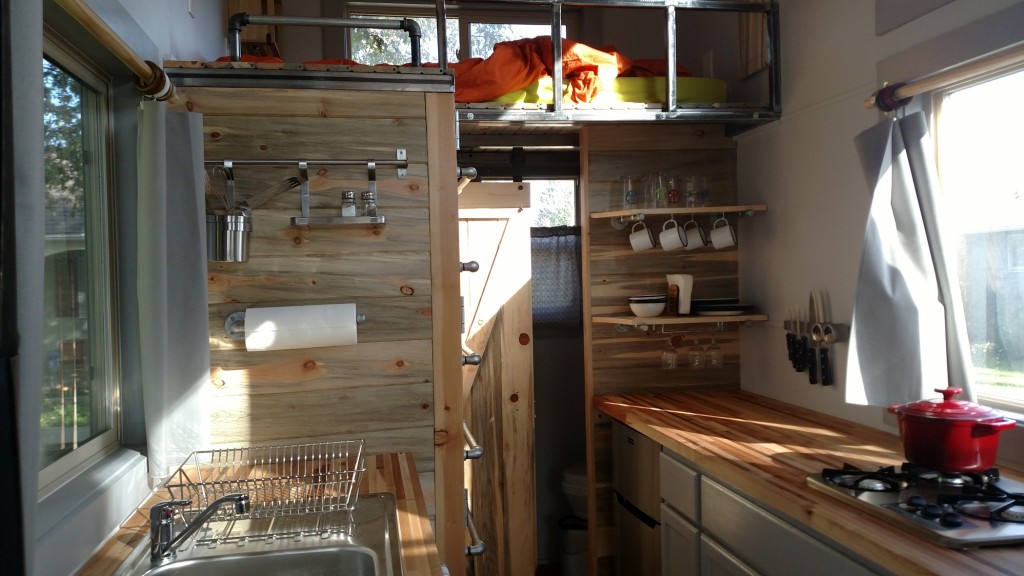
The level of completion on our end is what I would call a 3/4 shell. We stick framed the structure on top of a custom trailer,  installed windows, metal roofing, siding, and an exterior door. The structure was then wired and spray foamed before receiving 1/4″ paint grade plywood walls. Cork flooring and beetle kill ceiling as well as a beetle kill wainscot round out the major interior materials. We fabricated and installed two L-shaped lofts from steel tubing and decked those with more beetle kill t&g. A small woodstove was installed for a heat source. The final step left in the budget was to install a closet and partitions for the bathroom area. Here are some photos of the house right before delivery.

Front Range tiny house shell

Front Range 20' shell

The customer was gracious enough to share some nearly finished photos of the house after a few months of working on it themselves:


20' Front Range Shell interior1

20' Front Range Shell int2

20' Front Range Shell int3

20' Front Range Shell woods

Filed Under: Tiny House Design Tagged With: 20' tiny house, colorado tiny house, colorado tiny house builder, custom tiny house, Front Range tiny house, Rocky Mountain Tiny Houses, Tiny House, tiny house shell

Colorado Cylinder Stoves

January 17, 2014 By Greg Parham 25 Comments

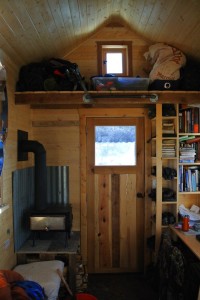
awesome woodstove for tiny houseToday I’d like to share with you a component of my tiny house that brings me great pride and warmth: my woodstove. Heating a house in the rocky mountains, and any cold climate for that matter, is always an important thing to figure out. Tiny houses, by their nature, don’t require much energy to heat, especially the ones I build, but tiny home owners, by their nature, are always looking for ways to simplify, save money, and reduce their footprint. With the rising costs of fuel and/or electicity, woodstoves make a lot of sense. There’s also something nostalgic and enduring about them. If any of you have ever shopped around for a woodstove to put in a tiny house, you’re probably aware of how hard it is to actually find a model that is just the right size and doesn’t cost a fortune. Some of the more popular models I have come across cost at least $1000 if not more. This doesn’t even include the cost of stove pipe, wall thimbles, elbows, accessories, etc. This wasn’t an option for me, so I kept looking.

While on my big summer trip across the Rockies, I stopped in an outfitter outside of Whitefish, MT to buy some bear spray before heading into Glacier National Park. They sold a lot of cowboy tents and accessories, among them, small cylinder stoves that are designed to easily be packed on horses. I thought to myself, these are the perfect size! Plus, they were much more affordable, ranging from $200-$500. When I got back home, I did some more research and found Colorado Cylinder Stoves, a small company in Grand Junction, CO that manufactures these small stoves.

I called Wes, the owner, and we talked for a while about what I was looking for. He was quick to point out that the stock models they sell were not really designed for full time winter use, maybe one month out of the year. However, he got to thinking about it and said that he could just beef up the metal gauge and then it likely would be good for heavier use. We came up with a custom design, he made it, shipped it, and I installed it. I’m happy to say it is just what I was looking for! If you are considering a woodstove for your tiny house, I would give this one some serious consideration. Here are the details, and some pictures.

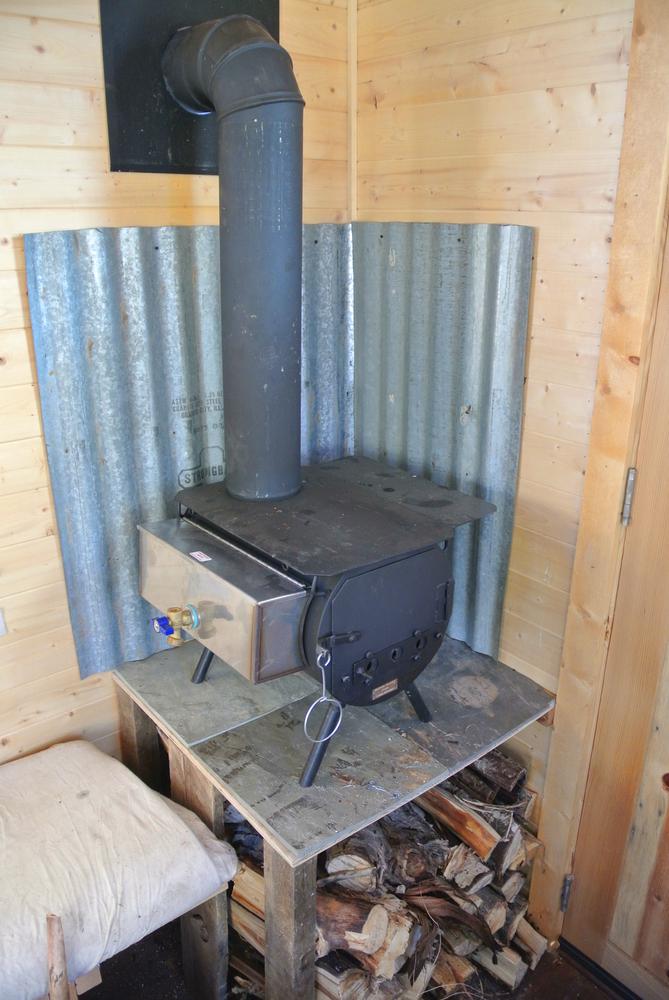
My custom model is based on the Mesa package. The dimensions are the same, it just uses thicker steel, so it won’t warp if it gets real hot, and it will hold up much longer. It is a little heavier, of course, which does factor into tiny house design, but the whole thing still weighs less than 50 lbs, even with the stove pipe and accessories. It’s small, after all. The package came with the stove, some threaded legs that can be cut to adjust the height, a coal grate, a stainless steel water heater that mounts on the side, a spark arrestor, the stove pipe, a flue, a stovetop extension, and a wall thimble, a part that safely allows the stove pipe to pass through the wall.

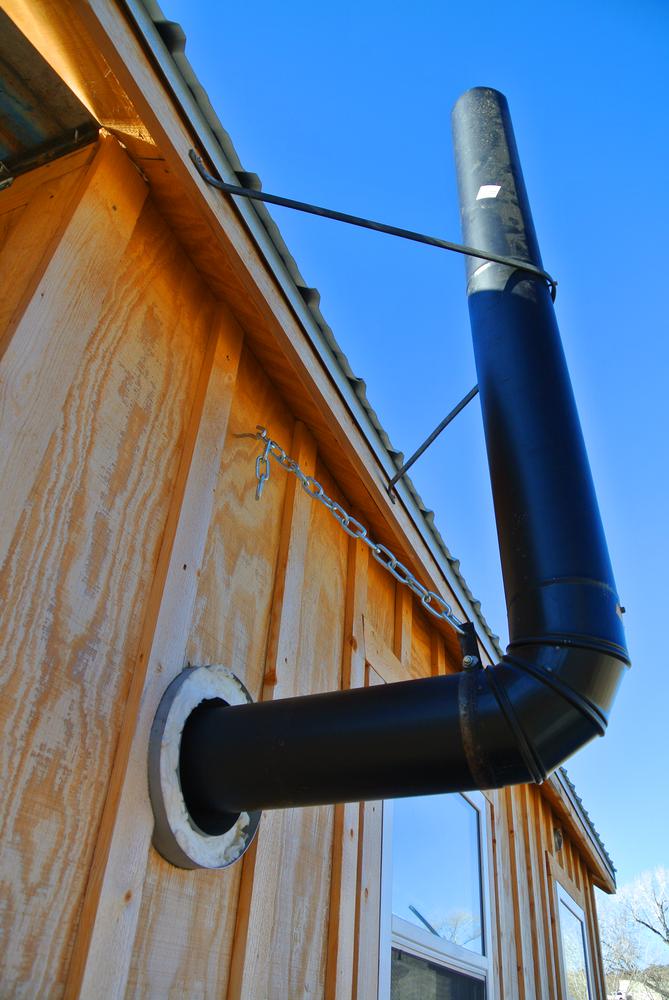
I started out by building a platform that I can store firewood under, but it also raises the stove off the floor enough so I don’t have to bend down to put wood in. I also have a couch kind of close to the stove, so this gives me a safer distance from the unit to my couch mattress. I put some slate tile down to protect the plywood from heat. I then chopped the legs so the stove sits 6″ above the slate. The stove pipe comes in 24″ lengths. I installed the flue per instructions and ran the first piece up, put an elbow on, then cut my hole in the wall for the thimble. I ran another 24″ piece horizontal thru the thimble, and then another elbow, and two more lengths straight up. I secured the stove pipe to the house using a piece of scrap steel and a chain I had laying around. This steadies the pipe during hard winds, and also keeps it from falling down. To finish things off, I placed some scrap corrugated metal in the corner to reflect the heat into the room and keep the tongue and groove pine wall from getting too hot.

woodstove for tiny house

installing woodstove in tiny houseI’ve been using the stove for over a month now and it works great! You can control the fire level by adjusting the flue and the air intake, which is a simple slider bar covering some holes in the door. It’s so simple, yet so effective. If the stove had a downside, it would be that you can’t fit huge logs in it. But then again, we’re talking about tiny houses here, so you don’t really need to. Even on subzero nights I’ve had to crack windows because this thing was already putting out so much heat. Unlike my propane heater, which just kind of heats the air and relies on convection, a woodstove also heats by radiation, which is more comfortable. It’s the same way the sun heats your body. The radiant heat actually heats the surface of the house, as well as any nearby objects. It’s a deep heat that will last into the night. At some point, the fire will die out and the heat will taper off, but for me this doesn’t seem to happen until about 6am the next morning, at which point, my propane heater will kick on using the lowest setting and keep things warm enough until I wake up and either leave the house or decide to get the fire going again.

So what about cost? Everything pictured above, including shipping to my door, cost less than $500. Still a chunk of change, but considering what you get, it’s a great deal. My firewood was free. There are tons of downed cottonwood trees on the property I live on, most of which have been seasoning for years. I just had to collect, cut, split and store, so perhaps there’s a bit of sweat equity involved, but I consider this a good workout, and instead of paying for a gym membership I’m providing myself with nice comfortable heat for the winter.

There are of course some more options for woodstoves in a tiny house, but for now I just wanted to focus on this one since I am personally using it and having fantastic results. If you wish to order one from Colorado Cylinder stoves, tell them you heard about them from me, and make sure to explain that you need the same design and package that I ordered. One last thing that I and I am sure they will point out, is that these stoves are not UL listed and they were never designed for this type of application. Well, my bike was never designed to be used as a snow plow, but I’ll be darned if it doesn’t move some snow around quite easily. Just use common sense, read and follow directions, don’t over-fire the thing, and you should be good to go. I’m not responsible if you burn your house down because of carelessness or improper installation. The same holds true for any woodstove though, so please know what the heck you are doing, and if you don’t, hire a professional.

Filed Under: Tiny House Design Tagged With: colorado cylinder stoves, firewood, installing a woodstove in a tiny house, Tiny House, tiny house heat, woodstoves

The Art and Science of Fold Down Porches

October 30, 2013 By Greg Parham 5 Comments

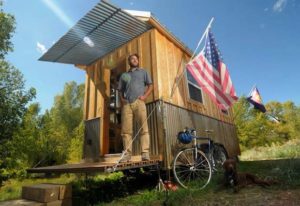
Greg Parham Rocky Mountain Tiny Houses

Photo courtesy of the Durango Herald

Fold down porches for Tiny Houses are awesome. They allow you to have a larger porch without taking up any of your trailer floor space. When its time to pack up and move, they fold up into the house and won’t add any length or wind drag to the house while in transit. Those little 3×3 porches you see on a lot of Tiny Houses are cute, and they are somewhat functional, but with a full width porch that is 42-48″ deep, you will actually be able to place some chairs out there and enjoy a nice rainstorm. Plus, you get to reclaim that extra 9 square feet into your house.

I have been getting a lot of questions and seeing a lot of comments online about how I built the fold down porch on my Durango, so I wanted to share with you how I do it. Your Tiny House design will invariably differ, so don’t copy my details verbatim, but instead, try to understand the concepts and materials you will need to complete this project. I offer this article as advice, NOT engineering consulting.

The folding porch consists of four basic elements: 1. The porch 2. The porch hardware 3.The roof 4. The roof hardware. I’m going to break each component down so you can understand it better.

Porch I used 2×2 square steel tubing (anything from 11-16ga)  to make the rectangular frame of my porch. I mitered the corners and a friend helped me weld it all together. There are three joists dividing up the span that the decking will attach to. This can be 2×2 as well, but something like 1 1/2″ angle iron or square tube will work as well since the span is only 36-48″ between the main frame. You could build your frame out of wood, but it will be heavier and I’d suggest you use metal connectors and bolts with locknuts. If you use steel, you will need to use self tapping screws to attach your deck boards to the frame, or drill pilot holes and find a screw that will have good grab. My porch uses a composite decking material that is super light and utilizes a concealed clip fastener system. This is nice if you don’t want to see any screws on your boards. You can use any decking material you want; it needs to be strong, light, weather resistant, and easy to install. I recommend 2x cedar, redwood, or cypress. If you have a planer, you can shave that 1 1/2″ down to 1 1/4″ to knock off a little weight. Newer composite systems are ok too in the 4/4 or 5/4 thickness.

Porch Size This is ultimately up to you, but here is how your house design will likely determine this for you. If you have a gabled house with the door at the rear of the fold down porch dimensionstrailer (like mine) then the width can be the width of your house (about 7′-6″). I recommend making your frame 3″ shorter than this so your deck boards overhang 1 1/2″ either side. The depth will be determined by vertical distance from your eave to the bottom of your door. When your porch folds up and your roof folds down, you don’t want them to overlap in the middle so they sit nice and flush against the wall. As a general rule, its nice to have the roof overhang the porch 6-12″. So, lets say you have 96″ from where your eave meets the wall and the bottom of your door. Half and half would be 48″/48″. I want my roof to over hang 12″, so I’m going to make the porch 42″ deep and the roof 54″ deep. Make sense? Another thing to take into account is your deck board width. You don’t want to have to rip a piece, so size your frame such that the first and last boards overhang the frame 1″ or so. If your board is 5 1/2″ wide and you leave a 1/4″ gap, that means the overall depth will be 40″, so your frame should be about 38″ wide.

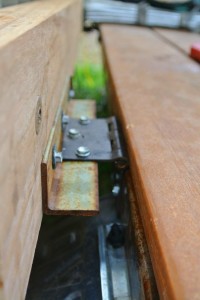
Porch Hardware There are several ways to go about the hardware. At the very least, you need some heavy duty hinges to Tiny House porch hingeattach the porch to your house framing or trailer steel. It is critical that you place the hinges in such a way so that the porch doesn’t bind when your fold it up. The easiest way to do this is to have one leg bolt to the deck (and through the frame) of the porch and the other leg bolt to the trailer at a 90 degree angle. My design is a bit different and require lots of extra parts but I don’t have an exposed hinge on my deck.

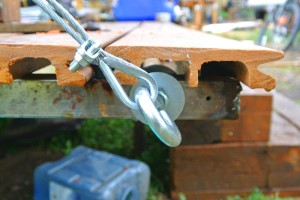
Next, you will need some way of supporting the porch once it folds down. At first, I toyed with some adjustable legs that would use a Tiny house folding porch cablethreaded bolt to account for ground height differences, and I still think this would be a good way to do, I just ran out of time and had to figure something out in a pinch so I came up with the cable idea. I drilled two holes in my steel porch frame, attached two heavy duty threaded eyebolts, screwed in some heavy duty lag eye bolts into my corner studs at a height that would match the porch eye bolts when folded up, and ran some 3/16″ aircraft cable between the two.

tiny house folding porch turnbuckle

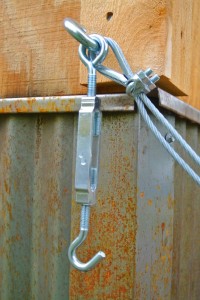
Lastly, you will something to secure the porch to the house while in transit. Having had two eye bolts already in place, I bought some large turnbuckles to connect the two. One end stays semi permanently attached to the house while the other end can hook on to the porch bolt and I can twist the buckle firmly to snug the porch up against the house.

Roof and Hardware I wanted a real slim floating kind of feel for my roof, so, I found some recycled
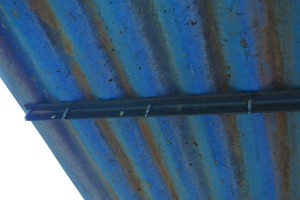
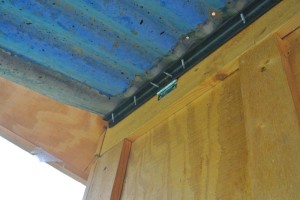
corrugated metal, cut pieces to length, and bolted them together with self tapping screws and some 1×1 angle I had laying around. One member at the beginning end, and another about`18″ from the other end.

folding porch detail

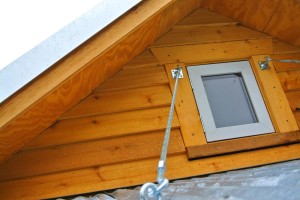
The first member is hinged to the house with 3 or 4 hinges placed at stud locations (or into the top plate if you didn’t use balloon framing). The other member has some eyebolts attached to it that I run detachable struts back to the house to support tiny house folding roof hingethe roof. Unlike the porch, the roof does not have enough weight to withstand wind uplift forces so you cannot use a cable to hold the roof. You have

to use a member that can also withstand some compression. I used some 1/2″ all thread rod, this way I can use turnbuckles with matching thread to connect, disconnect, and fine tune my height. There are two lag eyebolts that go into some wall framing next to my tiny gable window that the struts attach to the house with.tiny house folding roof strut support

I hope you have find this guide helpful if you are considering adding a folding porch onto your tiny house. Once again, you are responsible for you own design and safety. If in doubt, consult a local professional.

Filed Under: Tiny House Design Tagged With: fold down porch, Tiny House, Tiny House Colorado, TIny house porch

  • Facebook
  • LinkedIn
  • Pinterest
  • YouTube
Rocky Mountain Tiny Houses 18' Boulder
FRONT RANGE TINY HOUSE
Pequod tiny house exterior
Pequod tiny house countertop
Pequod tiny house catwalk
custom hOMe build exterior1
custom hOMe tiny kitchen
log cabin tiny house kitchen
Custom Tiny House Plans
Colorado Tiny House
Colorado Tiny House
tiny house custom wood countertop
tiny house towing
tiny house towing
steampunk light fixture
Mandy Harris
Austin Tiny House Kitchen
Mandy Harris
Tiny House barn door
Mandy Harris
Funk East Austin Tiny House
Mandy Harris
Austin Tiny House interior
East Austin Funky Tiny House Exterior
Mandy Harris
Boulder Interior
Boulder Interior
Boulder Tiny House front
Boulder custom light
Boulder tiny house porch lights
Rocky Mountain Tiny Houses Boulder side
Durango tiny house in winter
Durango Office
Durango Office
Durango Bookshelf
Durango Bookshelf
Durango Detail
Durango Detail
Shower Detail
Shower Detail

Tiny House Updates

  • 28′ Bandelier
  • 20′ Hermosa Tiny House
  • The Beatle 22′ Tiny House
  • 10×32 Hill Tiny House
  • Emerald Lake 10×32
  • Spring ’24 Update
  • 2024 Update!

Tiny House Magazine

RMTH was recently featured as "Builder of the Month" in issue 32. You can purchase this issue, or any other issue, by clicking here

Oh Yeah

​Tiny House Blogs

Advertisements