As one of the few builders capable of offering SIPs (structural insulated panels) as a construction method for tiny houses, I naturally get asked a lot of questions about the differences between SIPs and traditional stick frame. At long last, I found some time to sit down and write this post! I will say up front that either method, properly executed, will yield a well crafted, well insulated, sturdy tiny house that will serve its intended purpose for years to come. What ultimately drives our decision on which route to go will depend on timing of the project, anticipated climate where the house will be parked, and the shape of the tiny house. Major factors to consider are strength, weight, fabrication, insulative value, design flexibility, electrical, plumbing, finish out, freight, and overall cost. For reference, we use EPS (expanded polystyrene) SIP’s and are comparing them to optimum value 2×4 framing with spray foam insulation.
Strength
SIP’s are hands down the strongest most rigid method of construction. So strong, in fact, that we typically use less steel in our trailers since after the walls are bolted to the trailer, the whole house becomes a composite part of the trailer structure. We can not only save a little weight in the trailer, but increase our head height a little since in shorter trailers we can use 4″ tall main frame members instead of 6″, or 6″ members instead of 8″ for longer trailers. Stick framing with a properly installed spray foam is also quite strong. Not far behind SIP’s if you ask me. If you are comparing to batt insulation or even hand stuffed rigid board, SIP’s are way stronger. As far as weight, it is a wide misconception that SIPs are lighter than stick frame. Compared to advanced framing methods that minimize framing lumber, we are finding SIPs to be about 5% heavier. Despite the absence of internal studs in SIPs, the fact that there is 7/16″ OSB on both sides contributes to the extra weight. I will say that some SIP manufacturers can use a MgO skin that can be finished like drywall, eliminating the need for a finish layer on the inside, which might make weight more even, but in the end, the 5% added weight on standard builds is not noticeable.
Insulation
The EPS foam used in SIP’s typically rates at about R5.5 per inch. Better than a lot of other products, but not as high as some of the spray foam products that can reach 7.1 per inch. The main difference is the lack of thermal bridging though. 2x lumber is normally rated at R1 per inch, so anywhere you have a framing member is a potential spot for heat transfer. In stick framing, you can negate this issue by adding a layer of 1/2″ or 3/4″ foam over you sheathing, but you are increasing your wall thickness and adding cost, time, and complexity to your build to the point where SIP’s would be a more cost effective option. The SIP industry likes to use a term called effective R-value, or overall R-value. This measures the R-value of the envelope as a whole, not just the per inch characteristics of the foam. By these measures, SIPs clearly out-perform stick framing. I will point out that we are talking about tiny houses here, not large 2500 sq ft houses where energy efficiency is more important. Smaller spaces are easier to heat and cool by their very nature. I will say that SIPs make a lot of sense for people going to be parked in very cold climates, and by this I’m talking about Montana, Minnesota, Canada, Alaska, places in Colorado parked above 10,000 feet, and perhaps some place like the Adirondacks where nightime lows can reach -40F or lower. In milder climates, either system will perform great. In warmer climates such as the south, you will find SIP’s help keep the house a little cooler, but it’s my opinion the difference is small.
Fabrication/Erection
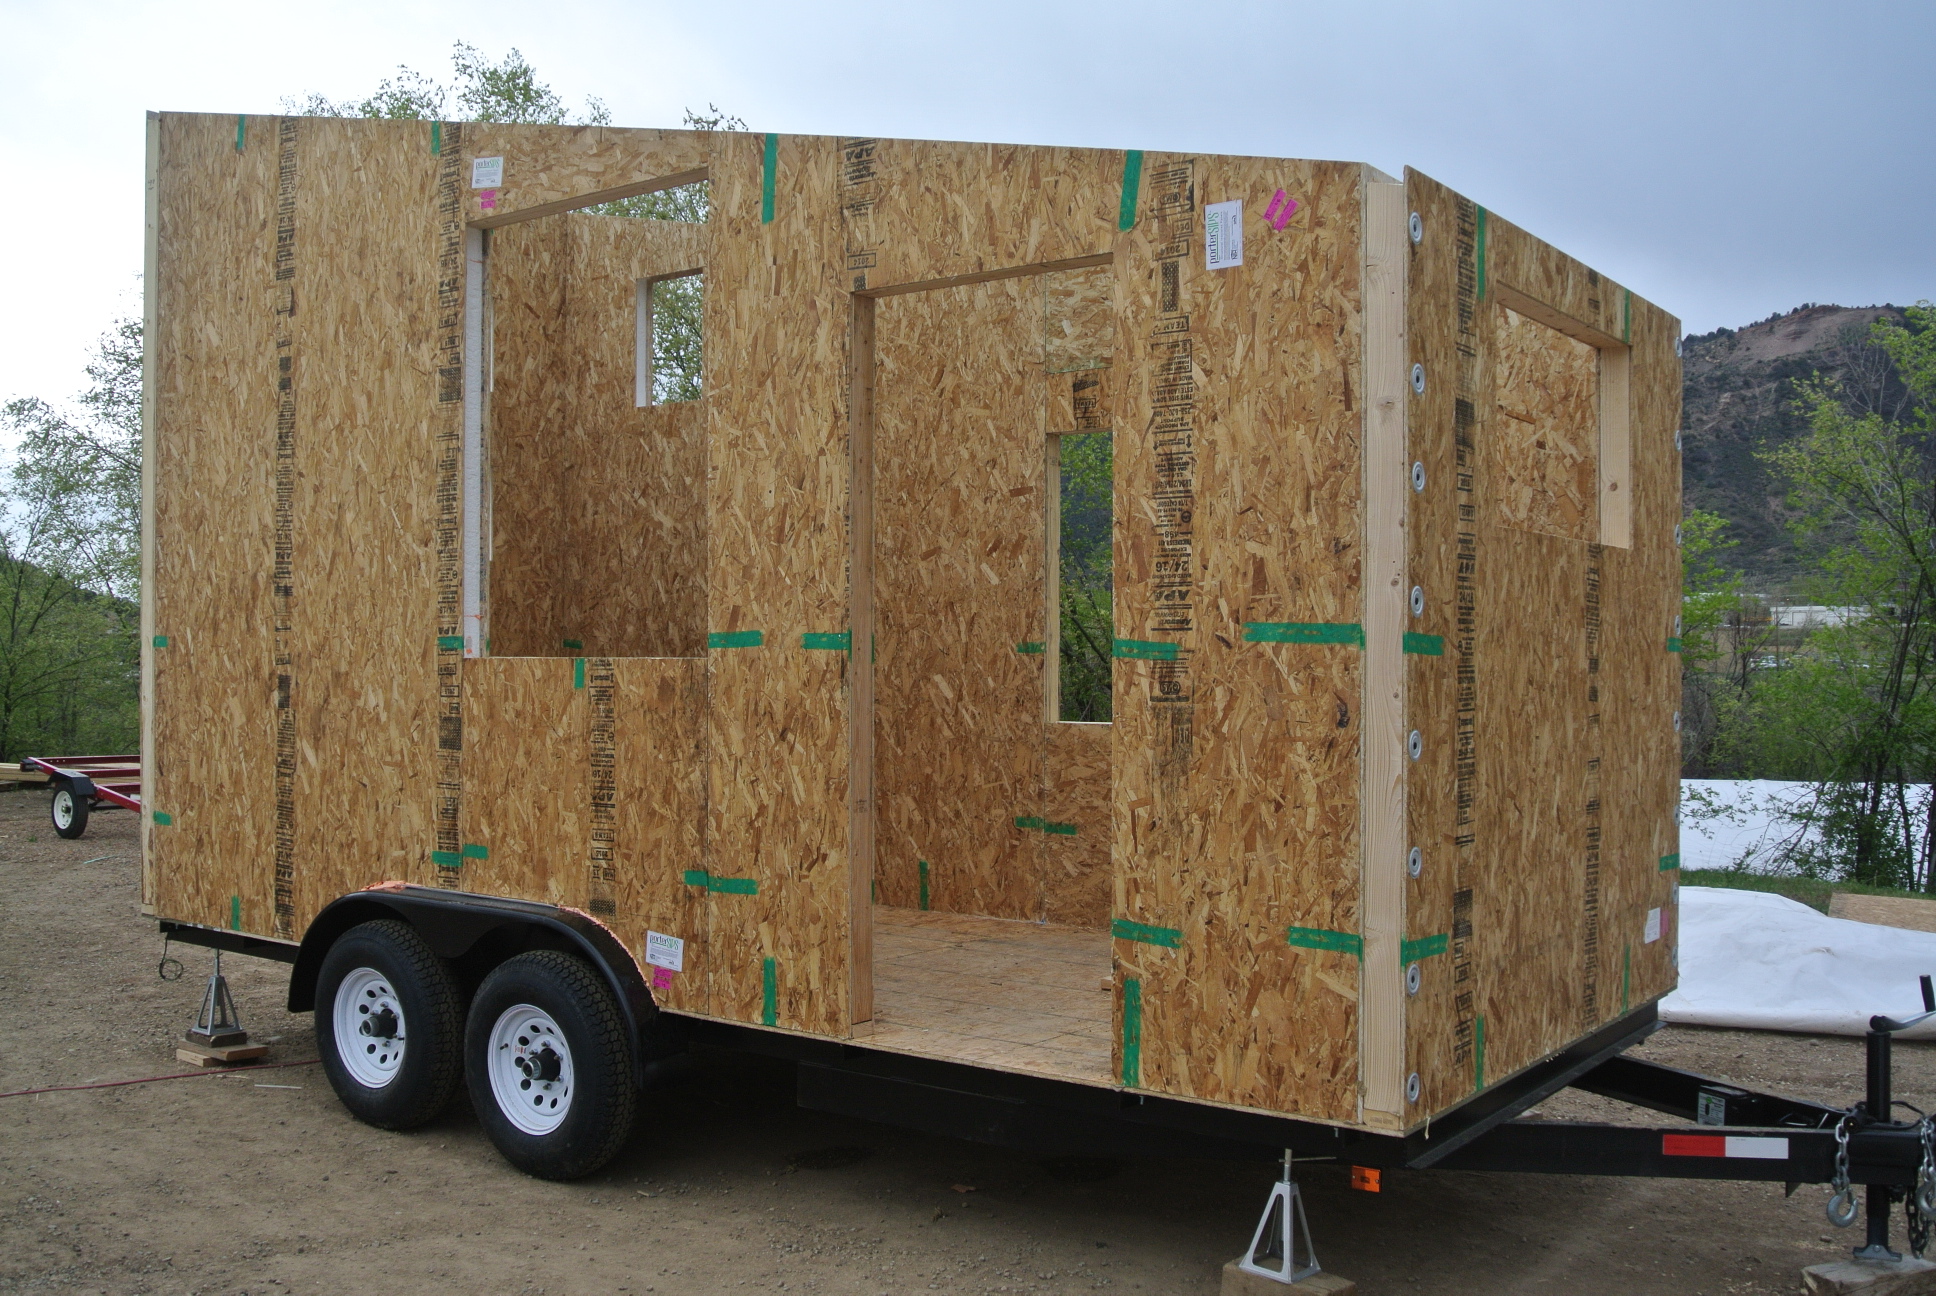
 SIPs are manufactured in a facility and shipped to site. All of the panels are cut to size and shape including all rough openings. Those with little experience cutting complicated roof shapes will find this attractive. Additionally, the panels are very straight, and as long as care is taken to layout sill plates square and parallel, you will have a structure that is very straight and easy to finish out. A good framer picks straight studs and rafters, but the reality is lumber is still a variable product and you inevitably end up with small variations that need to be accounted for in the finish out stage. With a good crew of 3 people, a typical SIP shell fully insulated can be erected in three days or less. By comparison, stick framing can take 5-10 days to get an insulated shell. I will note that use of a crane or forklift is not absolutely needed, but is very helpful in placing the roof panels when using SIPs. Otherwise you will need lots of manpower to hoist them up. We have access to a forklift and can lift large unbroken panels up easily. For those without this capability, you can request to have panels cut in smaller sections but this adds to the complexity when splicing the panels together. One good benefit of SIPs is that you will have a solid substrate to attach interior siding, cabinets, shelves, built-ins, tv mounts, you name it. You will not be searching for or be limited by studs spaced 24″ apart.
Flexibility
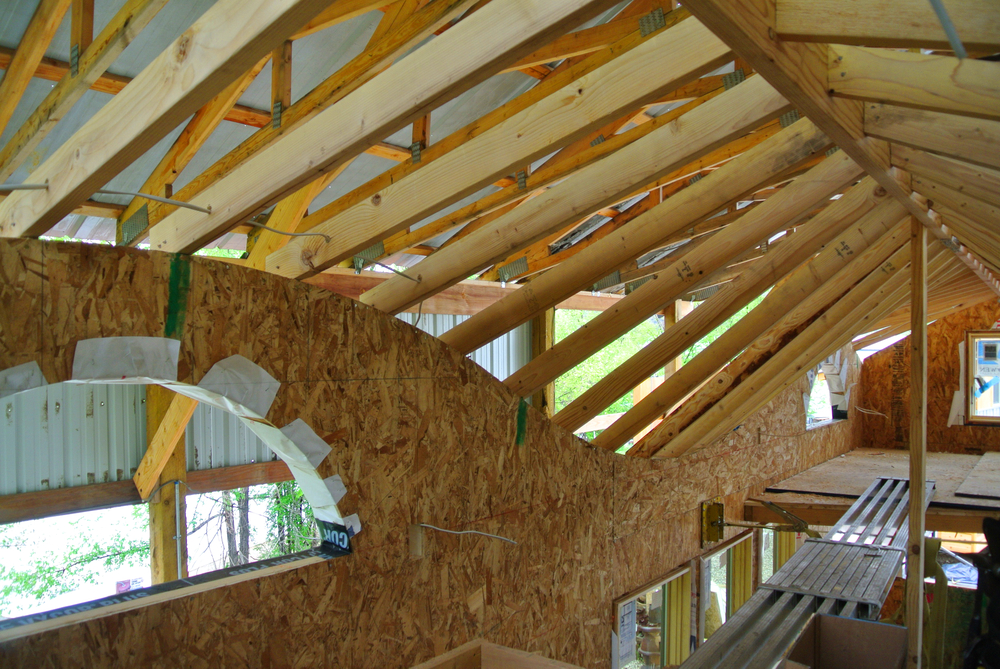
Its always best to have a very clear plan and remain with it whether you are using SIPs or stick framing, but there is some flexibility built into SIPs if you need to make changes down the road, such as enlarging, shrinking, or even relocating rough openings. There are some rules you cannot break when it comes to making cuts across splines, cutting openings more than 4′ wide, or cutting openings that are within 12″ of the top plate height. These are all things the manufacturer can educate you on should you need to make modifications. One other thing to consider is tiny house shape. SIPs are flat panels, they cannot be bent or rounded, although you can cut curves out of them. If you have a design that incorporates any kind of warp, twist, or spherical aspect, it will need to be stick framed. You can do hybrid versions such as we did on the Pequod design. The walls were pre-cut to the wavy shape and we stick framed the roof on top of them.
Electrical
Running wires in stick framing is a bit easier and allows for a little more flexibility when placing boxes and routing wire, but with the proper skills and tools one can still fish wires in SIPs without too much hassle. The trick is knowing how to utilize the grid of chases that are pre-cut into the panels. Chases are typically cut 12″ and 44″ horizontally above the floor and every 48″ vertically. Custom chases can be specified ahead of time if you know your electrical plan to a T. If you don’t, it’s ok. Using a hot ball and hot rod you can create your own runs to intersect with the chases. One of the trickiest parts to wire is transitioning from wall to ceiling. Proper prep work drilling holes in the right spots and making sure panels align correctly goes a long way in aiding this nuance, but you are allowed to hack the panels up a bit if need be and spray foam over the holes you cut out as long as wire is deep in the foam and not close to either surface.
Plumbing
Unlike electrical wires, plumbing pipes cannot be easily run through chases. We run all plumbing on the inside of the walls. This means you have to get creative in hiding pipes behind cabinetry and built ins, and sometimes building a baseboard chase to run them in. Or, if you don’t care, leaving them exposed. This does have the added benefit of having full access to your fittings should one ever fail. Of course, you can do this with stick framing as well, but given the choice most people will run pipes in the walls to avoid hiding them. It does help if you can clump all your plumbing fixtures close together, but we have successfully hidden pipes on 28′ builds where the kitchen is on one end and the bathroom is on the other.
Freight and Overall Cost
Because the SIPs we use come from another part of the country (Michigan to be exact), freight is a huge expense to factor in. Some other factories closer to Durango are starting to come online, but for the time being we are sticking with Porter SIPs because their product holds the most certifications and guarantees in the industry currently. This is where timing comes into play. A typical truckload can transport about 6 tiny house packages. If we can get at least three customers lined up for an order, then freight costs are manageable and make sense when compared to the cost of stick framing. Otherwise, one or two projects on one truck is going to be a bit pricey and we are going to be biased towards stick framing unless the customer is really just wanting to use SIPs. From a builder perspective, assuming we can keep freight down, the cost to erect a SIP tiny house is about the same as it is to stick frame and spray foam one. The product itself cost more upfront, but this is canceled out in labor savings. For a DIYer not placing a value on their time, SIPs are going to cost more.
Fresh Air
If you choose to build with SIPs or go the spray foam route, it is important to provide fresh air for you tiny house because it is going to be sealed very tight. This can be as simple as keeping windows open, or as complex as installing a heat recovery ventilator (HRV). You might even consider doing these things if you are building a tiny house that is not very tight and “breathes” well. Fresh air is critical for the health of the house and its inhabitants.
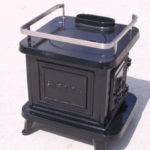
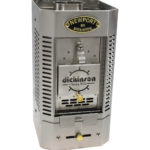 This unit represents the smallest of the small solid fuel heaters that are commercially available. As such, it will probably only heat the smallest of spaces, say 80 sq ft and less, depending on climate and how well insulate your tiny is. I do mention it because it might be the best option for some. If you live in an area that doesn’t have harsh winters and only need heat a few nights out of the year, this might be a good way to go. It is designed for 20-25′ long boats and requires 3″ chimney parts.
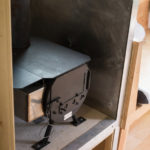 After several hours of research looking for a woodstove that I could source quickly, affordably, and was small enough for my 16′ tiny house, I chose
 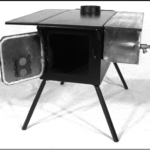 These
These  This rather
 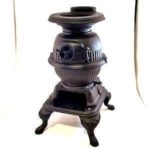 You can find these little treasures floating around in antique shops and sometimes on ebay. They were typically used to heat train cars and other old timey structures. Due to their antique status, expect quite of bit restoration work to getting them in safe working order. Also, they are designed to burn coal, so if you plan on burning wood, expect to be processing small pieces and filling it often.
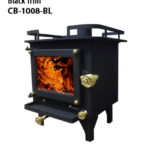 This Canadian manufactured
 Perhaps the most charming of all models available fit for use in tiny house, theses stoves also have the longest lead time, sometimes up to a year from date of order. Keep this in mind if you plan to purchase one. The Sardine is the smallest unit with a footprint of 12″x12″. The Little Cod is slightly larger at 18″x14″ and features enough cooktop surface for two pots, white the Halibut is their largest unit at 21″x16″
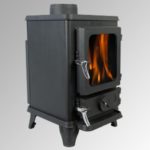 These small and DEFRA approved
 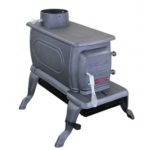 This cast iron model is the smallest and most affordable unit made by this company, but it’s slightly on the larger side for tiny house scale at 11″ wide by 25″ deep. Normally around $275, you are likely to find it stock in local stores like Ace, True Value, Tractor Supply, etc., but they can be easily purchased on as well.
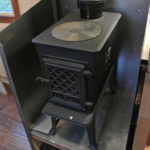 Deemed the most popular woodstove ever made with over 1,000,000 units sold and counting, this high quality
  This elegant
  Sometimes called the “squirrel stove” because of the squirrel relief on the sides, this
  I used to think this was a good option, but after installing one in my house with very poor results, I can no longer recommend it, especially for the $4k price tag. I only post it here for educational purposes. I think the only reason I would put it in a tiny house is for people living at lower elevations with milder winters and who want an ultra modern aesthetic.