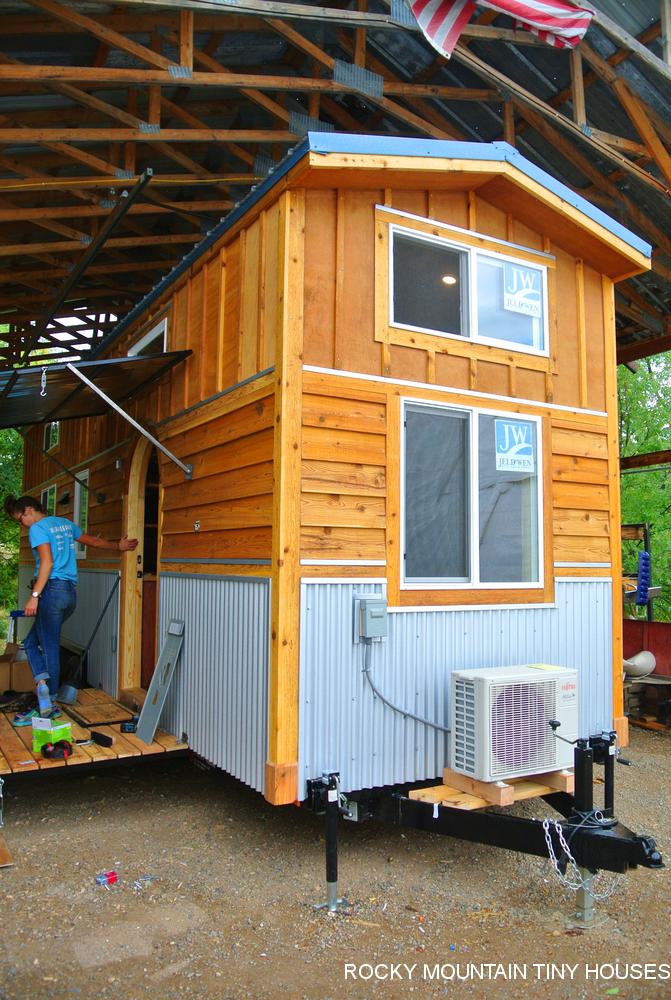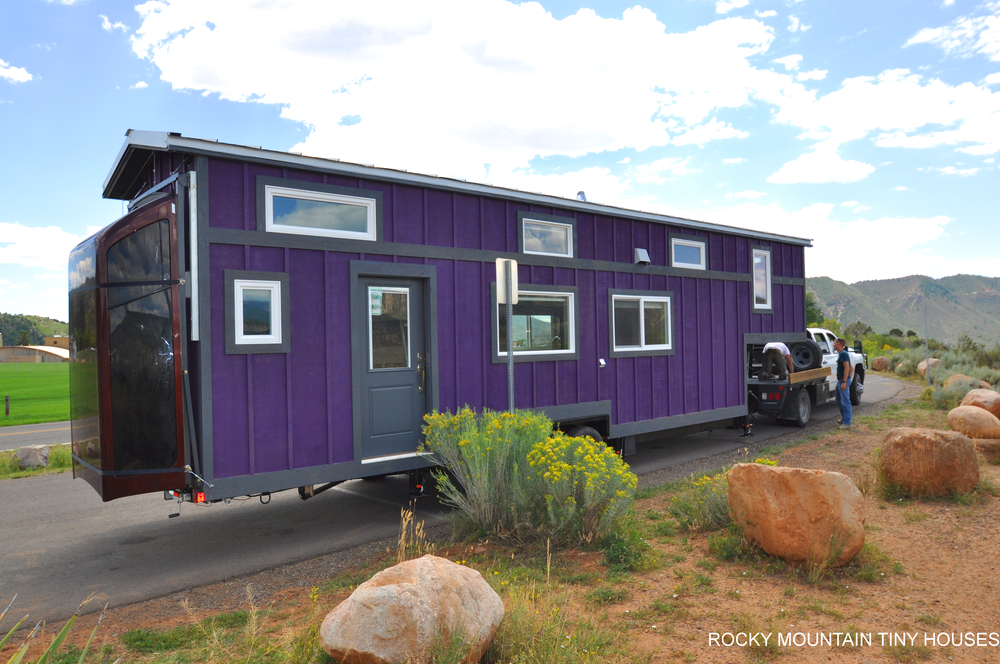
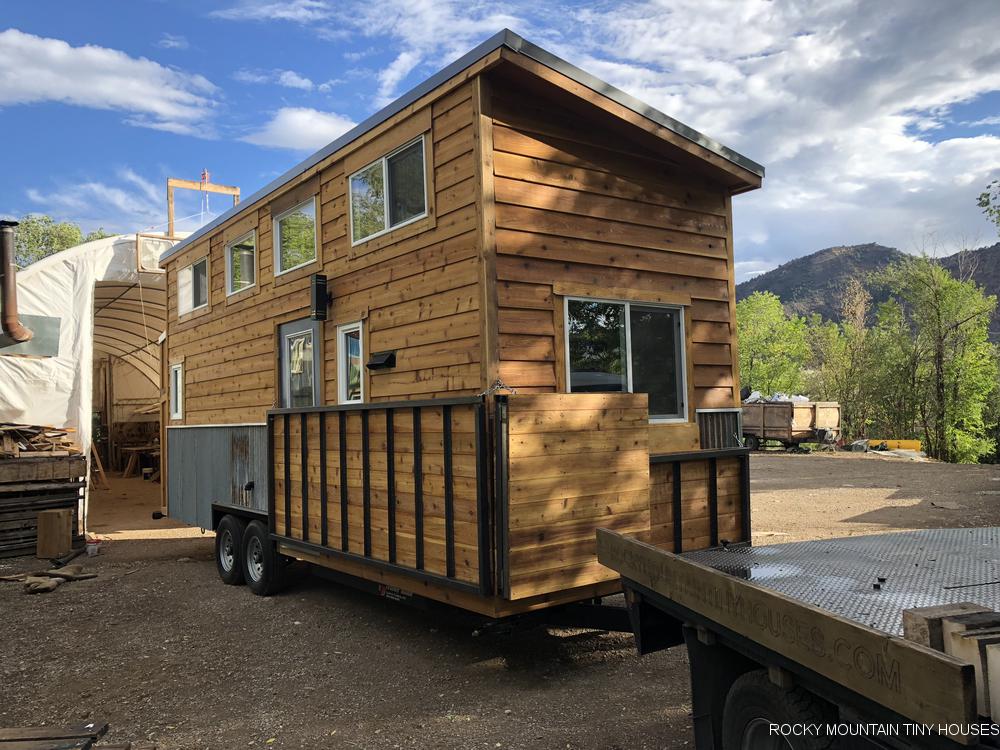
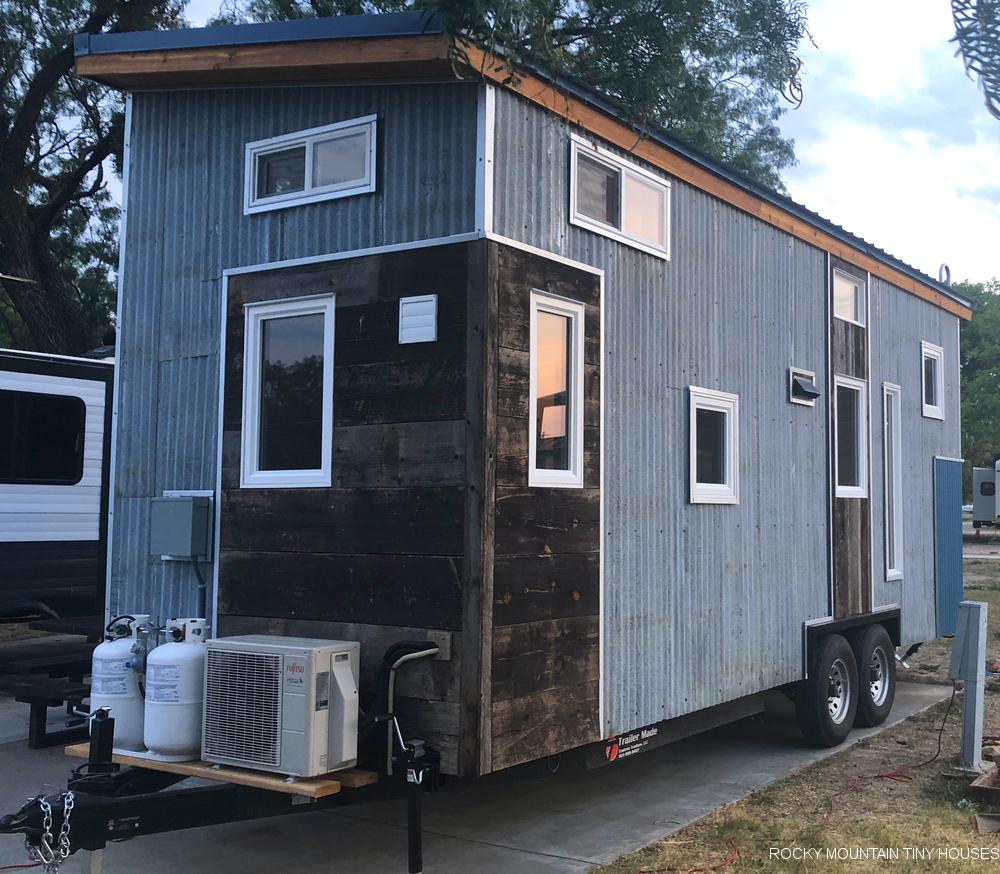
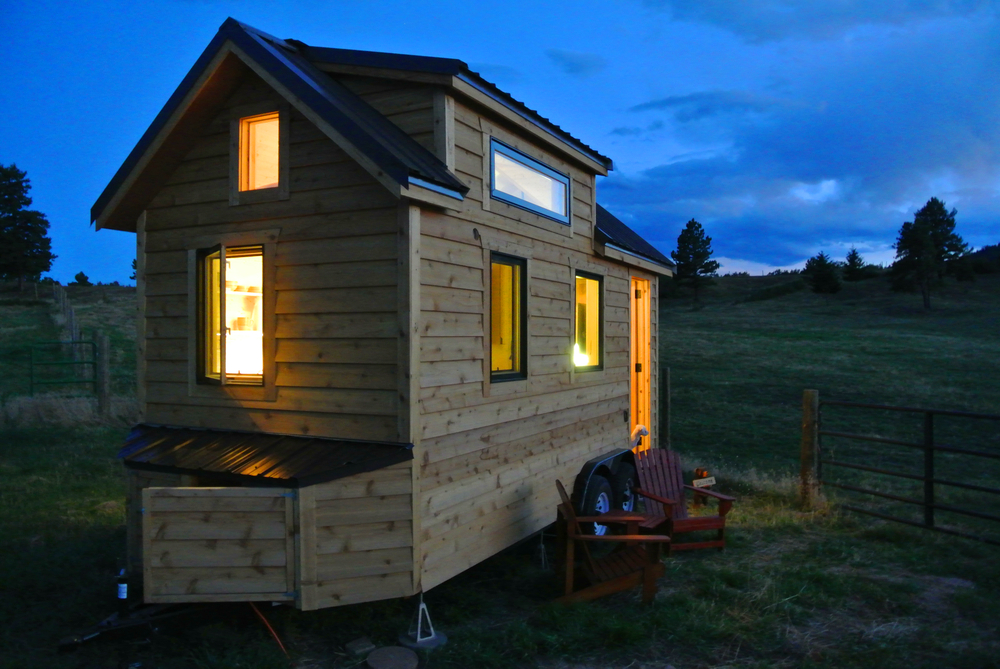
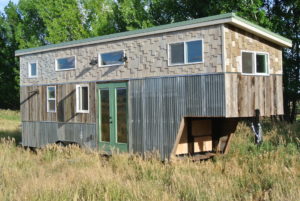
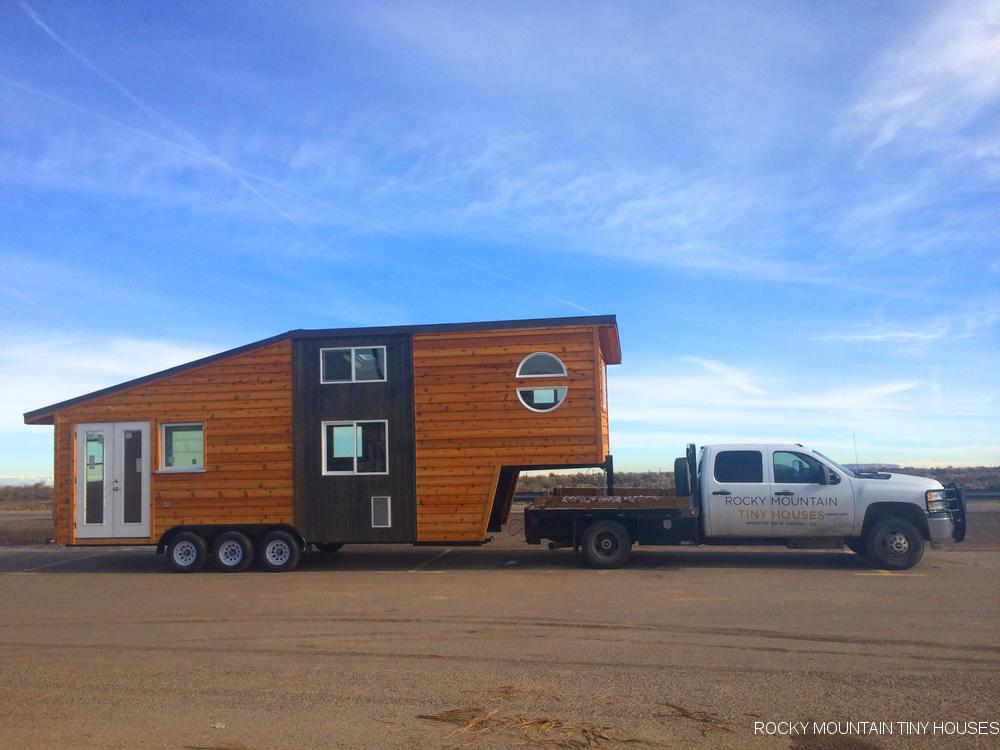
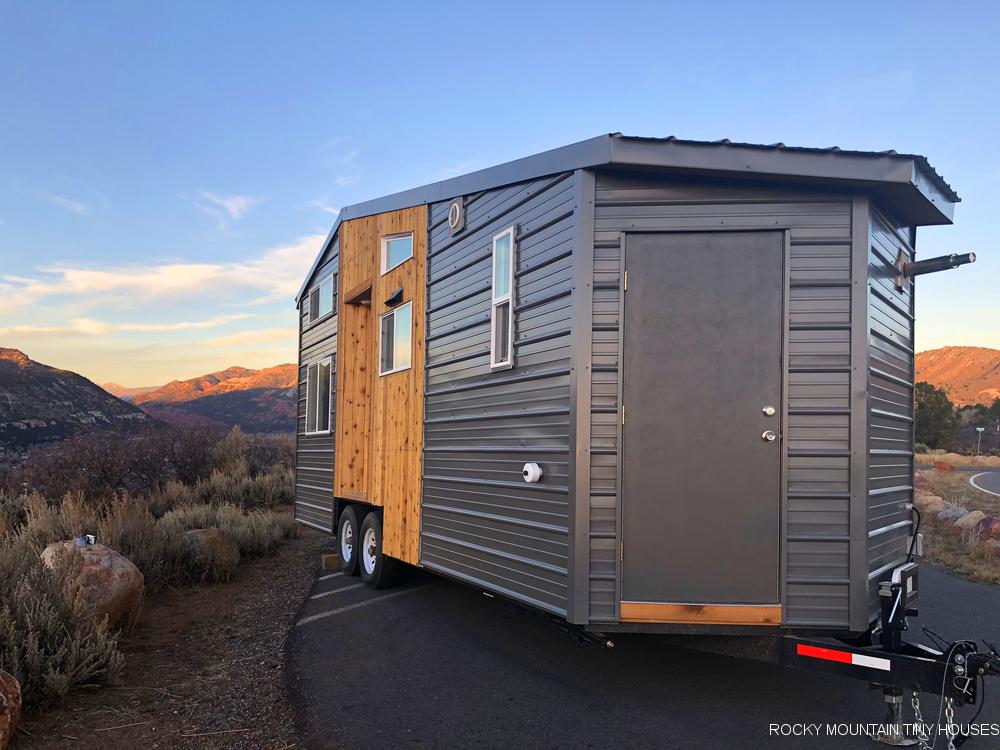
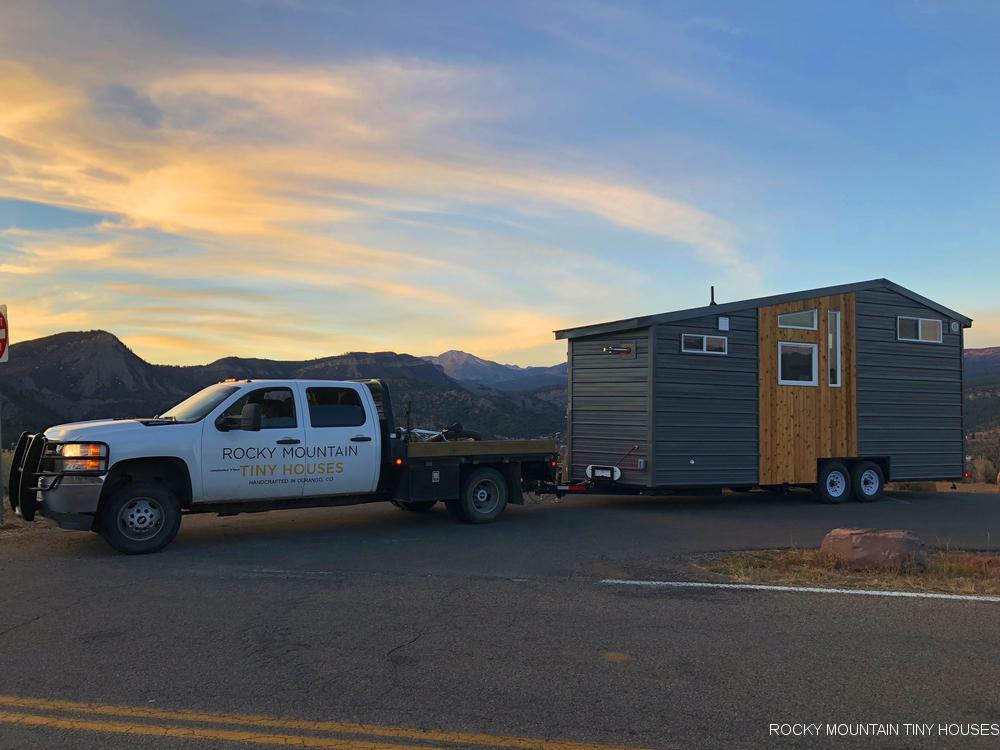
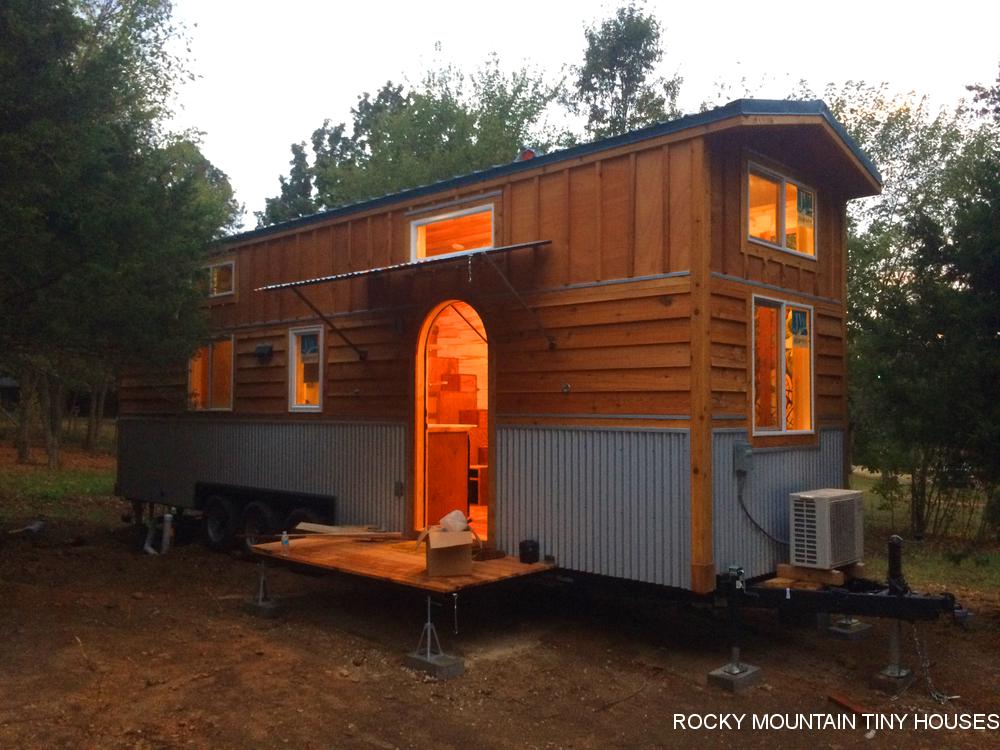
Check out our latest creation, the Ad Astra Tiny House! Ad Astra means “to the stars” in Latin, and a fun couple from Kansas commissioned us to build this beautiful custom 24’ tiny house to take them there.
When we initially began the design process, the house was to live in Kansas. However, as the design progressed, so did life, and the house was soon bound for much greener pastures in Portland, OR. That’s the nice thing about tiny houses – they can adapt to all of the changes that life throws at us!

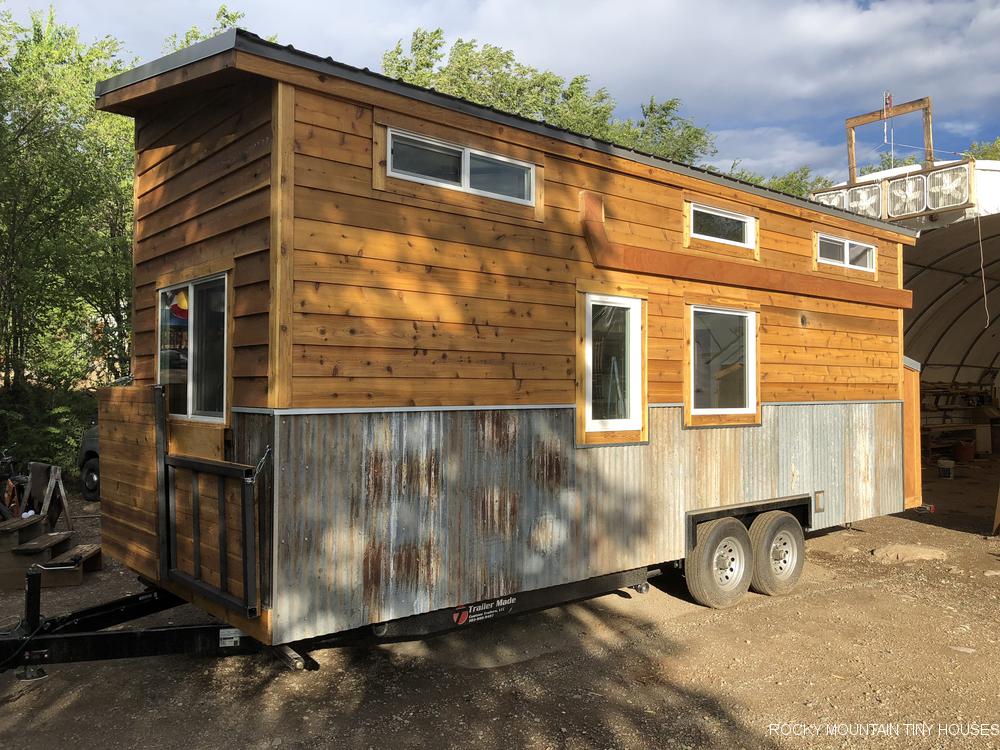
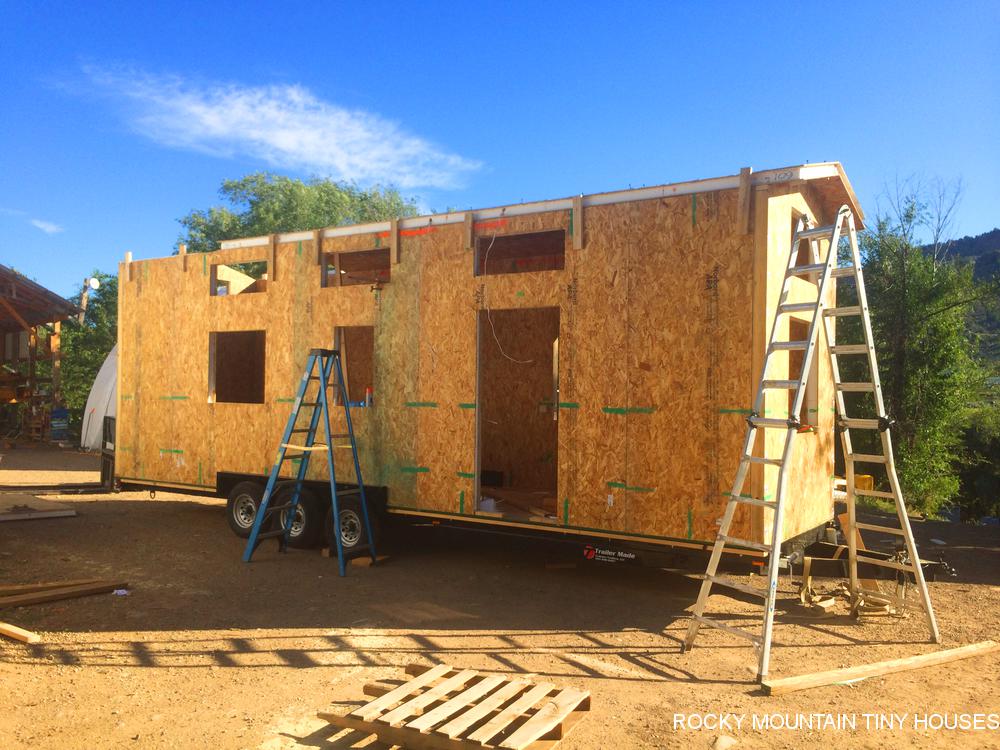
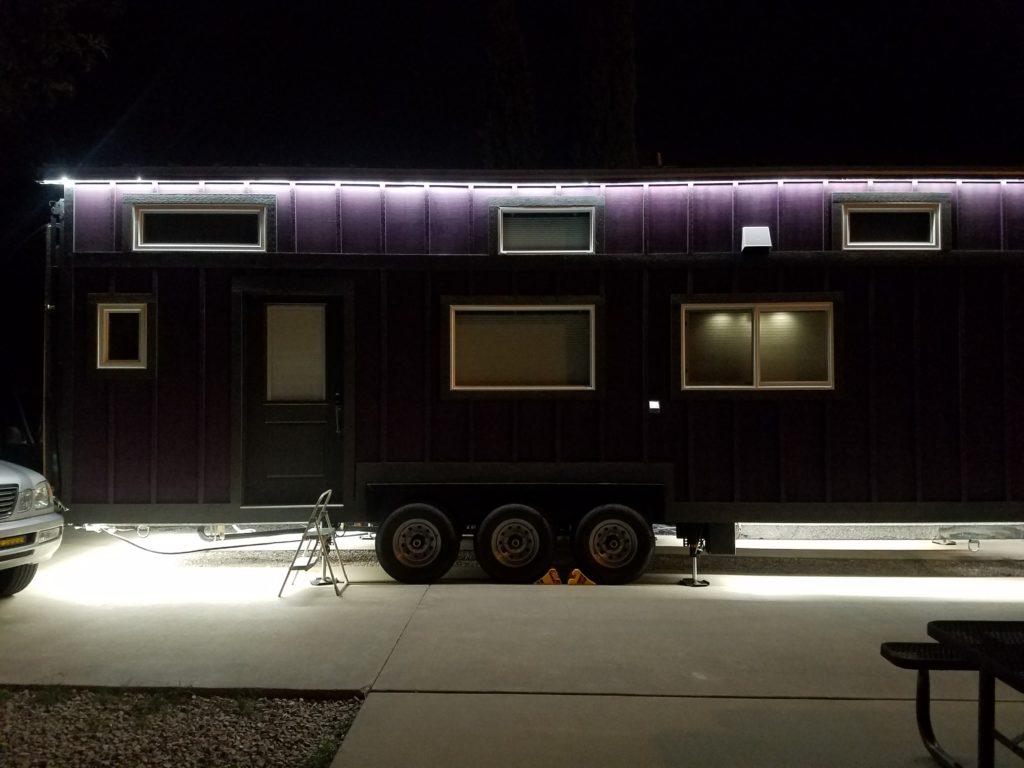
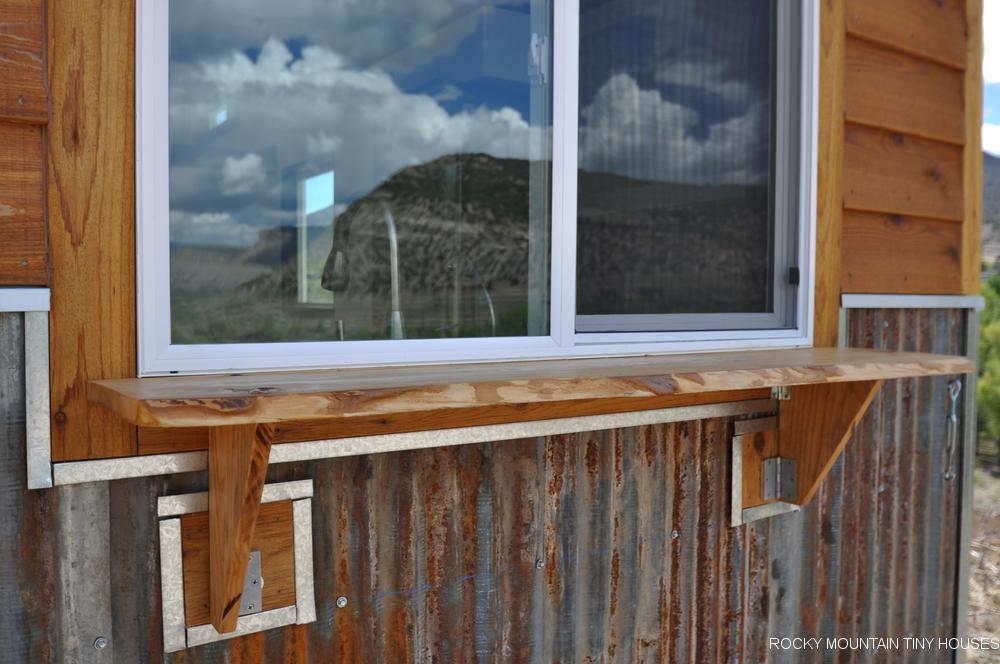
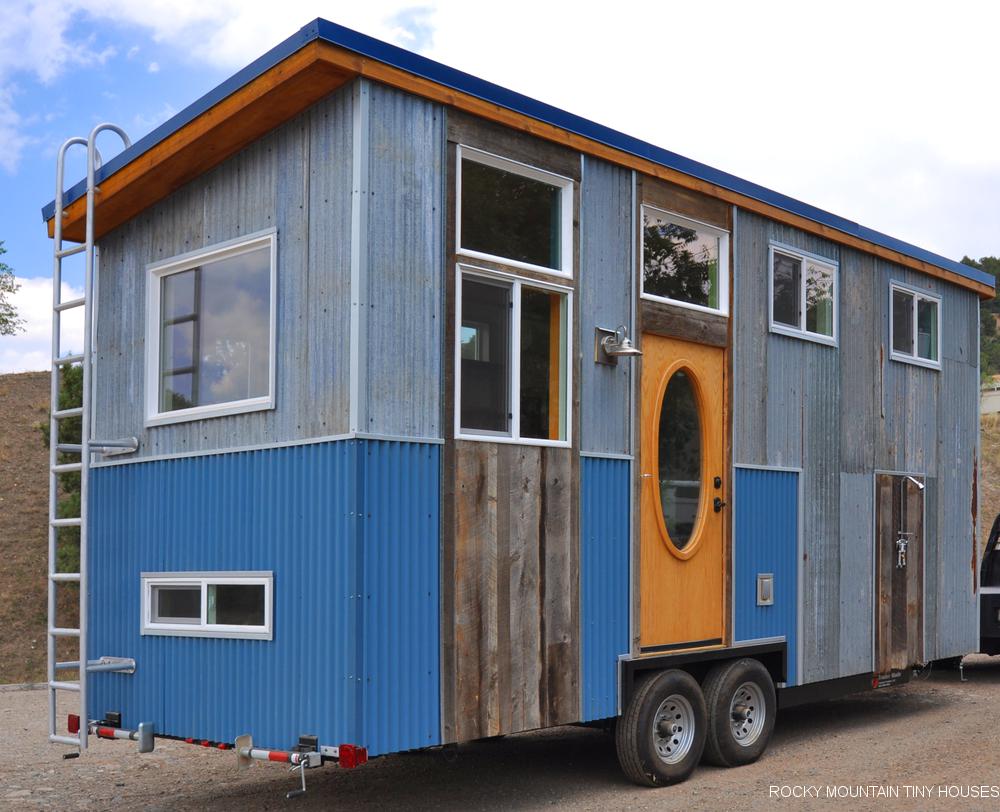
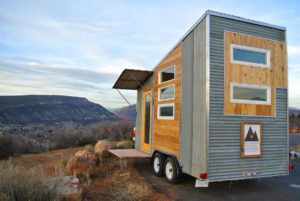
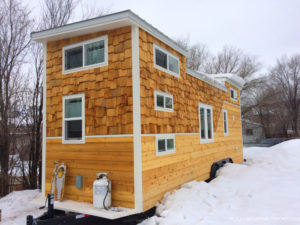
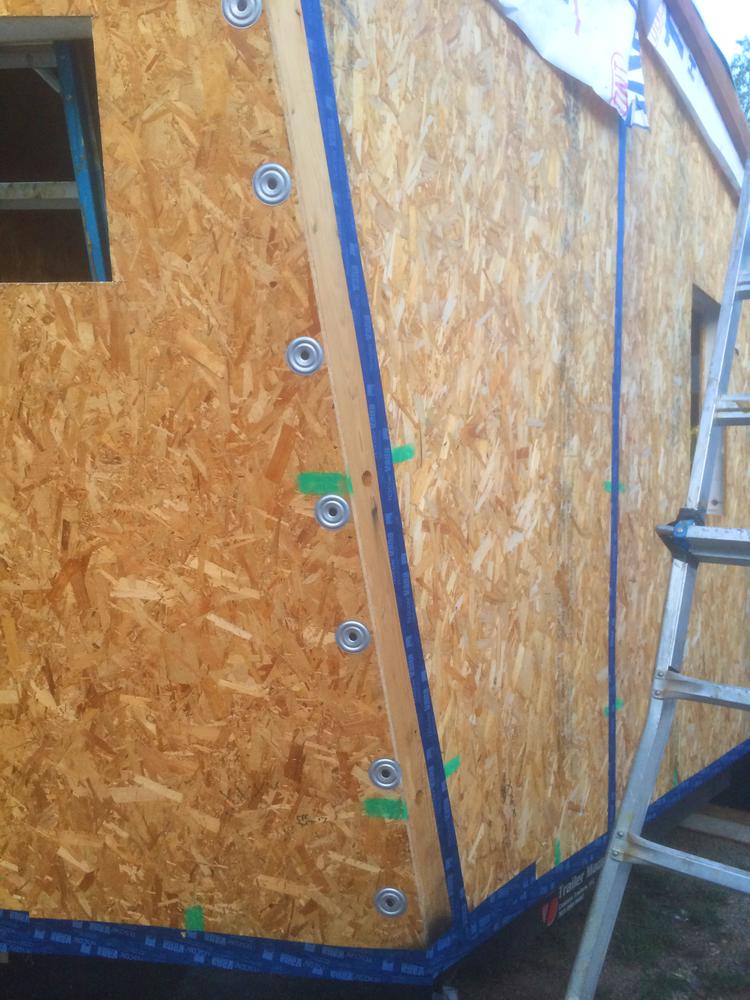
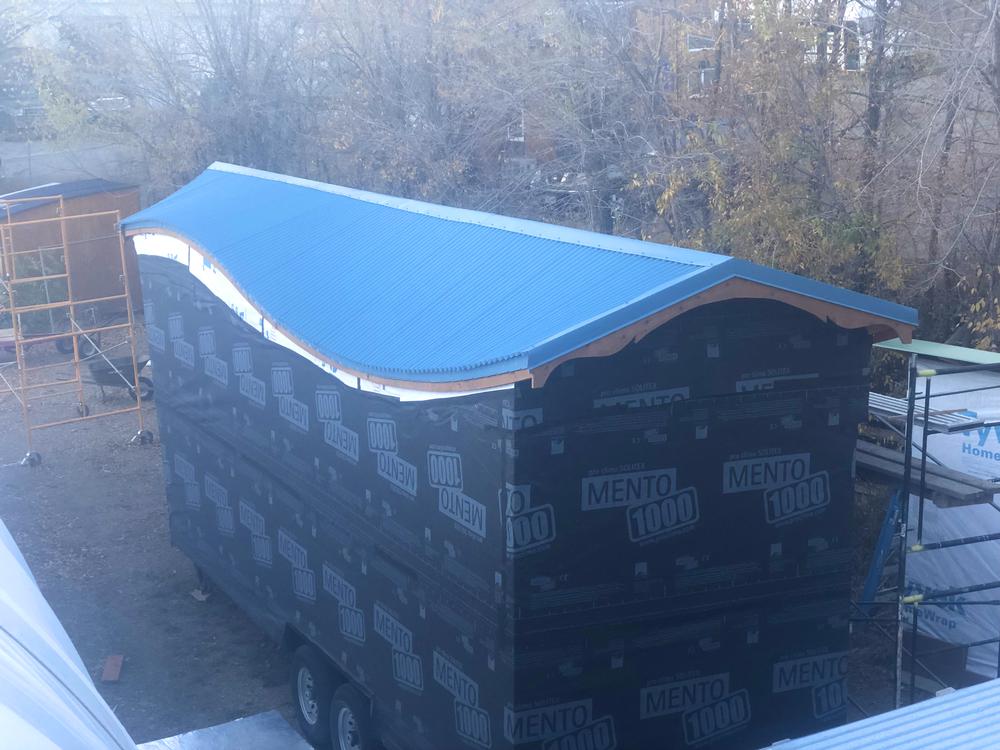
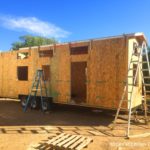
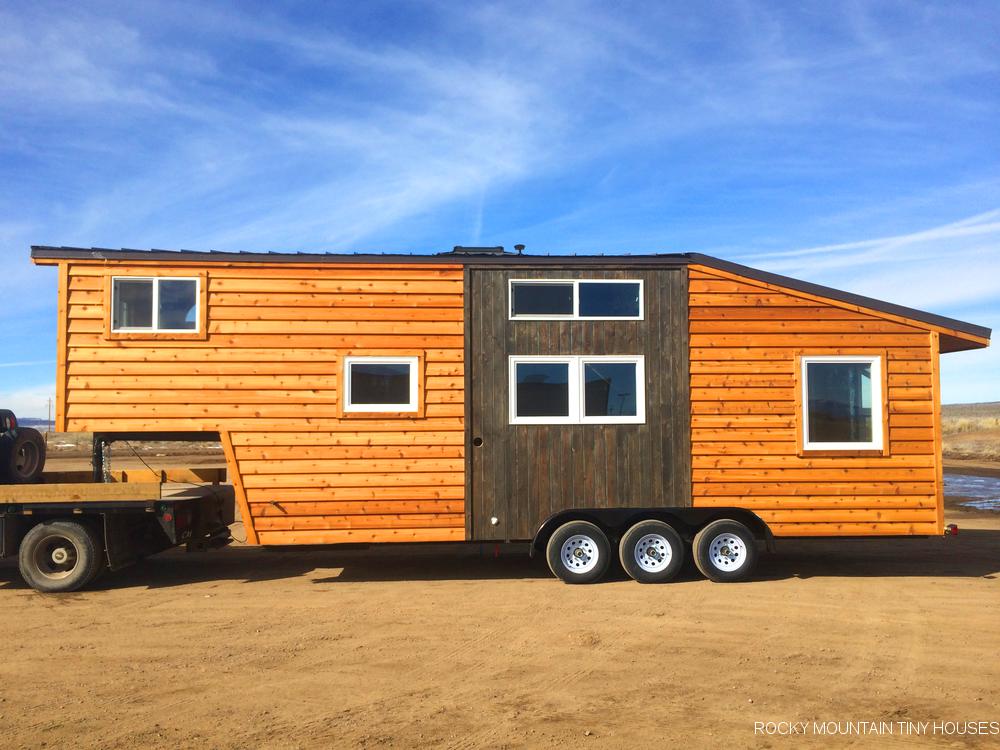
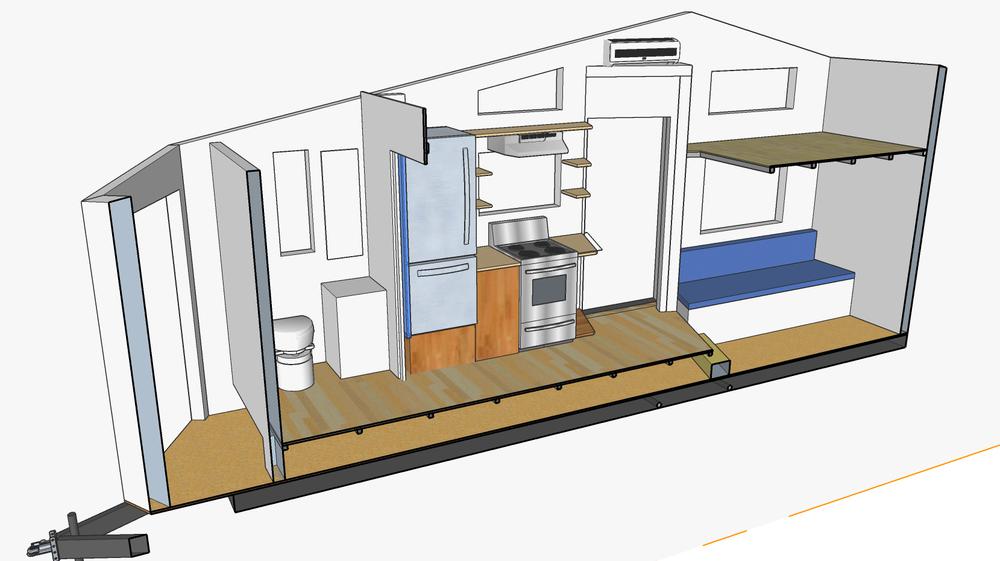
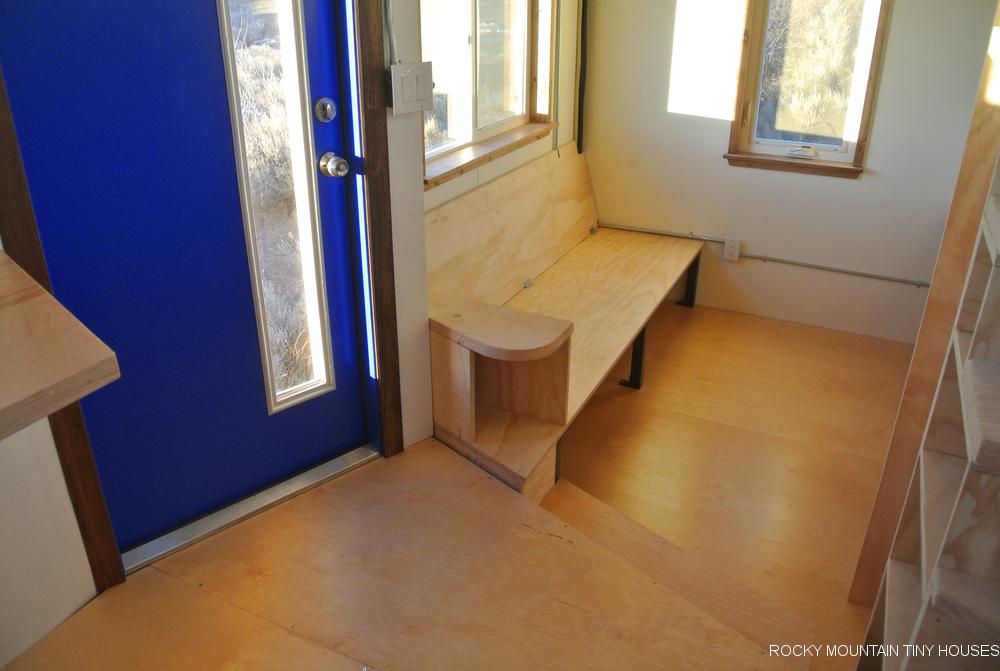
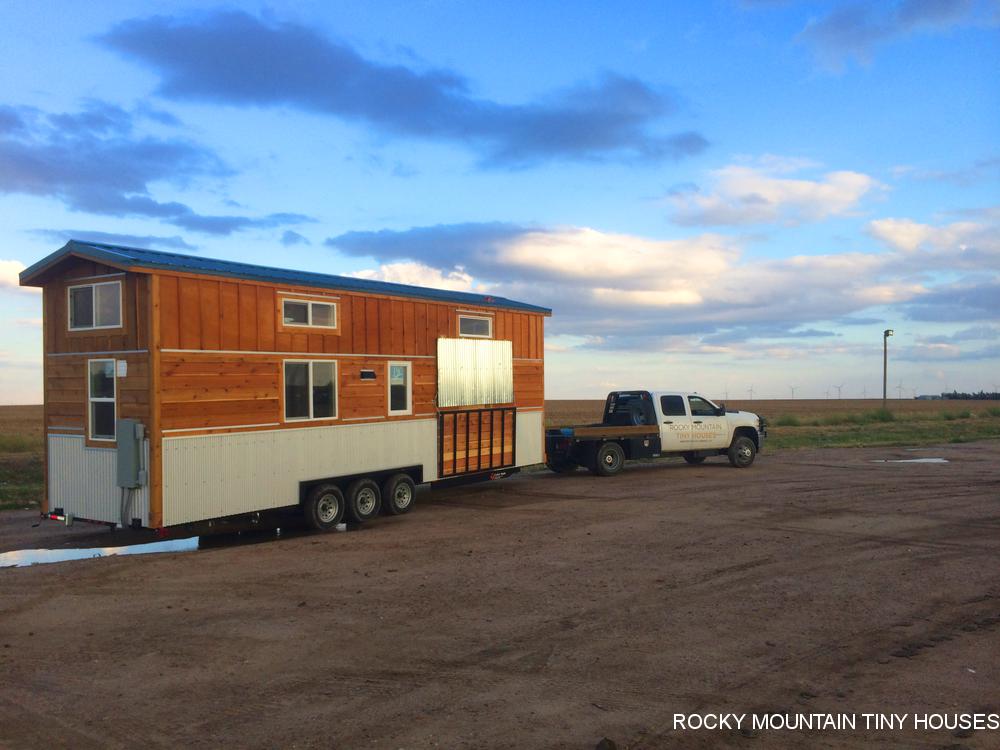
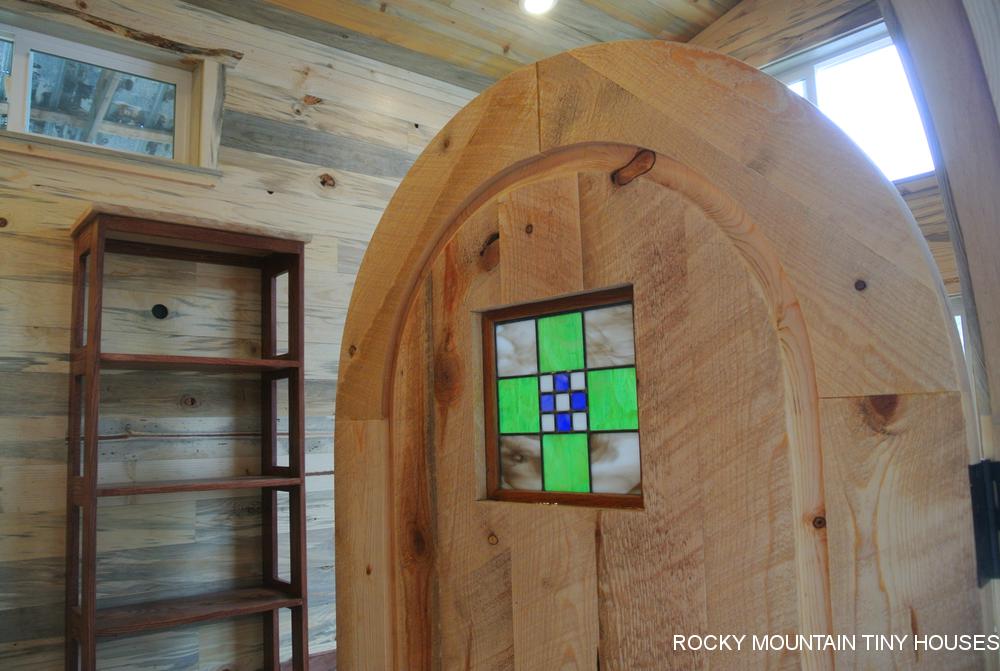
This house sits on a sturdy Trailer Made 8’ x 24’ dual axle trailer made in Denver, CO. We used a shed roof to maximize interior space. The cedar lap siding and recycled corrugated wainscot will fit perfectly into the Pacific Northwest setting. A bold sapphire blue adorns the full lite exterior door.
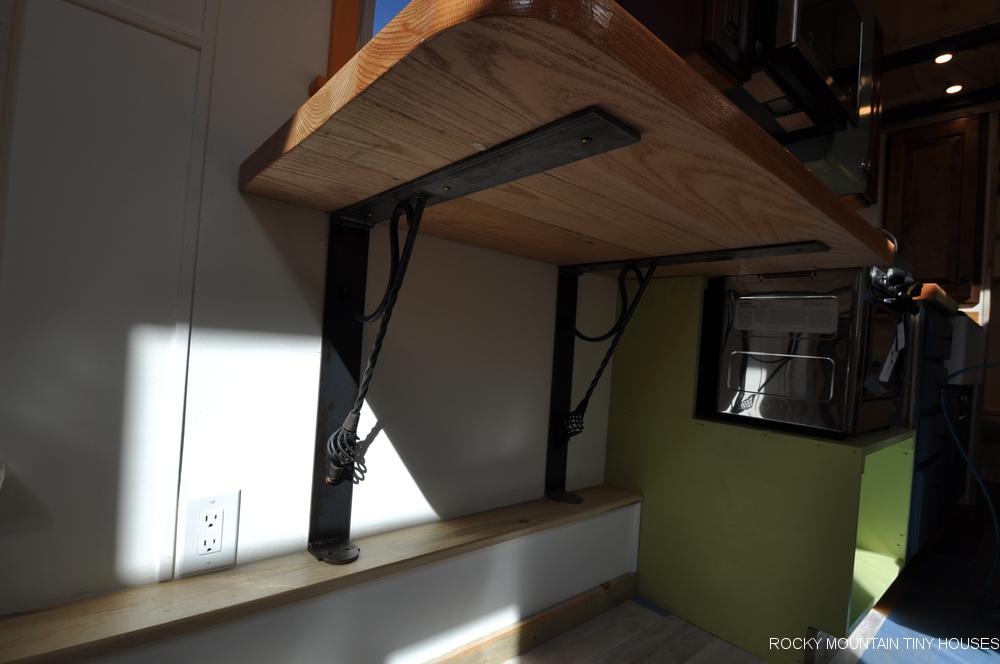
A large wrap-around, fold-down deck leads from the front door to a serving window outside the kitchen. The deck consists of three leafs that fold up for travel.
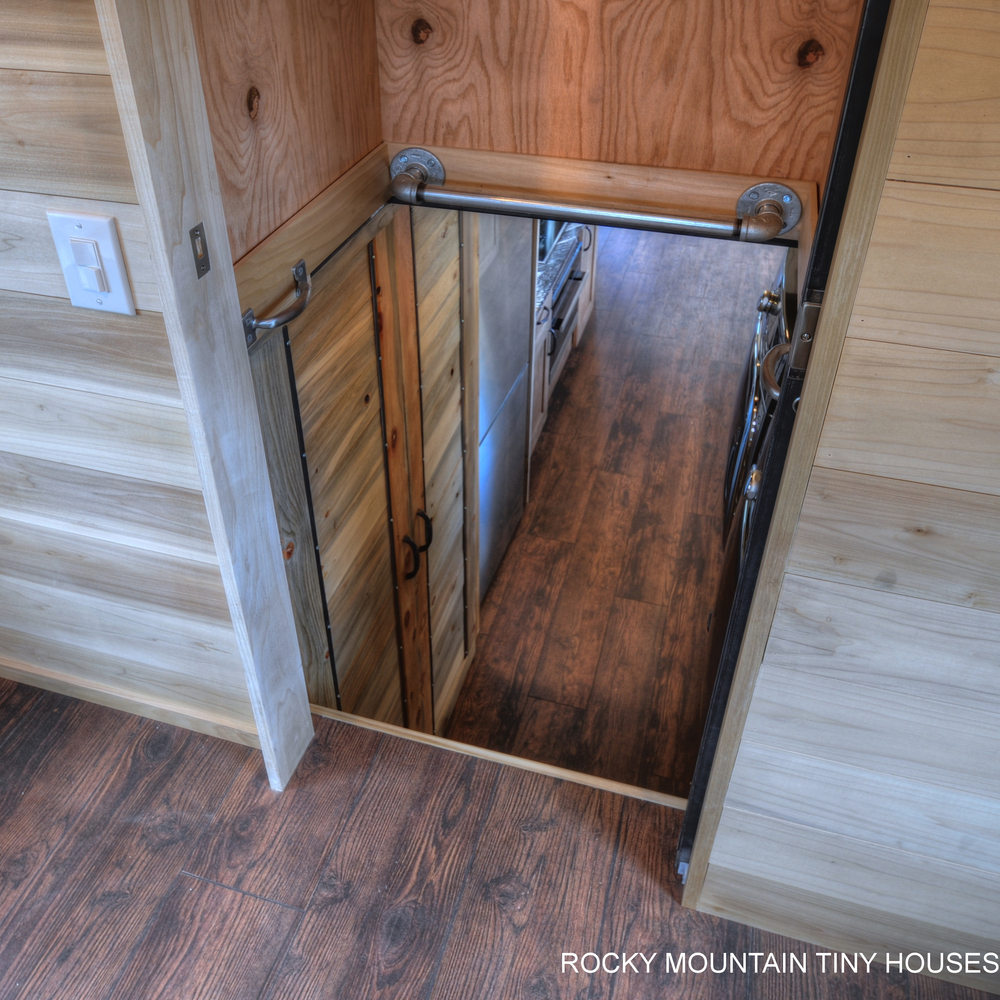
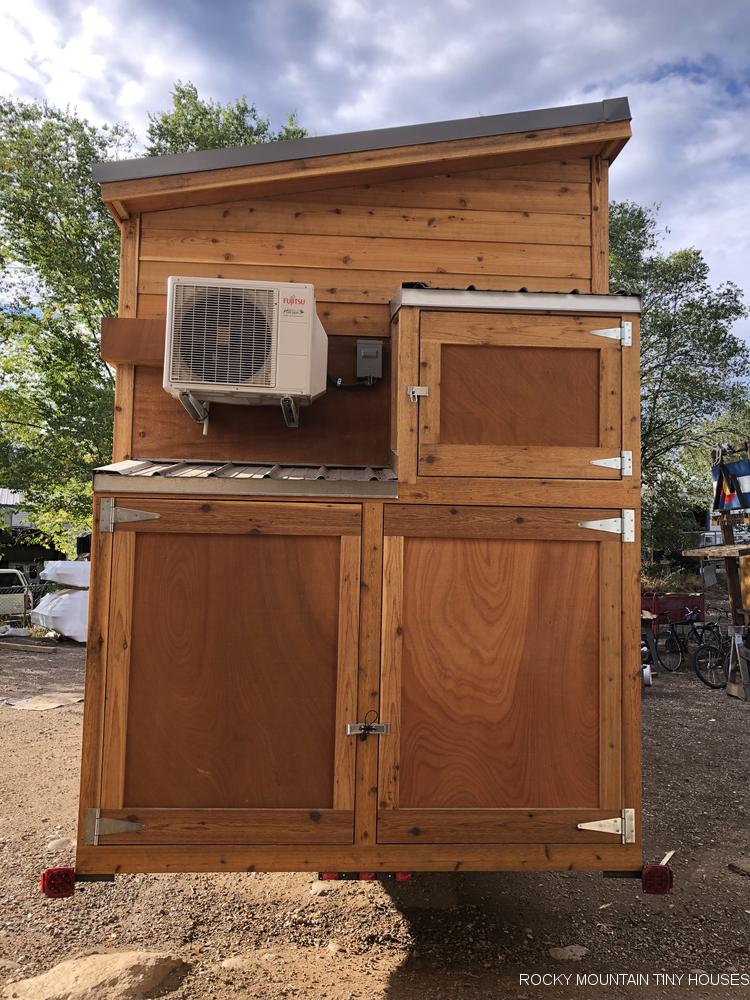
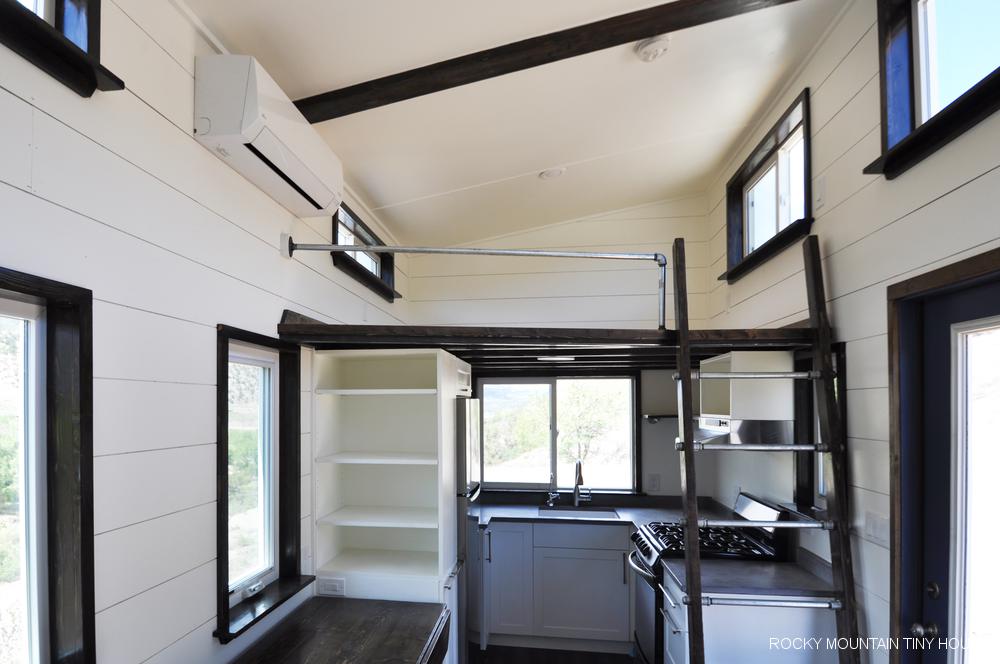
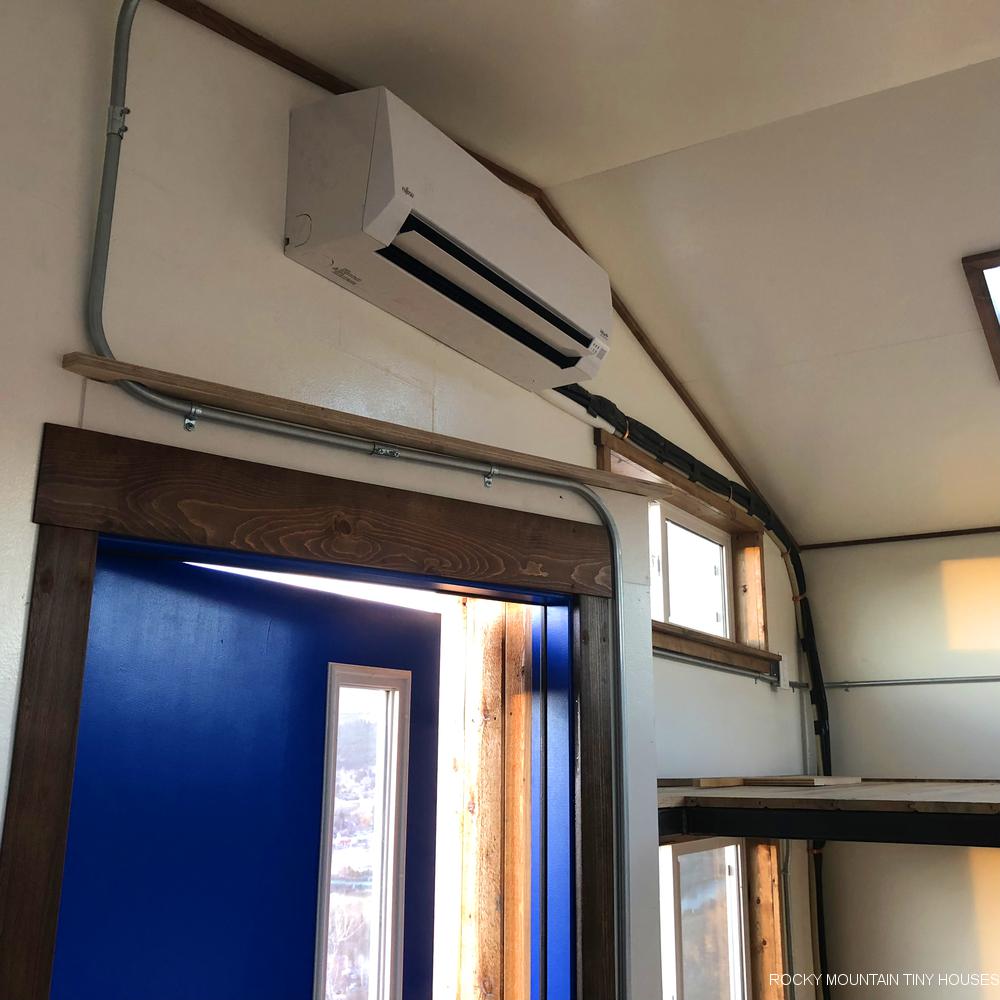
The Ad Astra features a large storage closet on the rear for outdoor gear. We placed the condenser of the mini split on a bracket high on the back wall to allow more space below for storage.
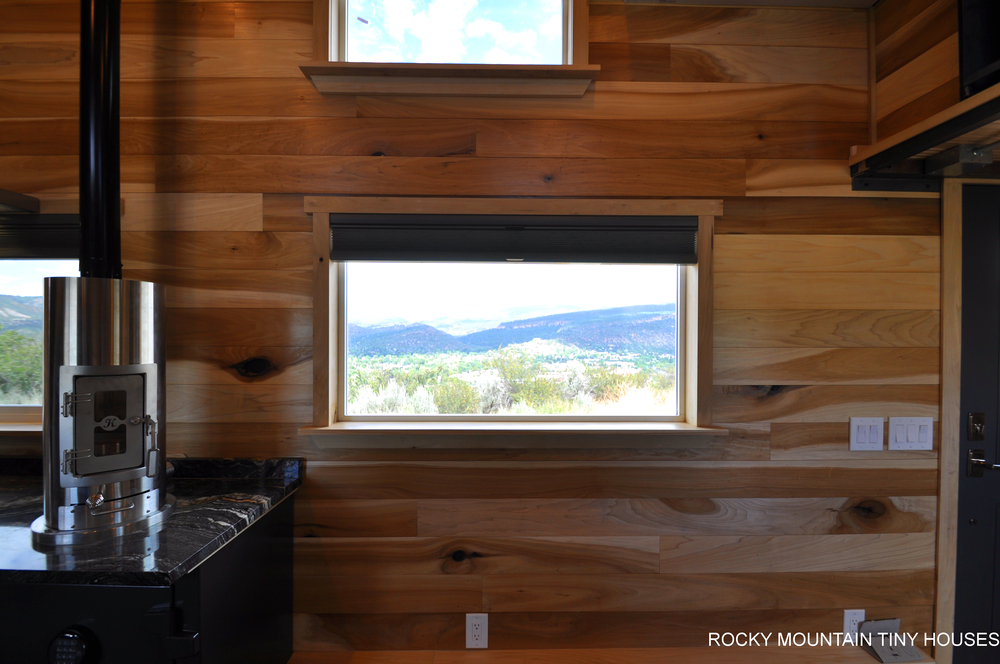
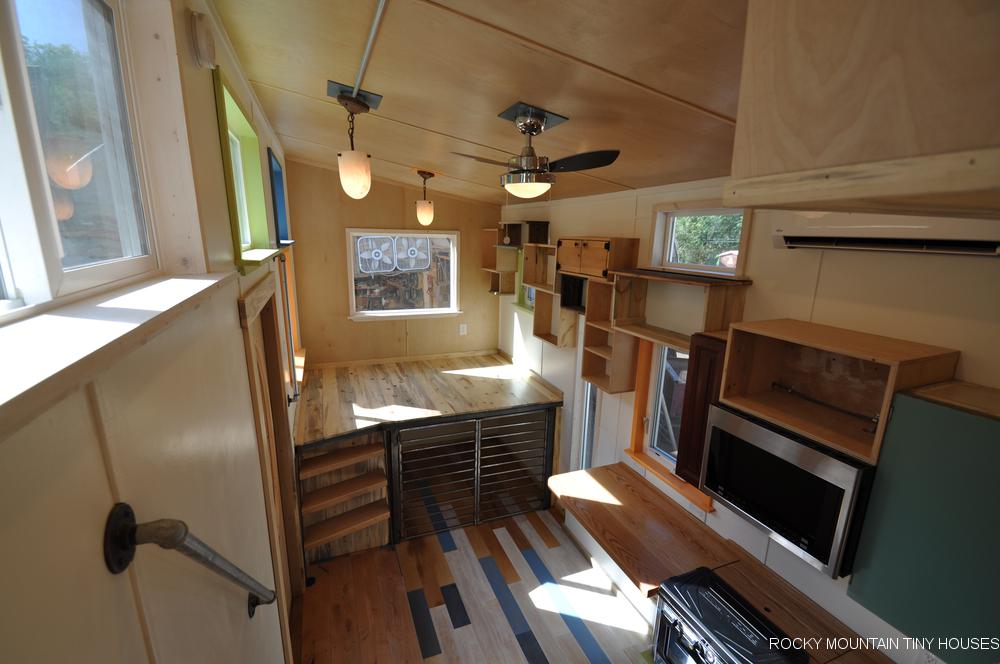
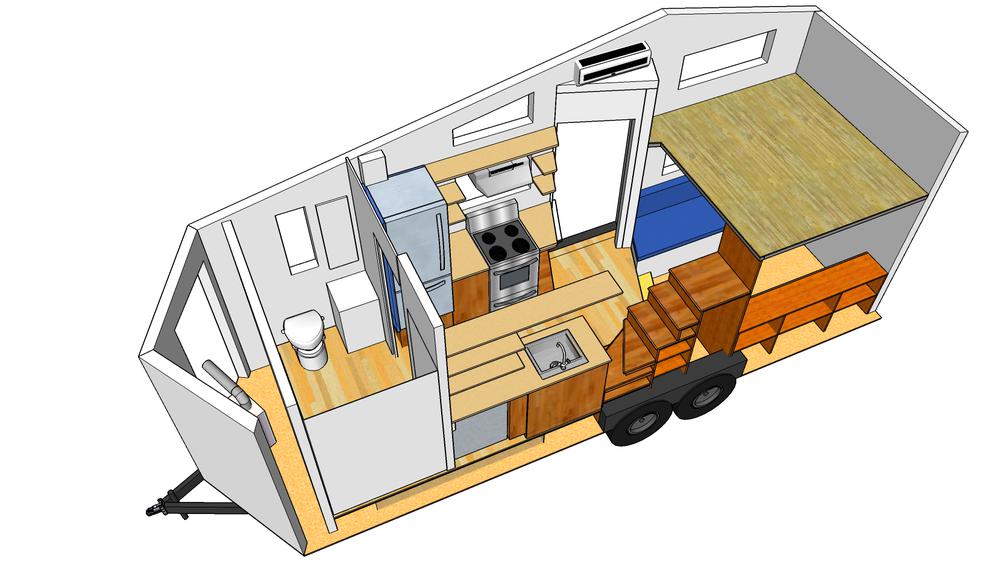
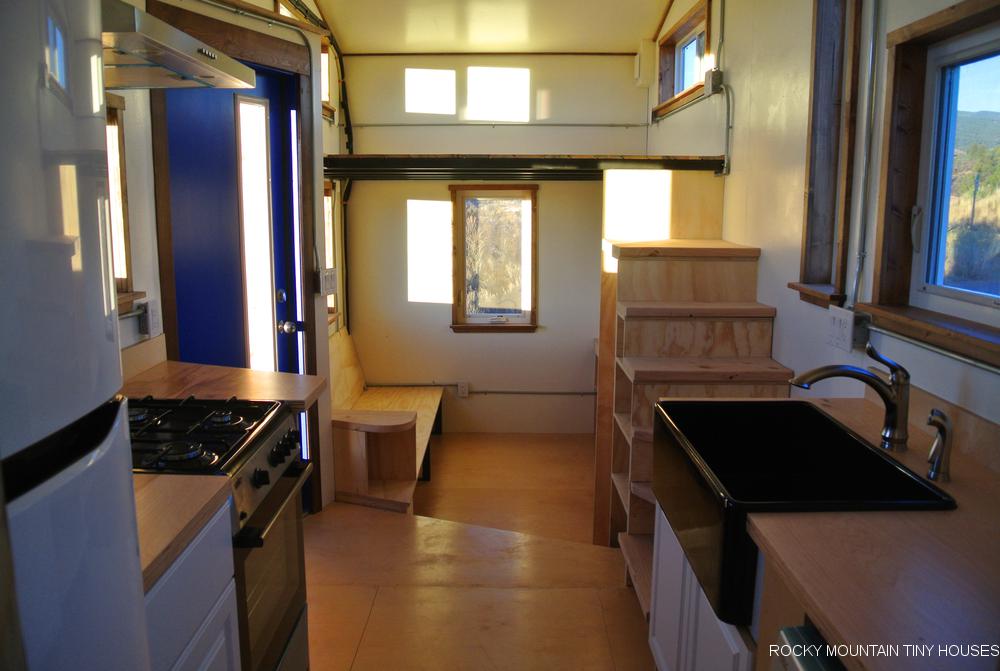
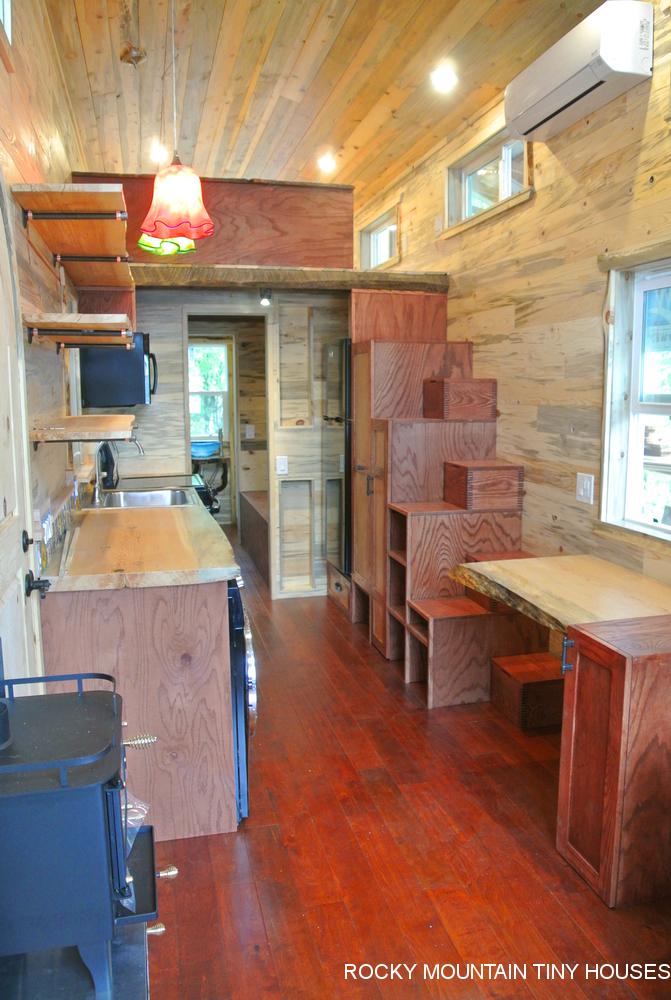
The customers really liked the interior layout of the Pequod, so we started with that general floor plan and customized it to fit their needs. The engineered bamboo flooring has a hand scraped finish and we stained the pine trim and window boxes to match.
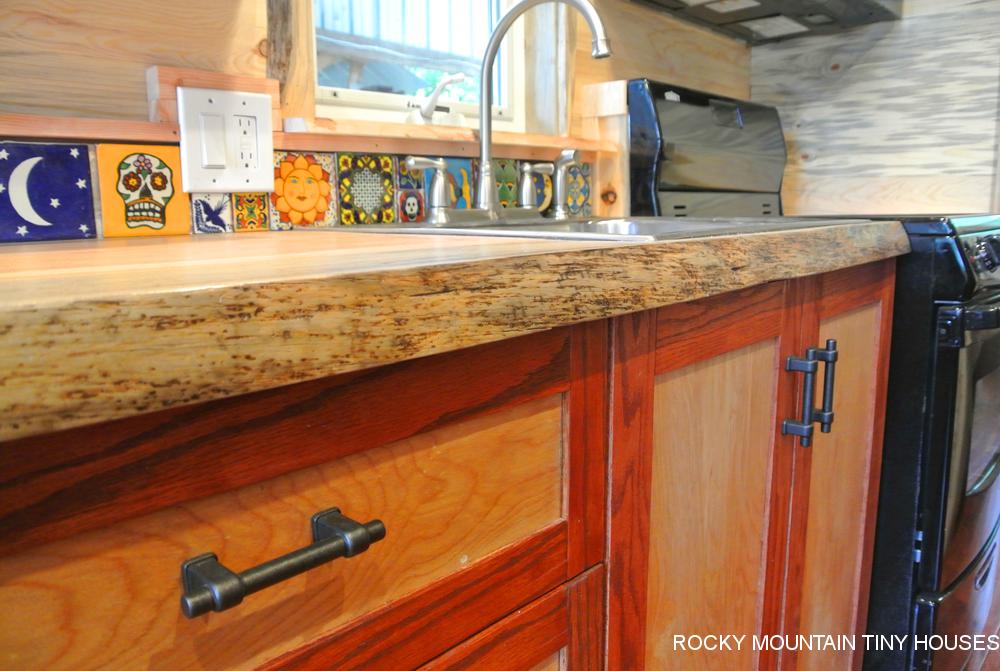
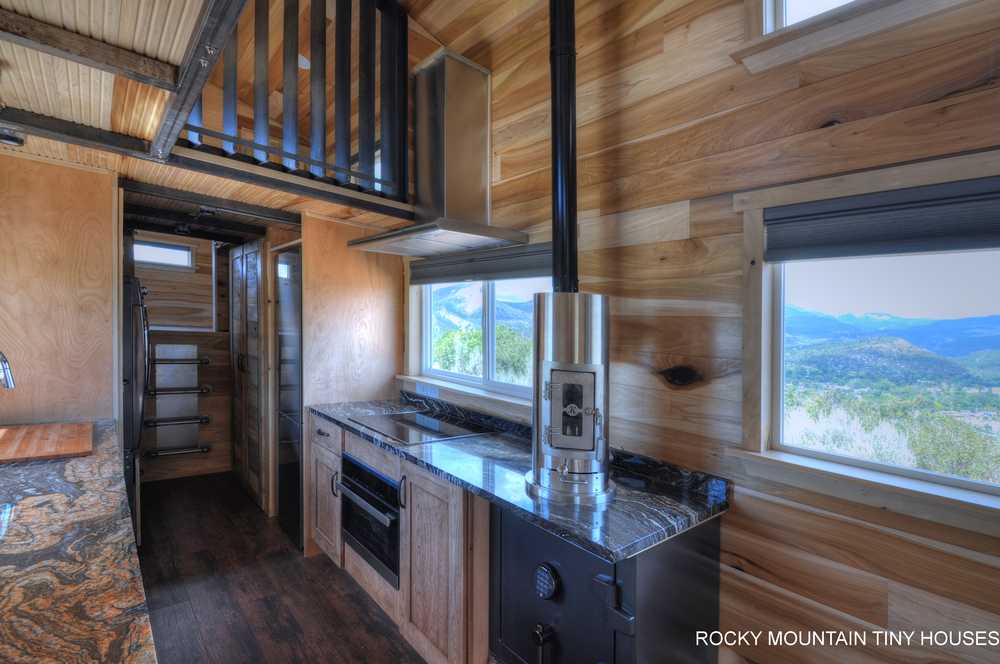
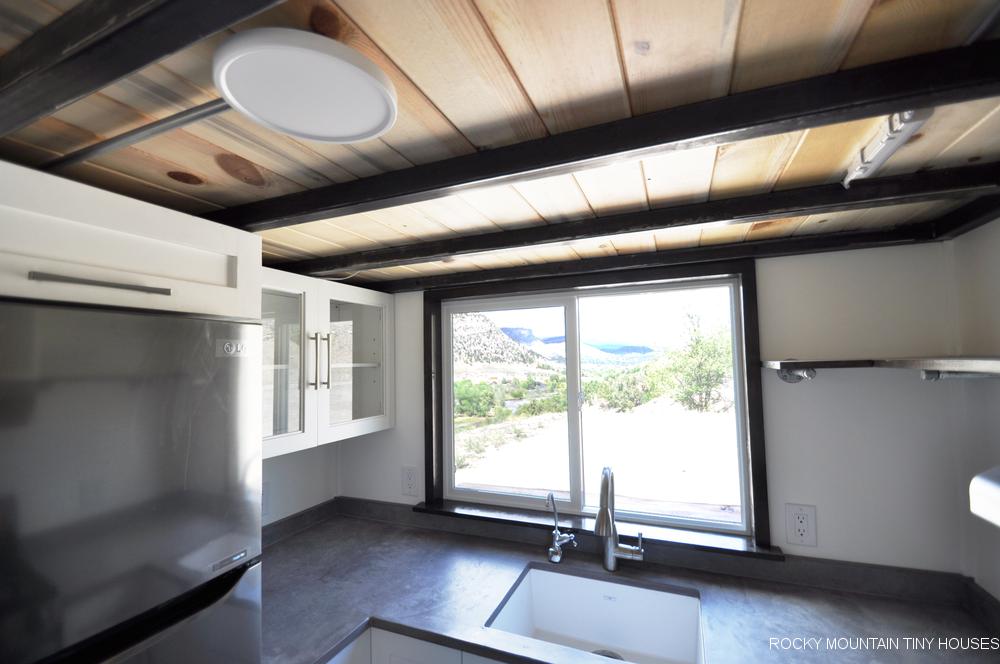
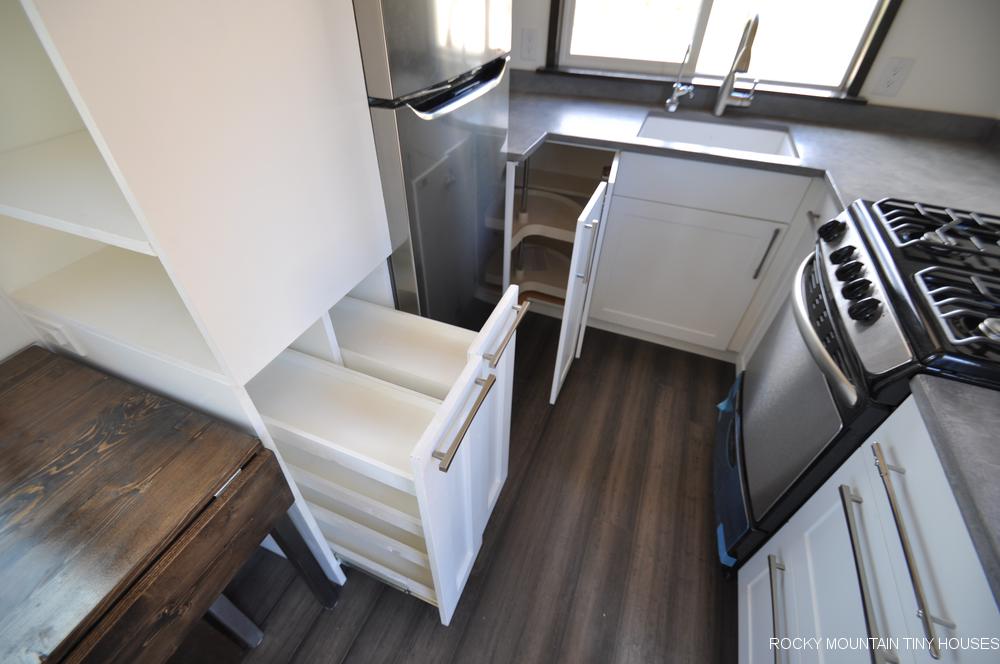
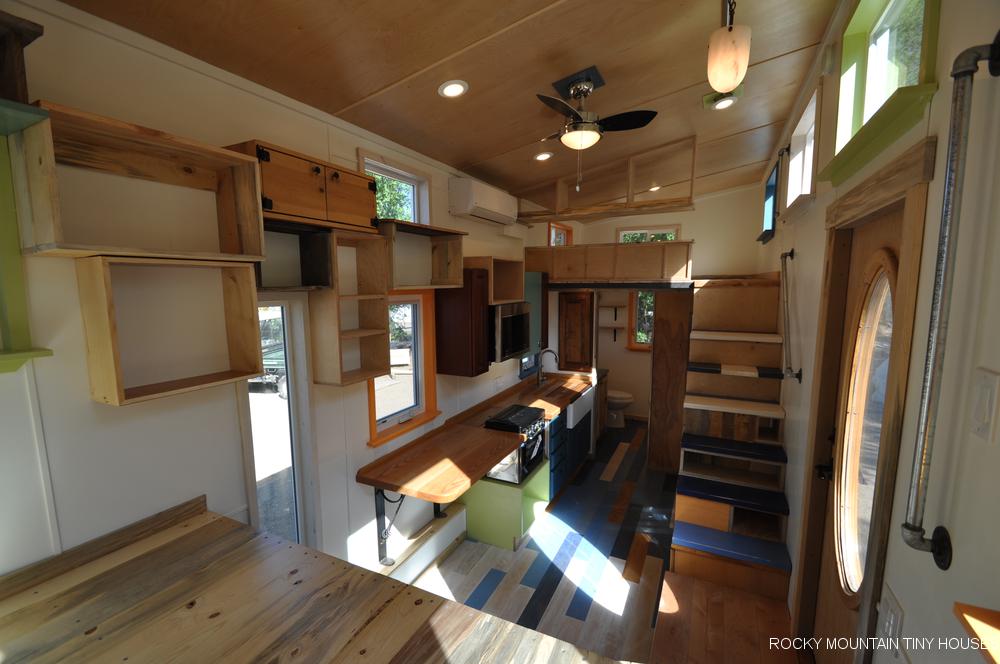
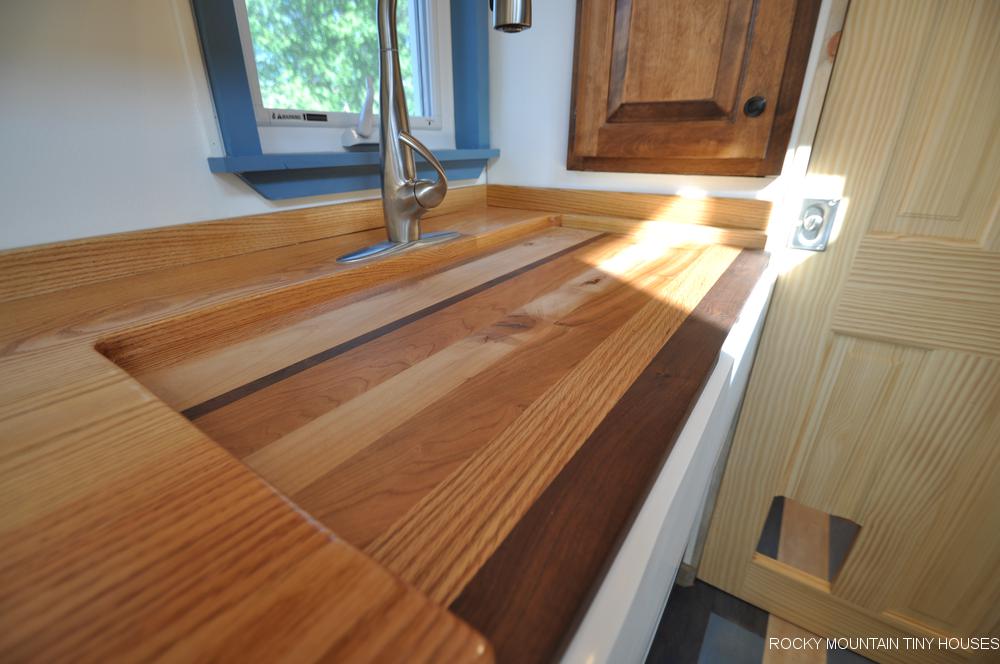
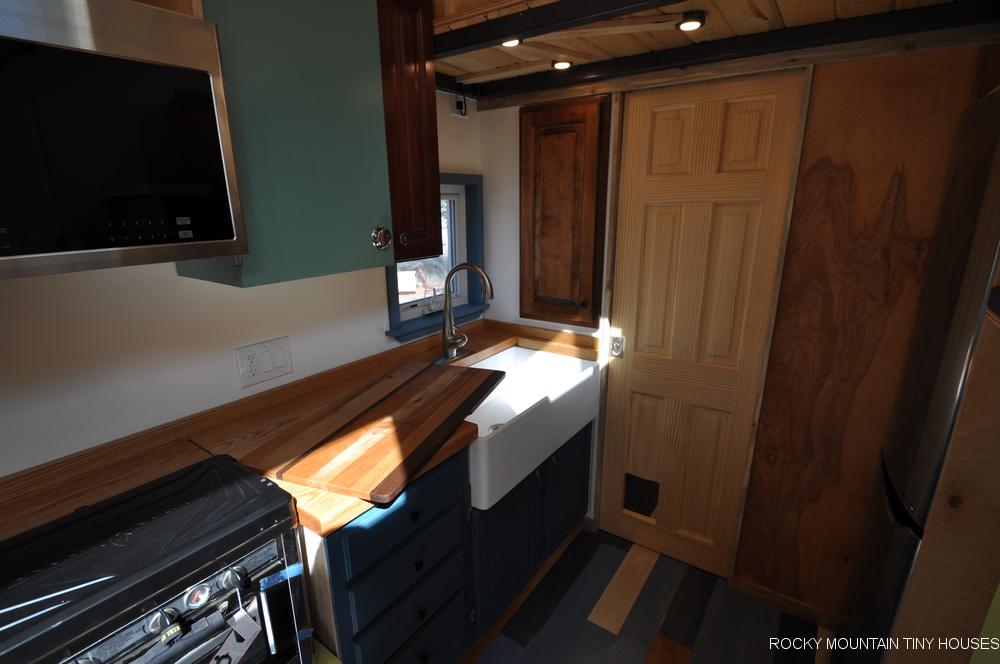
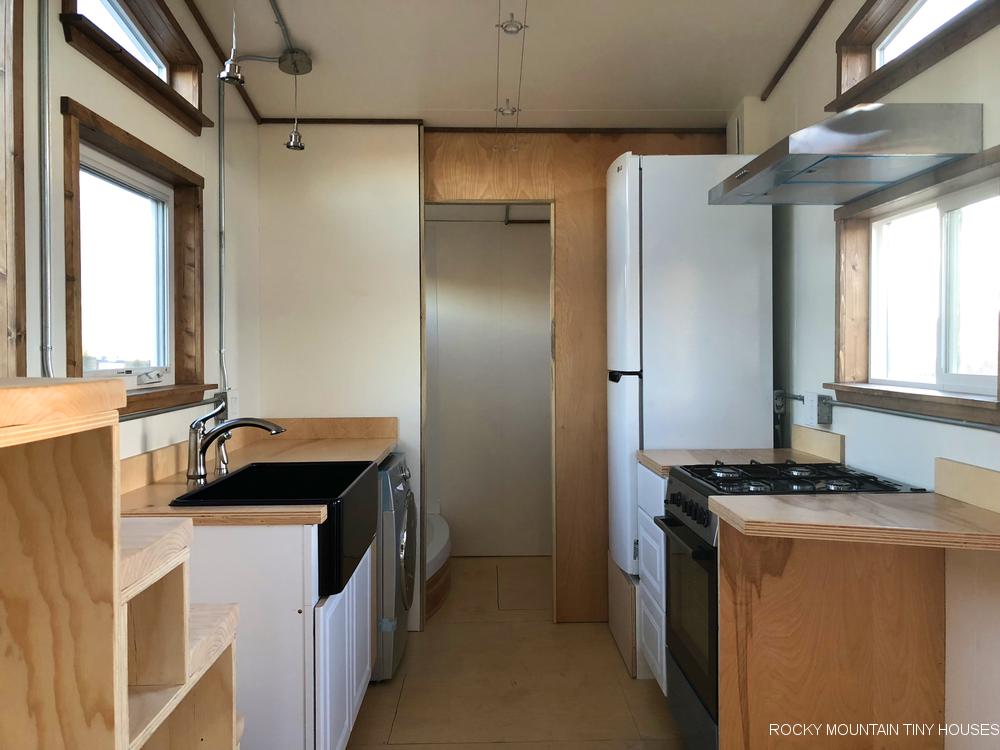
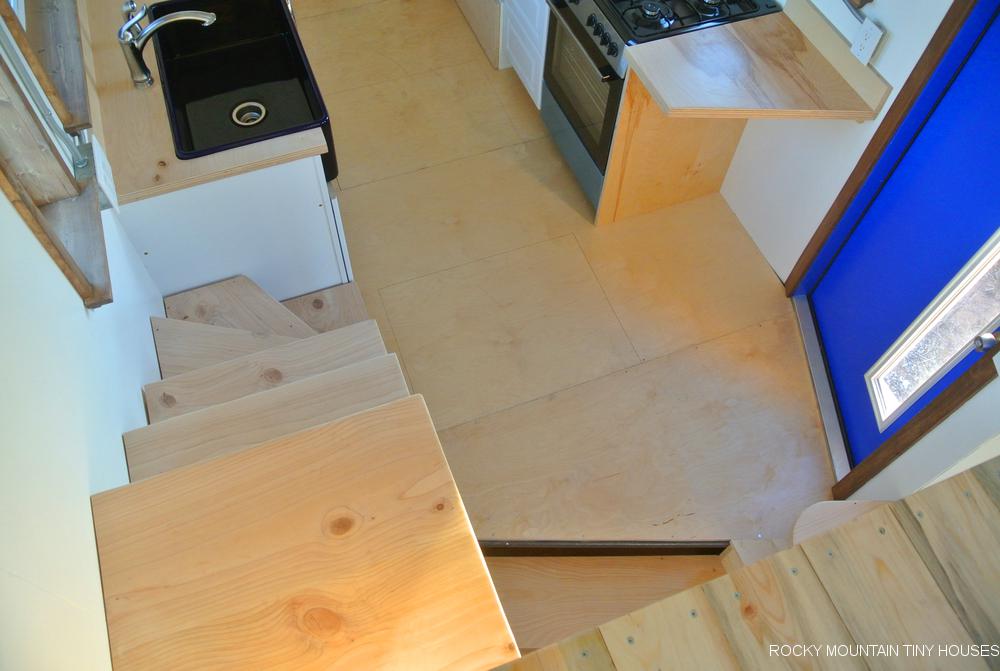
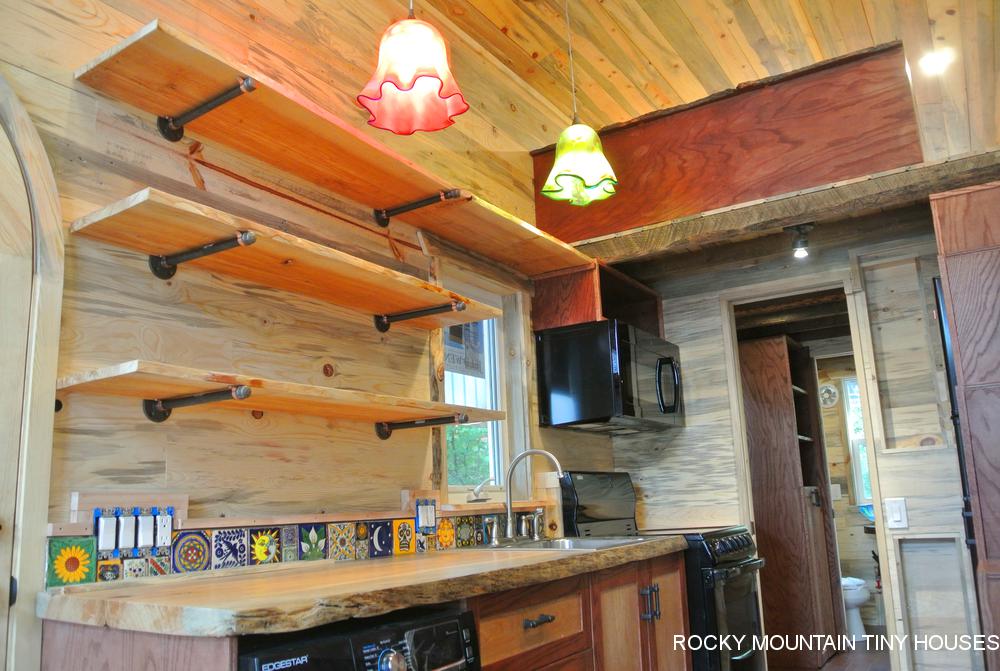
The Ad Astra features the Pequod’s “U-shaped” kitchen. We started with stock, white cabinets and tweaked them where needed to fit the space. One corner of the base cabinets is a lazy-Susan while the other corner is “secret” long-term storage that is accessed from below the sink. The sliding window behind the sink functions as a serving window – a fold-up bar just outside the window will be useful for entertaining.
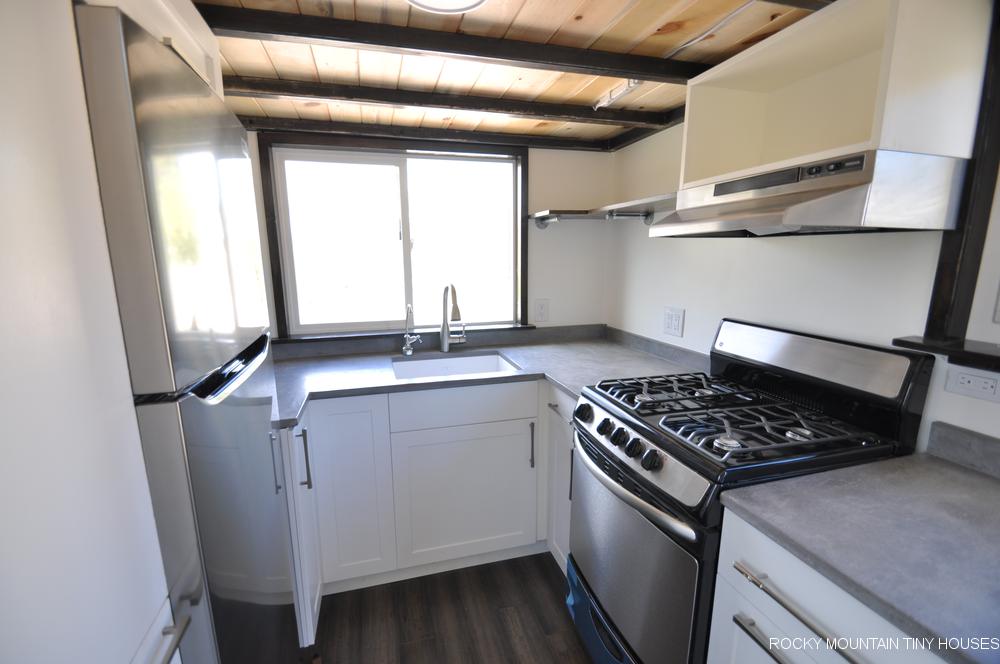
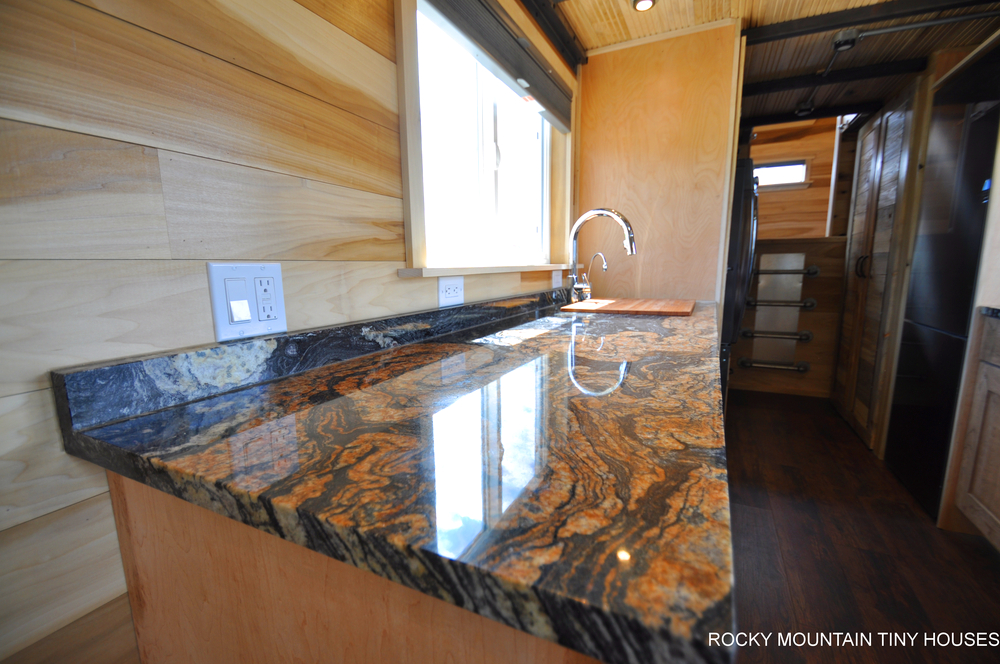
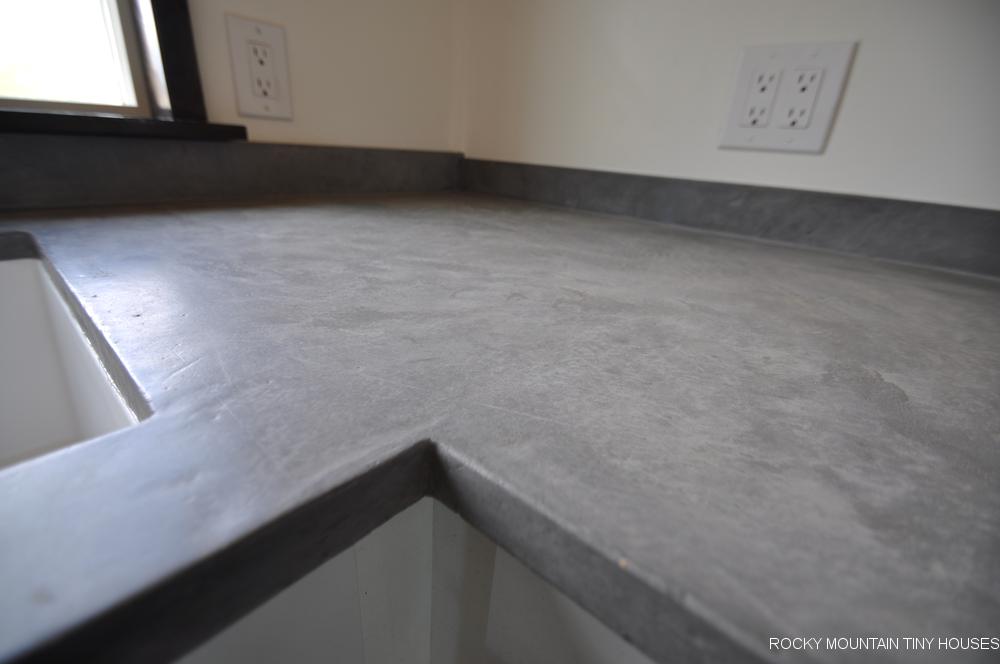
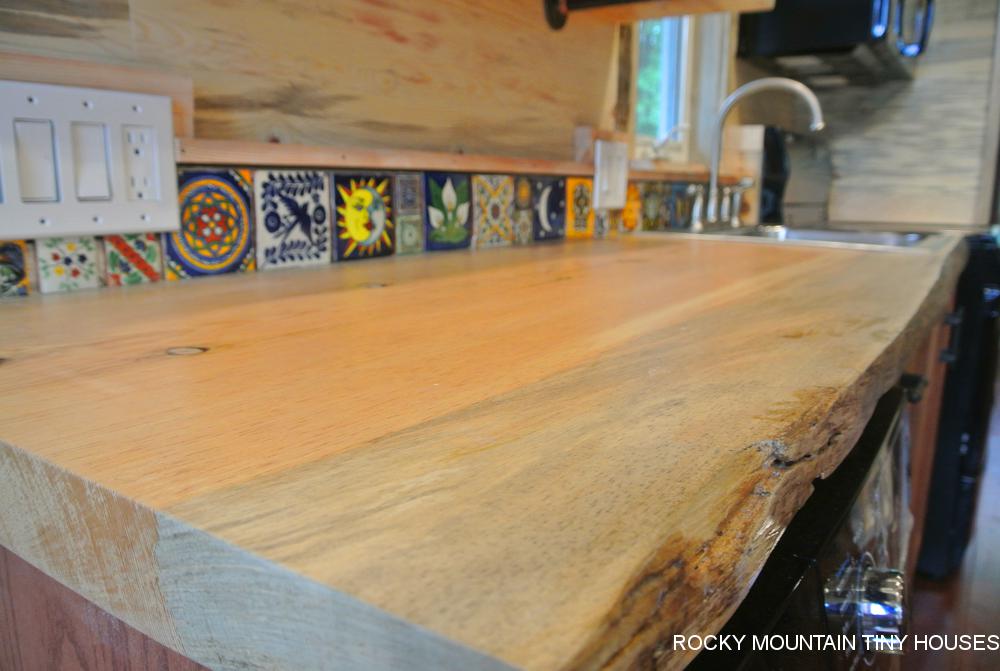
One of our carpenters is a whiz with concrete, so we put his skills to work on the hand-troweled countertop. The hand-troweling gives it more character than some other concrete methods and brings out its hand-made nature. The customers chose a classic white undermount sink with a tall single-handle faucet.
We were able to locate a stock wall cabinet online for a small space to the left of the sink. We cut out the center part of the cabinet doors and replaced it with glass. This saved a lot of money compared to buying a cabinet with glass doors.
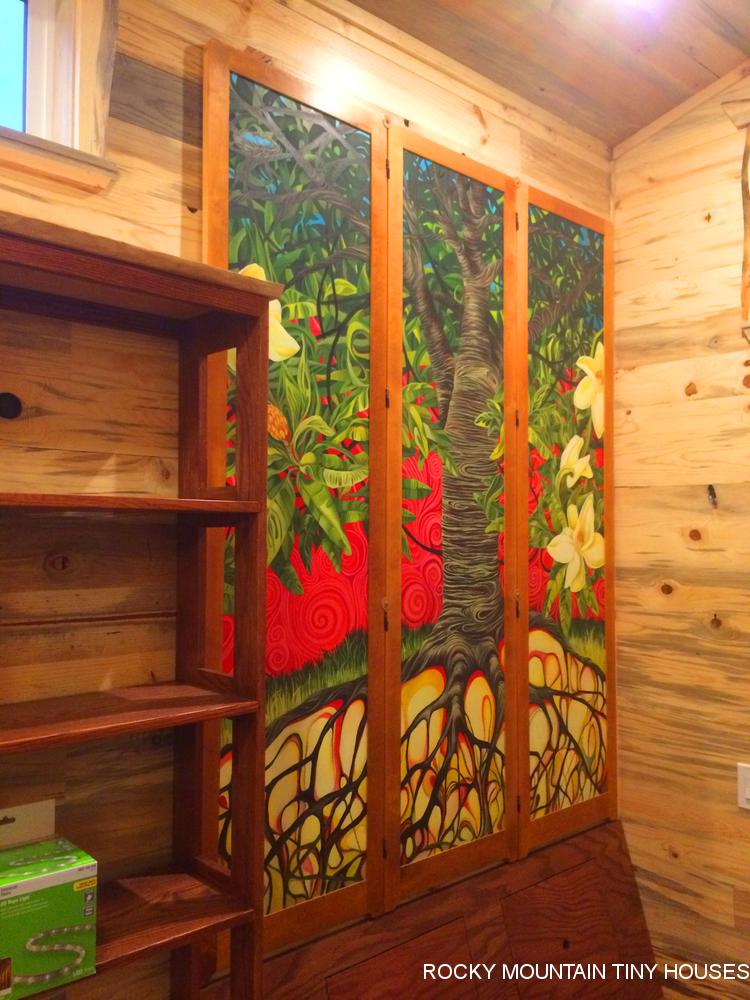
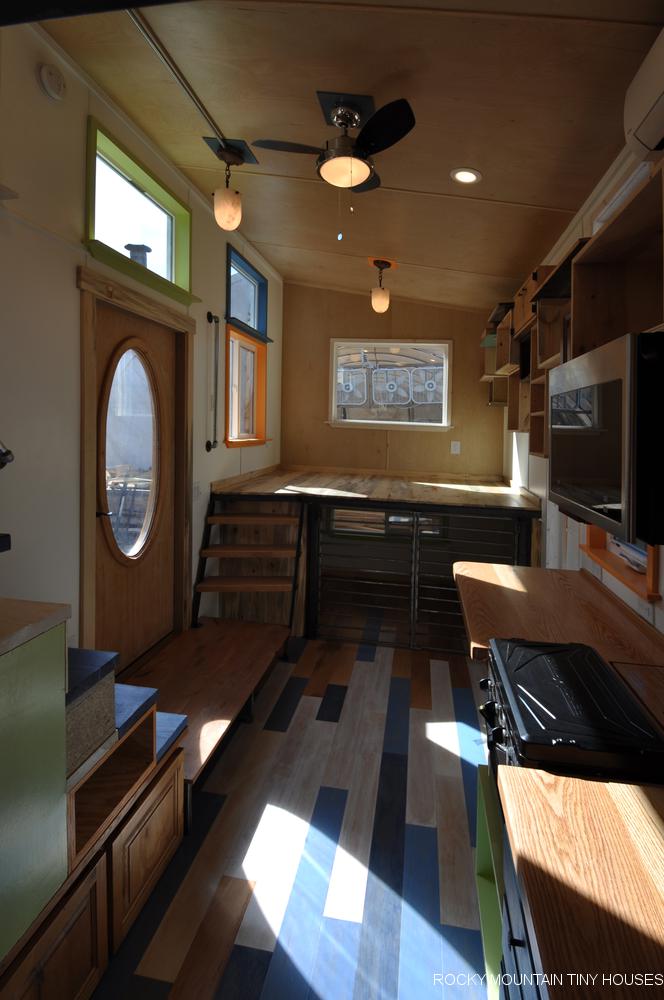
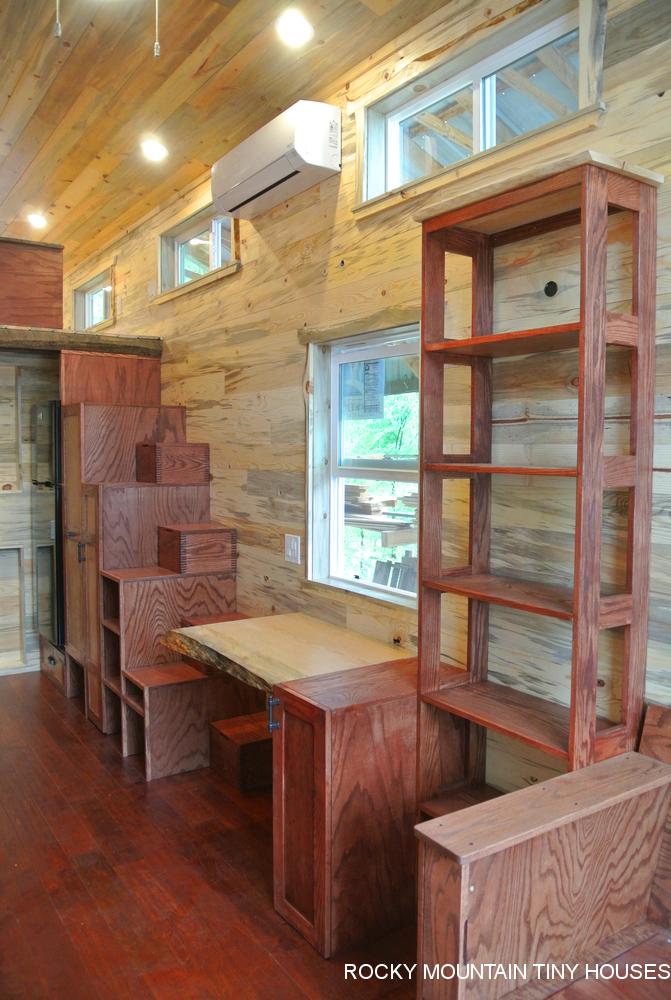
We created a custom pantry/shelf unit to divide the kitchen from the dining area. The bottom houses two pull-out pantries, while the top has adjustable shelves.
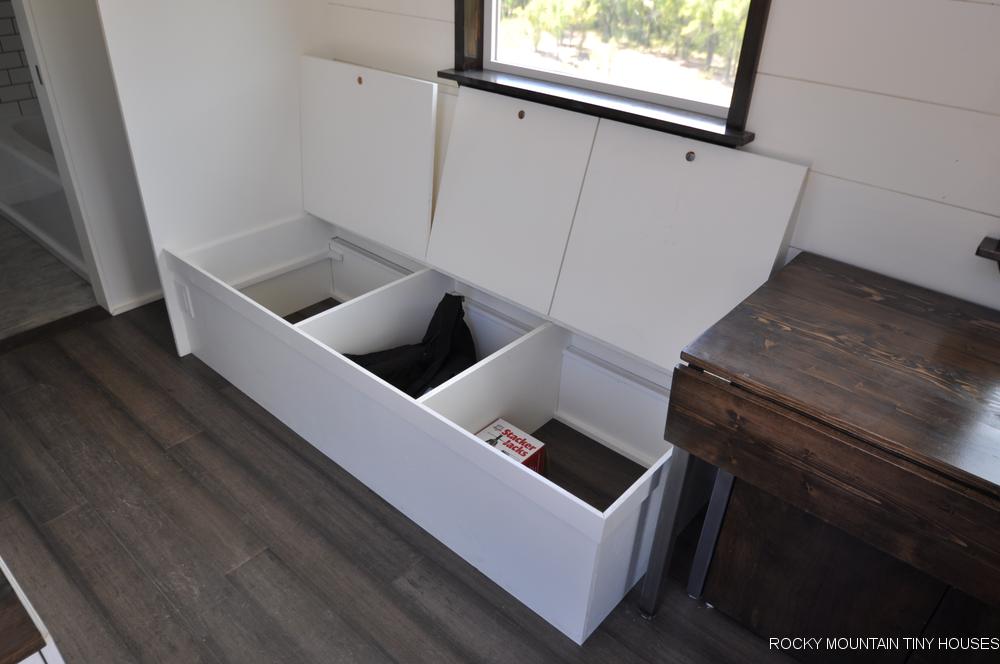
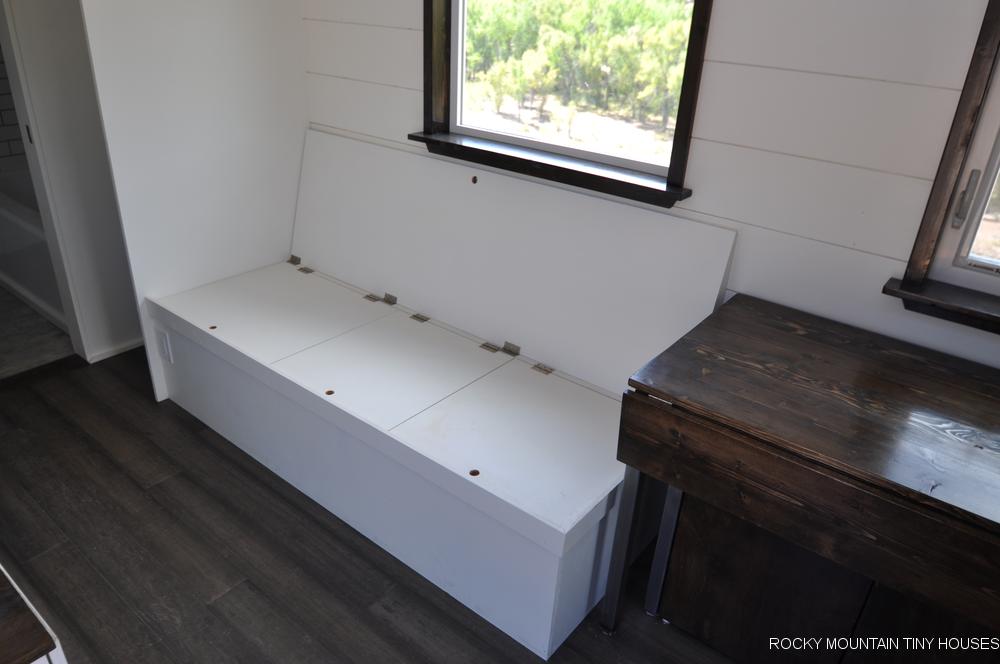
Another nod to the Pequod was the nesting dining room table which features two cubes that function as seats and have storage within, a bench, and a 48” long table with fold-up leafs on either side.

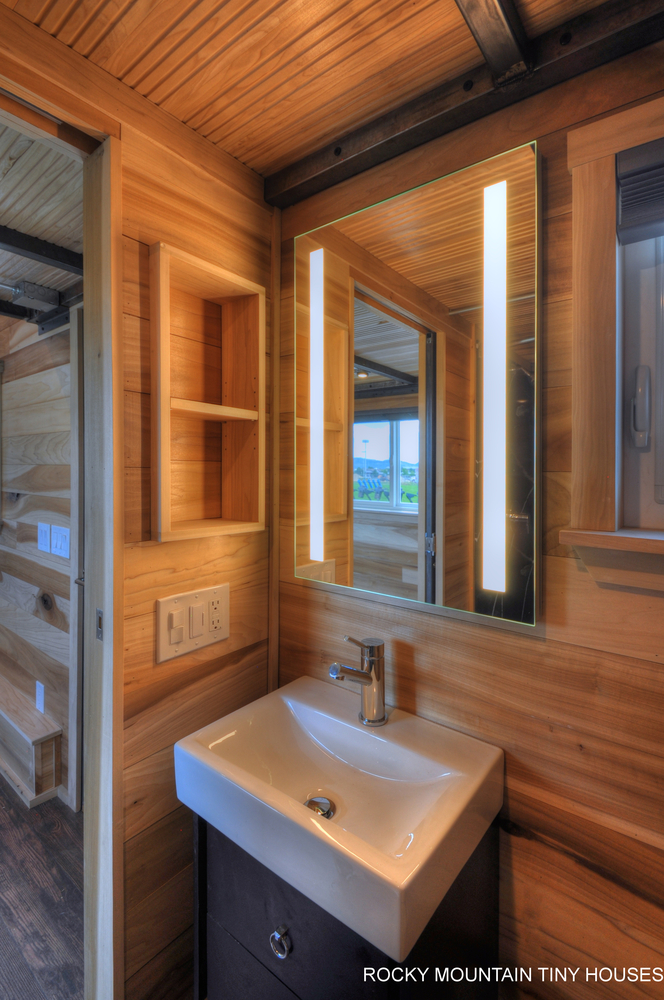
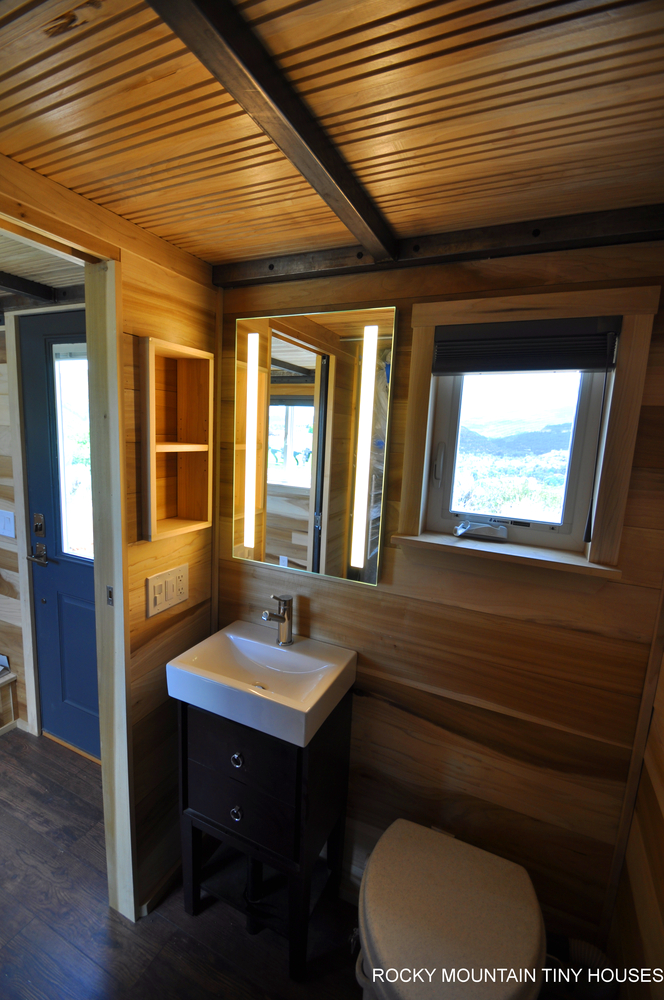
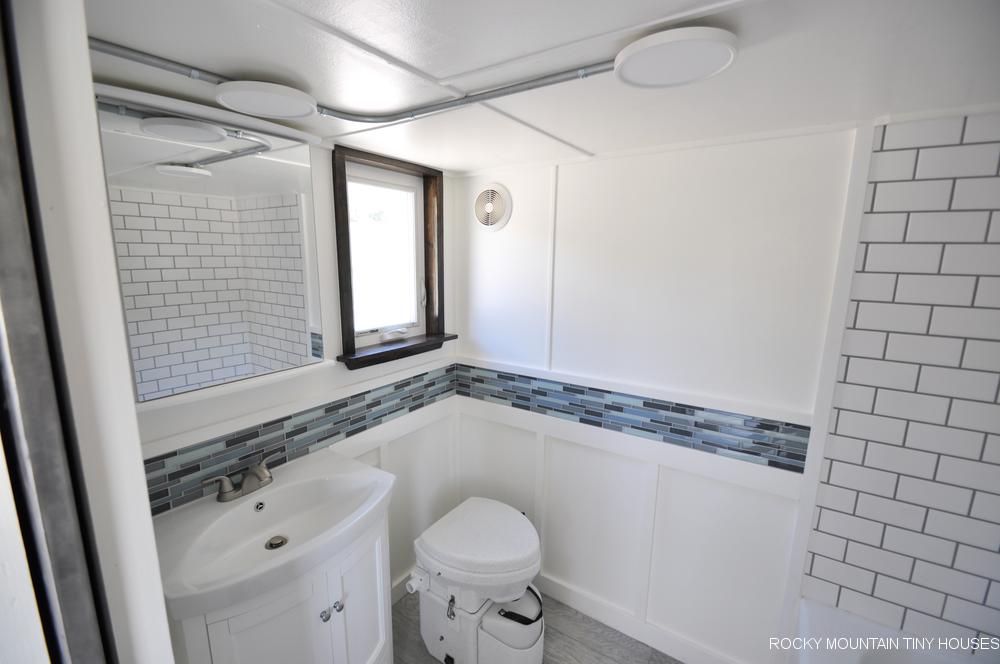
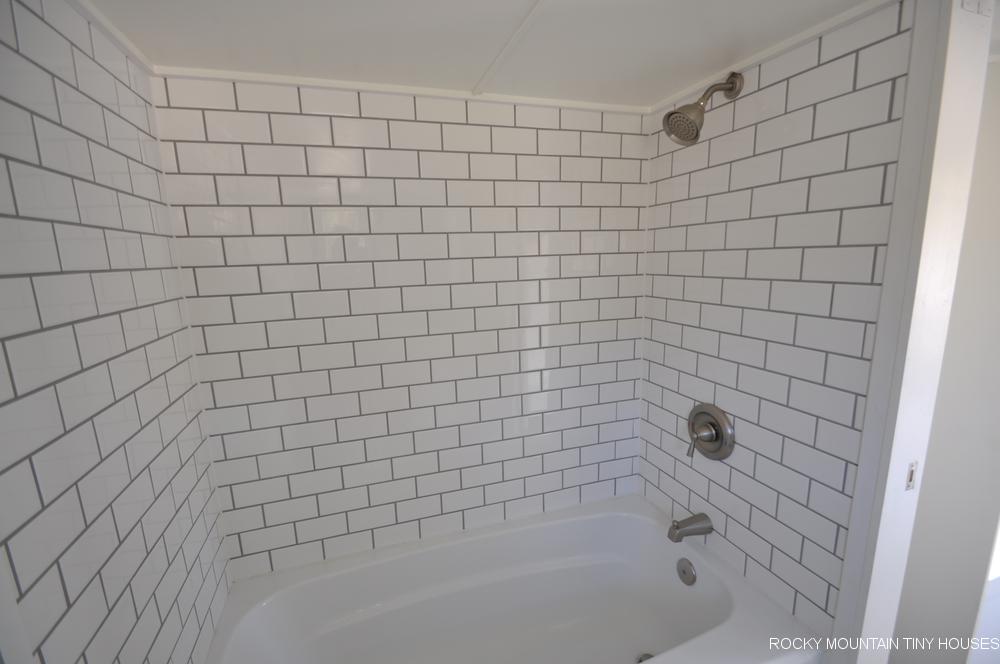
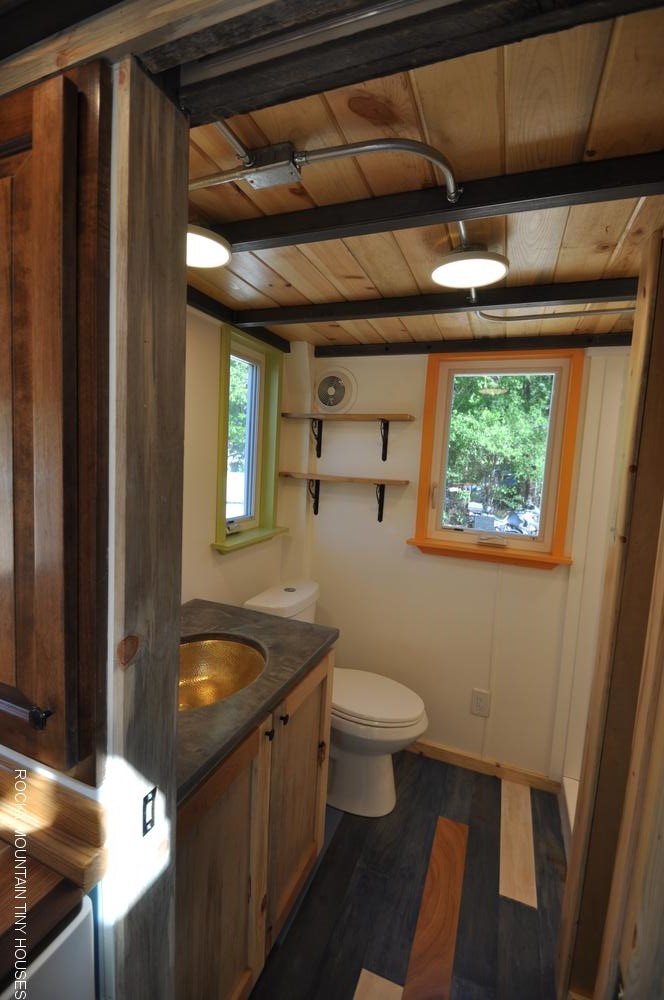
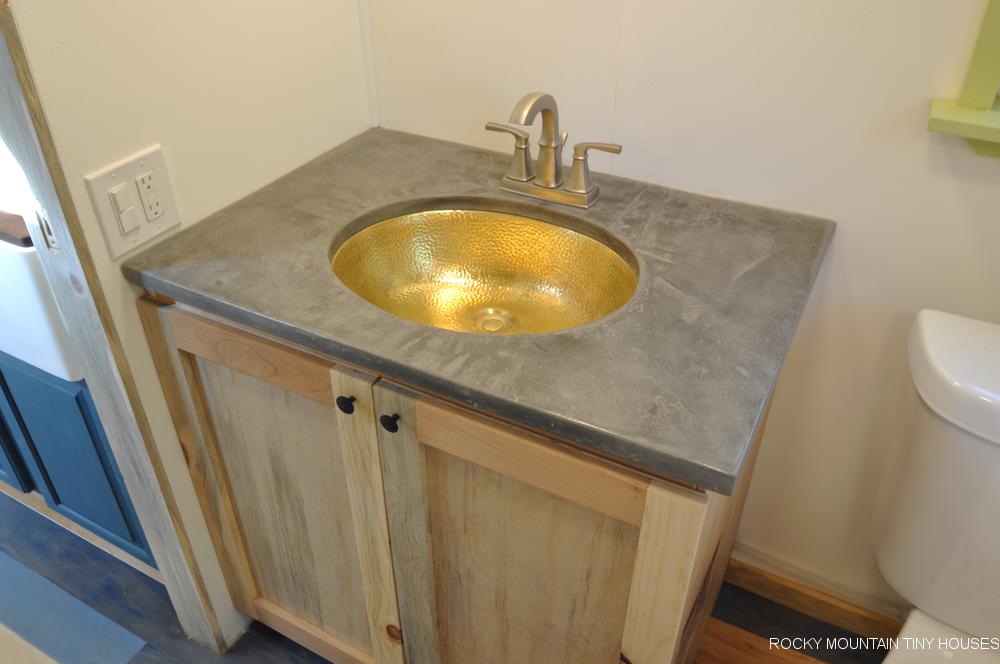
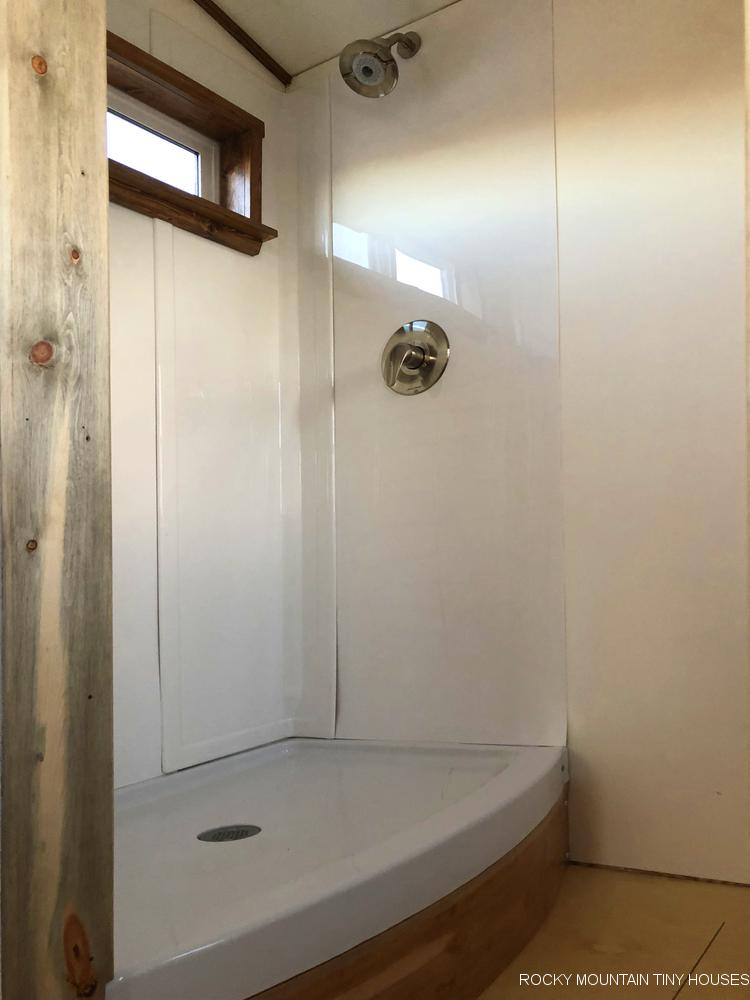
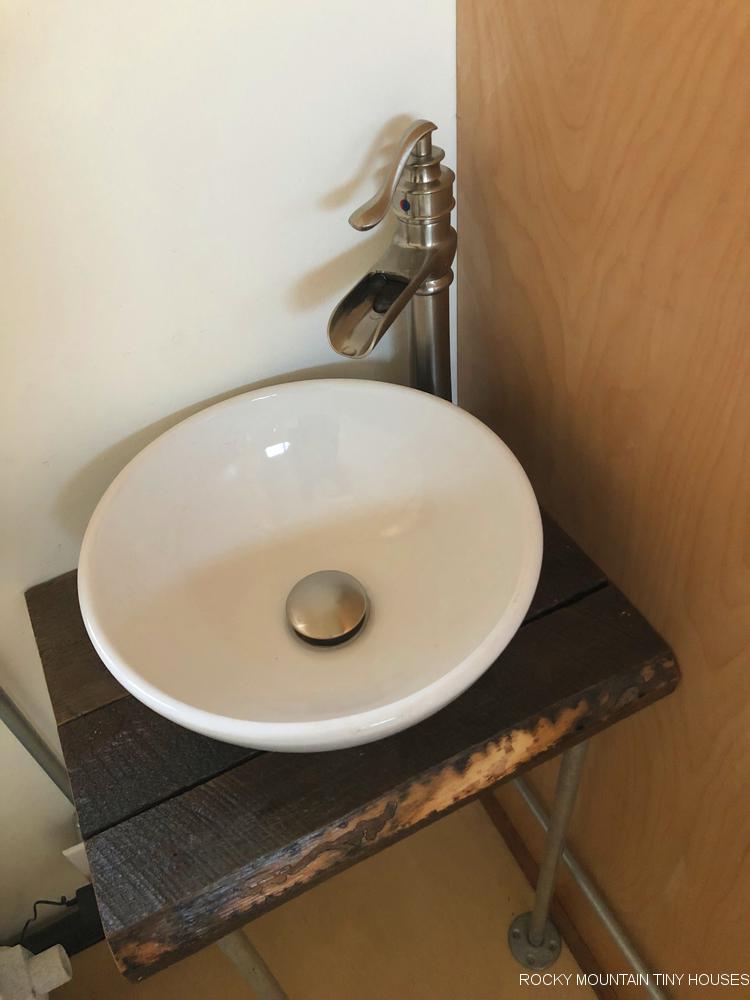
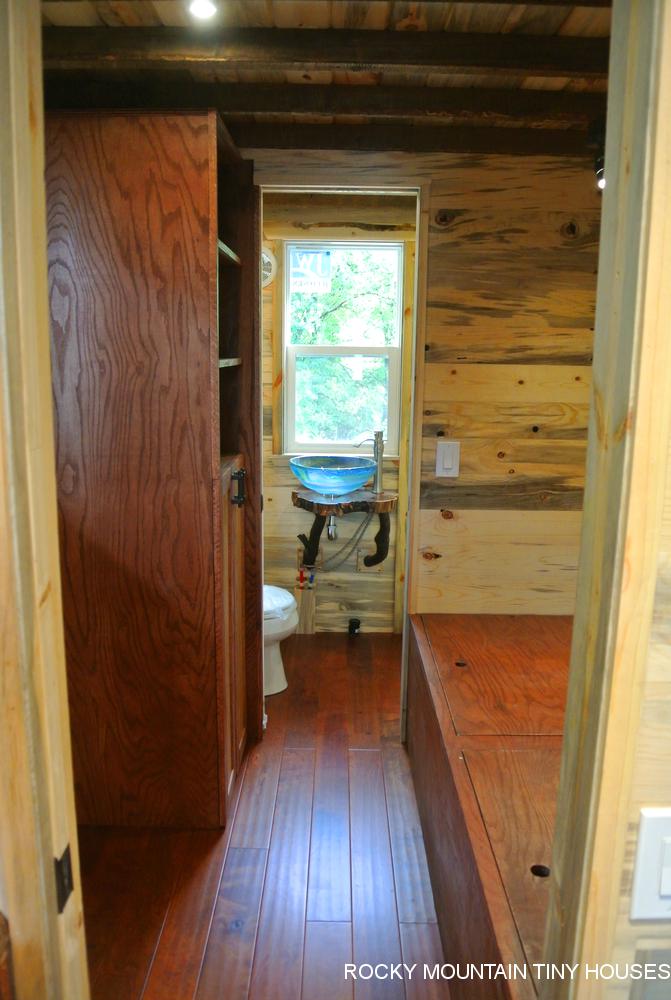
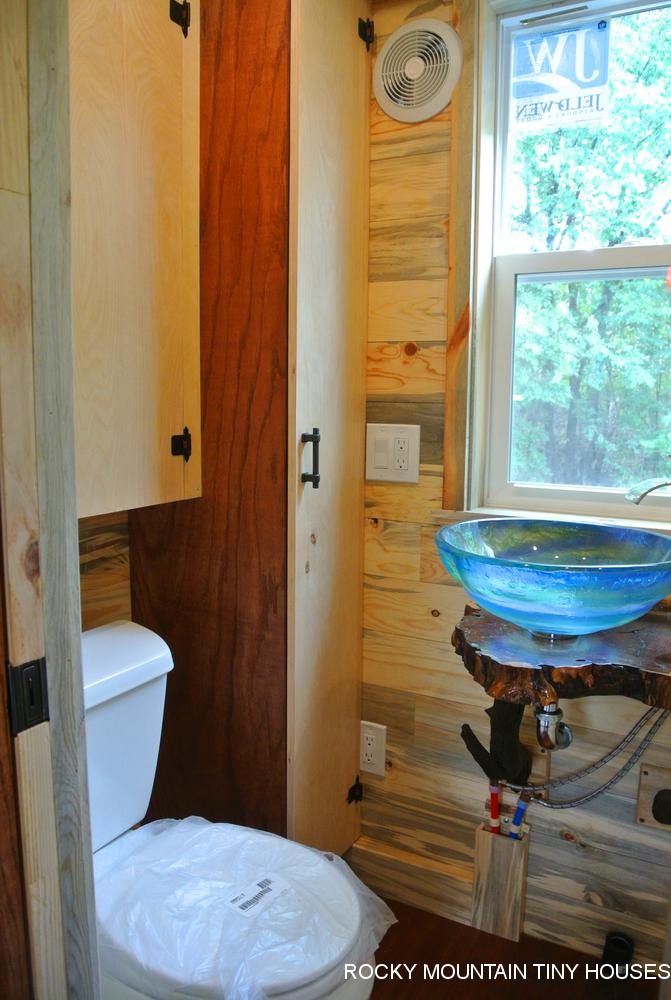
This Portland tiny house has a bright, spacious bathroom. The customers chose an all-in-one vanity/sink combo. We incorporated this vanity into a custom wainscot with a glass tile strip above. A frameless mirror medicine cabinet provides extra storage above the sink. A Nature’s Head composting toilet sits next to the vanity.
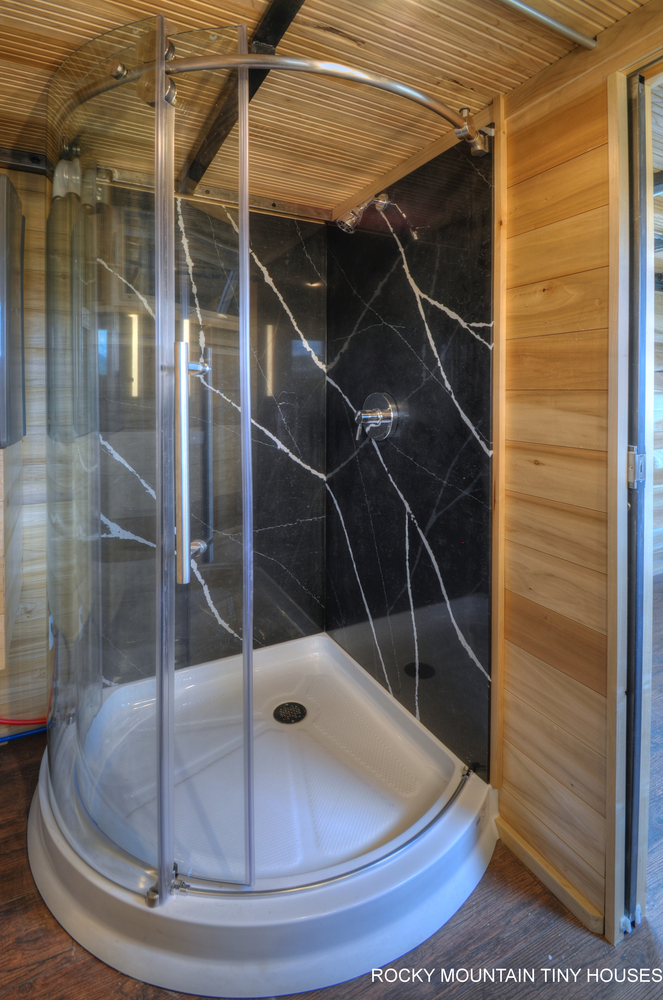
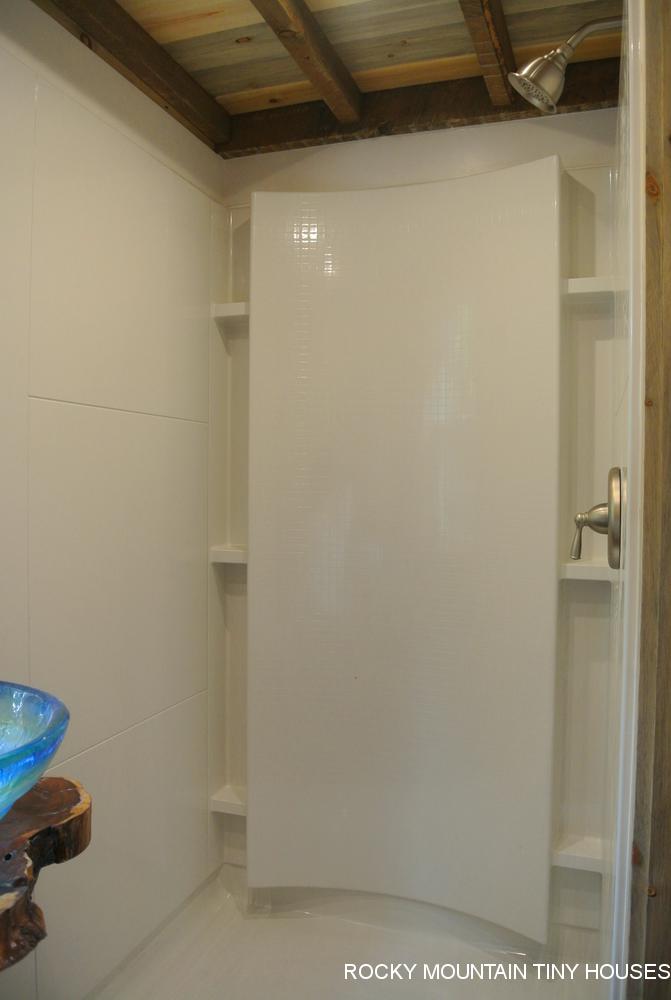
The tub has white ceramic subway tile surround. We chose a dark grout to tie into the grey hues in the faux wood floor tiles.
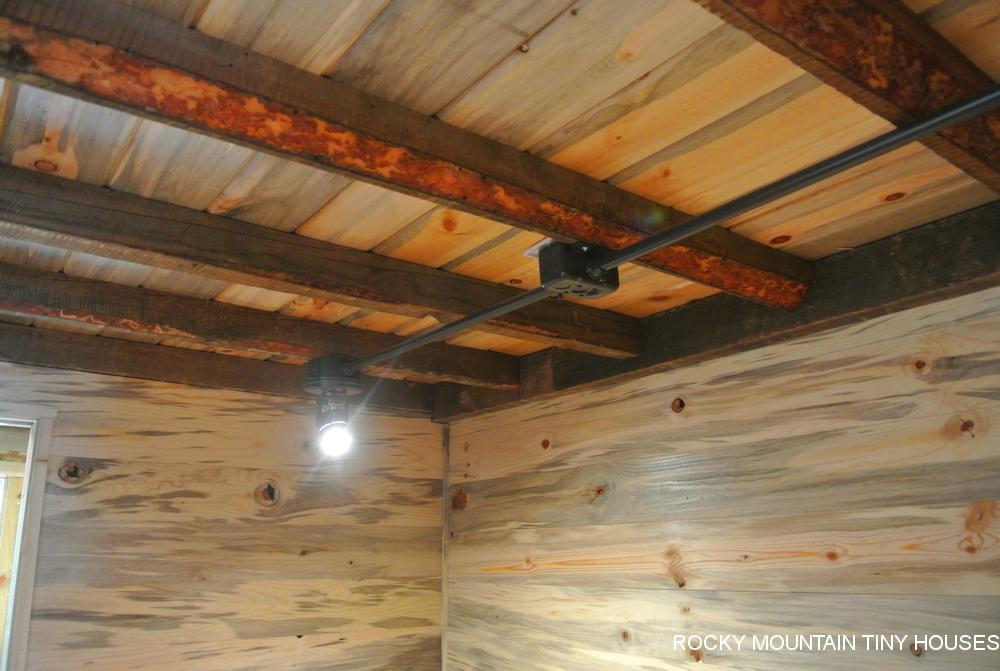
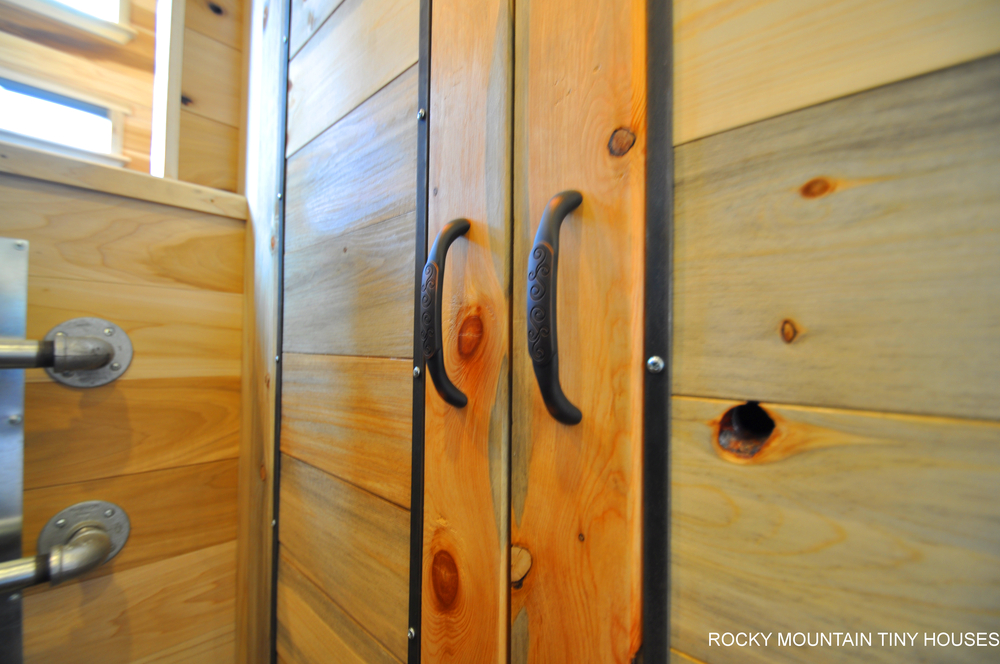
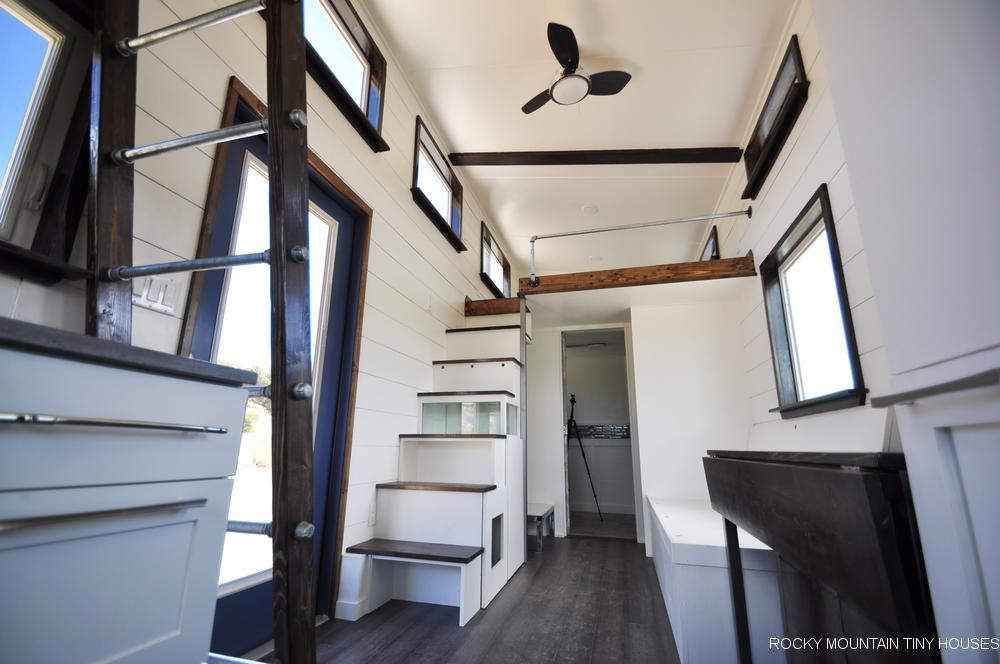
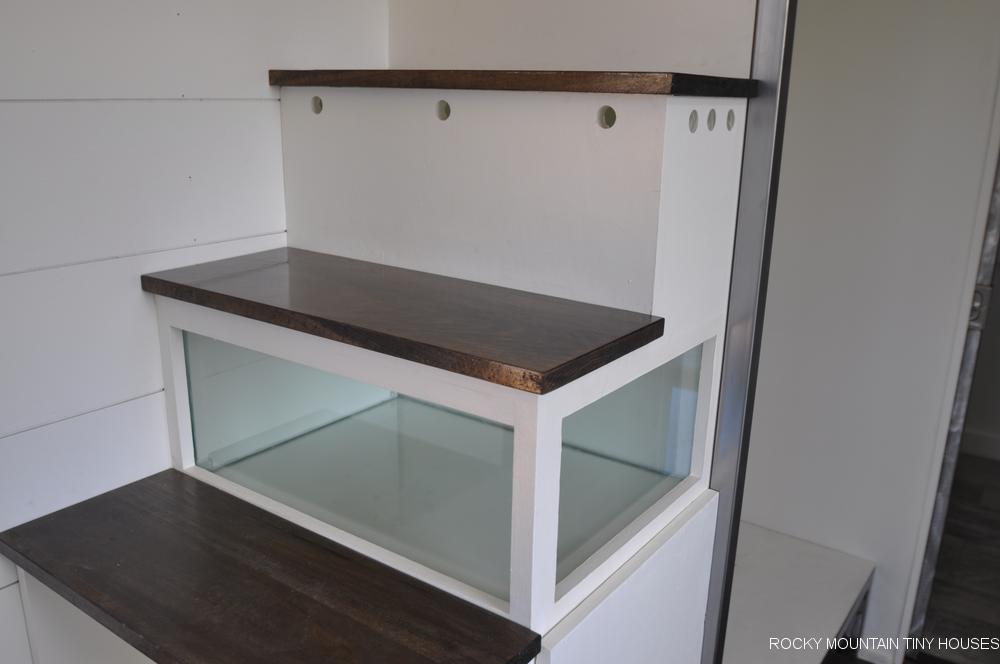
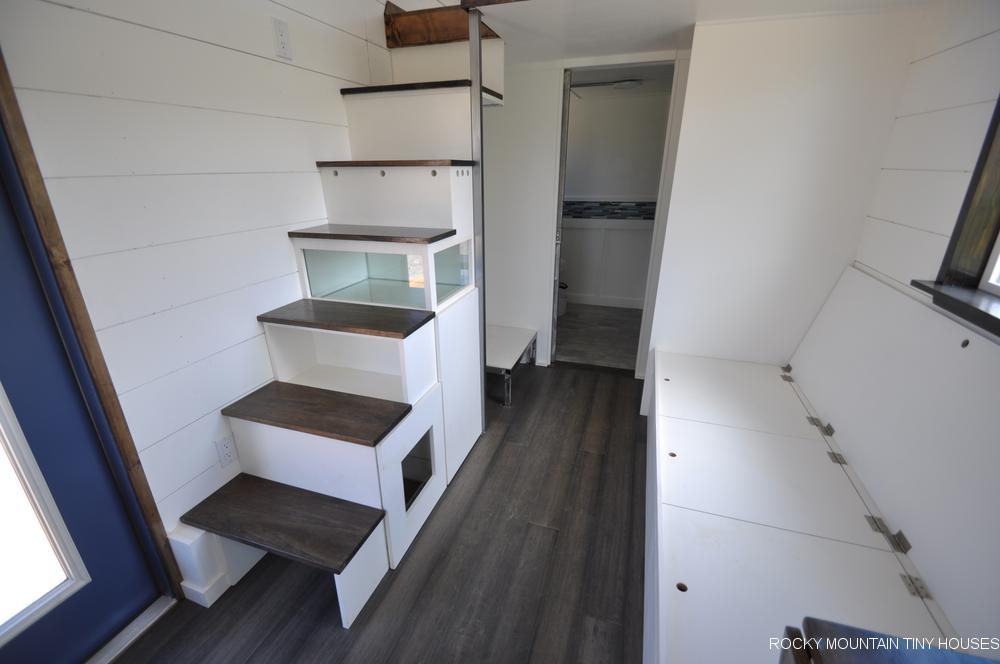
These tiny house dwellers are pet-lovers and the stairway provided opportunities for some custom pet features. First, a built-in glass gecko cage occupies the space under the fourth and fifth treads. Access for feeding and cleaning is granted under the removable fourth stair tread, and an outlet and light are hidden under the fifth stair, with some holes for ventilation. Their cat will enjoy its custom litter box cubby that includes a passive exterior vent for when things get a little smelly.
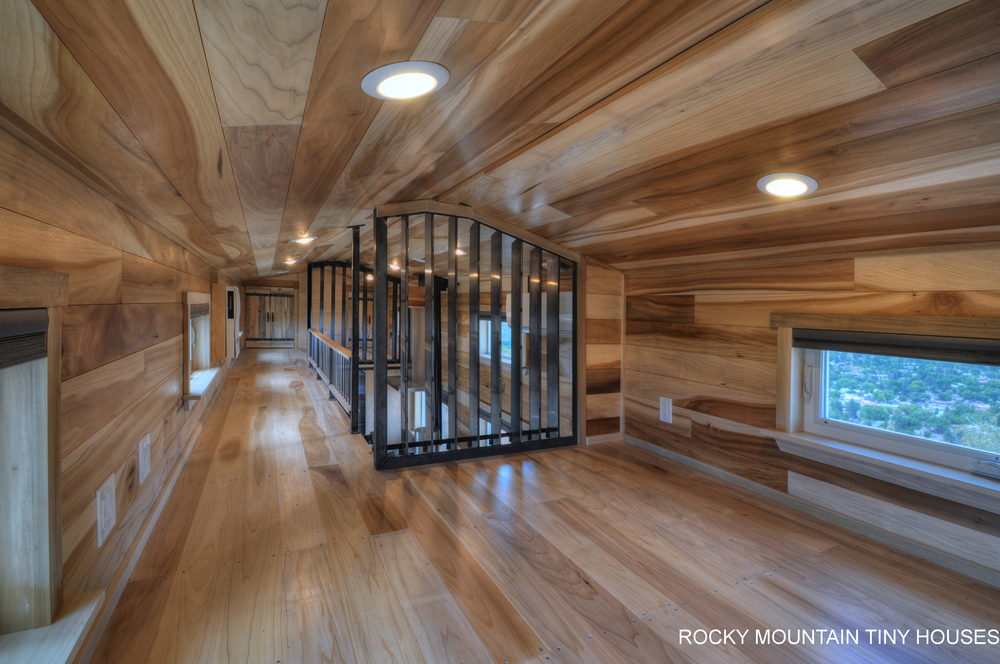
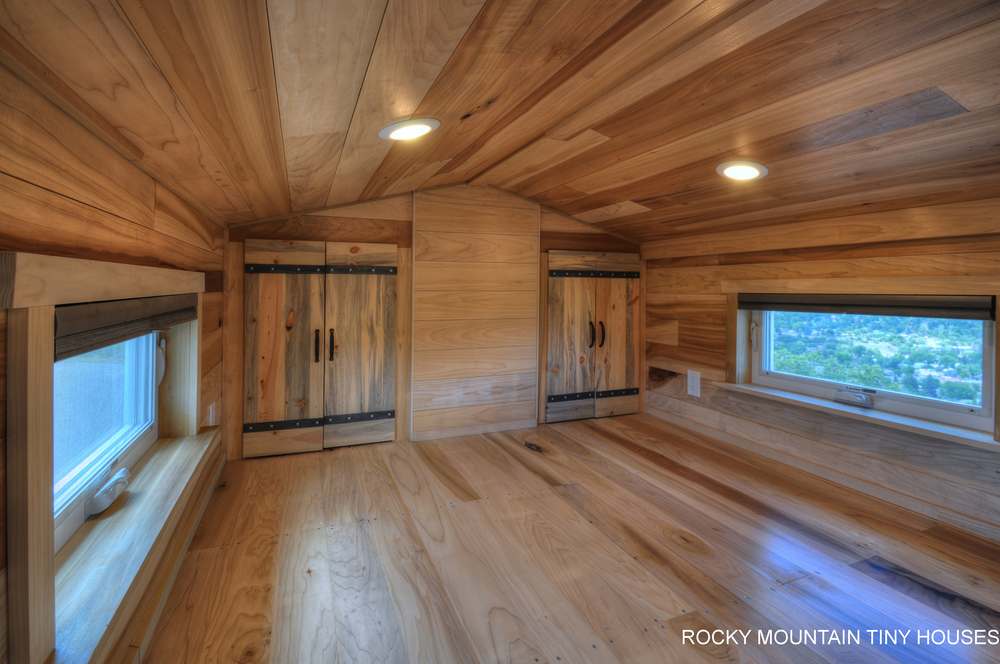
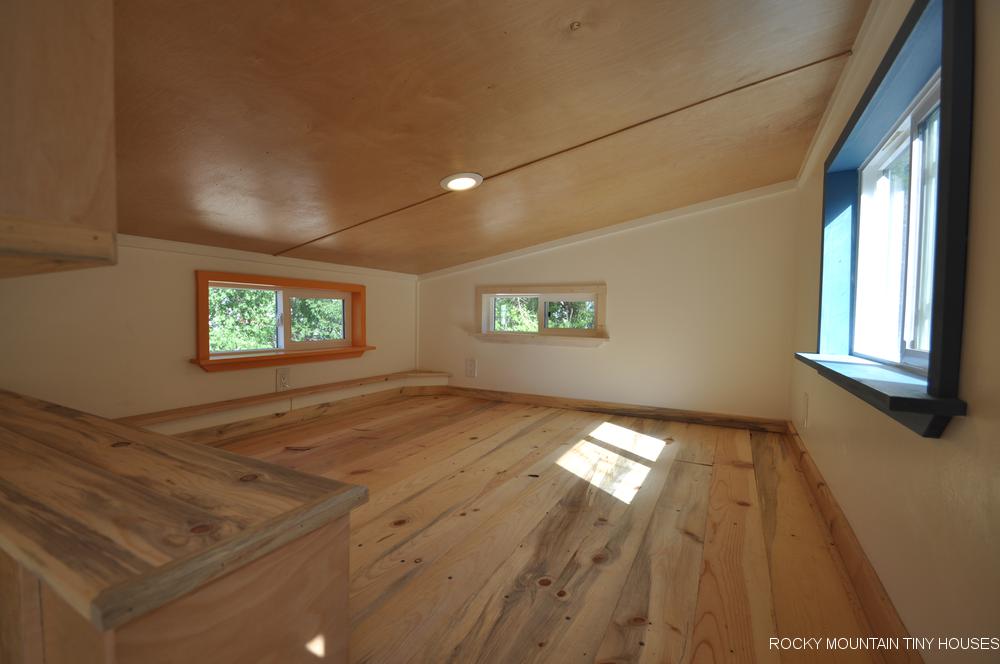
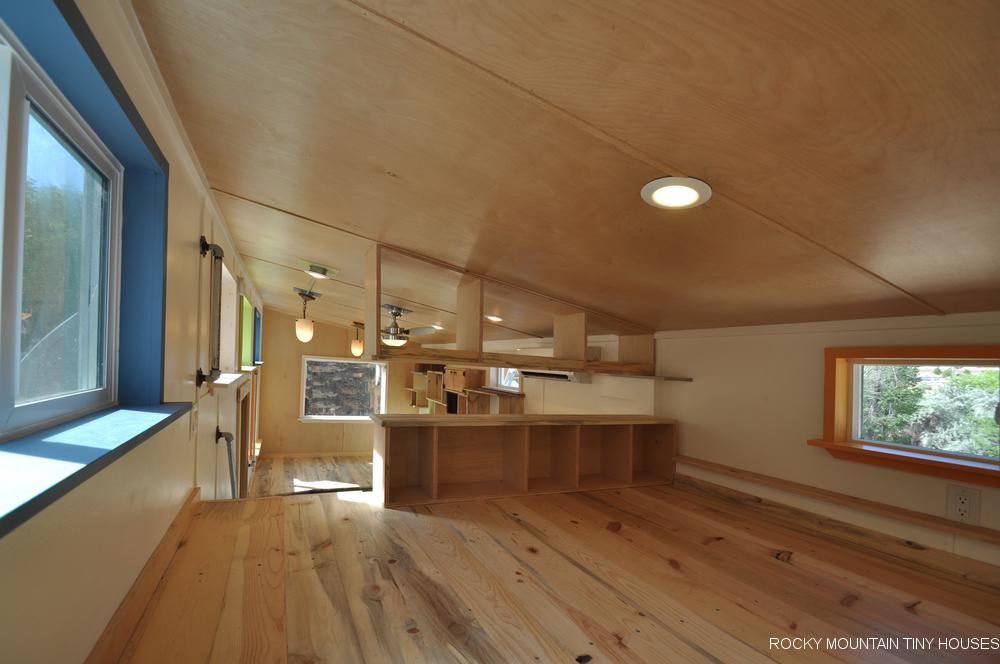
The customers requested a sunken mattress area in the sleeping loft so we built it out of 2×6 wood framing for a little extra depth. Six storage cubbies in the floor surround the queen-sized mattress depression.
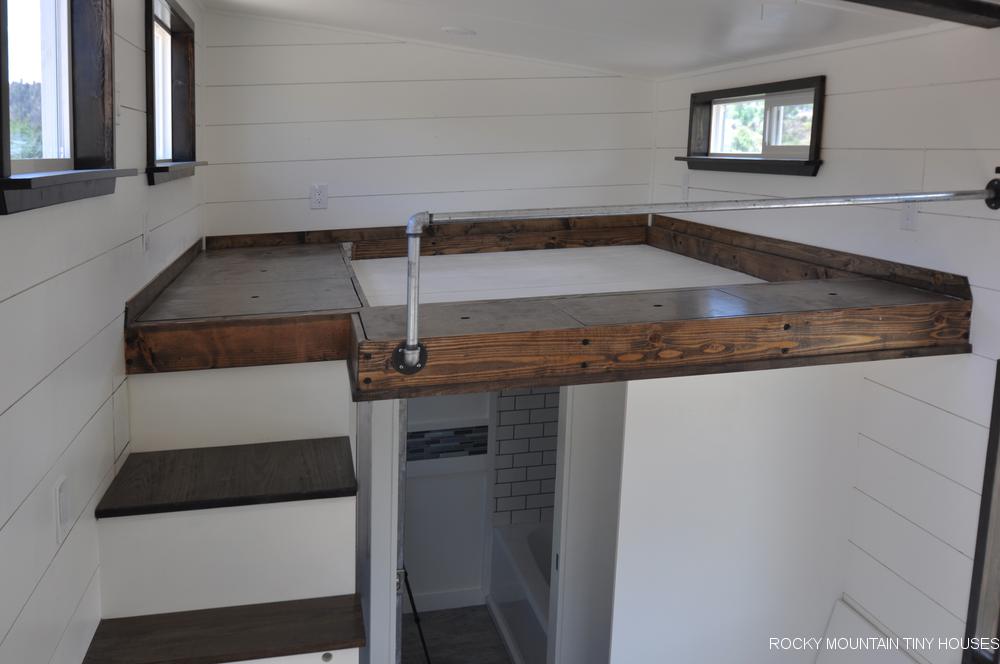
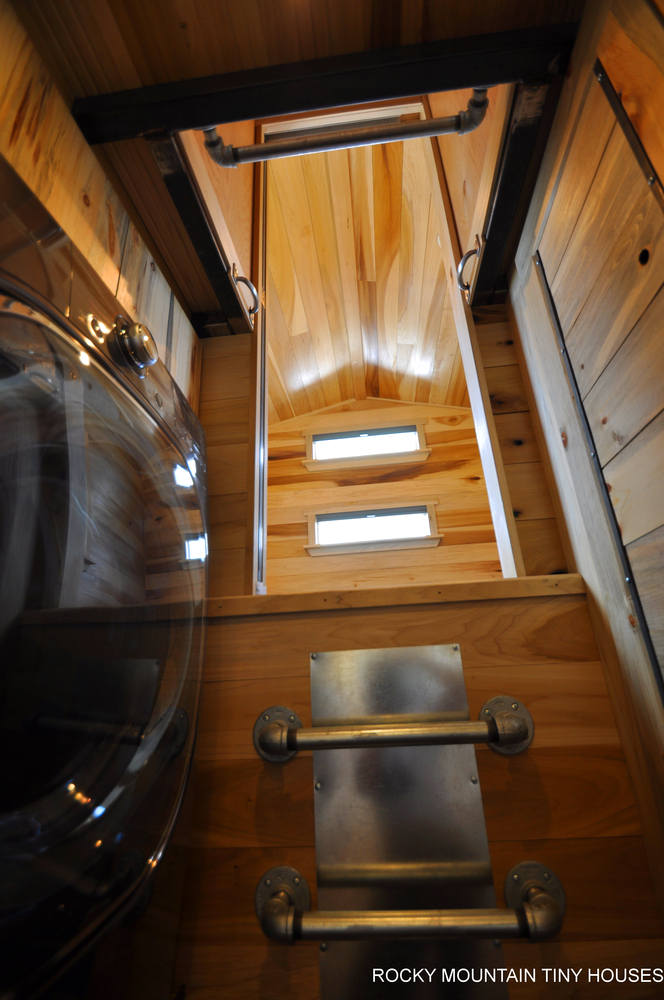
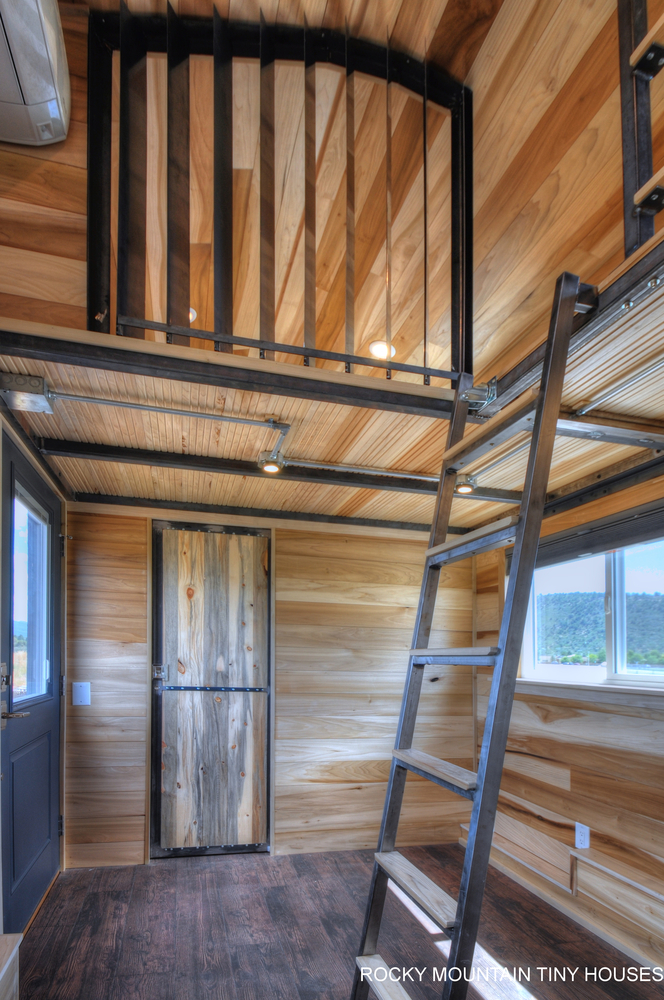
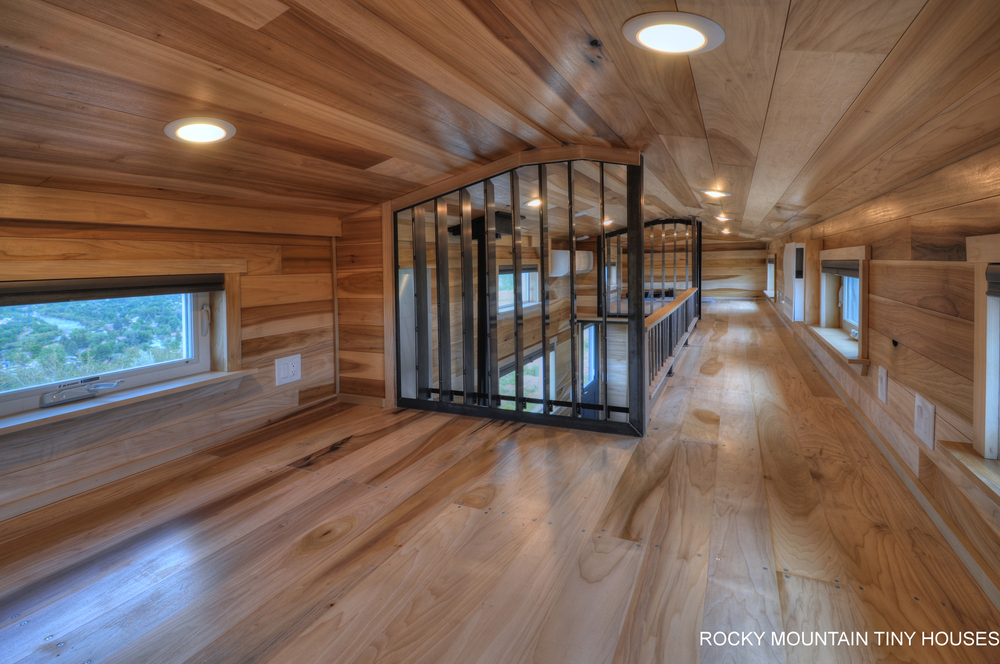
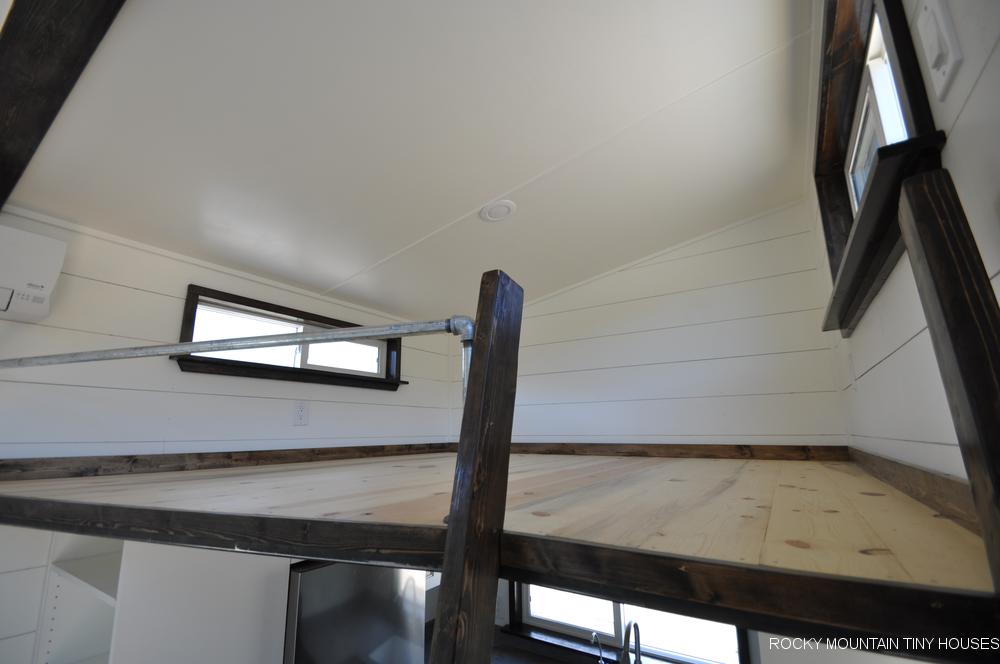
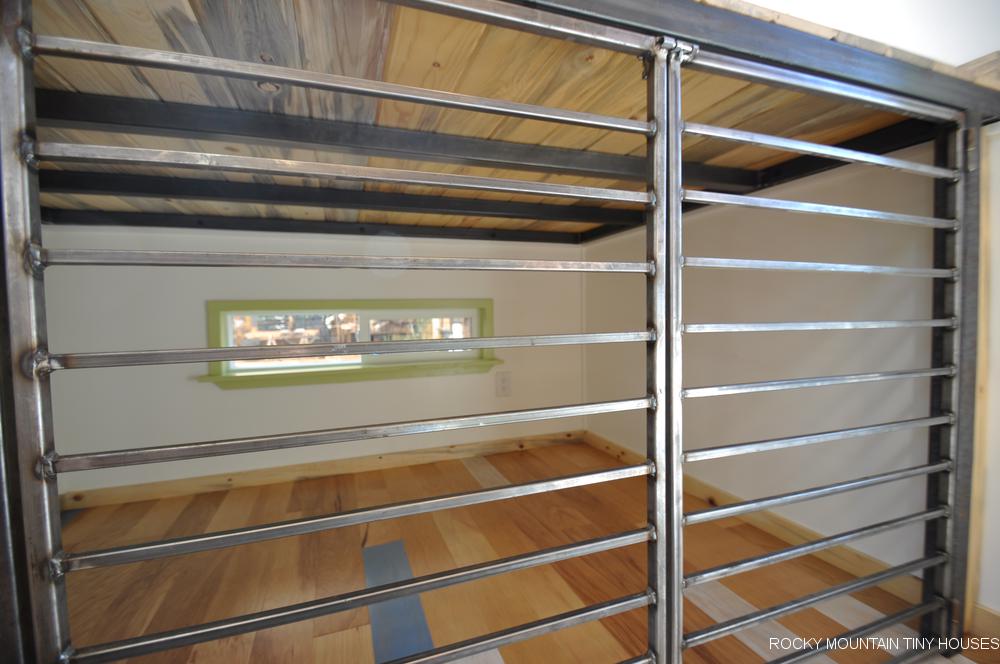
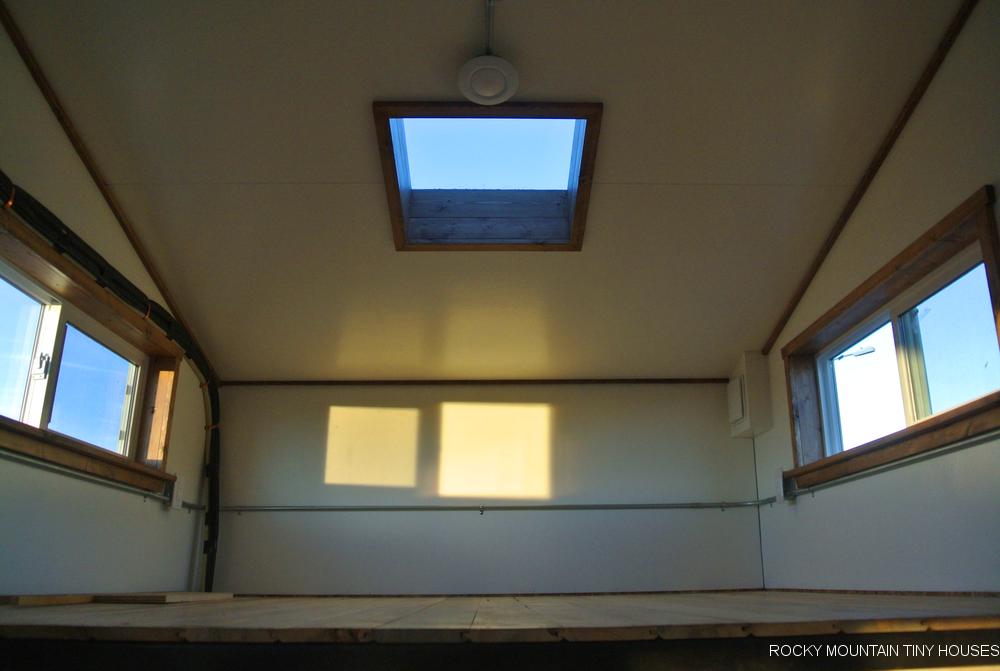
The second loft is a flexible space that will fit a queen-sized mattress for guests if needed. A 2” x 2” steel frame with blue stained beetle kill flooring gives it a slim profile. This loft is accessed from a ladder whose design was inspired by a picture the customers found on Pinterest. We were able to recreate it using galvanized pipes and fittings.
We crafted a custom 6’ long couch with plenty of storage below. The angled backrest even hinges forward to take advantage of every inch of space. The couch sits directly over the wheel fenders and is a nice way to deal with these sometimes-intrusive tiny house features. The seat height of the couch will be at a comfortable level once the customers install 4” thick cushions.
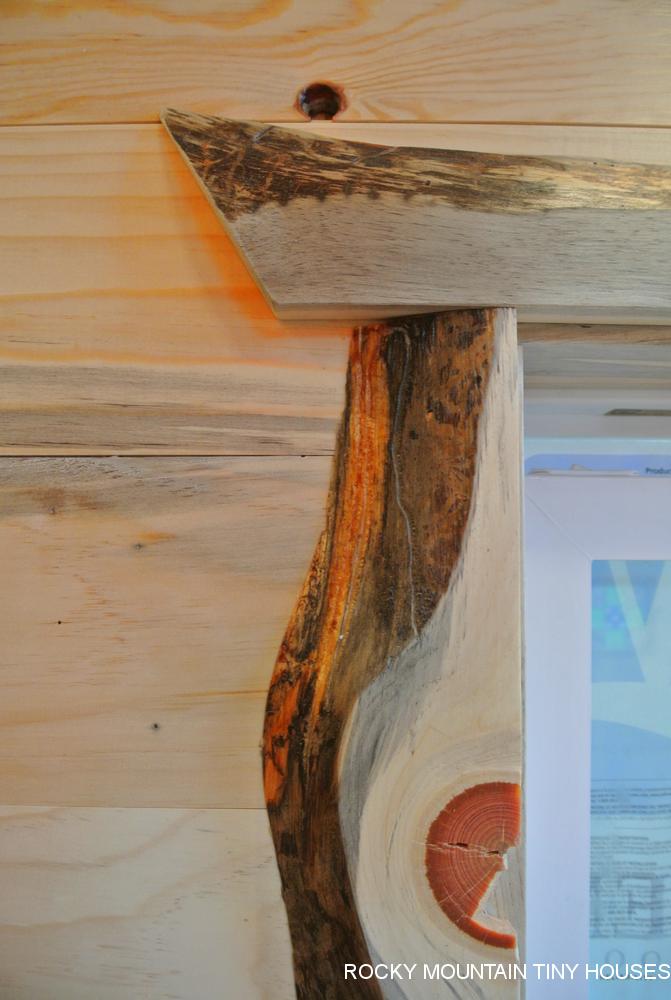
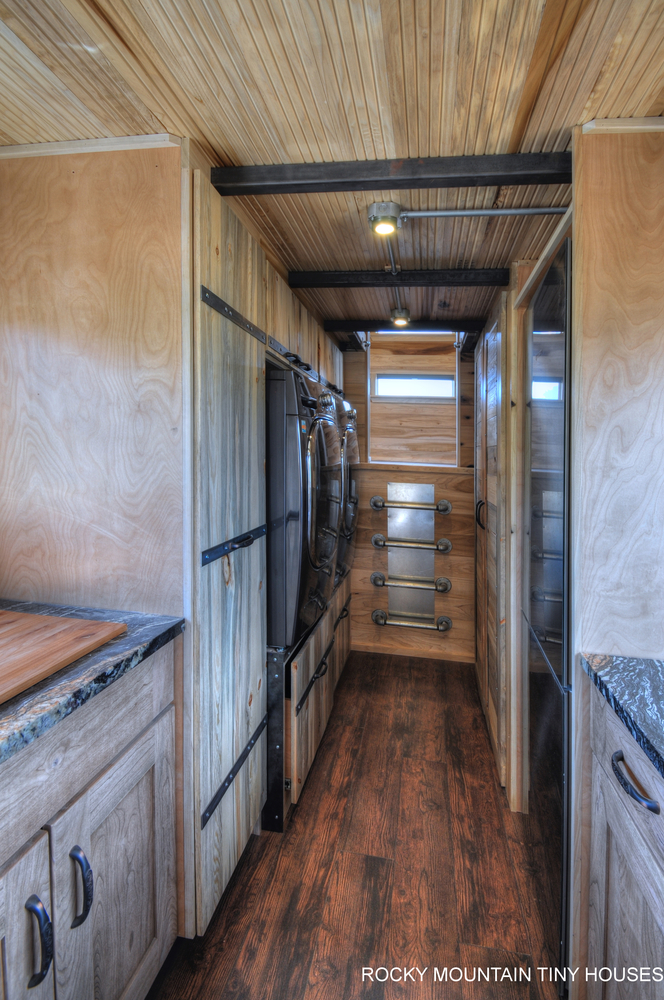
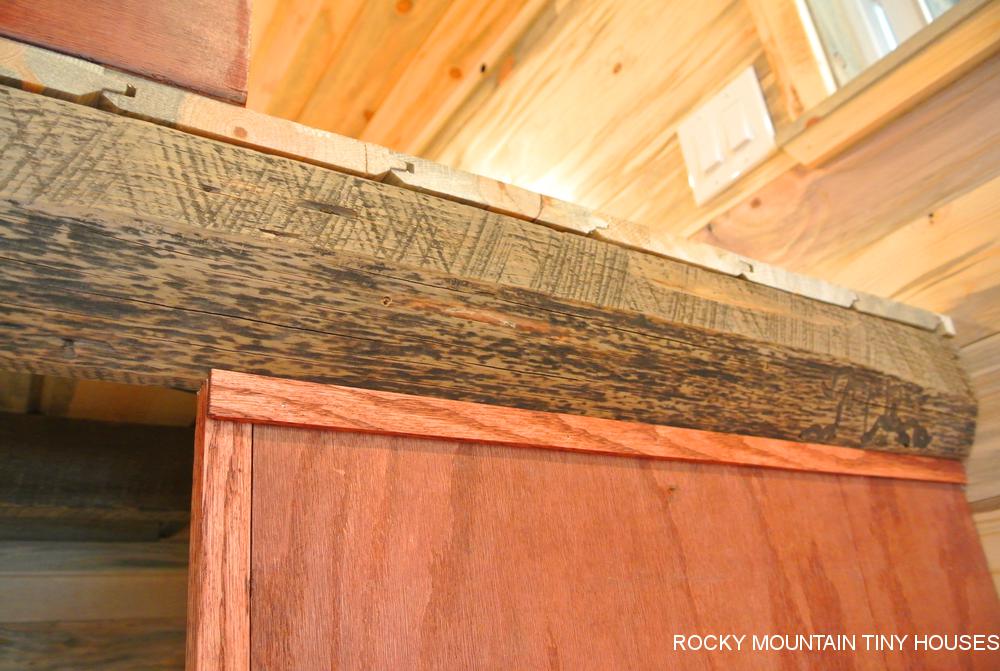
Some final details to note: there is space and hookups for a washer/dryer between the stairs and bathroom wall. There is room above this for storage or closet space. Opposite this is the main closet area. This is our first build to utilize a white painted shiplap for the walls that we milled in house. We could not find an affordable, durable, attractive shiplap product commercially available, so we just decided to make our own! It’s a very clean, modern look without too much expense! Shiplap also deals with expansion/contraction due to climate differences better than other materials, which in this case worked out very well since it shipped to a very humid climate from a dry one! A similarly equipped and detailed build like this one would run around $73k.


 .
.