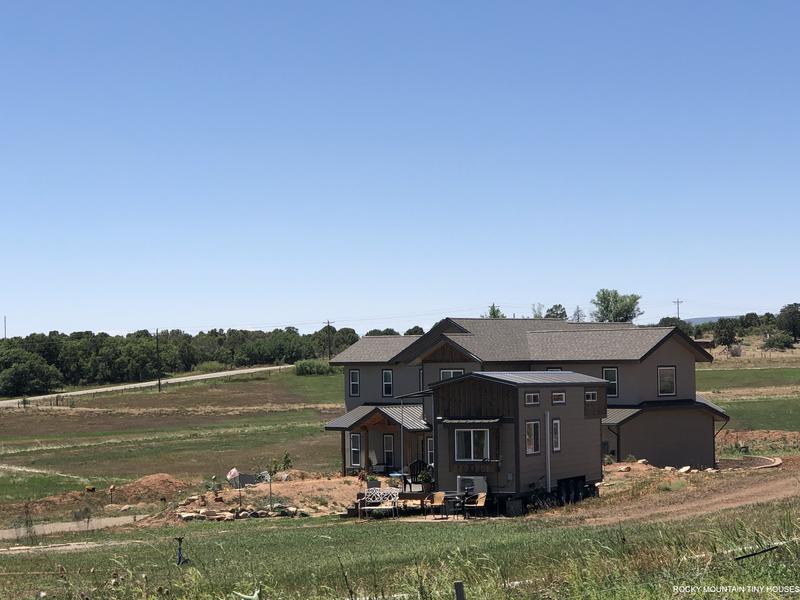
Meet the “Simply Tara” tiny house! A local woman approached us about this build back in 2018. Her daughter and son-in-law owned land just outside of Durango and were just completing a site built house for themselves. They had planned it such that a detached accessory dwelling (ADU) could be placed later on for Trish to live in since Trish was semi retired and could help watch/ hang out with the kids. Both parties wished to go the 100% full legal route of having a tiny house built as that ADU to avoid any future issues with code enforcement.
Luckily, La Plata County actually has a pathway to do this, unlike most other counties in the state, or country for that matter! Come to find out, we were the first people to take advantage of the process, and although it was a bit of a learning curve for both builder and county, we all rolled with the punches and arrived at a fantastic success story, hopefully paving the way for several more legal tiny houses to come! For those wanting to know more about the legal process, I will write this up in a future blog post, but for now let’s focus on the build.
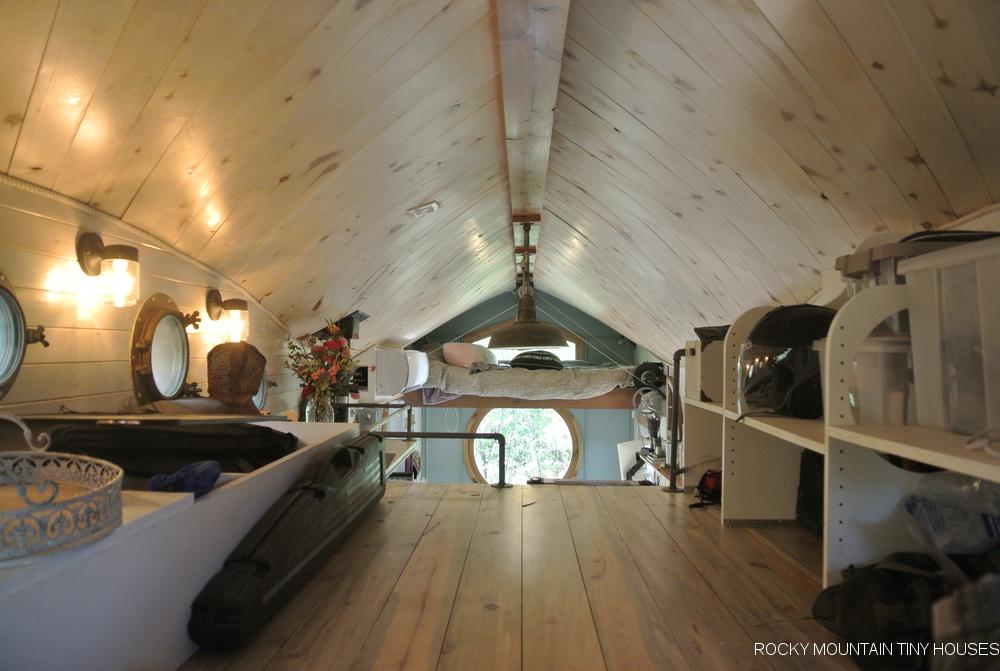
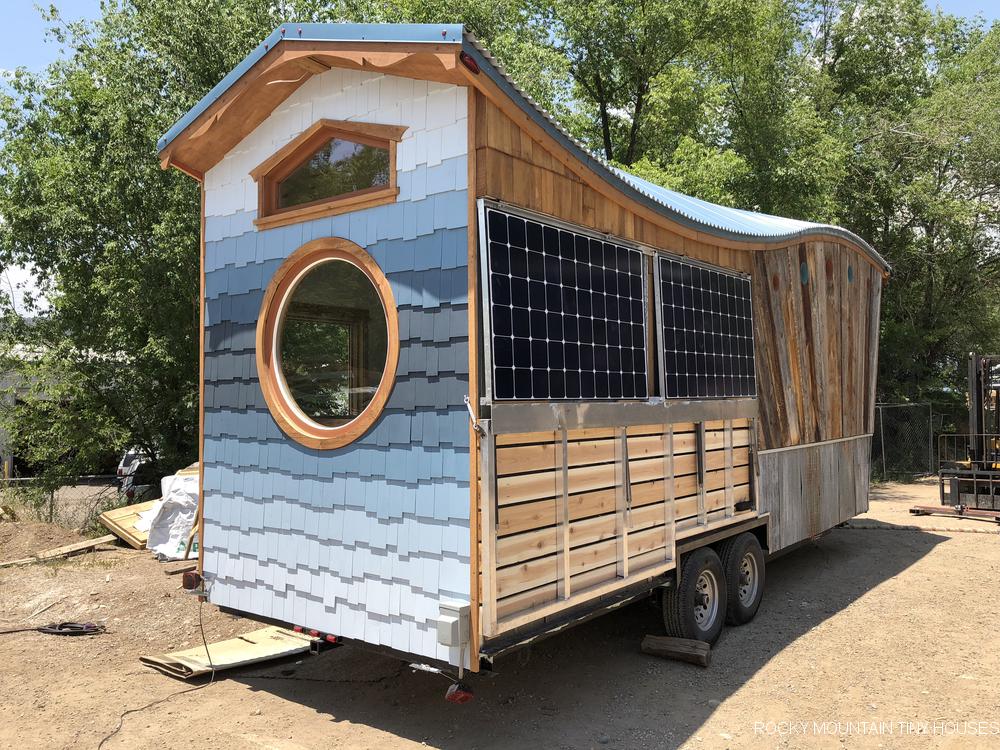
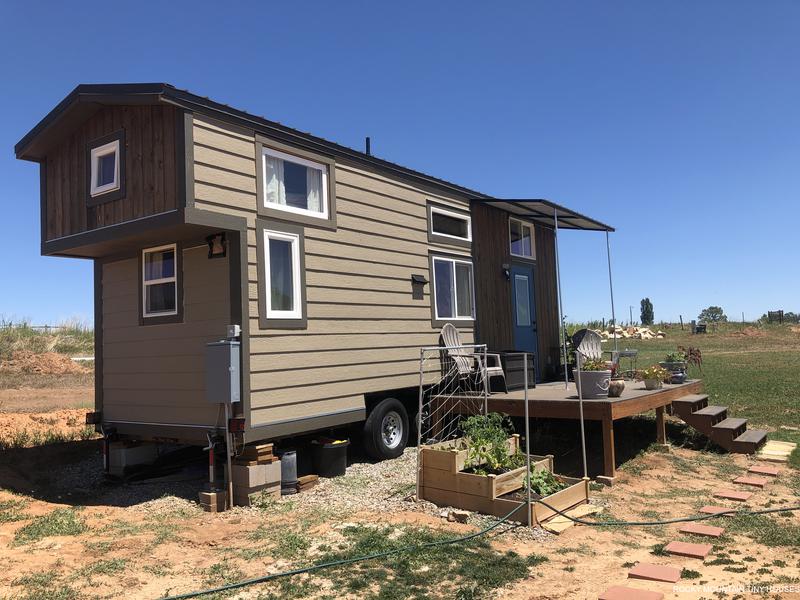
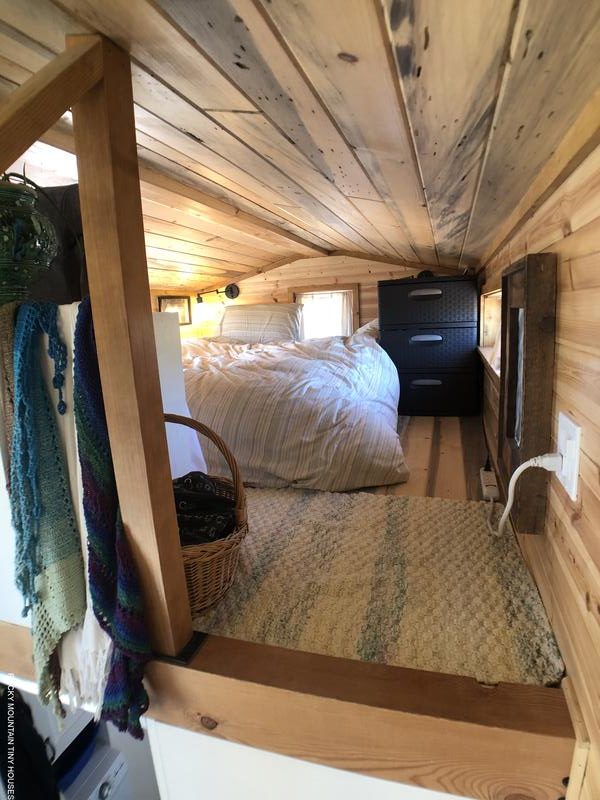
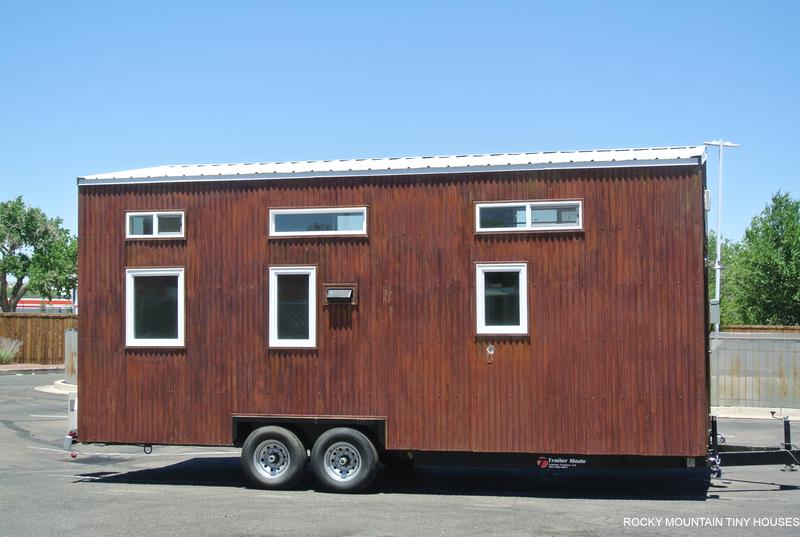
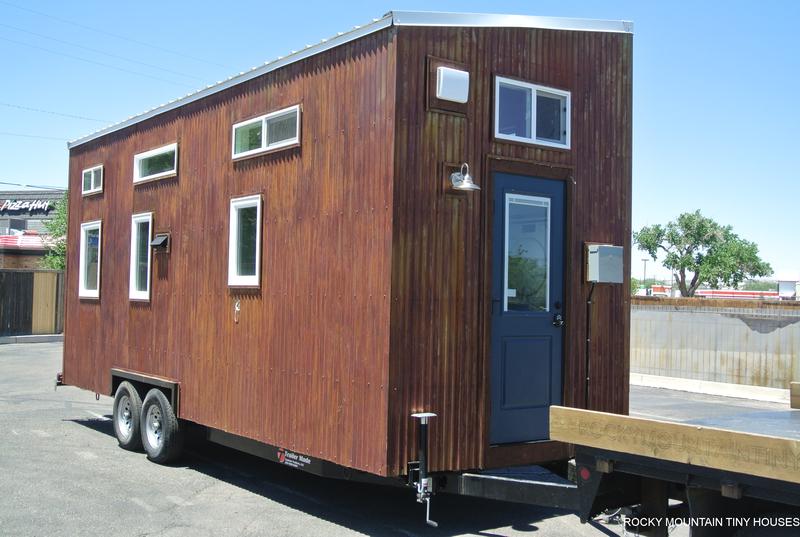
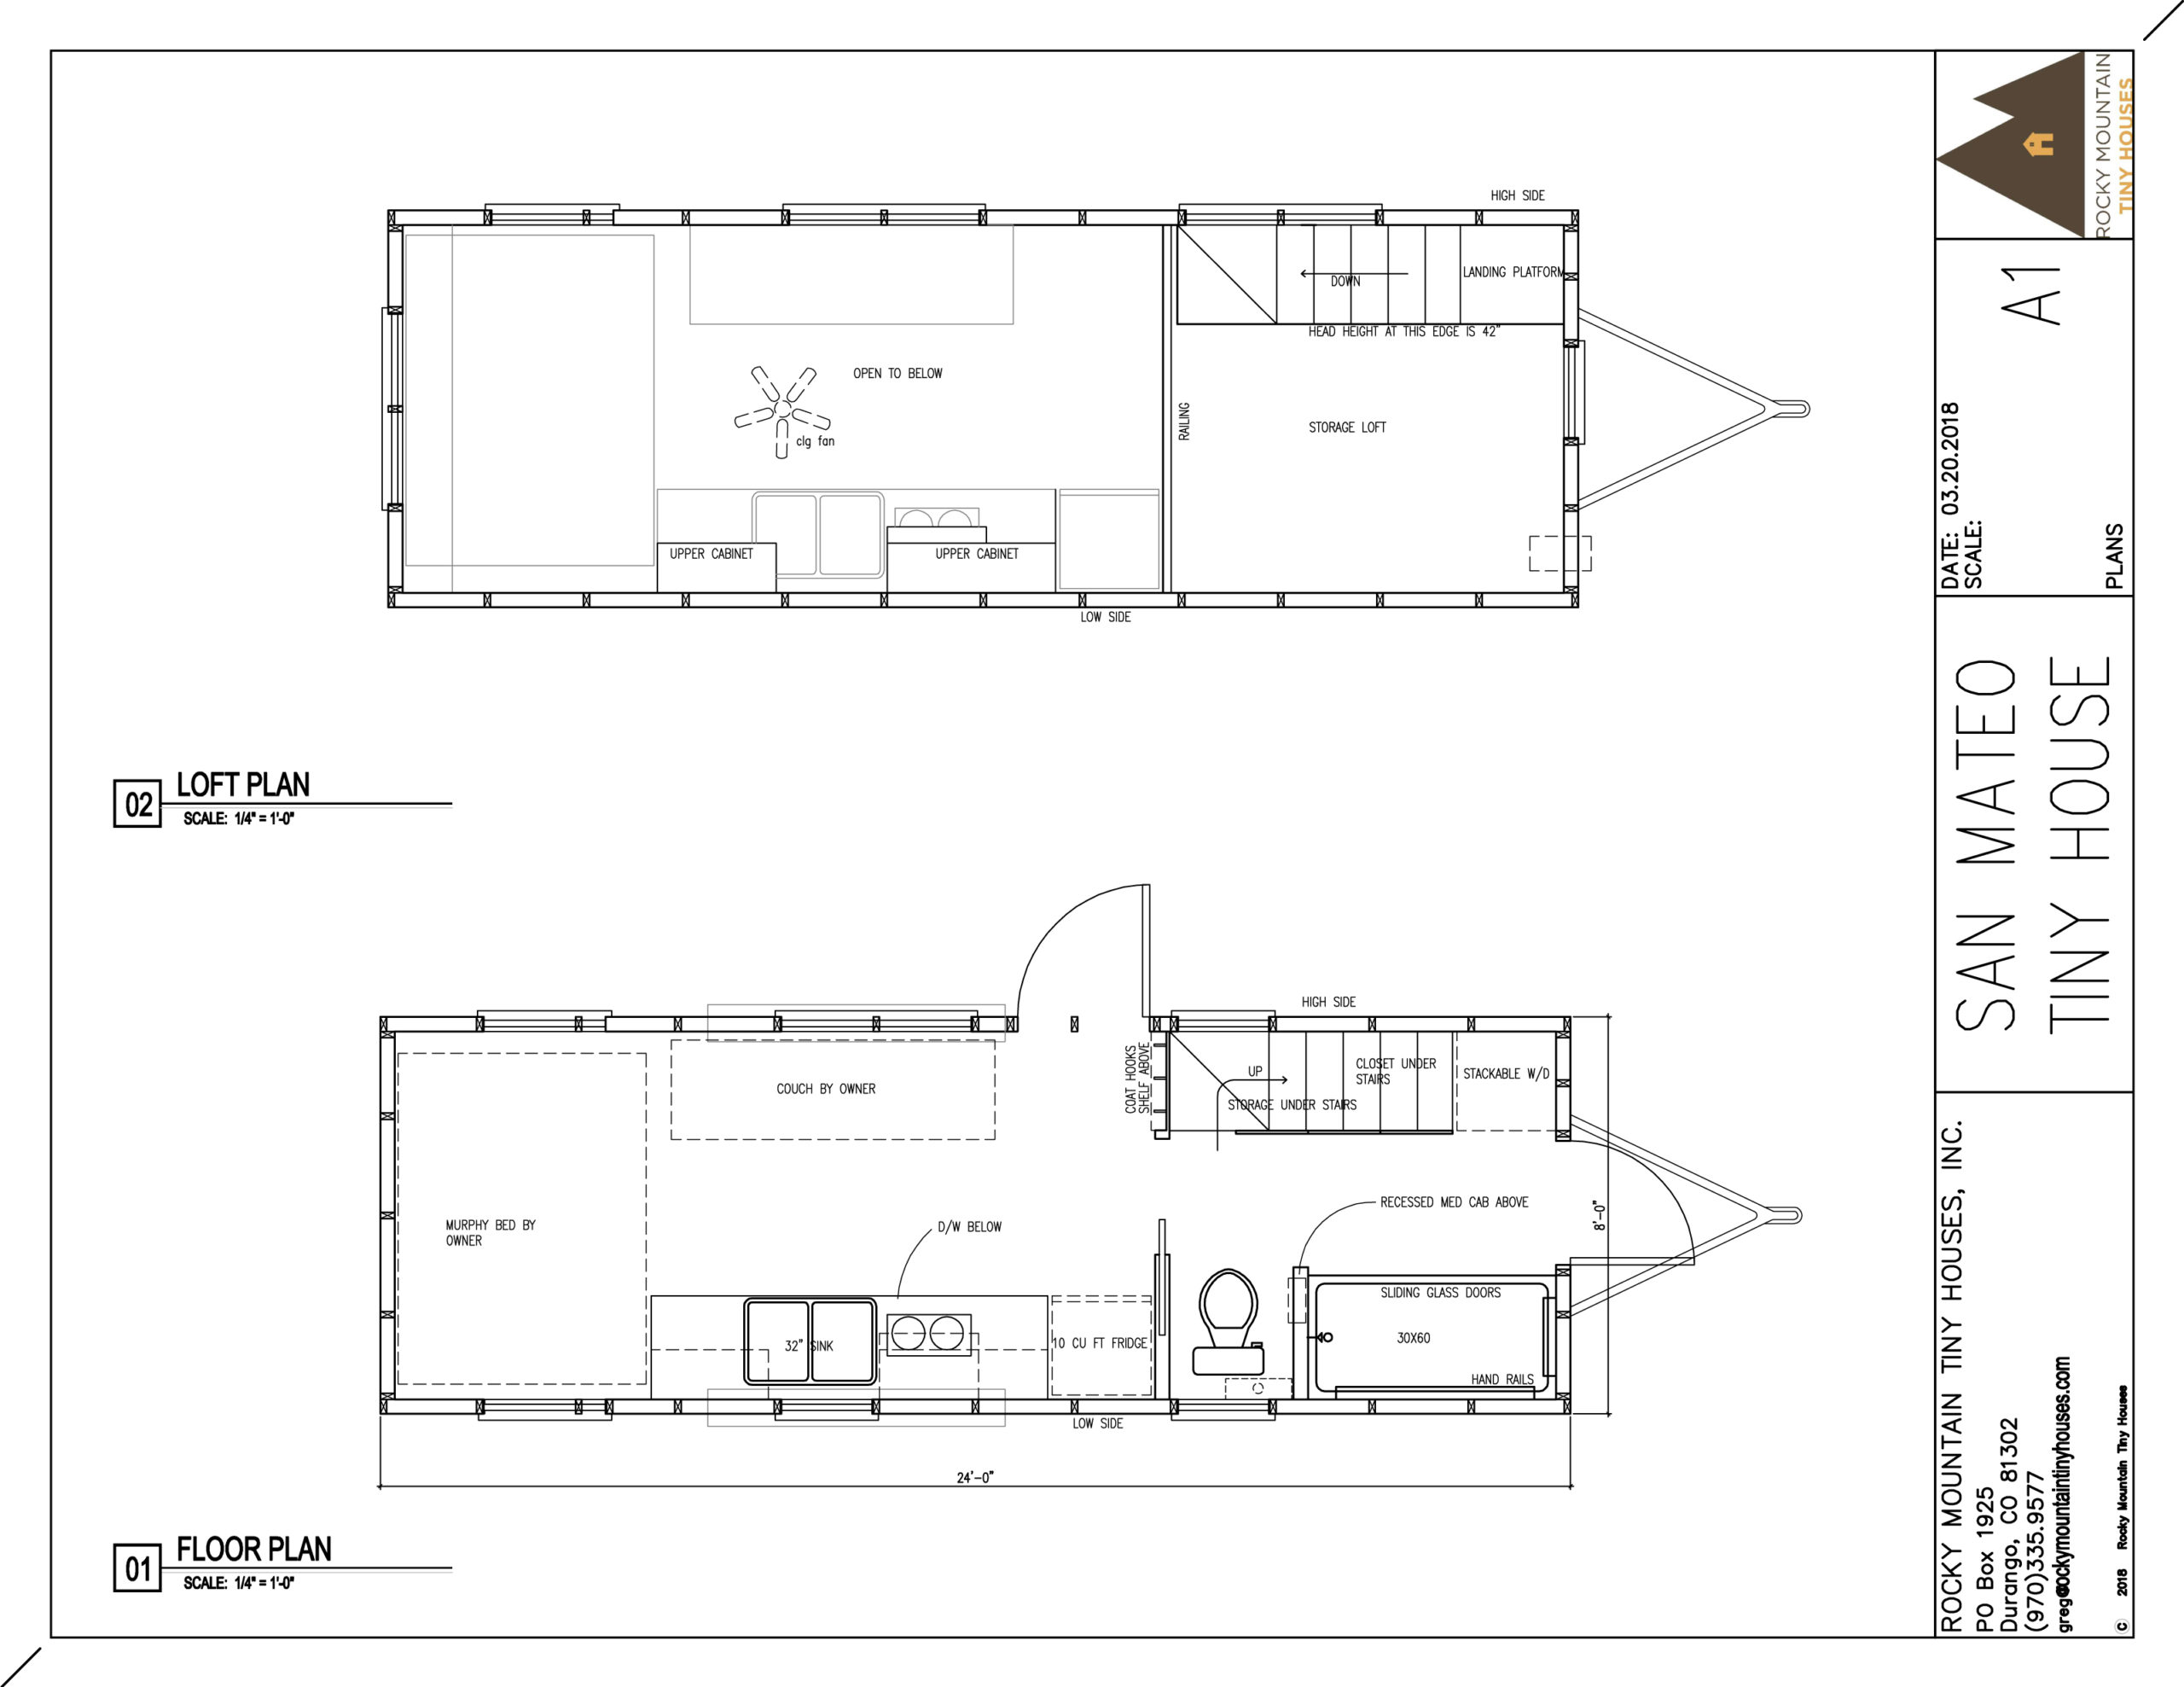
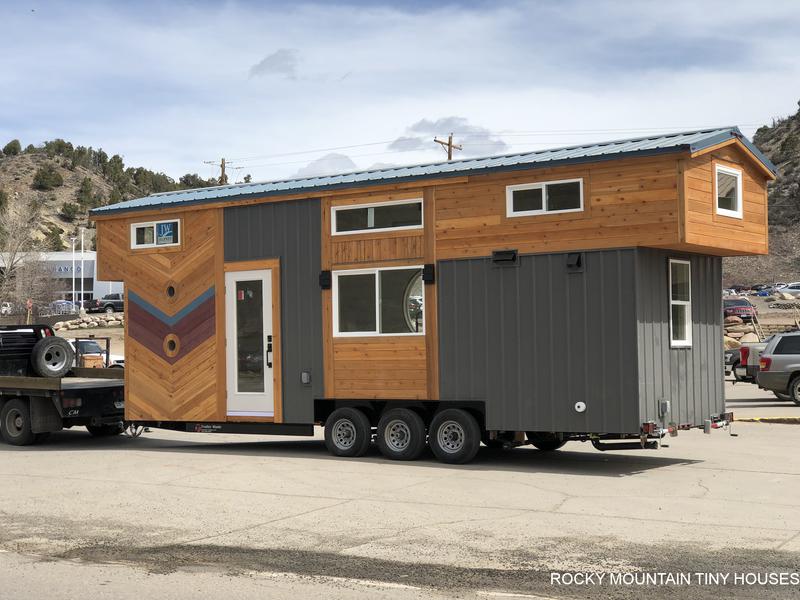
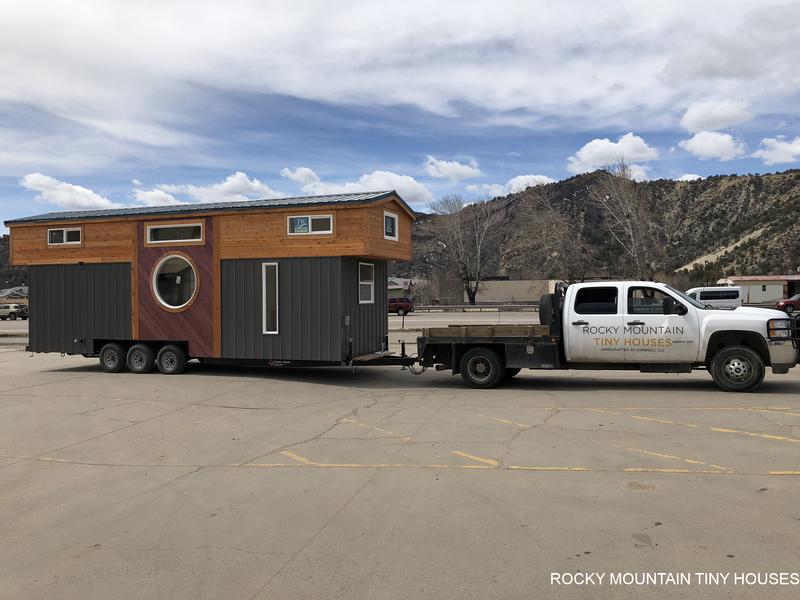
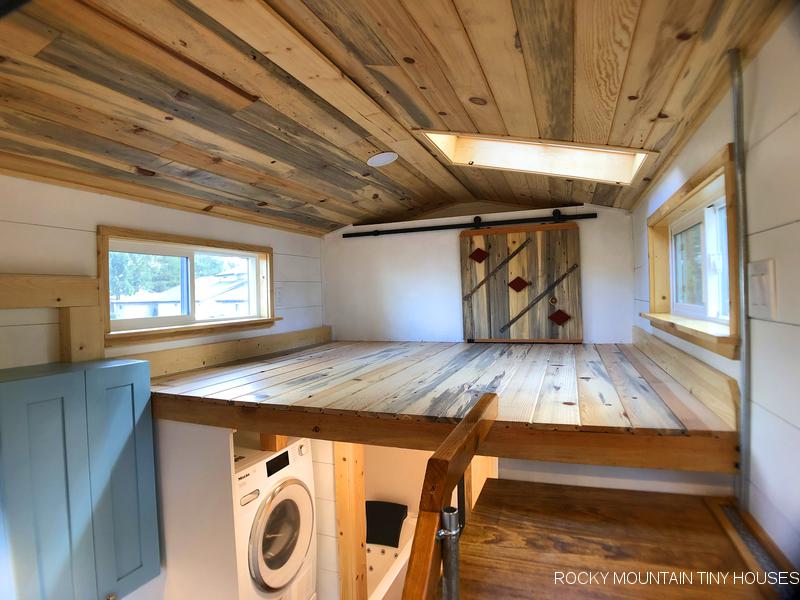
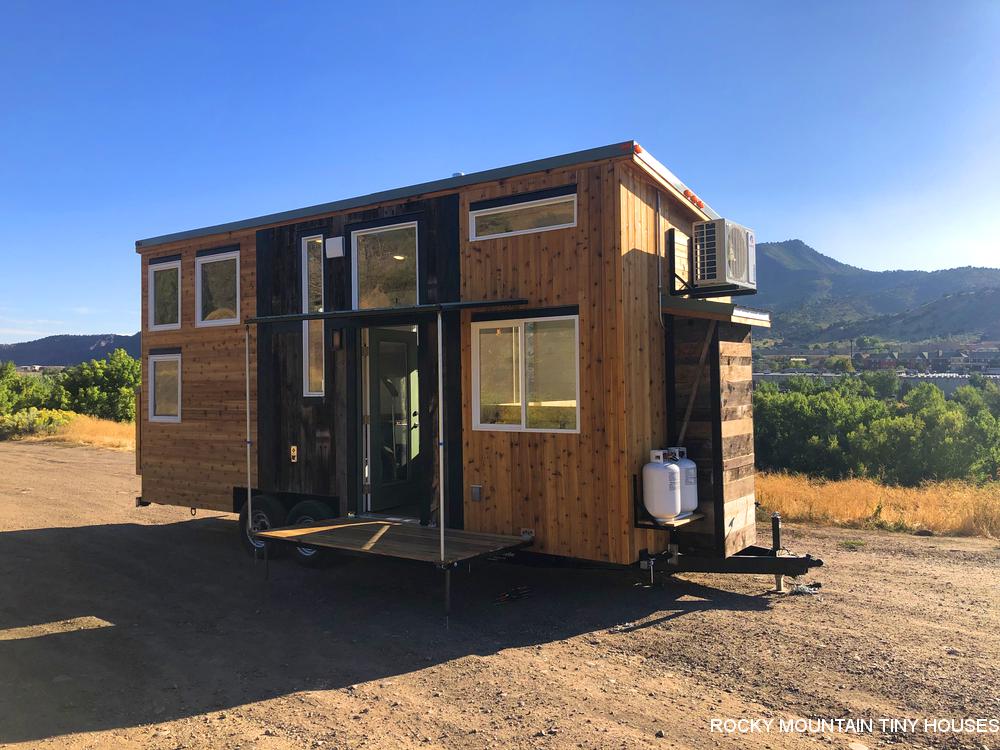
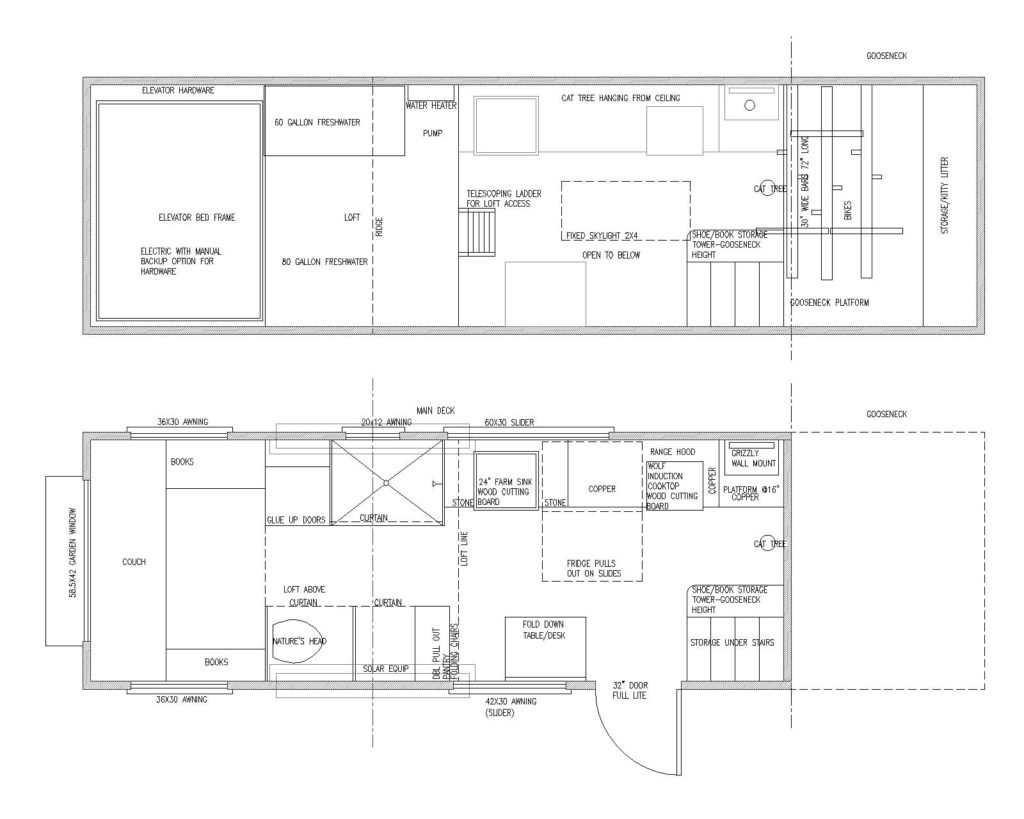
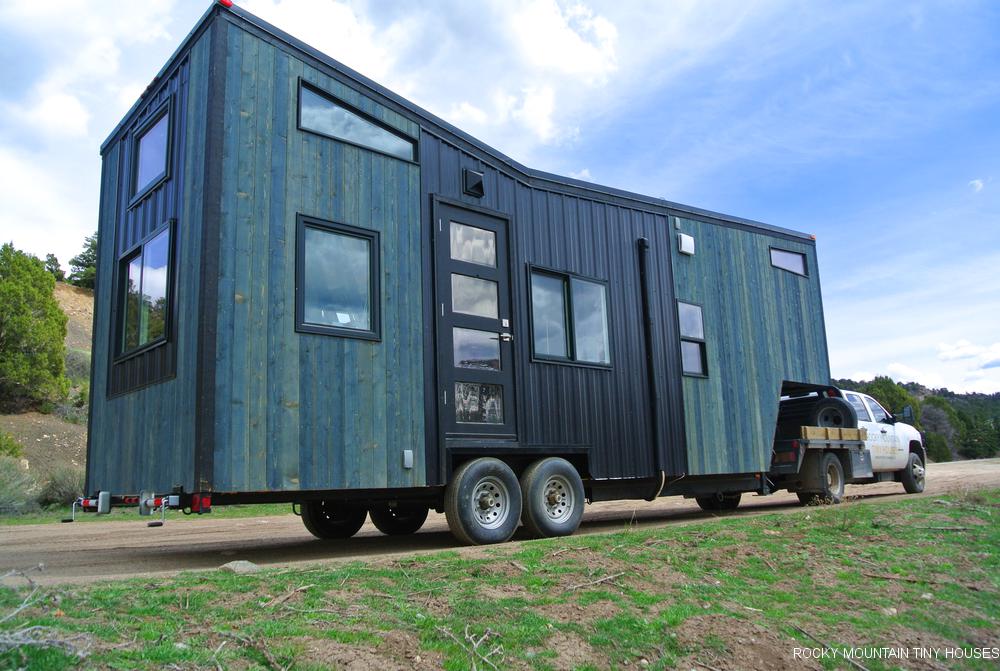
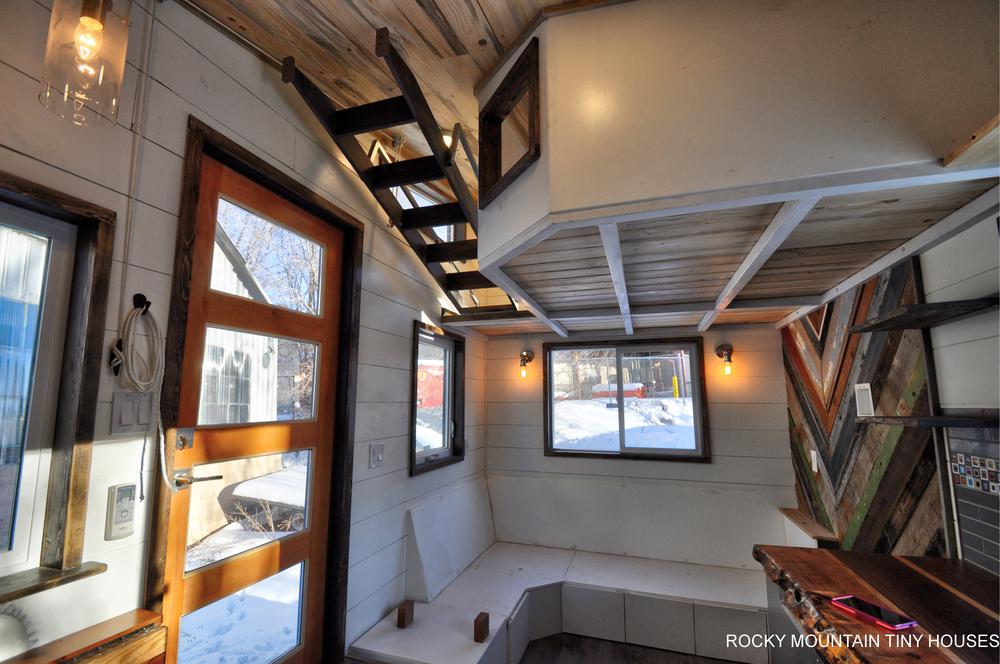
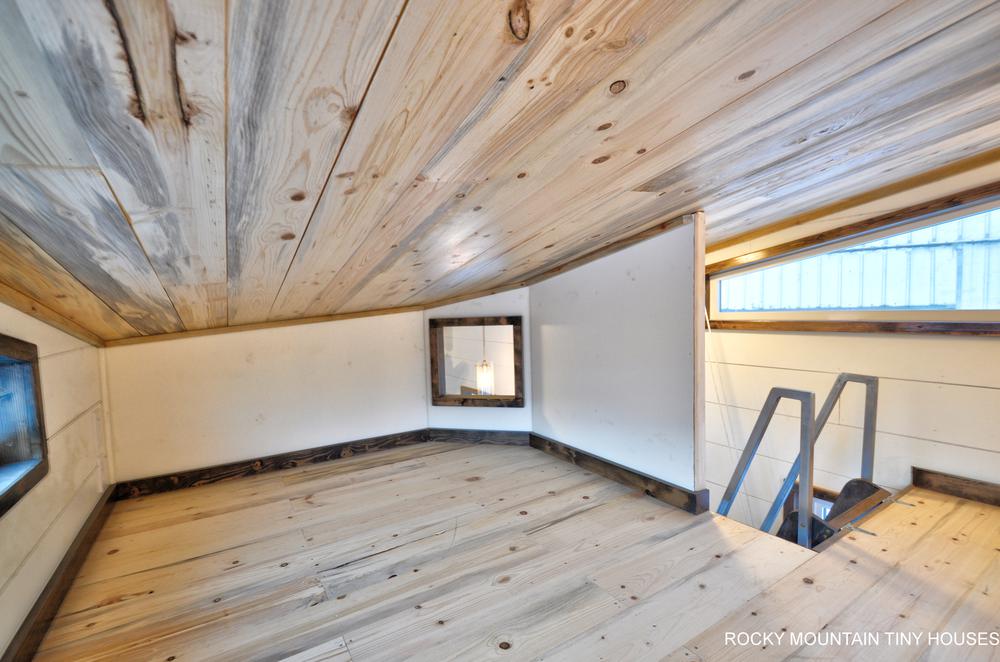
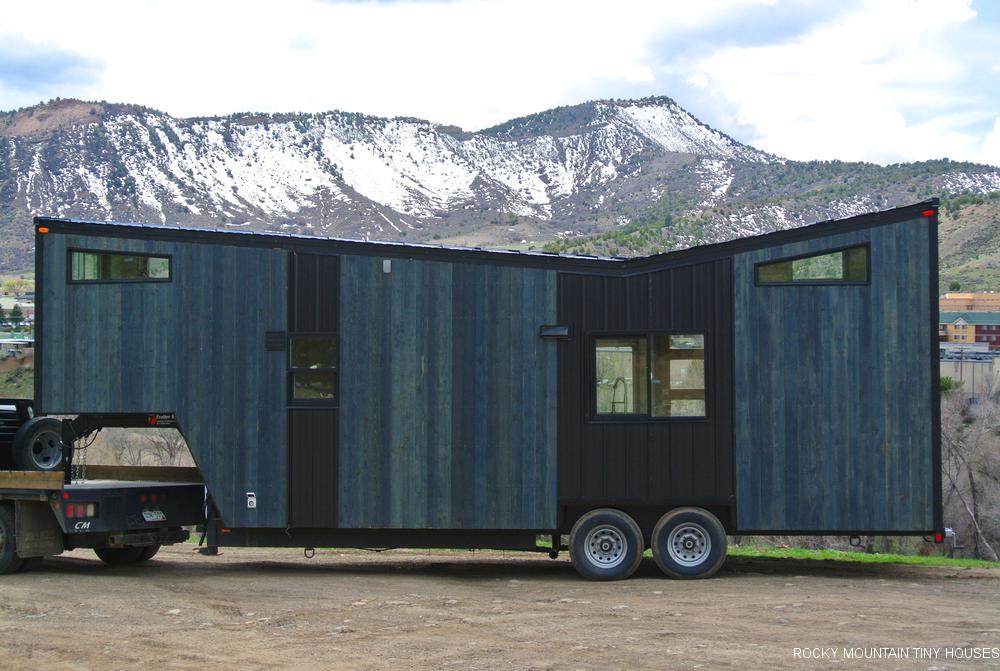
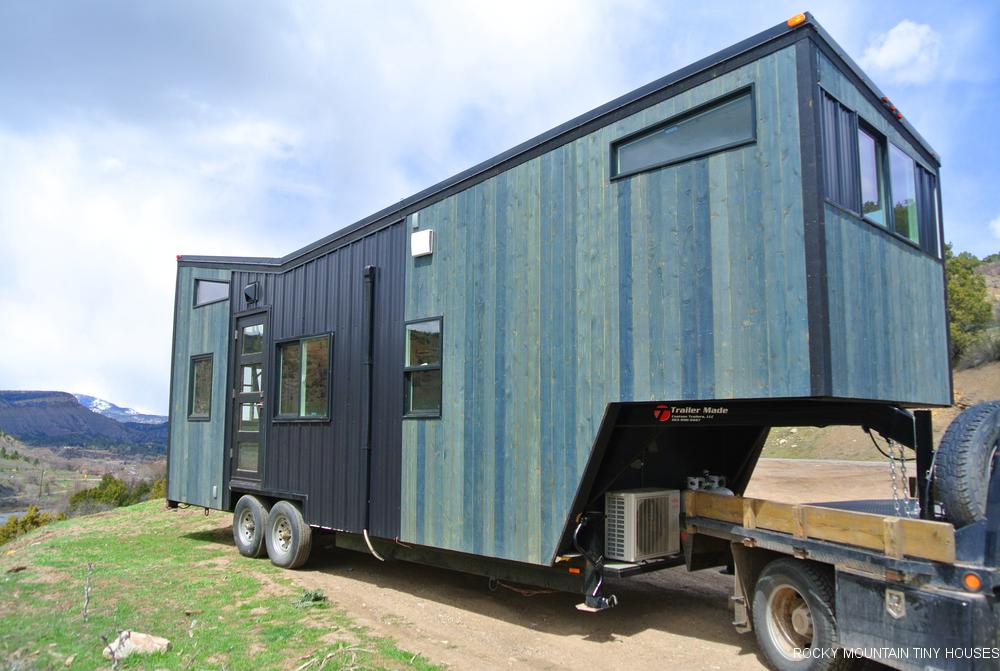
For starters, it’s an 8×26 footprint constructed from Structurally Insulated Panels (SIP’s). SIP’s were an integral part of the permitting process since we were able to get engineered calcs from the manufacturer for snow load, as well as meet the local energy code. There is a small bumpout on the front for a cozy reading nook, and the rear loft is cantilevered 2′, which ultimately added 2′ of length to the living space on the main level since the whole loft and stairs shifted towards the rear.
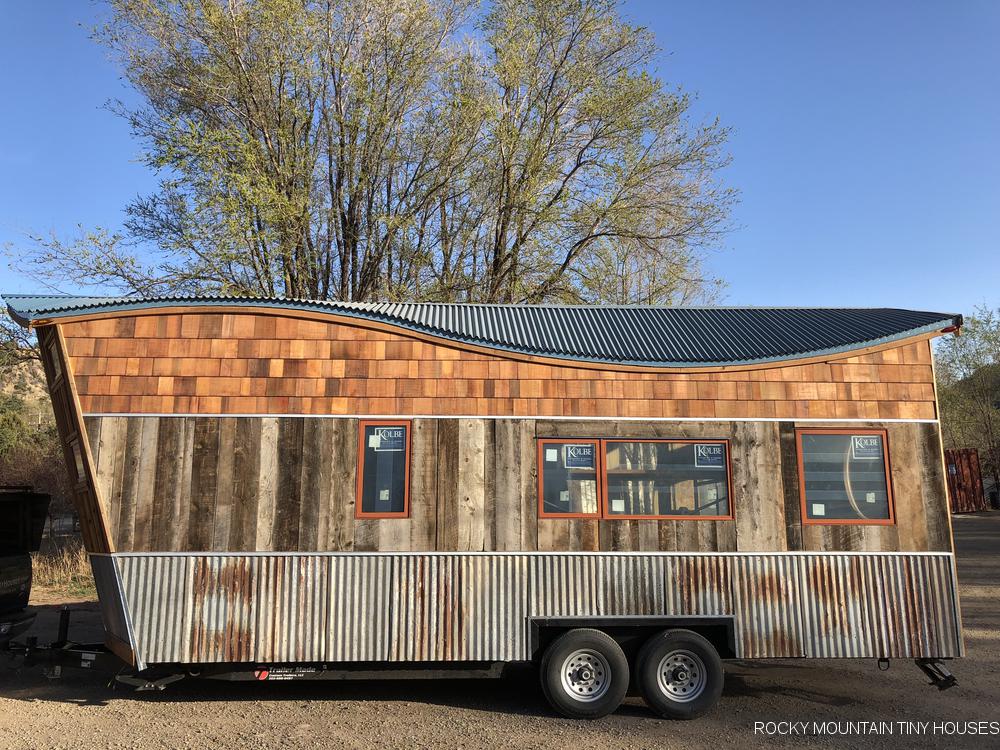
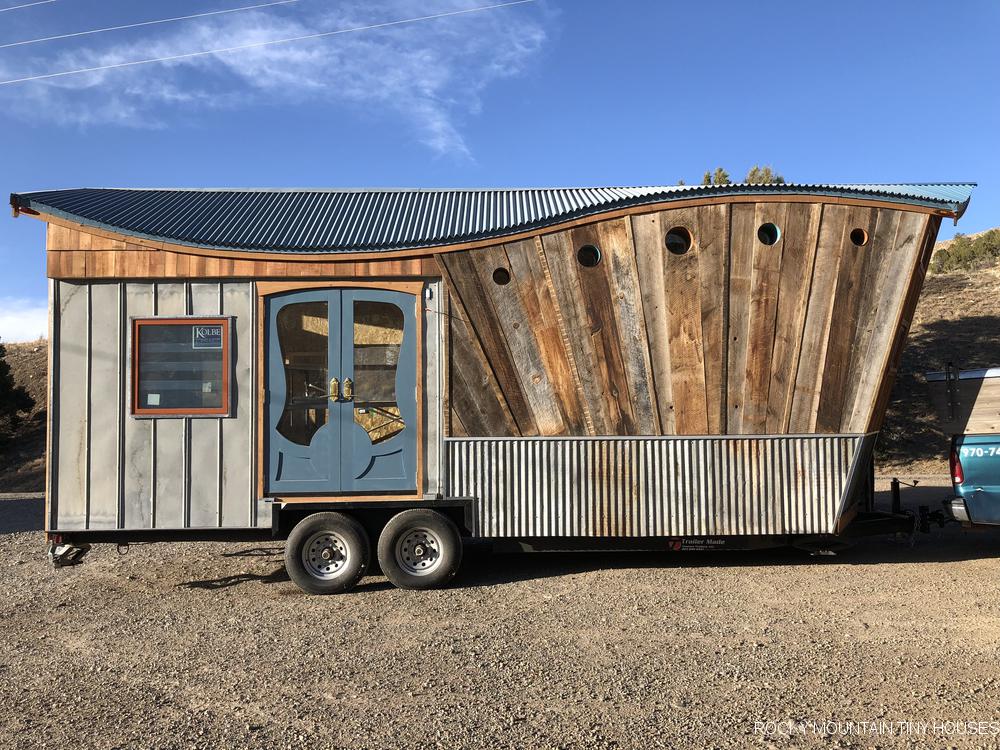
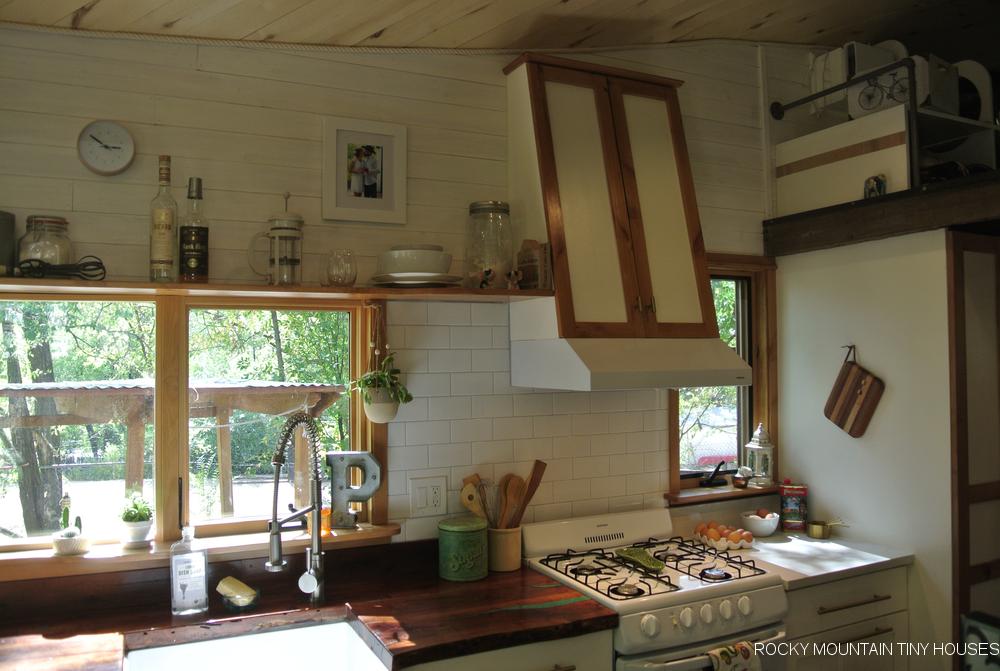
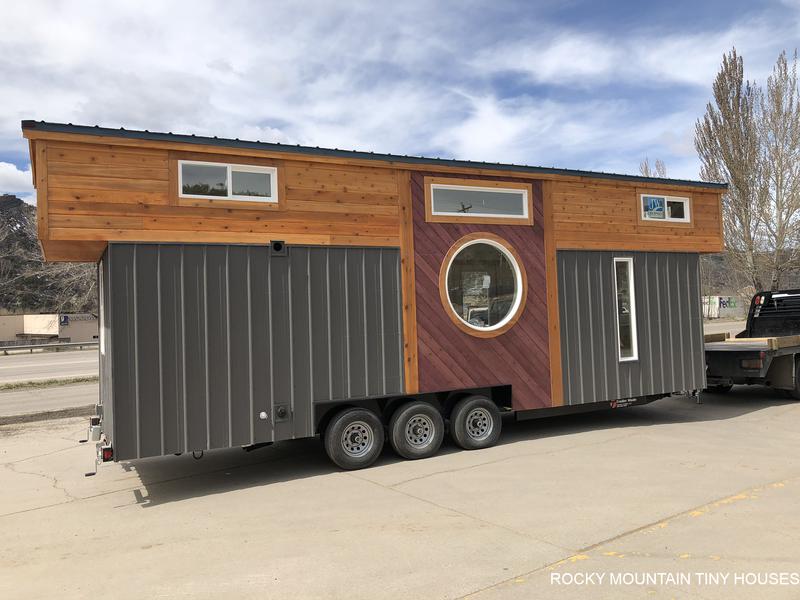
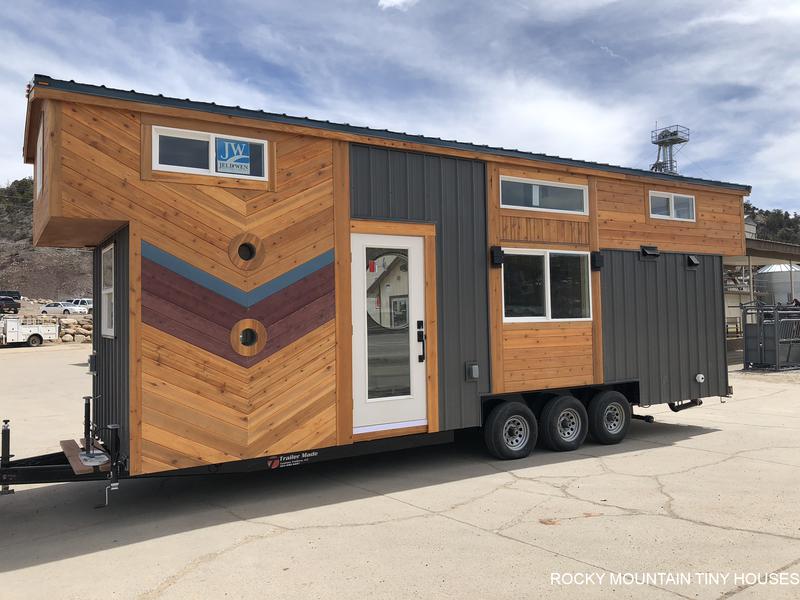
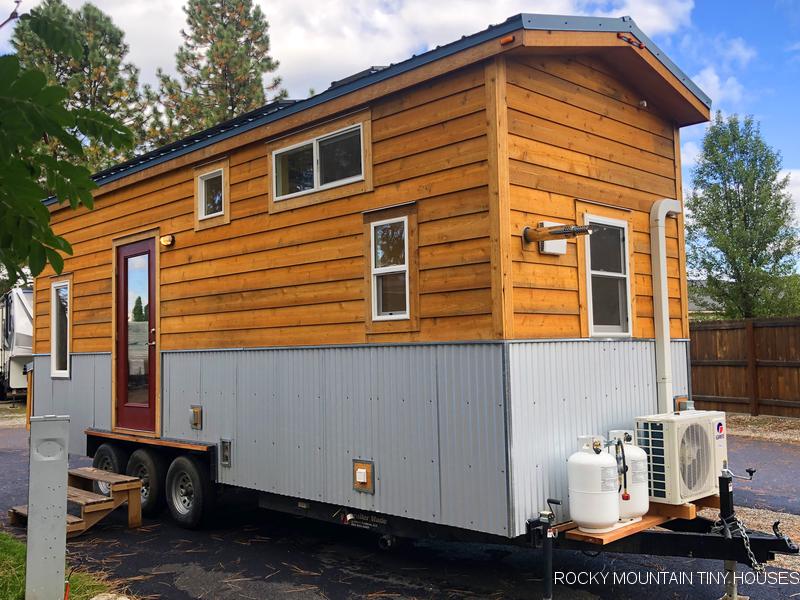
The exterior siding was selected to match the site built house, a mix of painted clapboard, and prefinished channel rustic board mimicking barn wood. The burnished slate metal roof matches the main house as well.
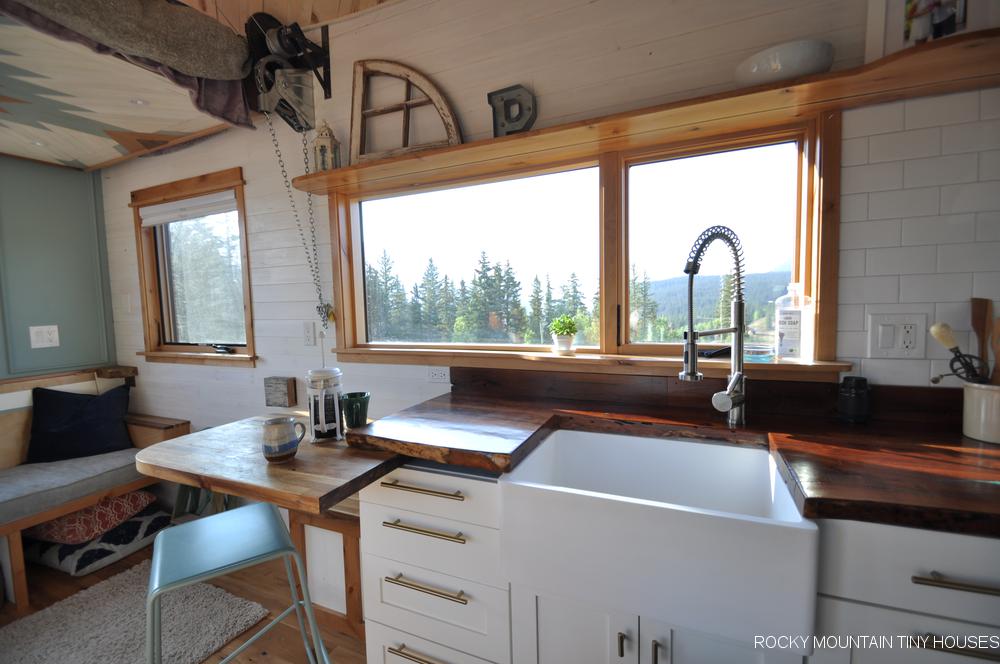
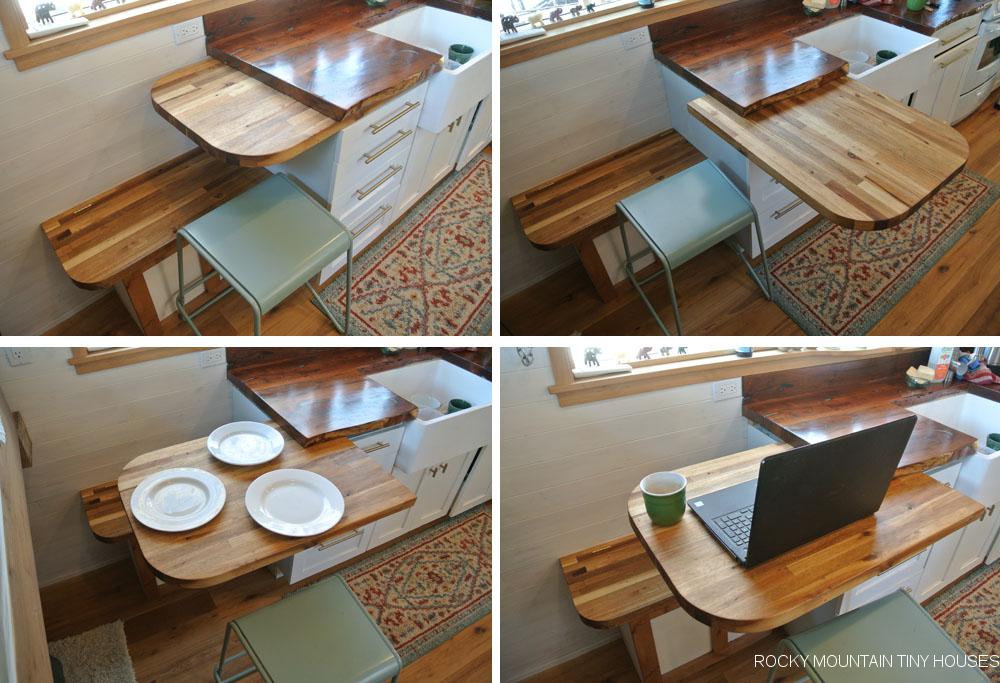
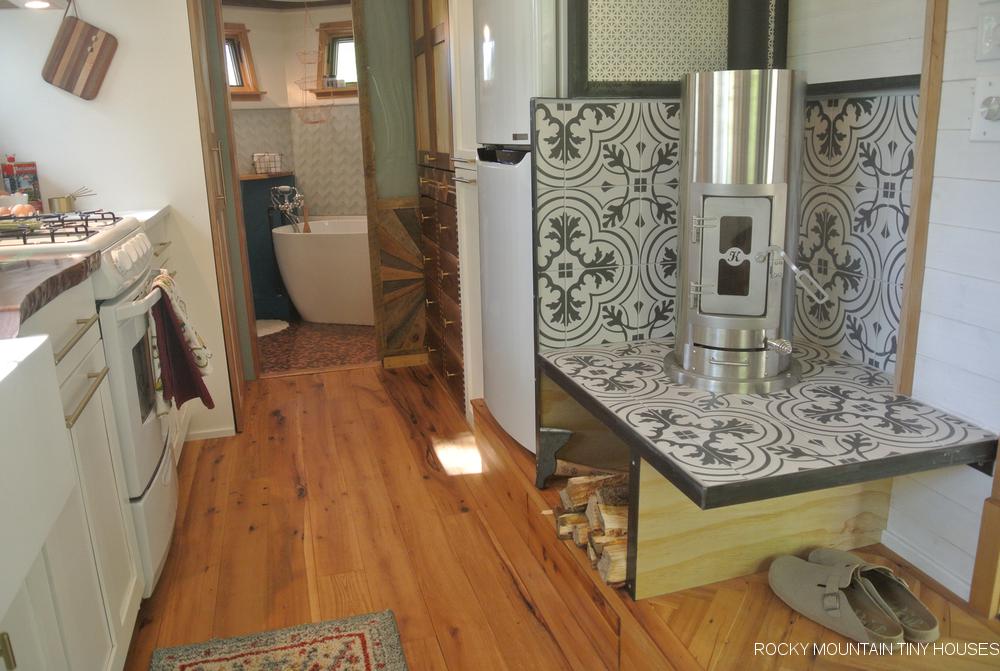
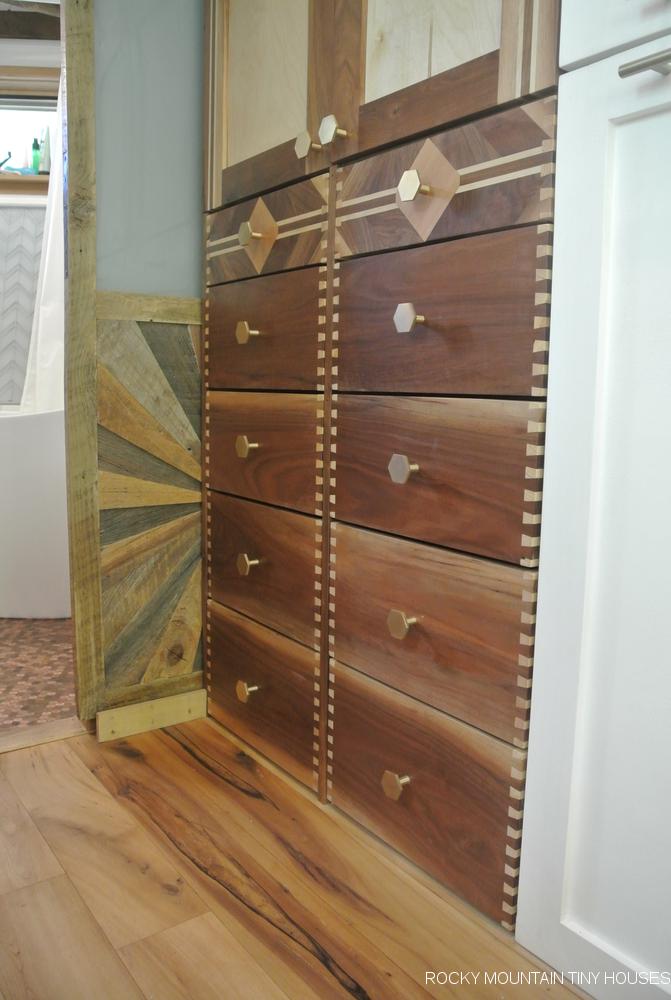
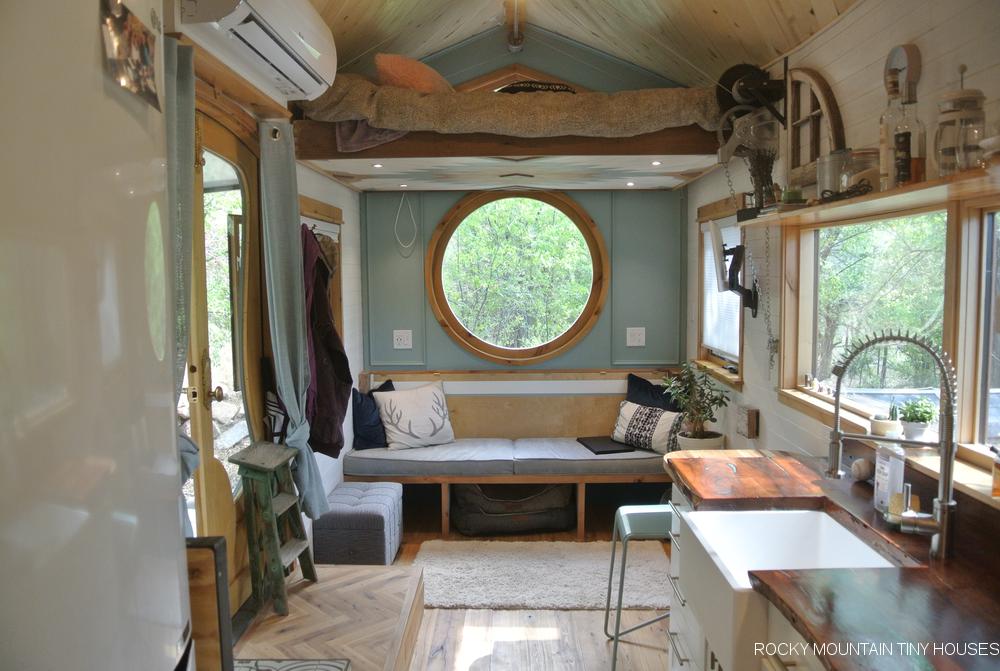
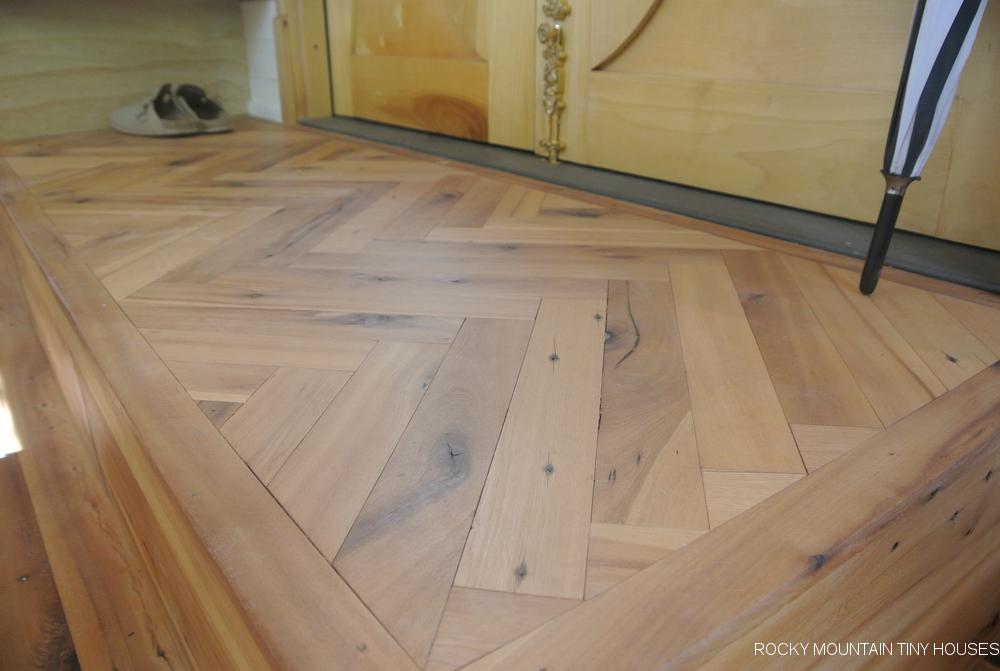
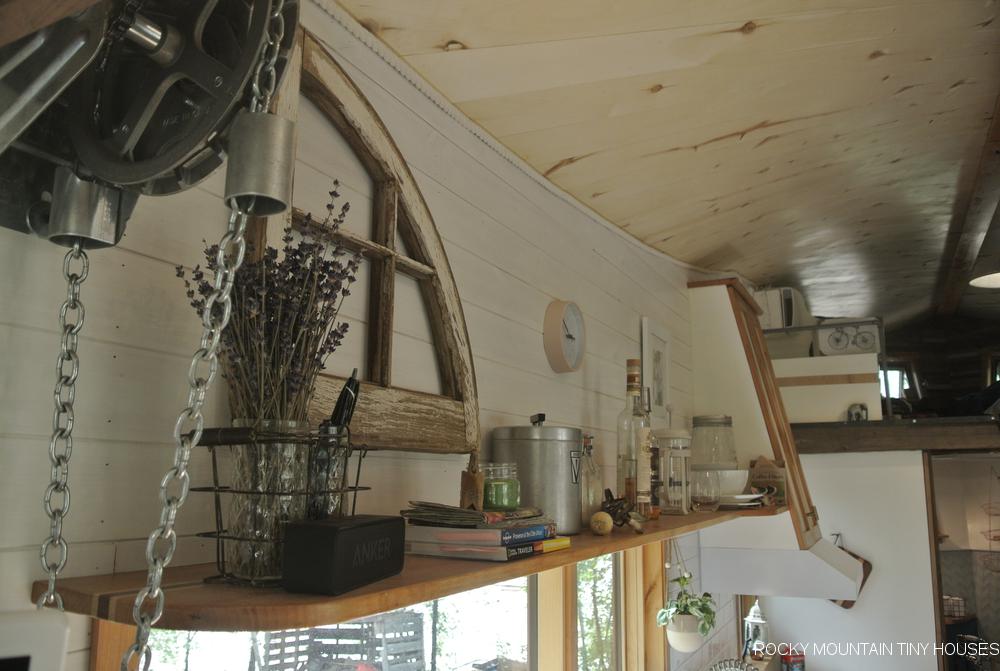
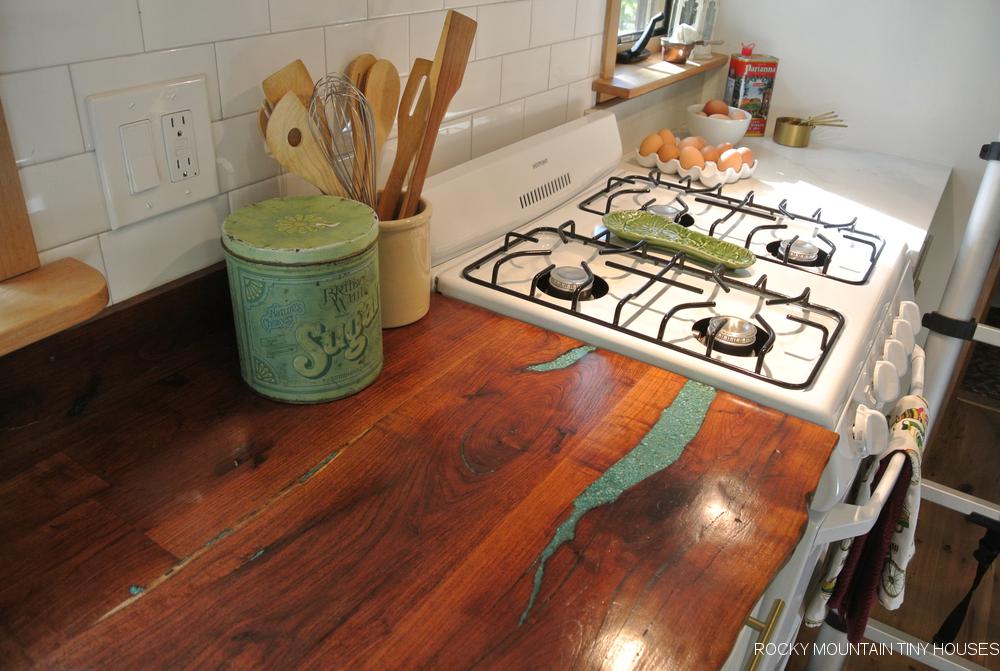
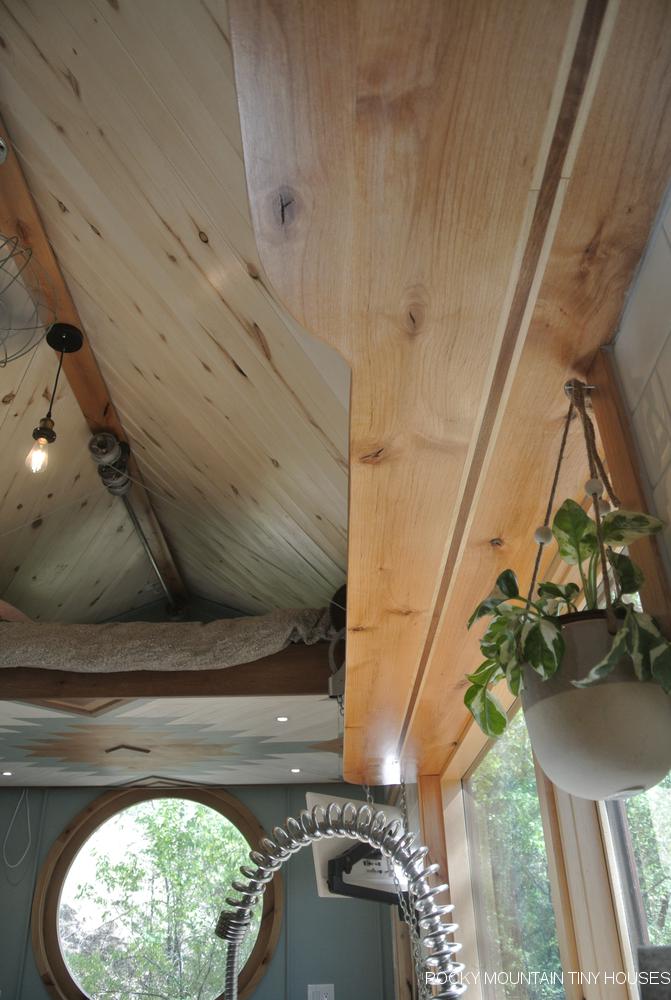
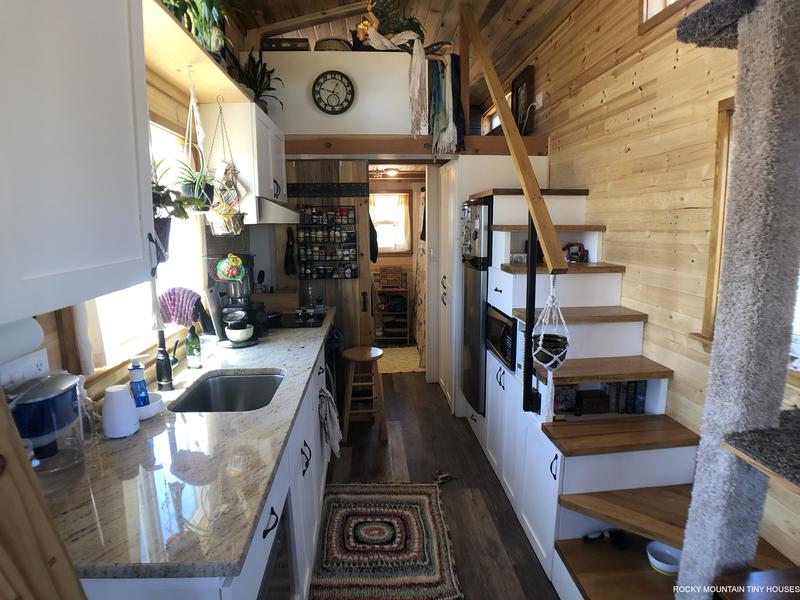
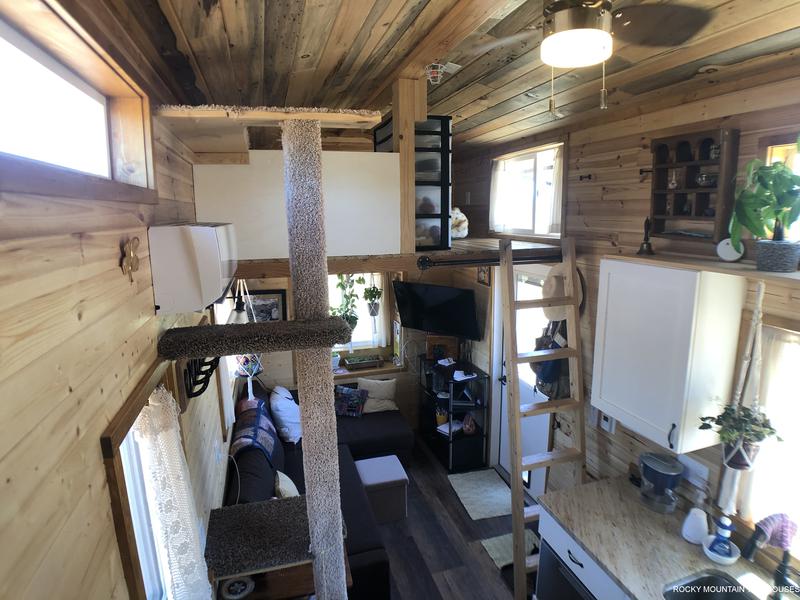
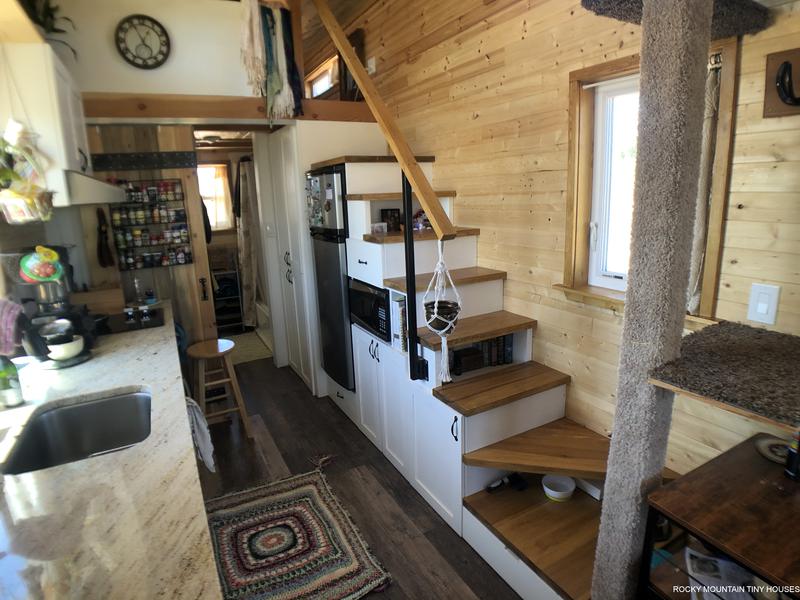
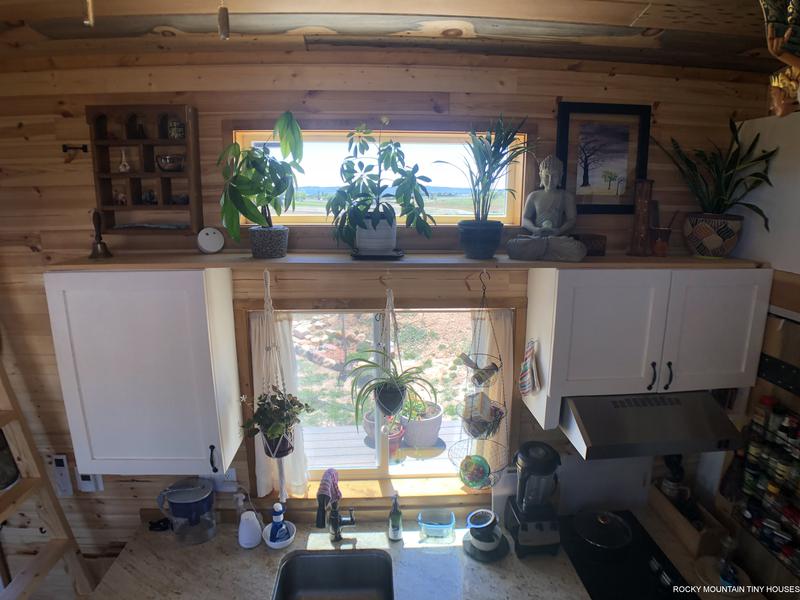
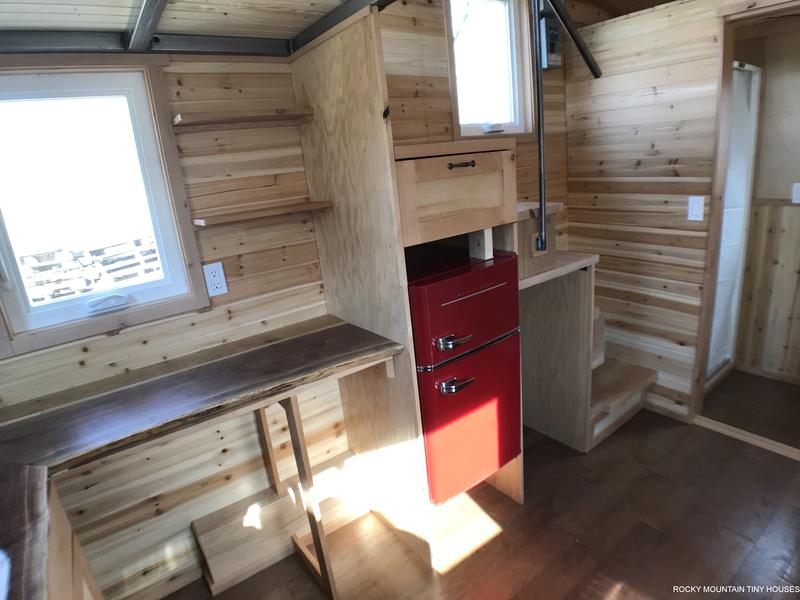
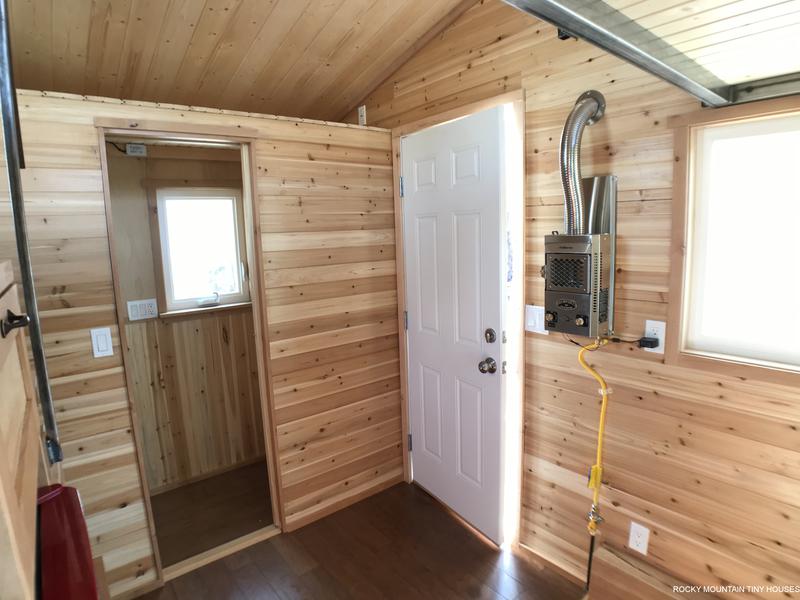
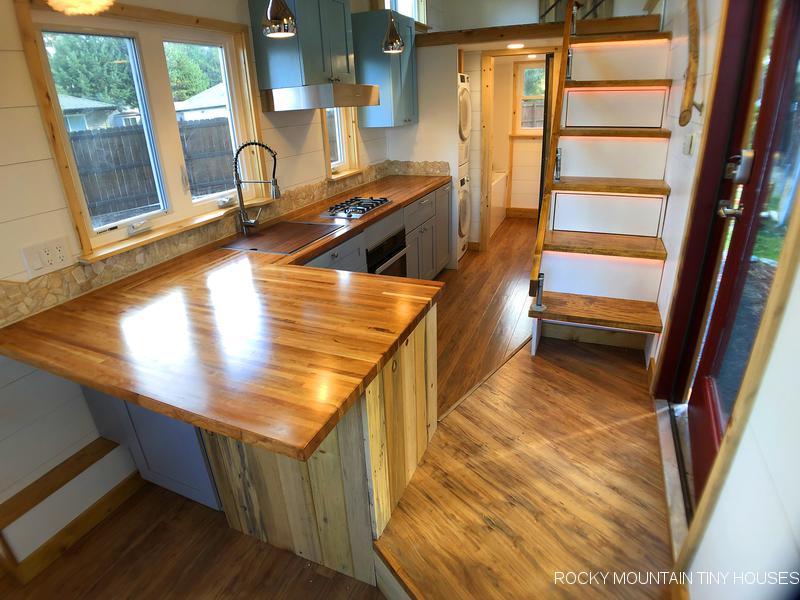
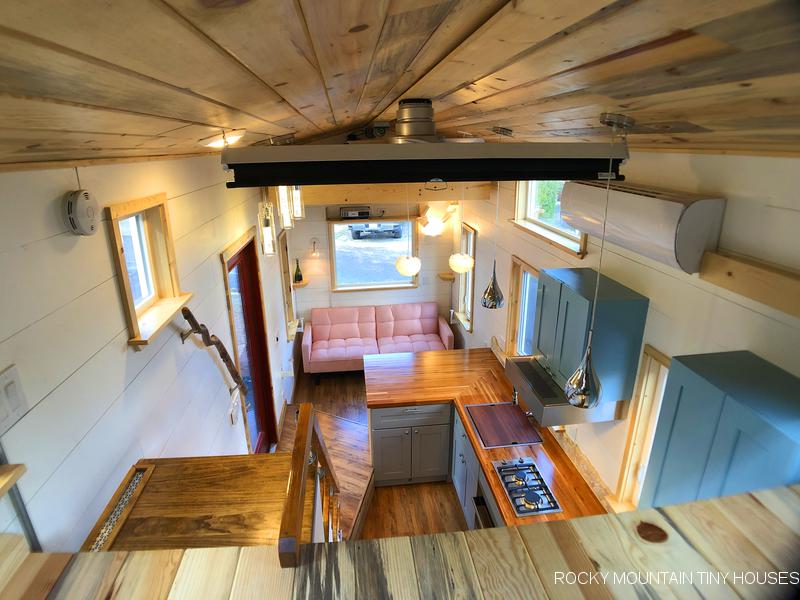
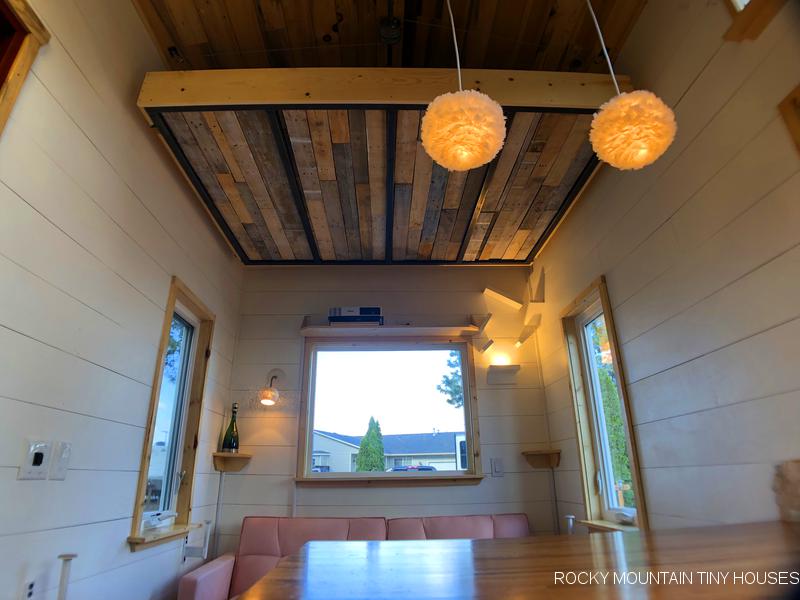
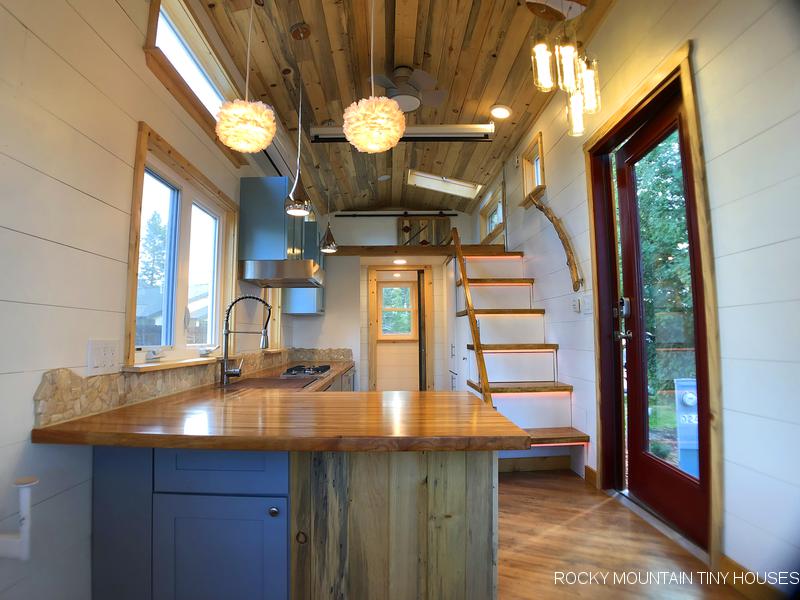
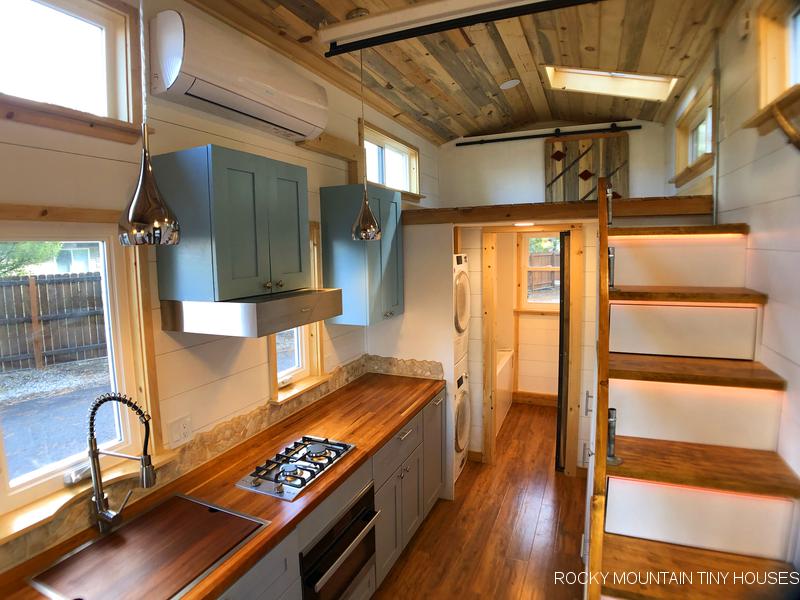
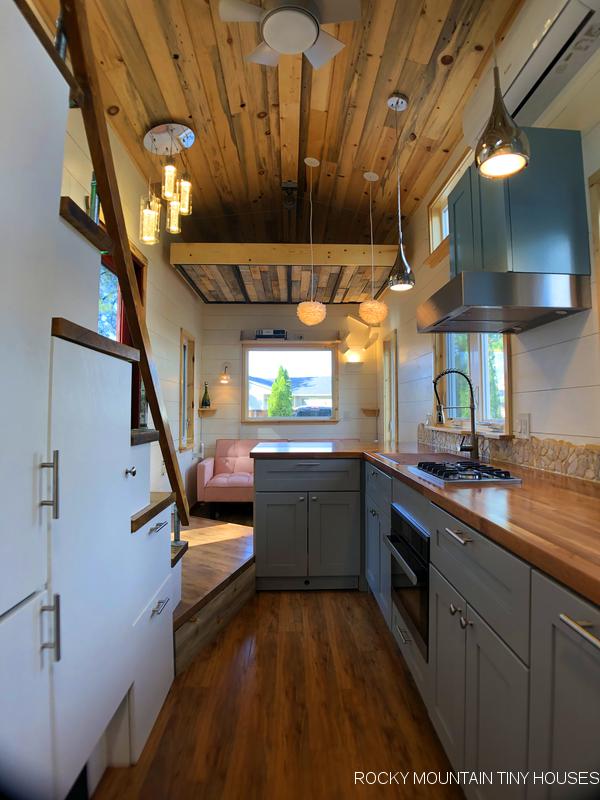
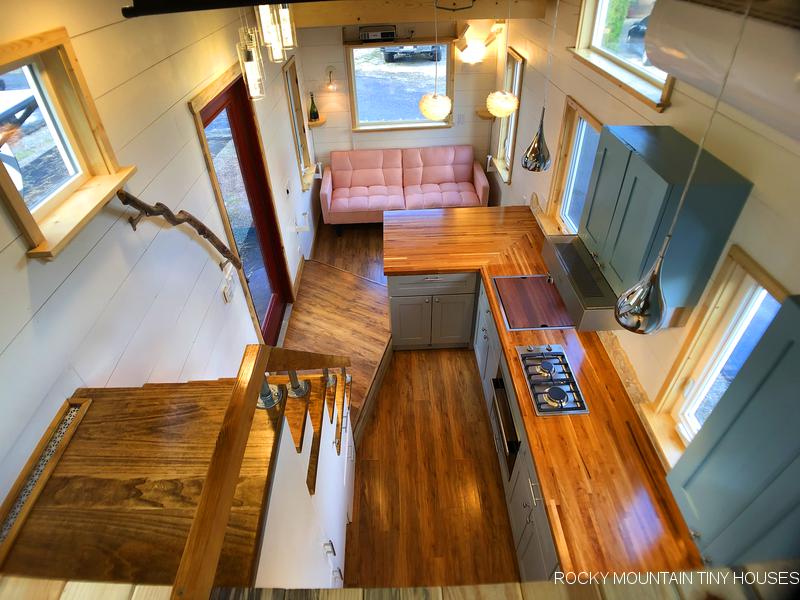
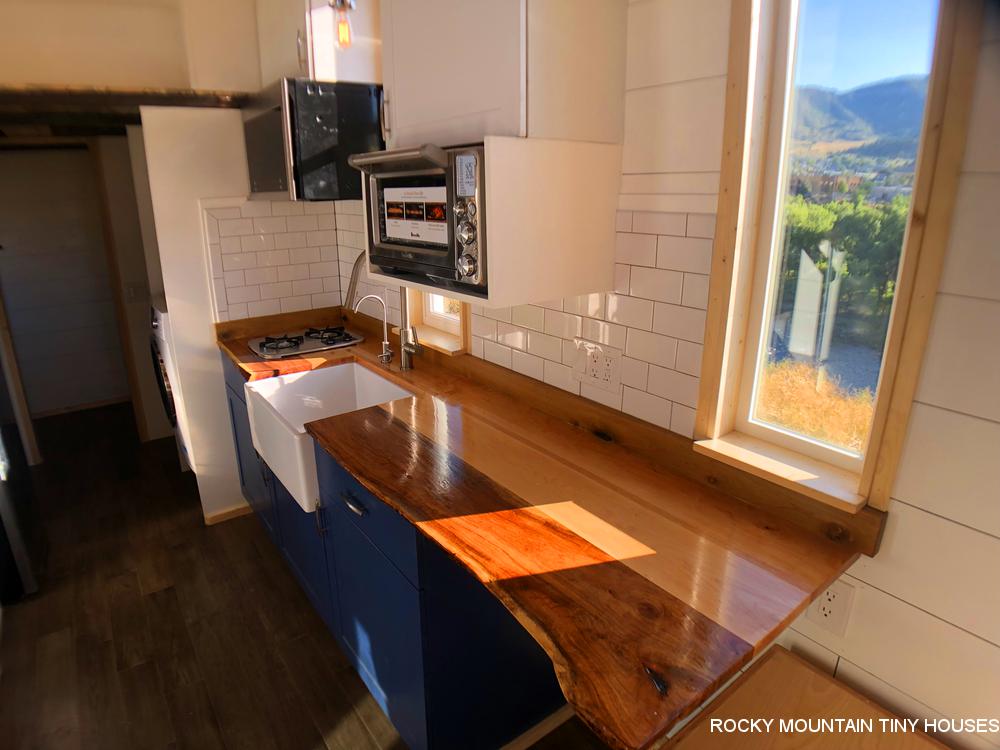
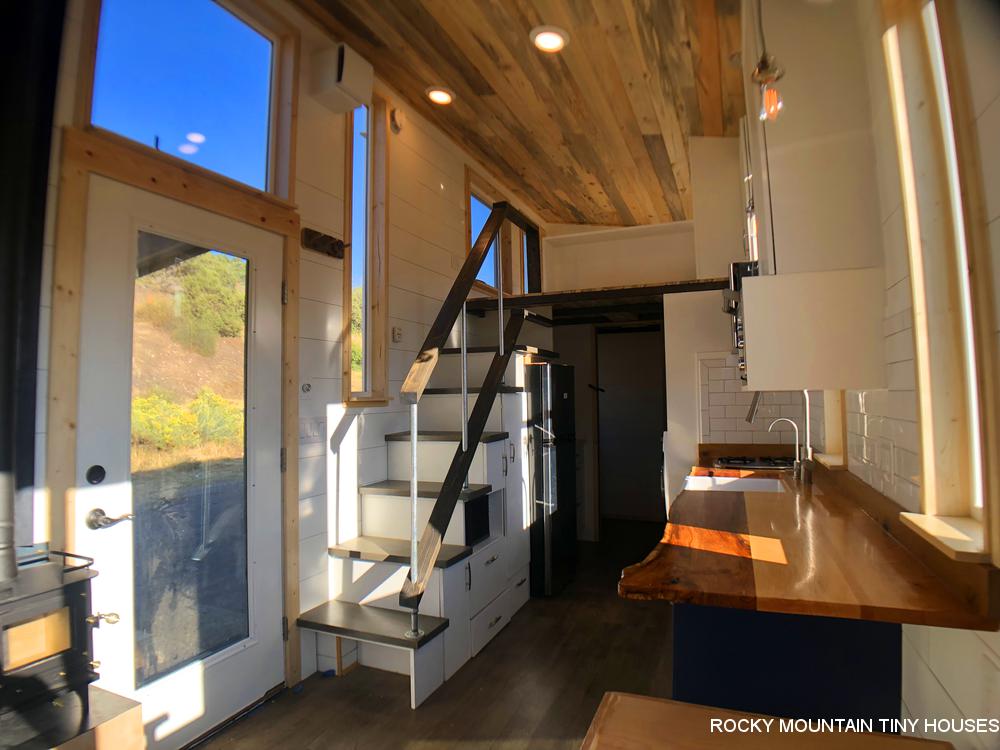
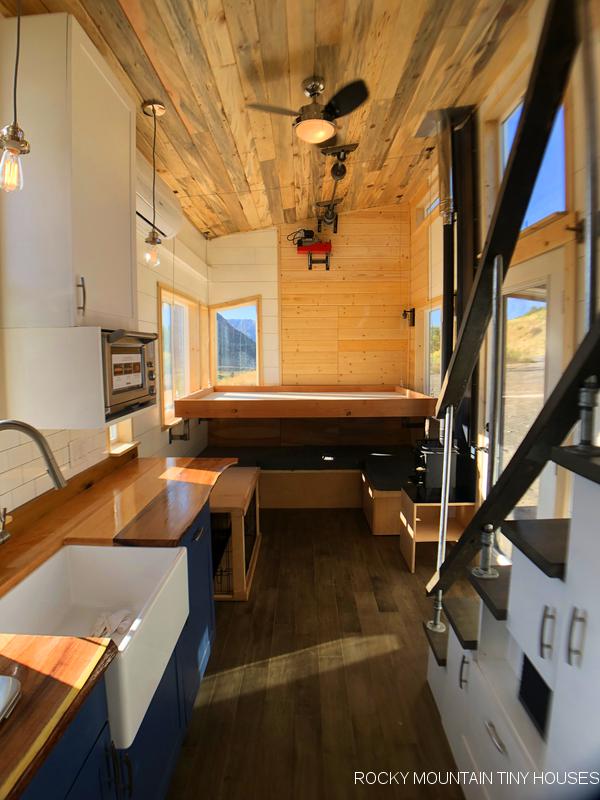
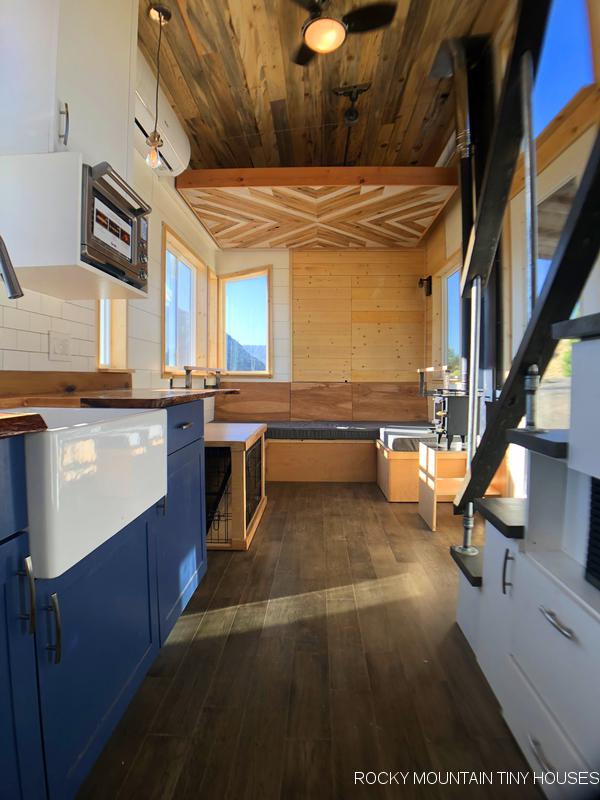
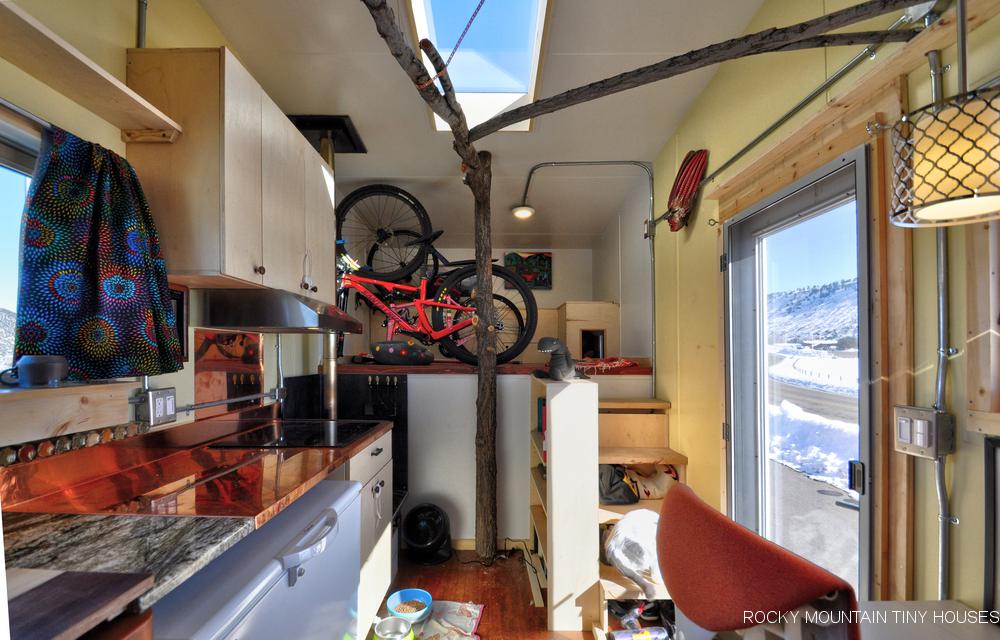
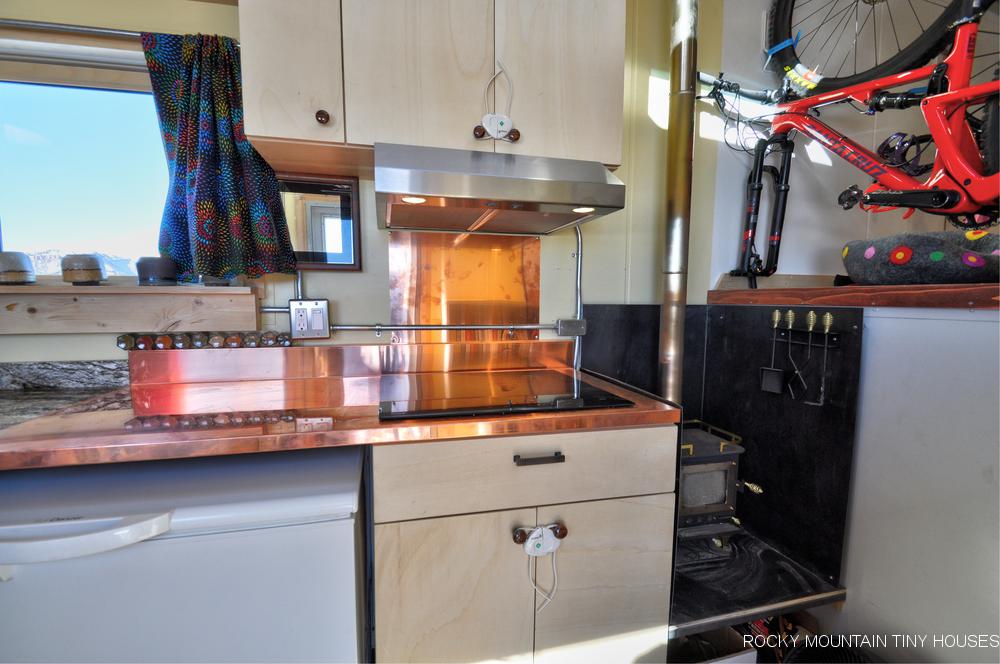
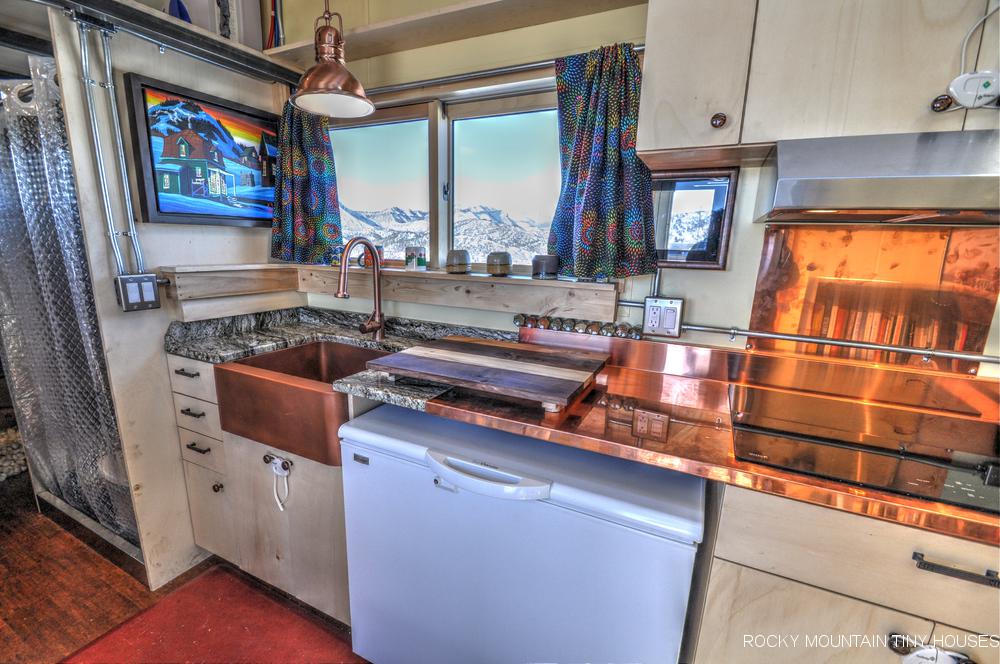
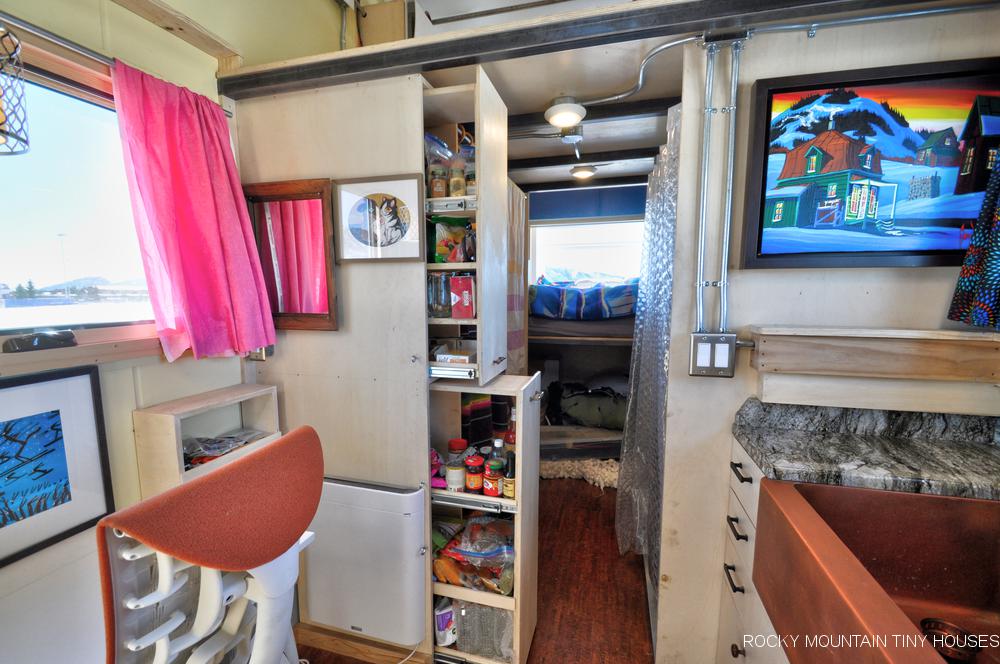
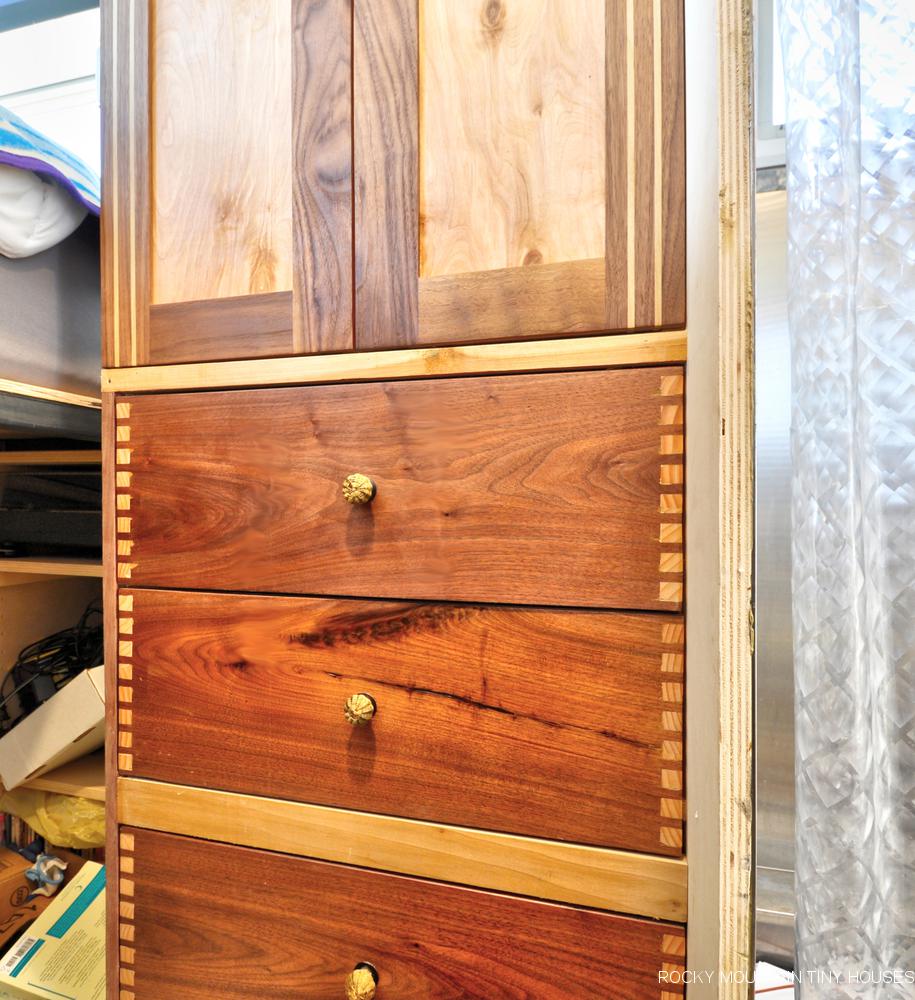
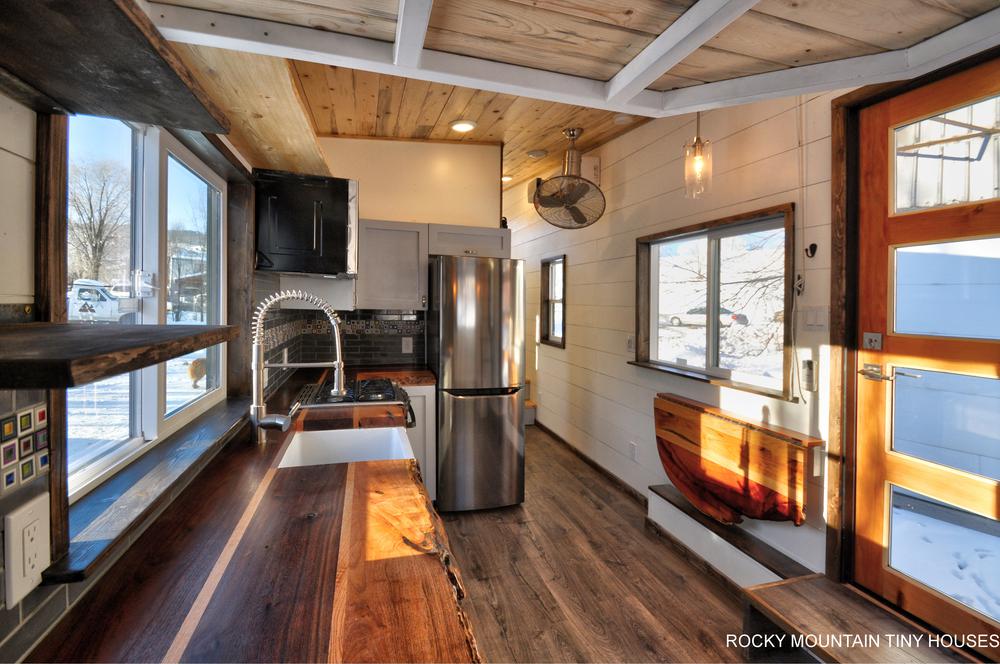
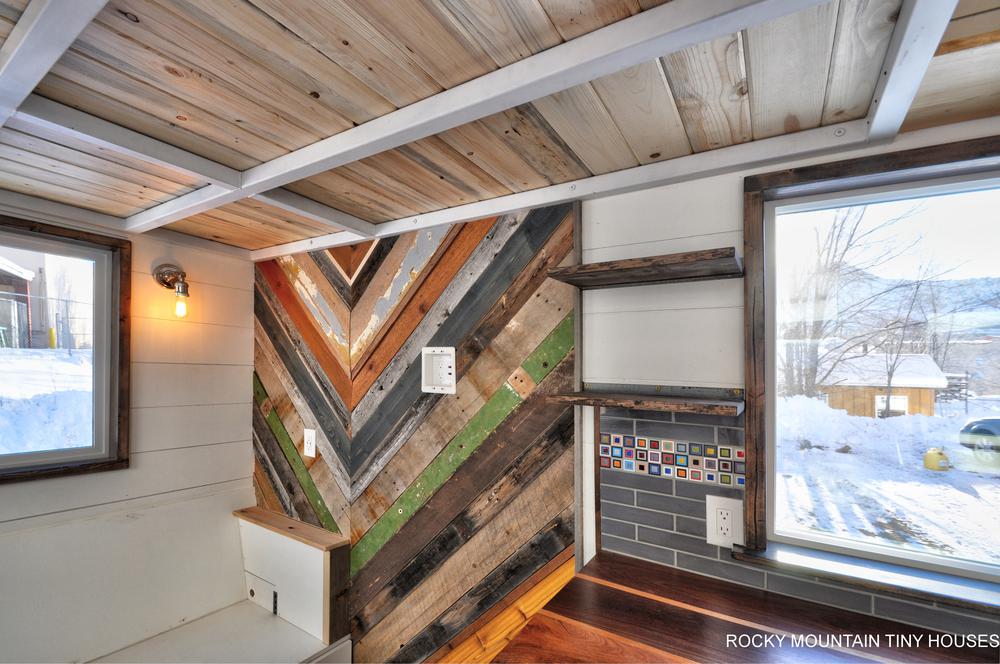
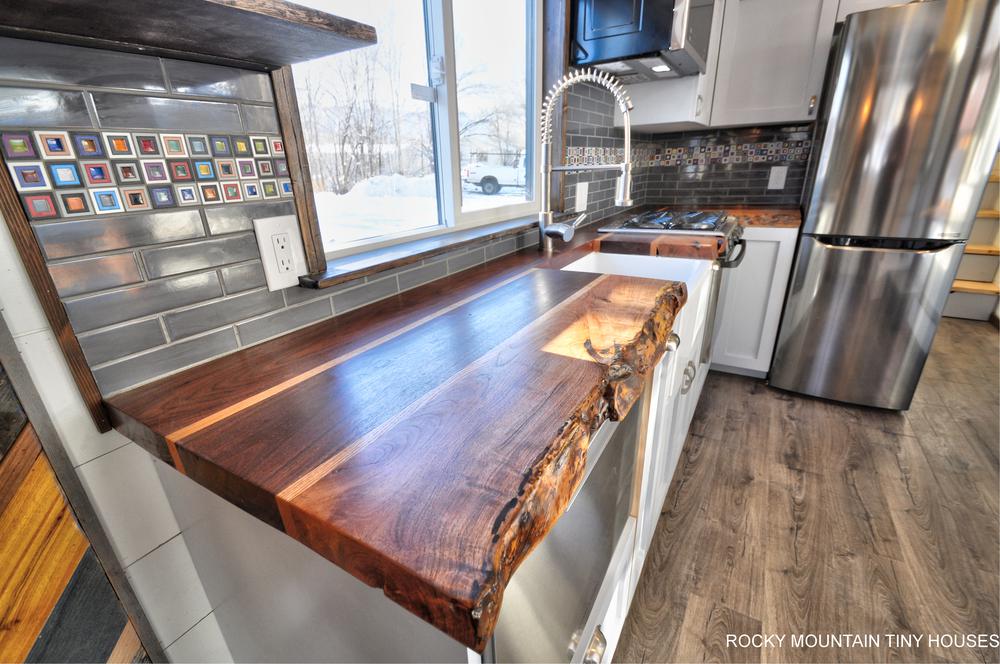
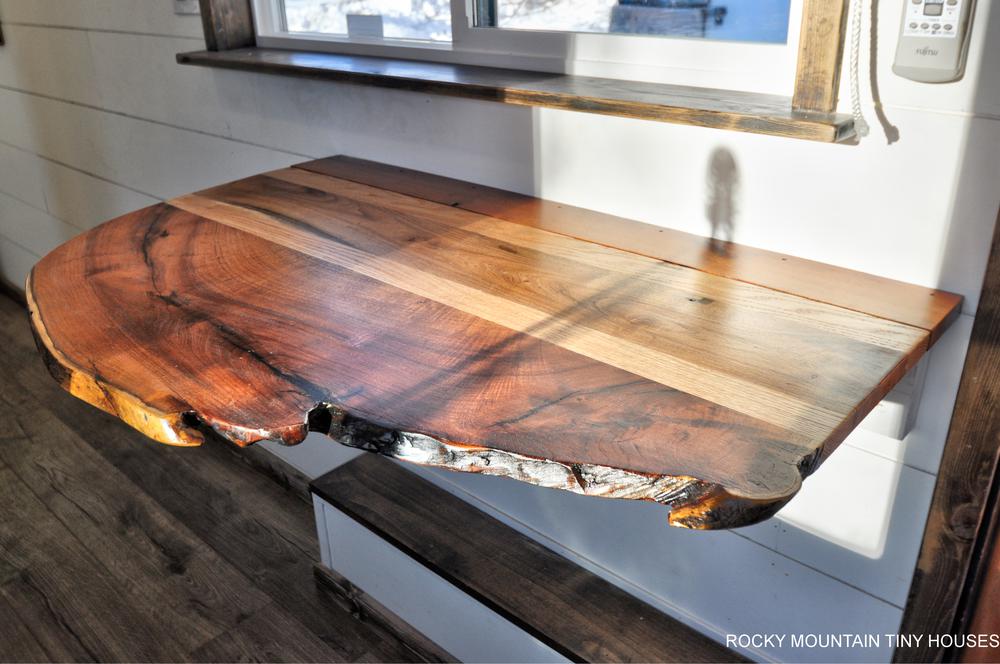
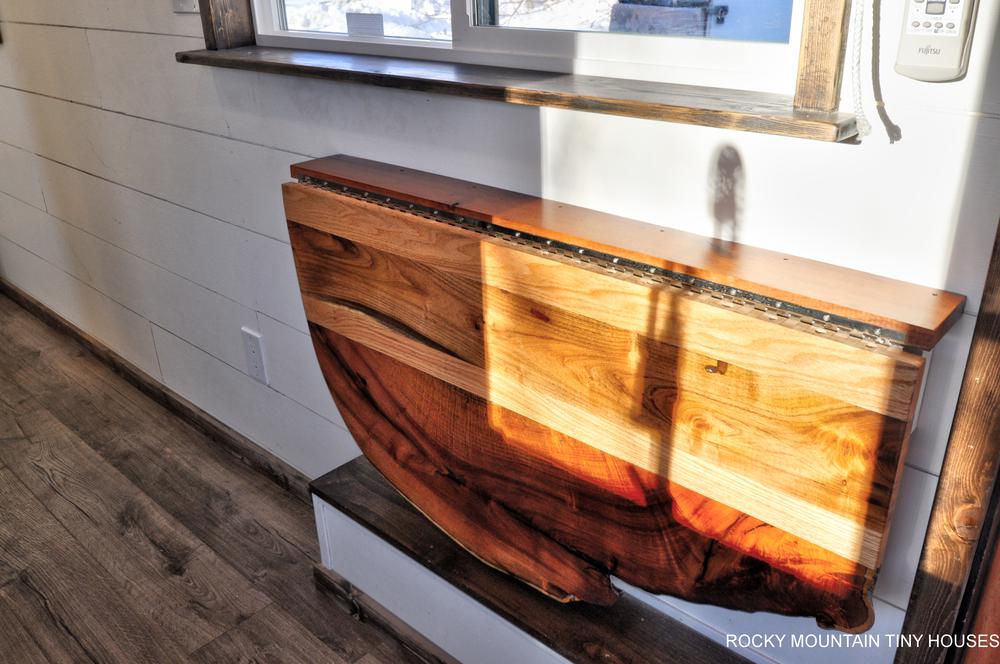
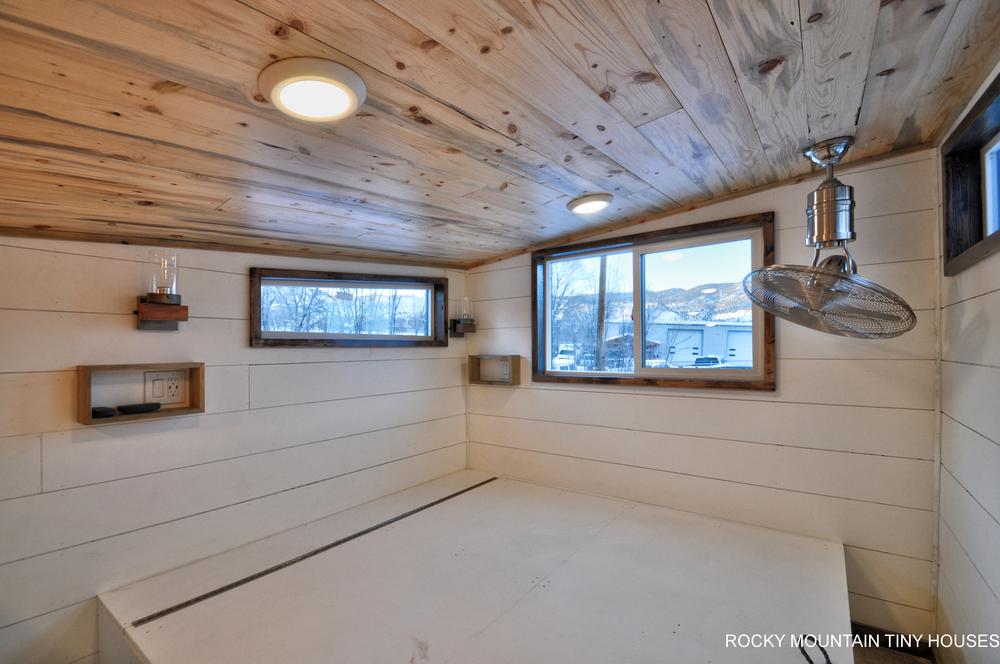
The interior has that classic tiny house feel with a dark wood floor, pine walls, beetle kill ceiling, and other wood trim, but lightened up a bit with white cabinets and salt n pepper species of granite for the kitchen counter.
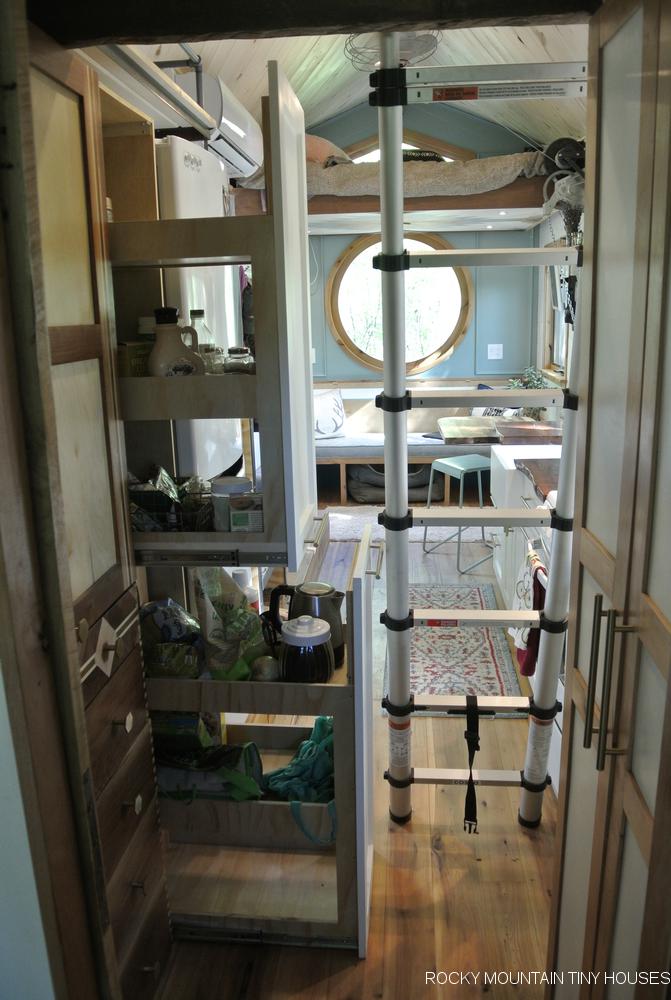
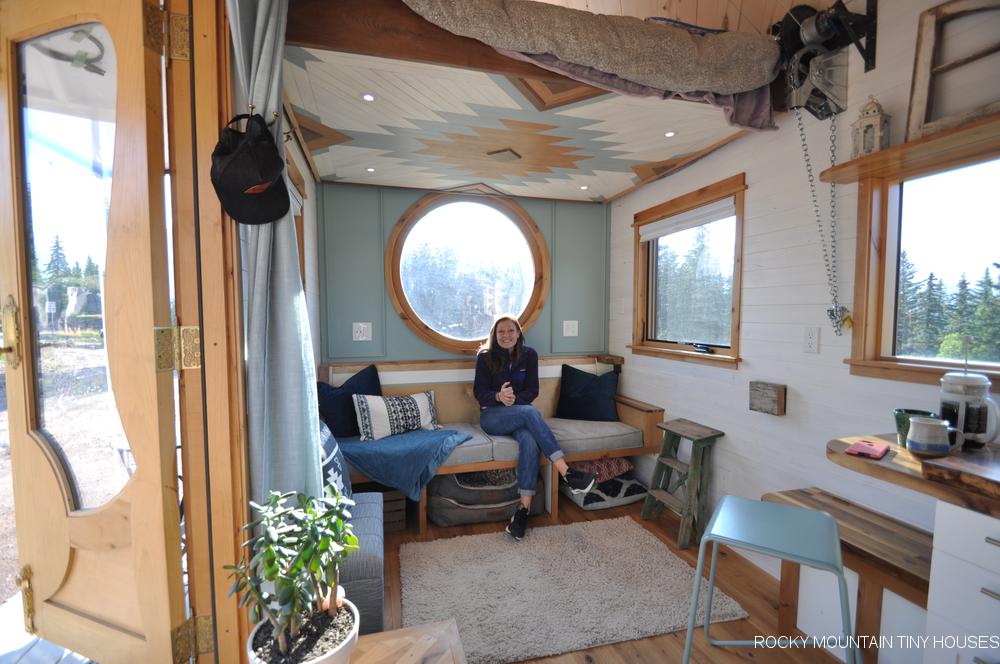
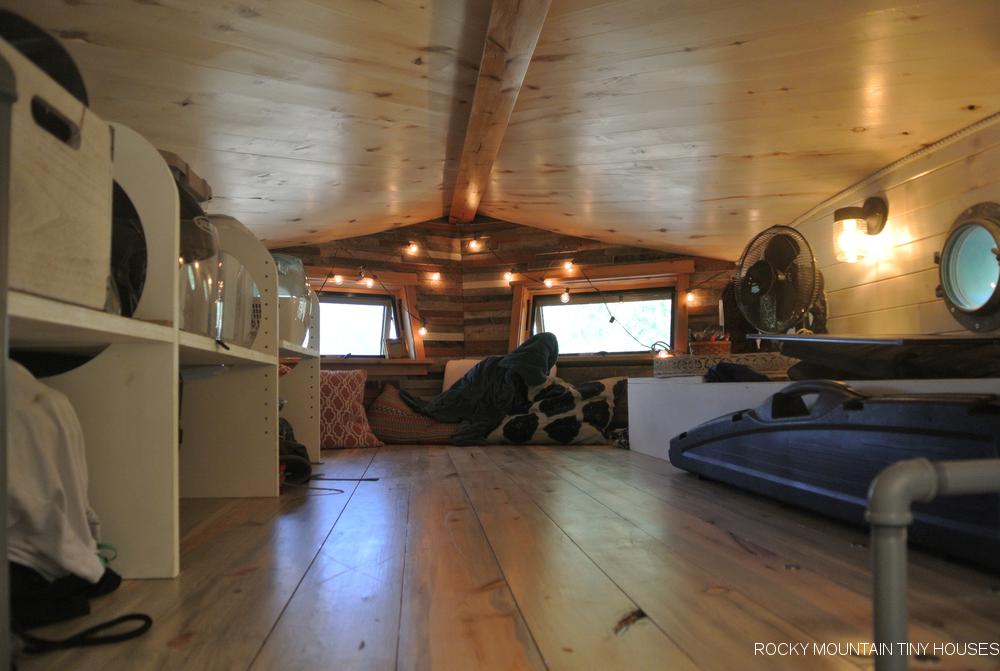
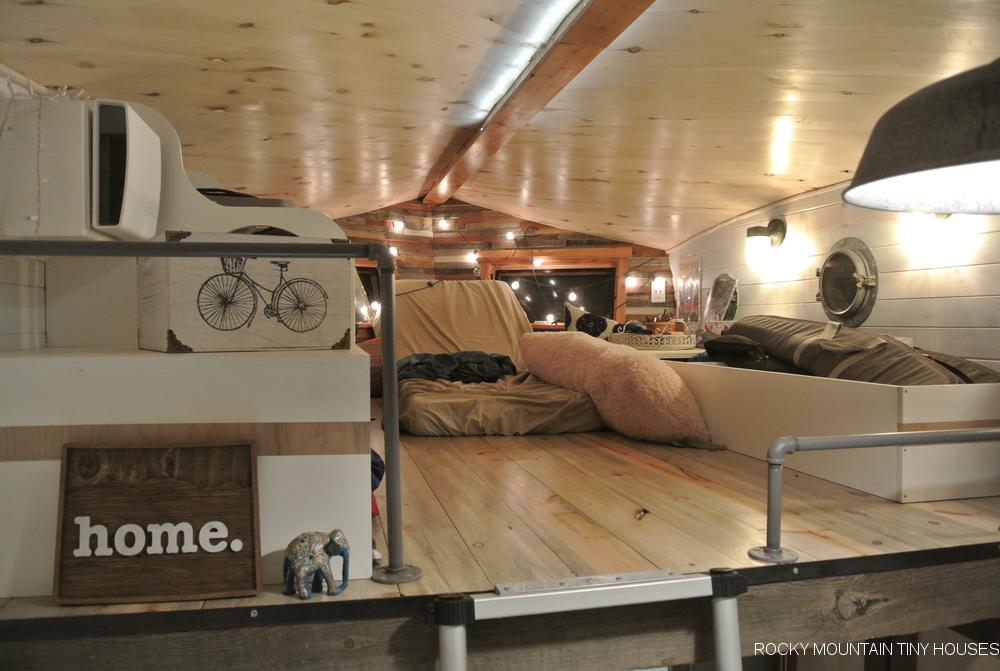
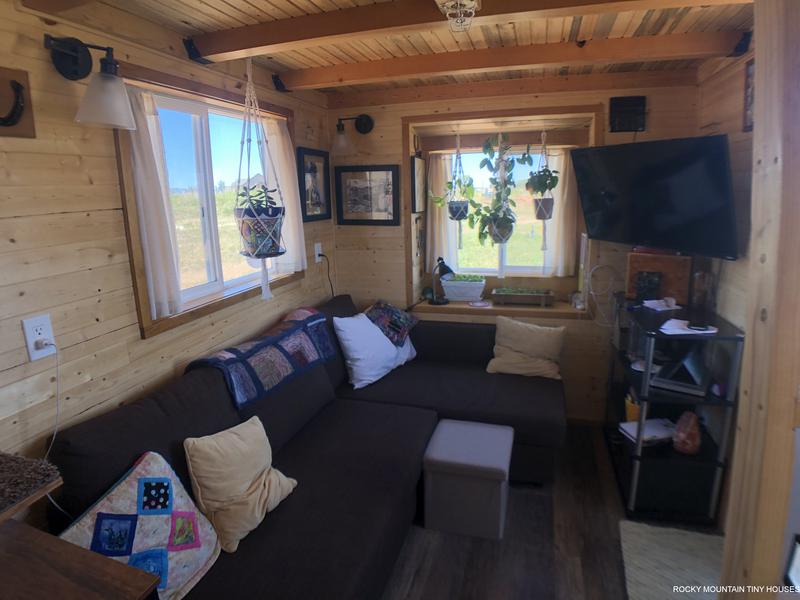
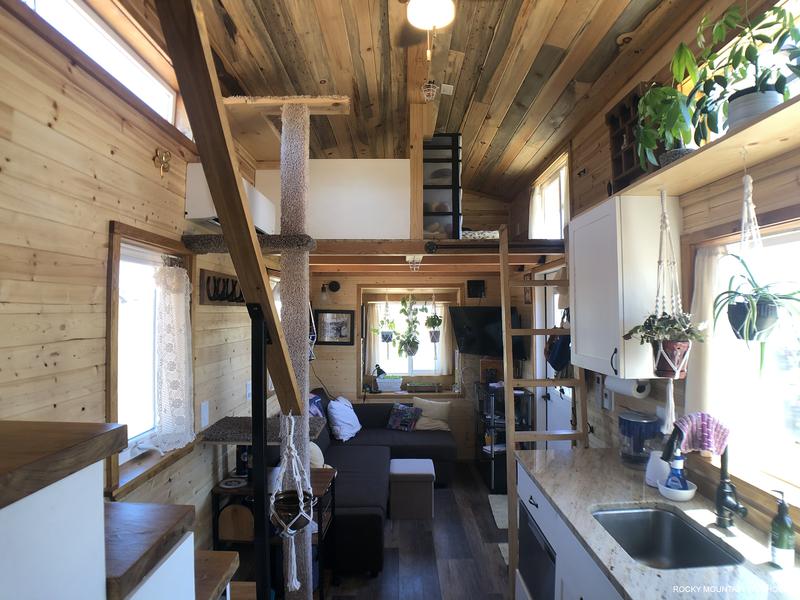
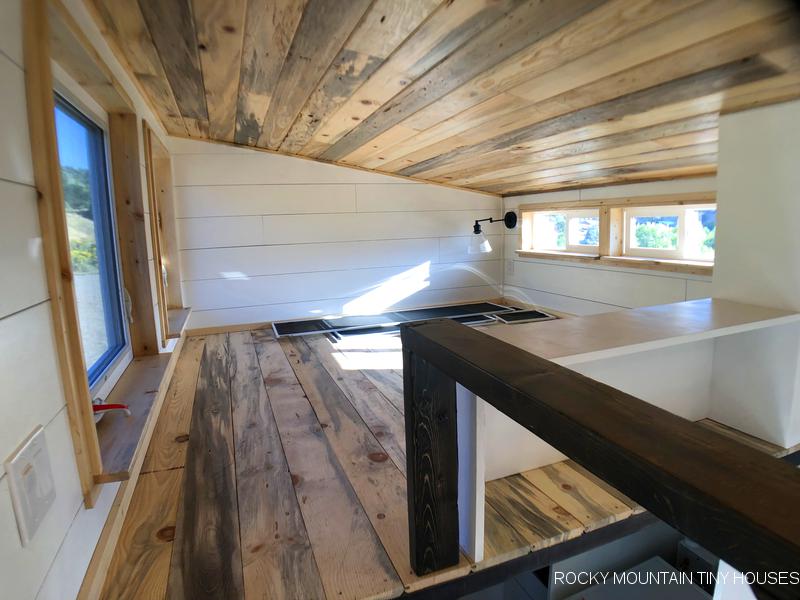
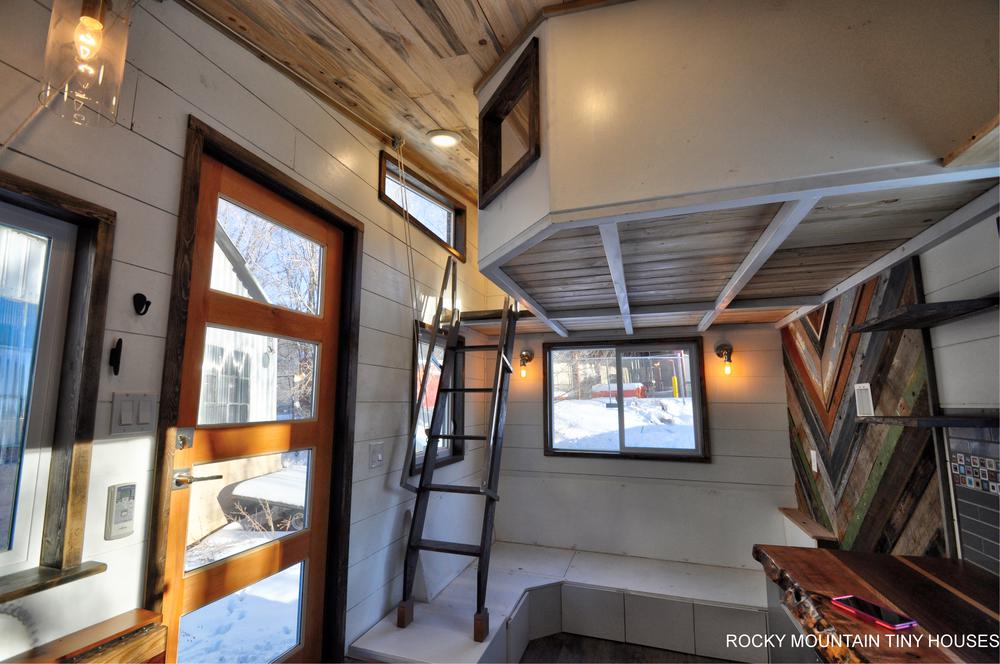
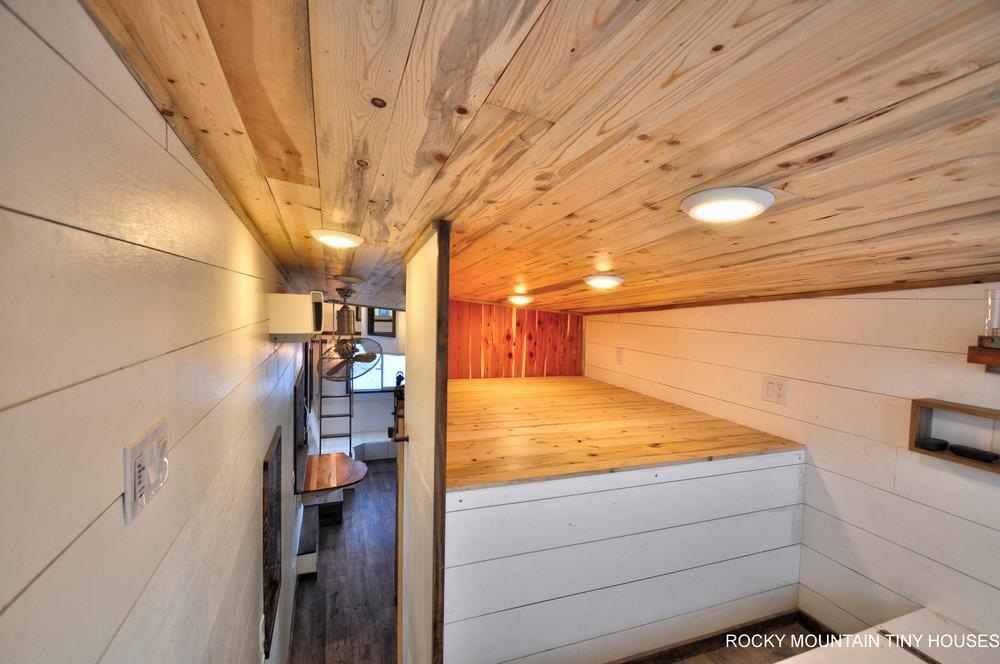
The living room was designed around the customer’s sectional couch with a tv in the corner. A movable ladder gives access to the guest loft, which her grandchildren like to hang out in frequently!
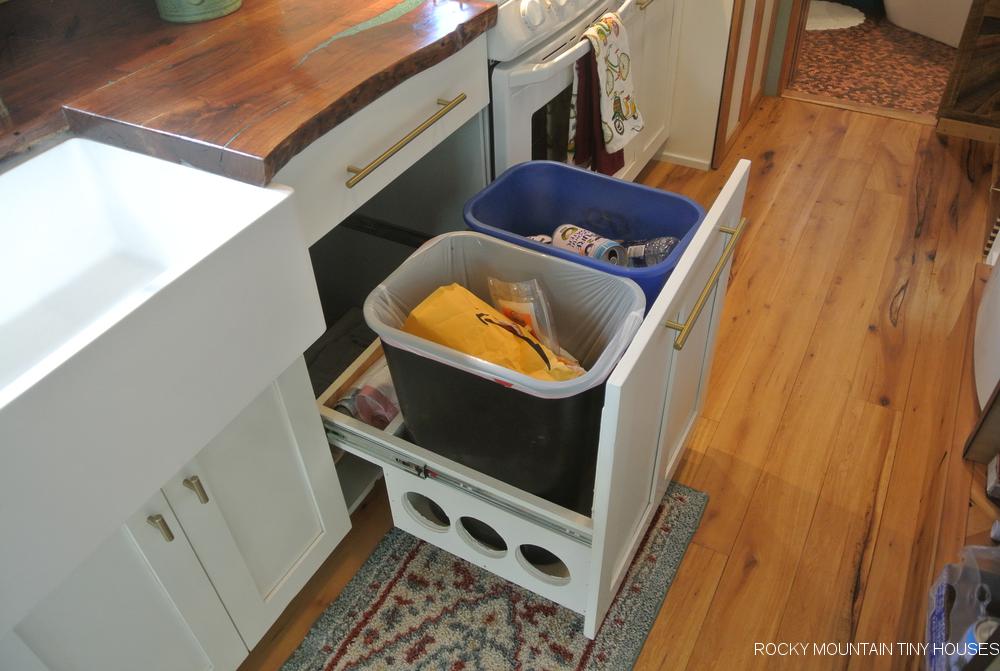
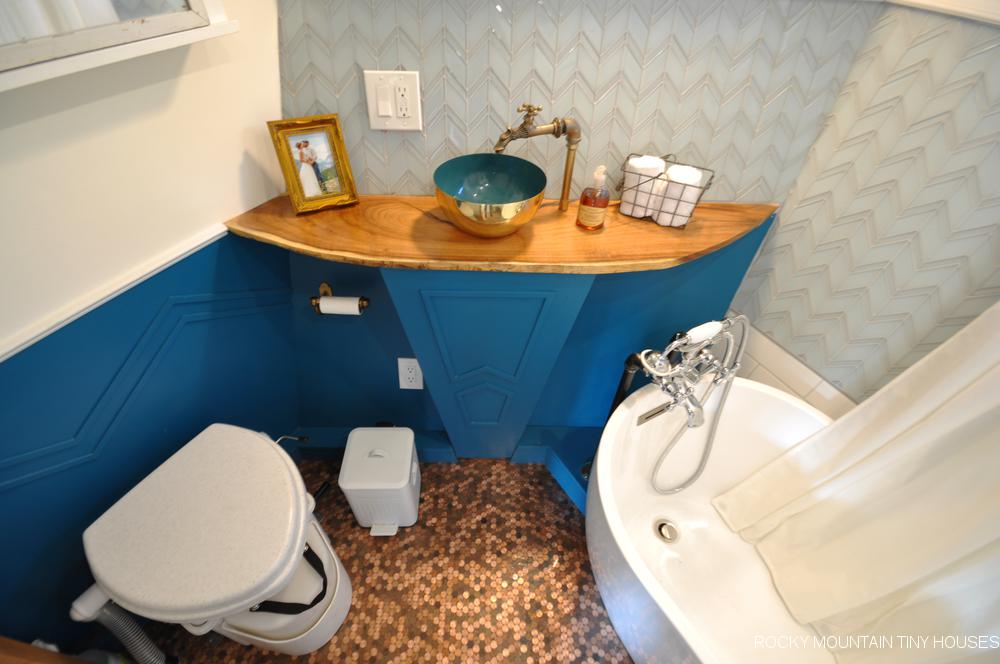
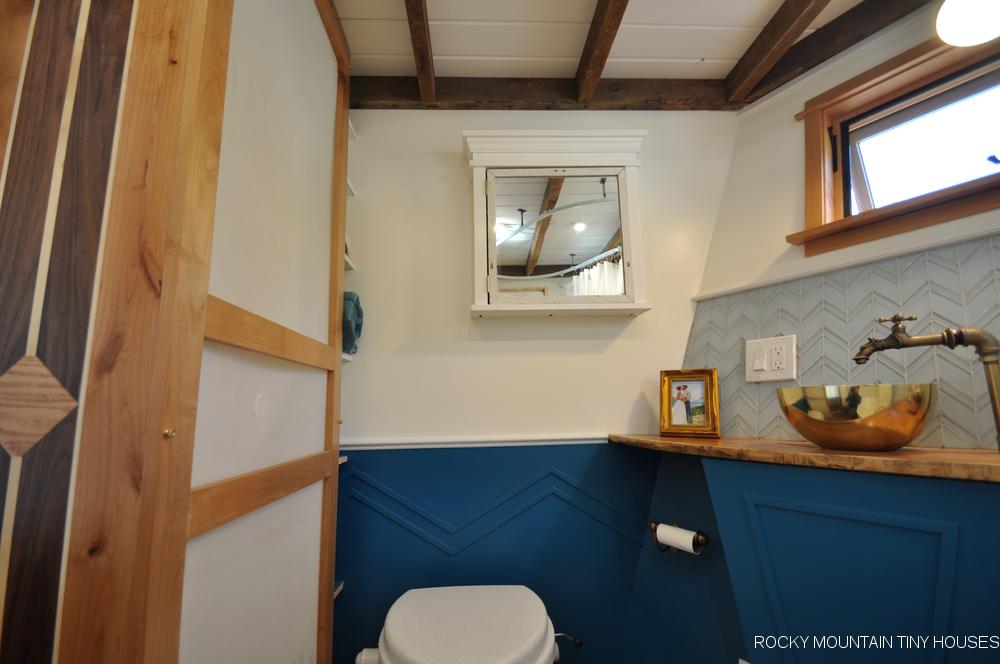
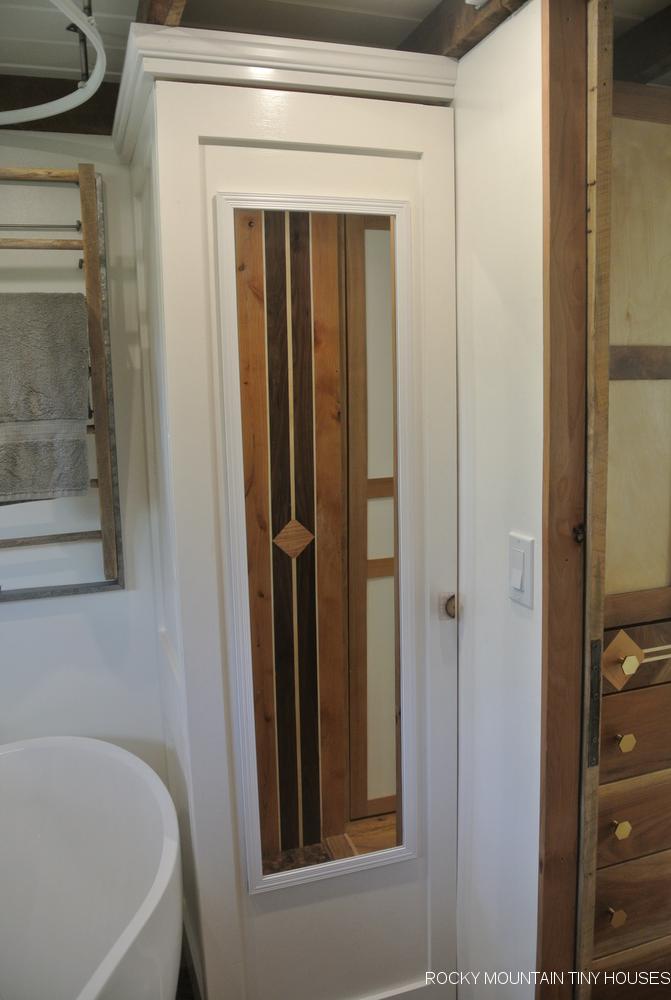
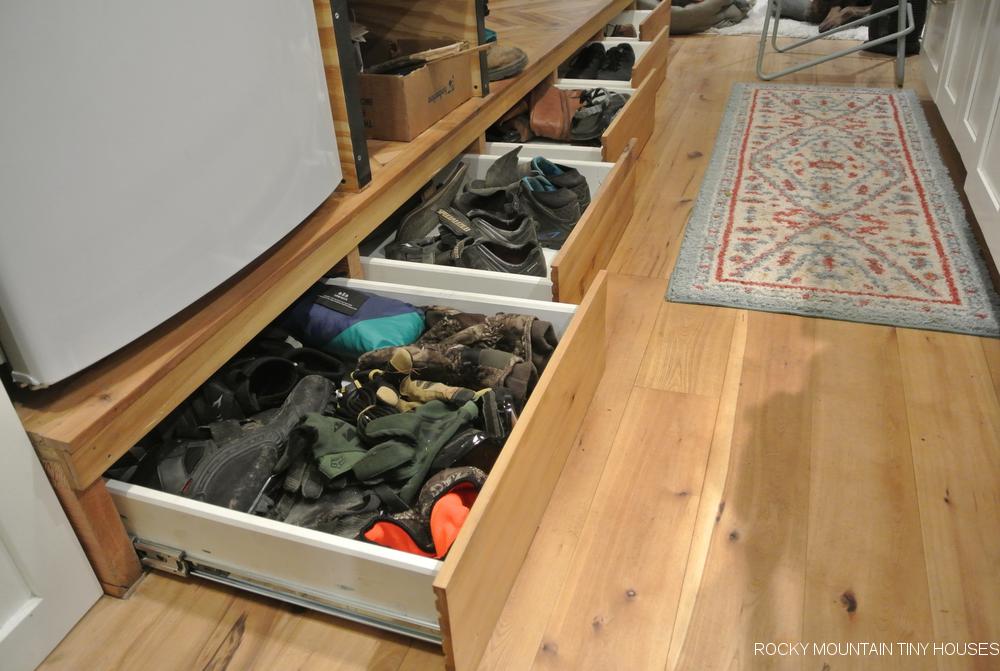
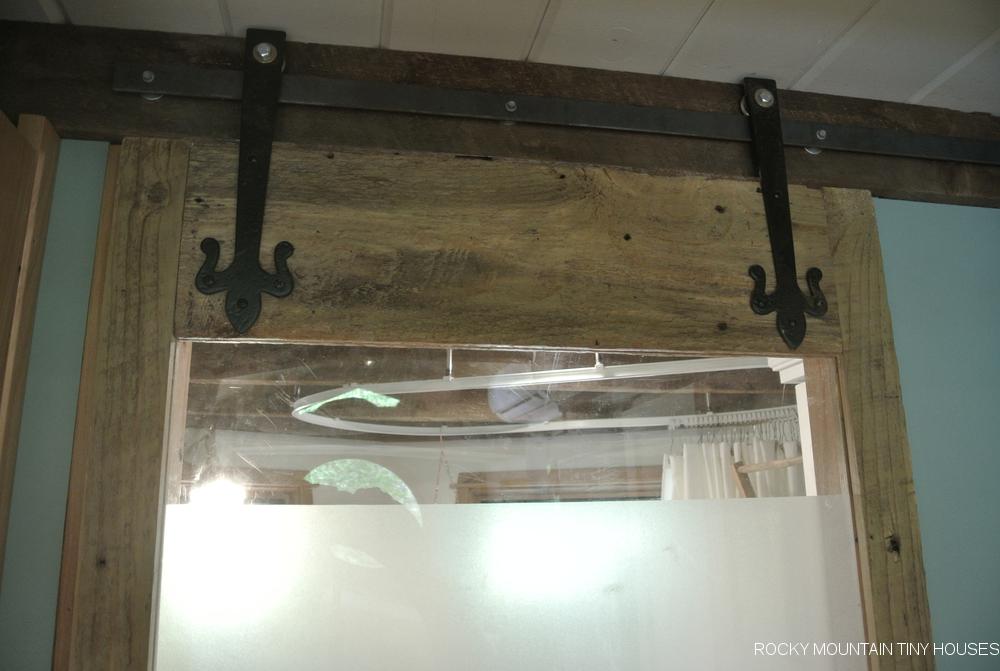
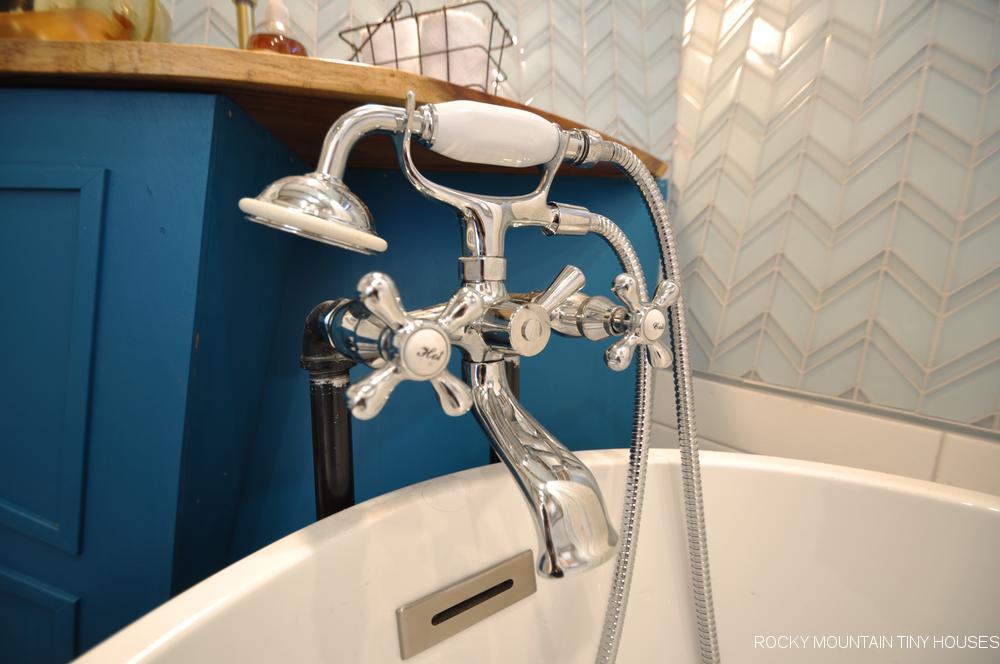
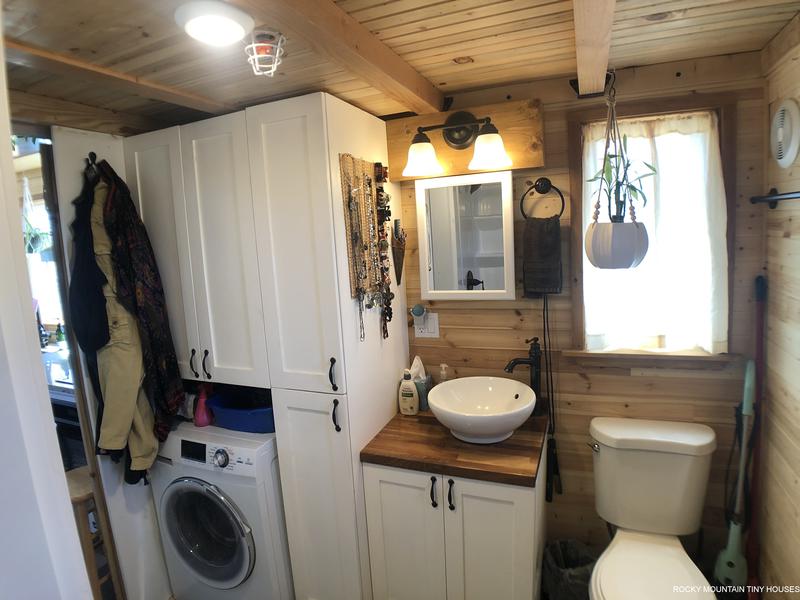
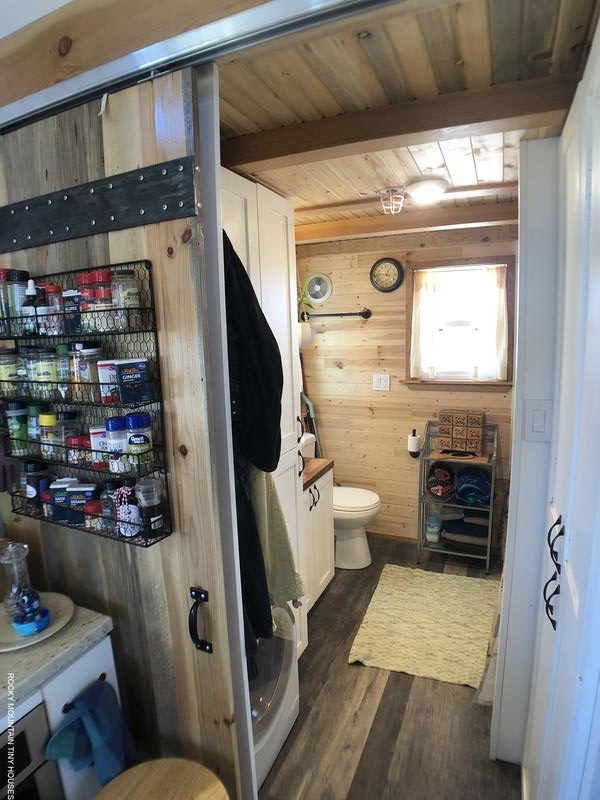
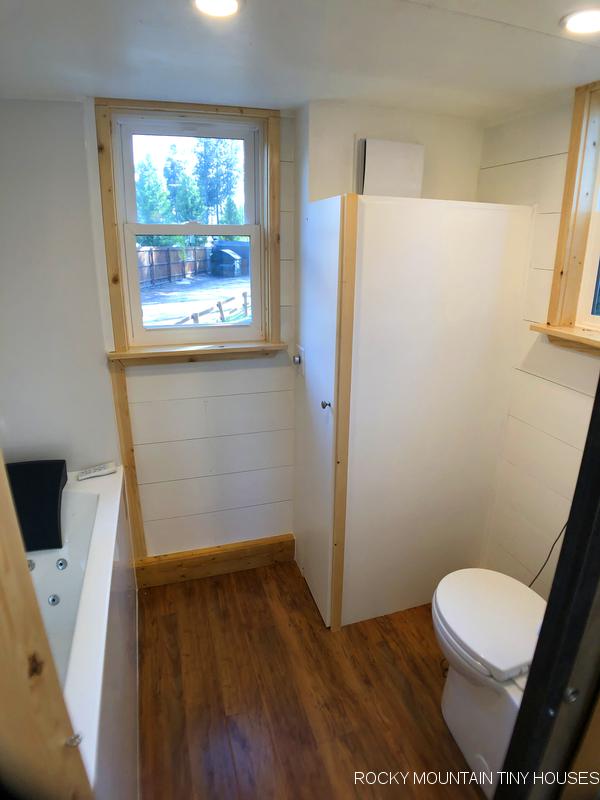
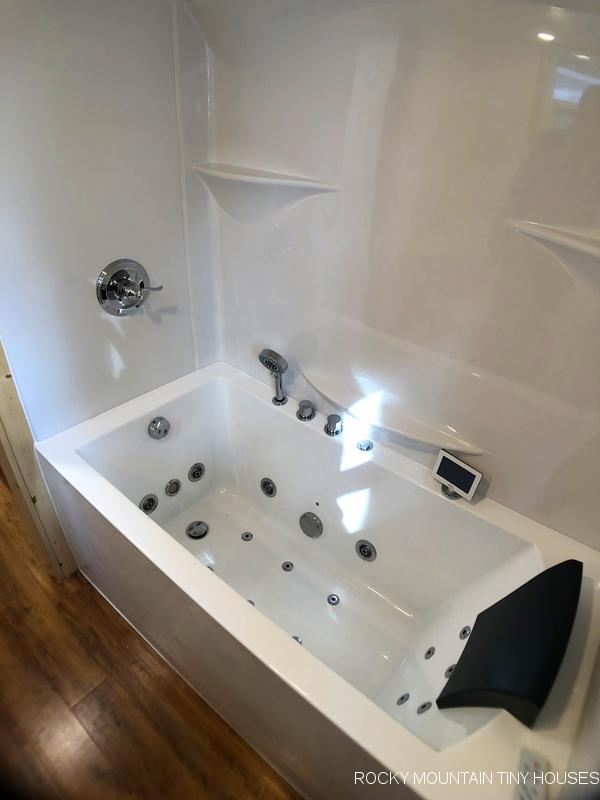
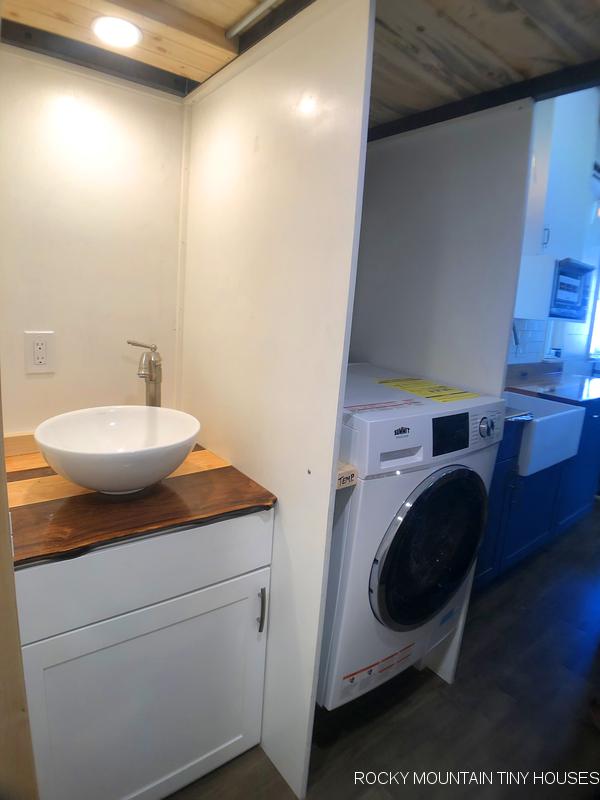
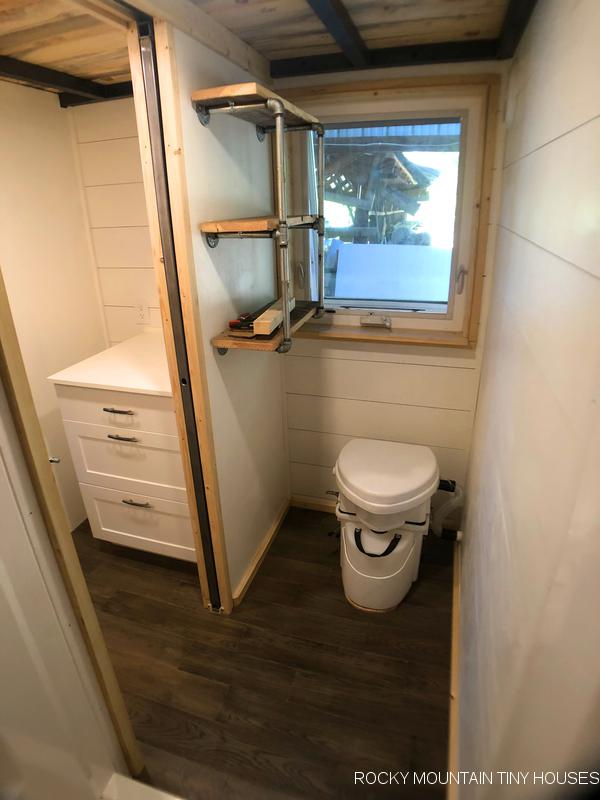
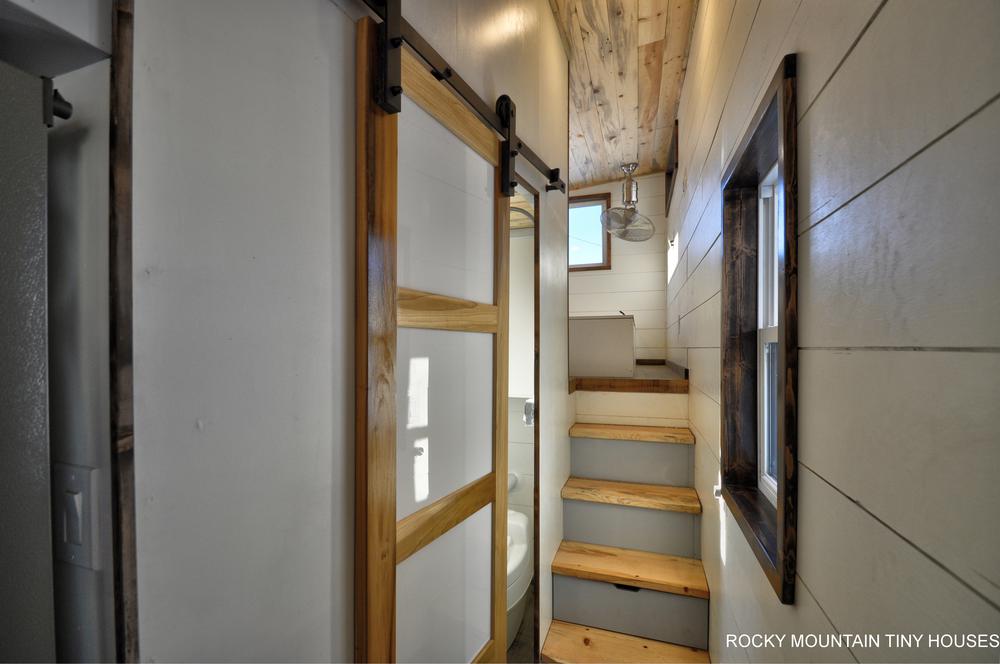
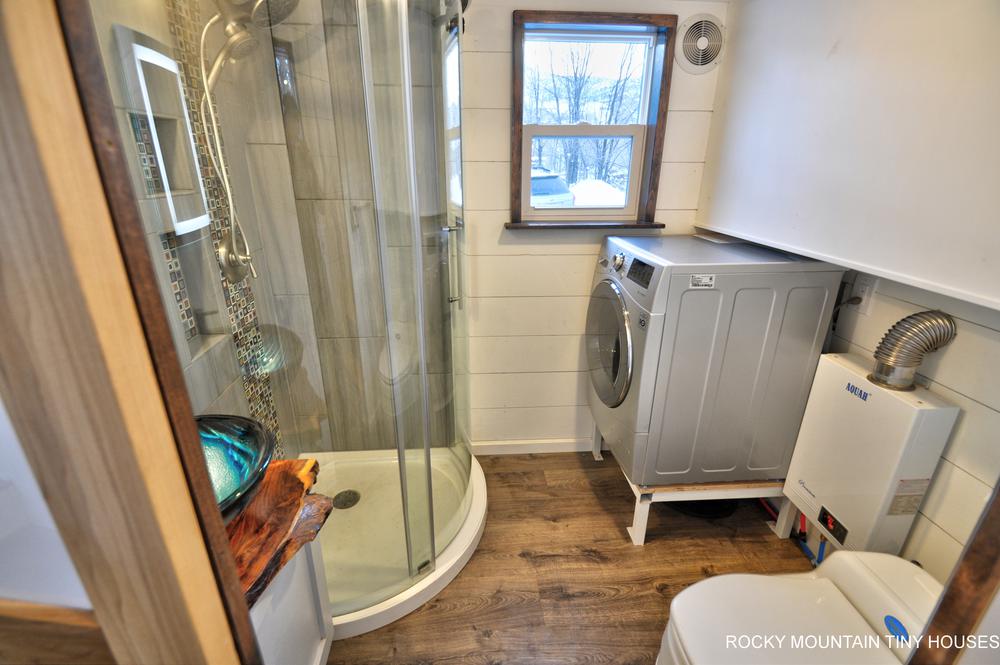
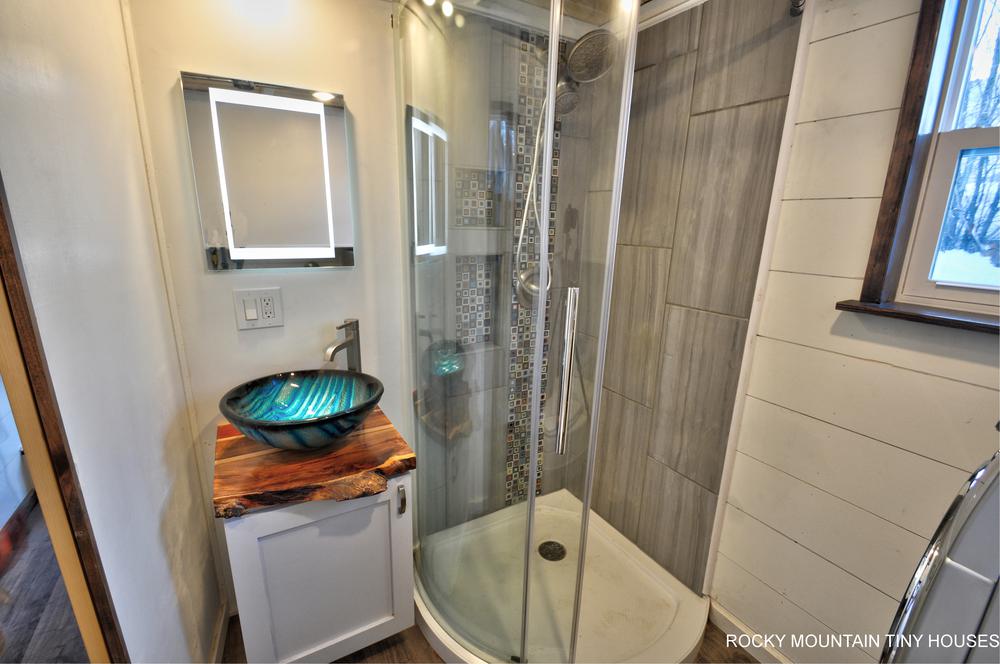
The large bathroom features a full size tub, flush toilet, modest vanity with a vessel sink, washer.dryer combo, and lots of cupboards for storage. A sliding barn door separates this space from the kitchen.

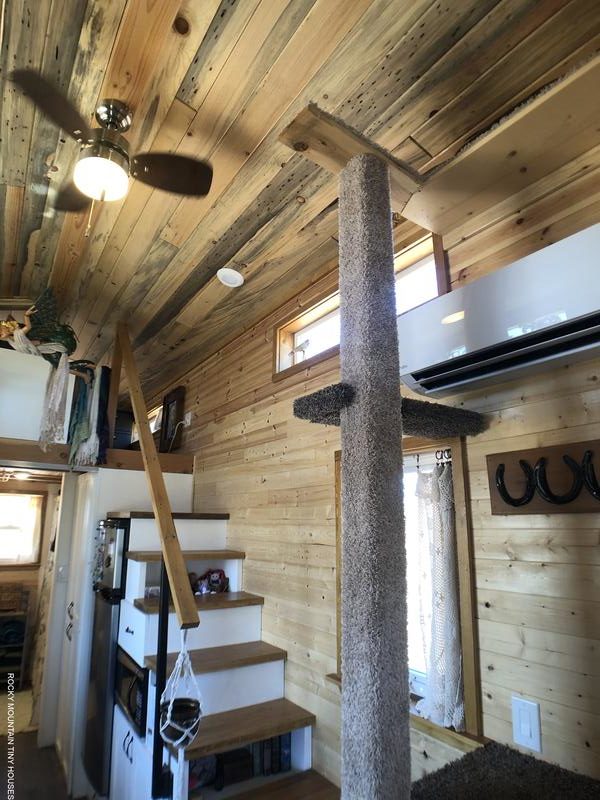
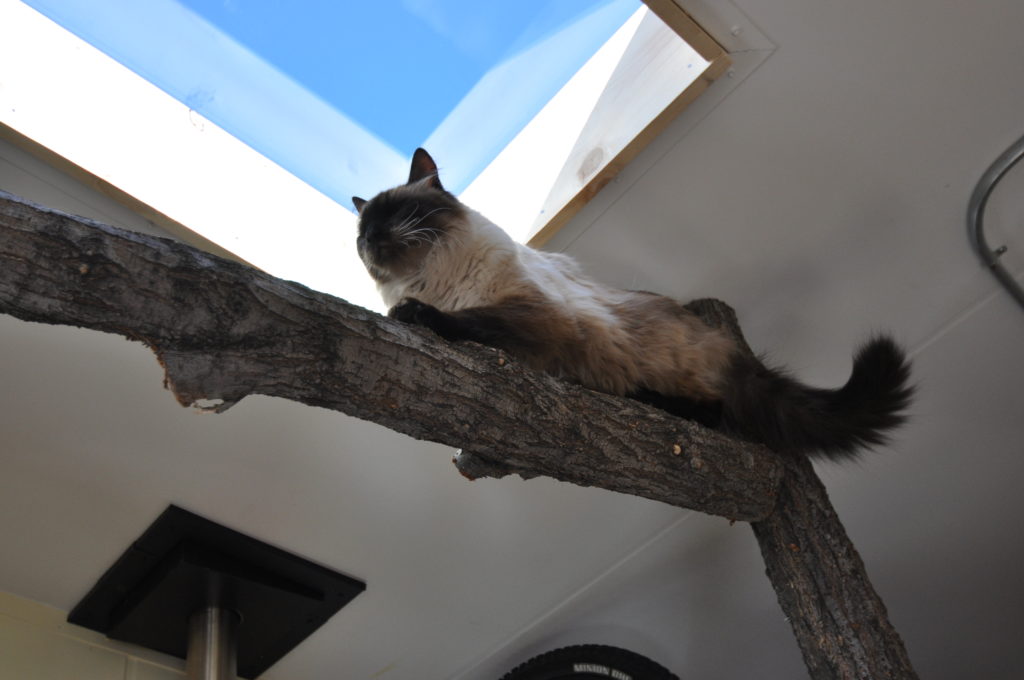
A fun feature of this design is the accommodations for Ms. Kitty. She gets a carpeted cat pole that ascends to various hangout spots, including the top shelf which runs along the ceiling and into the guest loft.
“Tara” is Sanskrit for “Star” or ” Light of the Soul” and Trish chose this name because the house always filled with light. This build came in at about 84k, but keep in mind, the permitting process added a bit of cost to this project, so for those not needing this service, the final price might be closer to 80k.


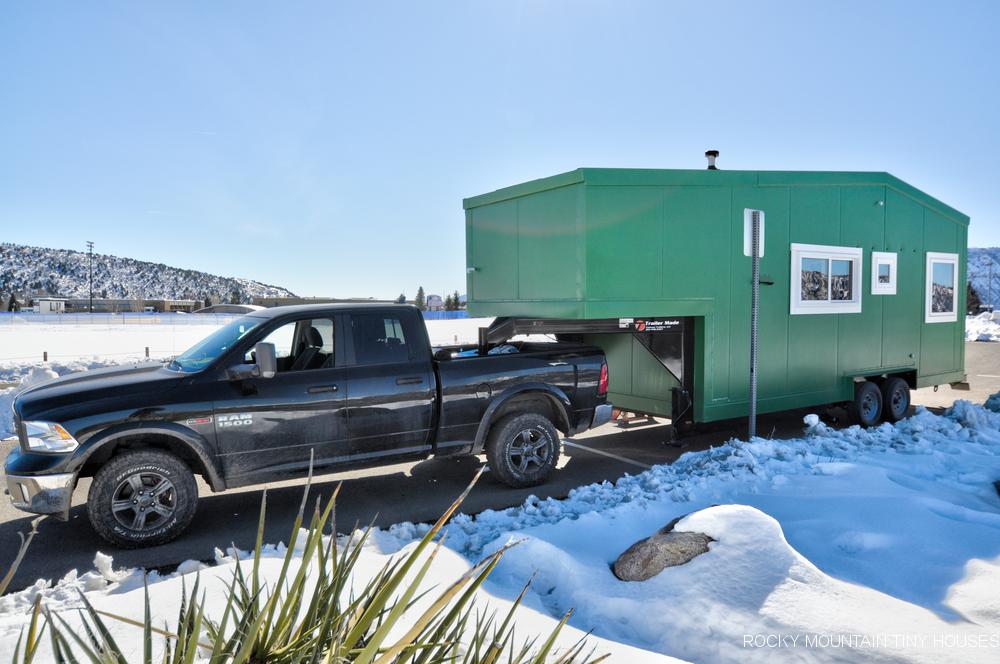

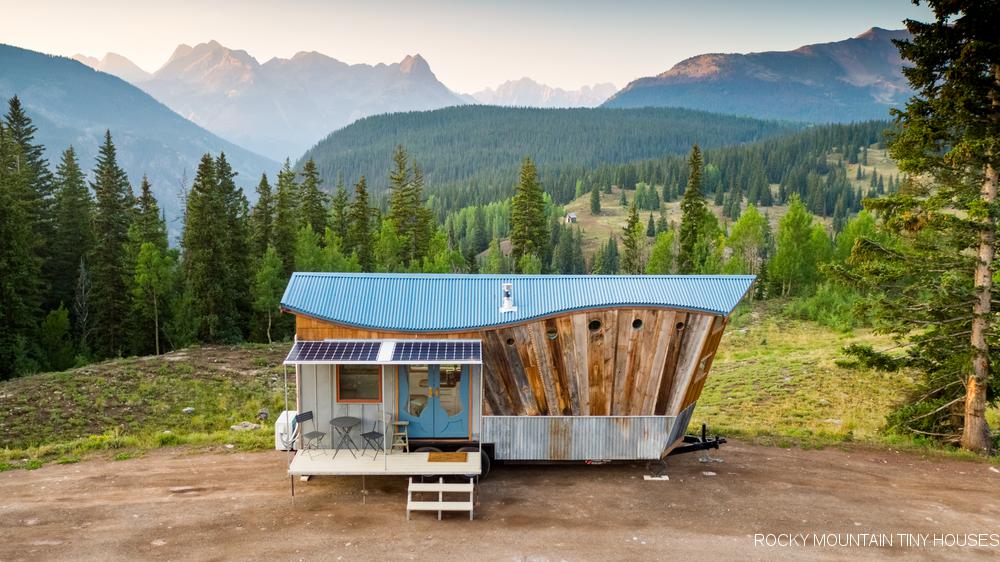
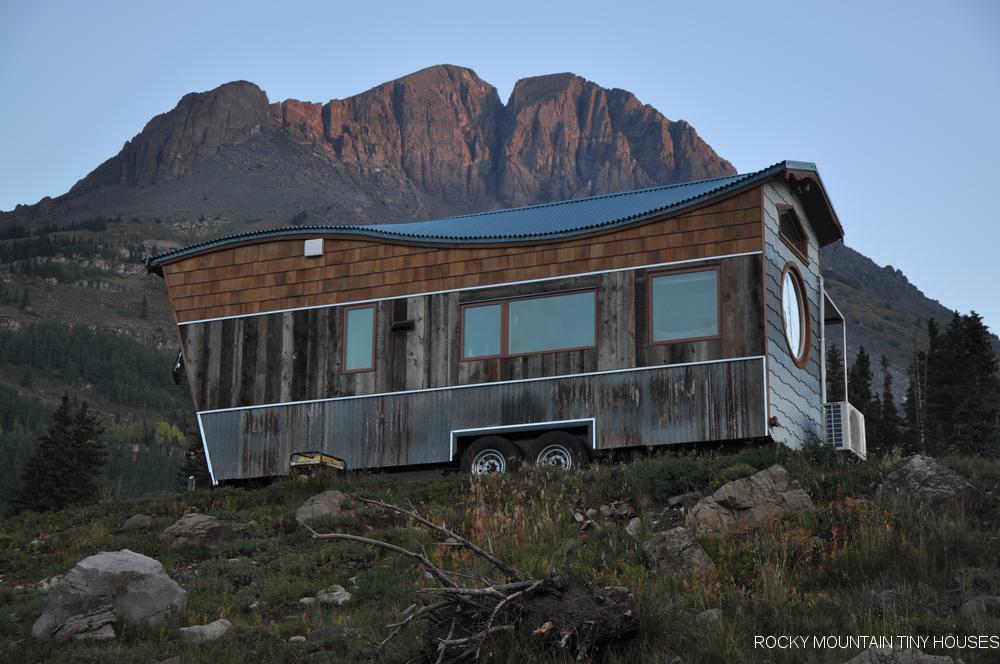
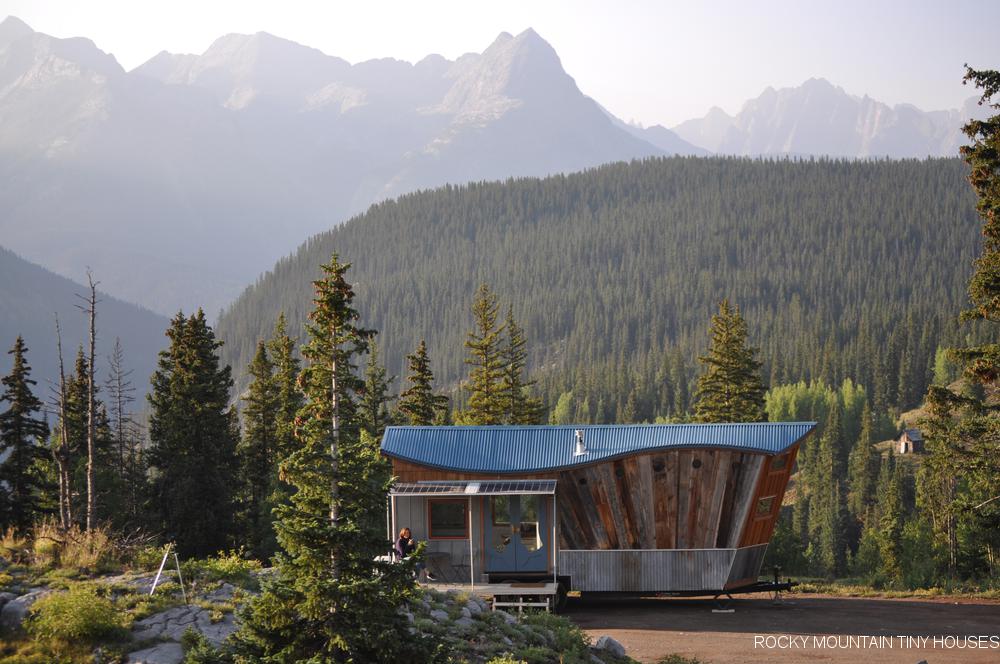
 The design phase lasted over a year before we were able to secure enough funds to start the build. The build phase then took another year. When you run a tiny house construction company, it proves quite difficult to build a house for yourself! In addition to being our personal living quarters, I knew it would be a great model house to take to shows, so some of the decisions (which added a lot of build time, and a little bit of civil unrest) were also influenced by this. So far the San Juan has attended 4 tiny house festivals across the US traveling a total of more than 5,000 miles!
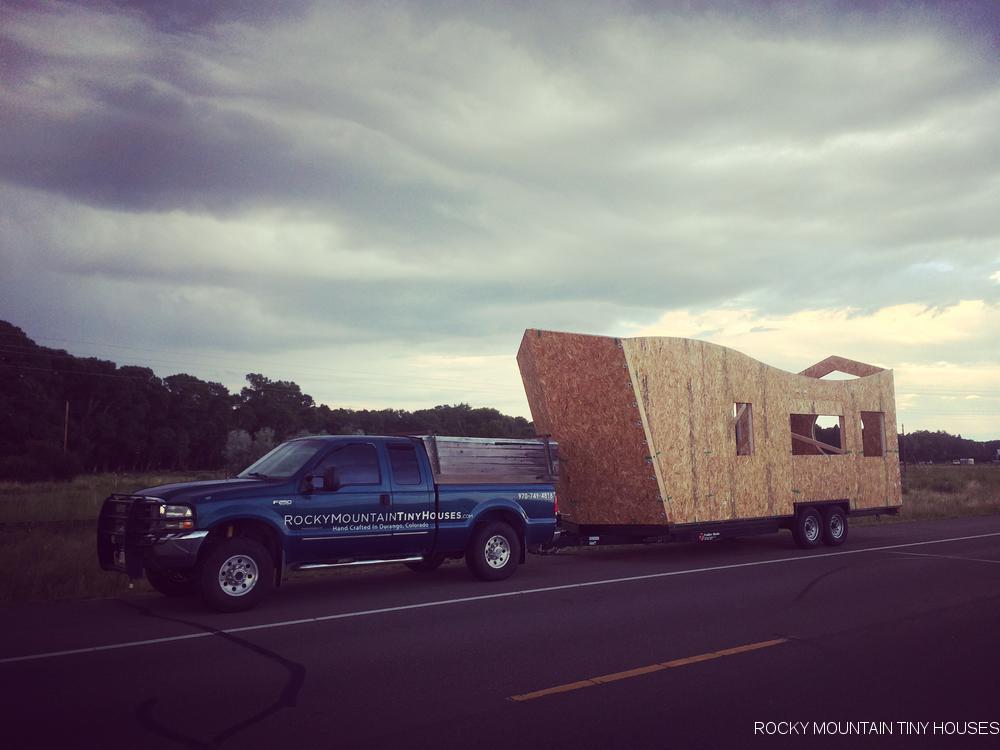
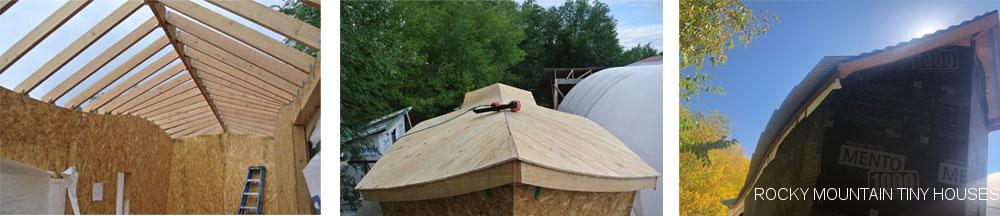
  We actually started the build as a SIP workshop at the inaugural Colorado Tiny House Festival in 2017, an event of which RMTH helped organize. With the help of a few crew members and curious strangers, we got the walls erected in a day and a half. The shell made the trip back to Durango where Stephanie and I completed about 99% remaining work on nights and weekends.